Assignment:
A_ automate your machine
B_document the group project and your individual contribution.
A_ automate your machine
B_document the group project and your individual contribution.
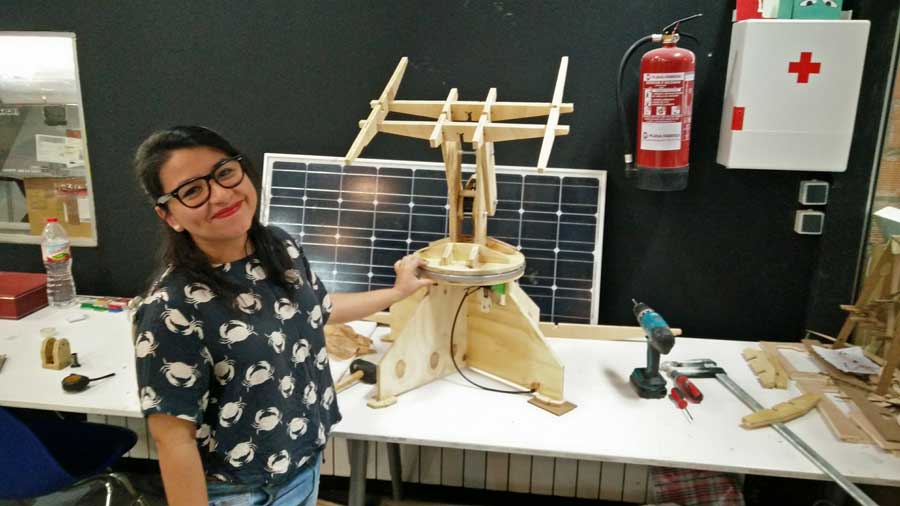
A_ Automate our 1st solar tracker prototype
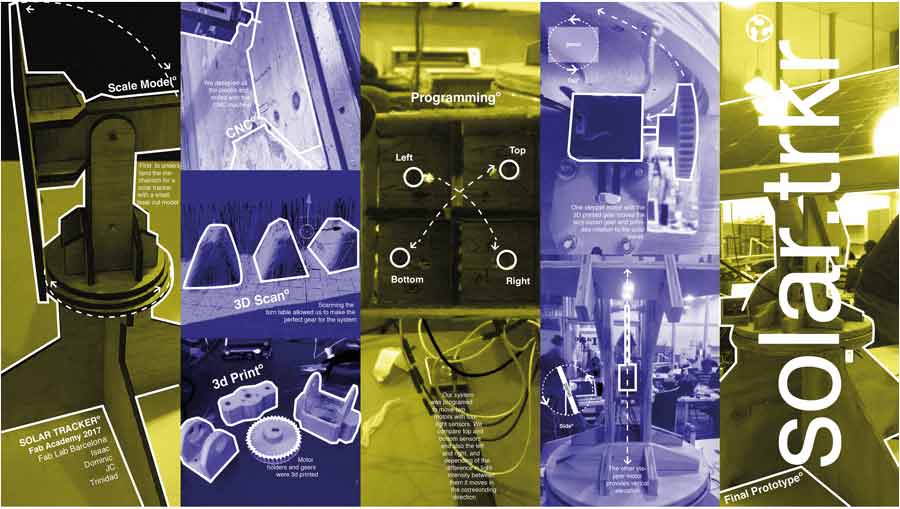
In the following video we can appreciate the realization of the Solar tracker group project that I made in collaboration with Trinidad Gomez, Jean-Christophe Juna and Dom Moore.
My contribution
I have collaborated to the project by providing the design and fabrication of the mechanical parts, and by developping along with Dom, Trinidad and Jc (members of my group) the electronic and sensor input/2/motor strategy. While I had taken under my responsabilityt to design and deliver a operational prototype by the beginning of the 2nd week I did a lot of extra work during the week end to proepare the files for fabrication. This way also, once I had the prototype milled I could get invilve in the programming and electronic part of the project.
From model to 1:1 scale prototype
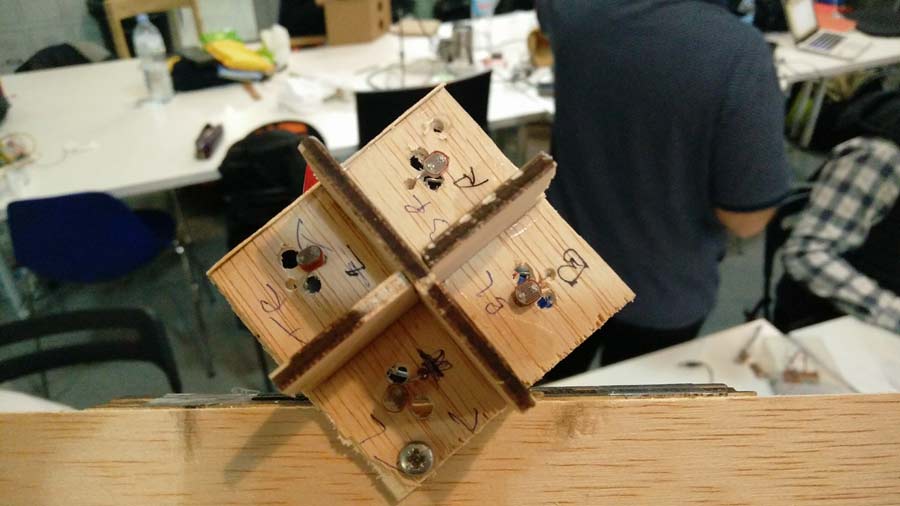
I started this assignment by working on the design and production of the LRD's sensor device. It consists of a is a small square shape wooden box, divided in 4 compartments -one per sensor and which is open on the front side. It will be attached to the panel at one extremity so it moves along with it.
Each sensors is placed in a compartment of the little wooden box. When a sensor receives minus light it sends a signal for the actuator to correct the orientation of the panel so the sensor could receives maximum light. Two of the sensors actuate on the pan axis and the 2 others on the rotation axis. The combination of the 2 maintains the panel oriented towards the sun.
I made a first design where the sensors are enclosed on each sides but eventually realized it would be better to avoid any external wall thus allowing more variations in the light intensity that reaches each sensors.
In the following videos I made a simulation in which we can appreciate the incidence of the light source in movement on the sensors. In the fist video (on the right) the external walls create redundancy in the shadow that is produce when the light source moves. In the second this effect is not happening allowing more margins for the sensor to read the light.
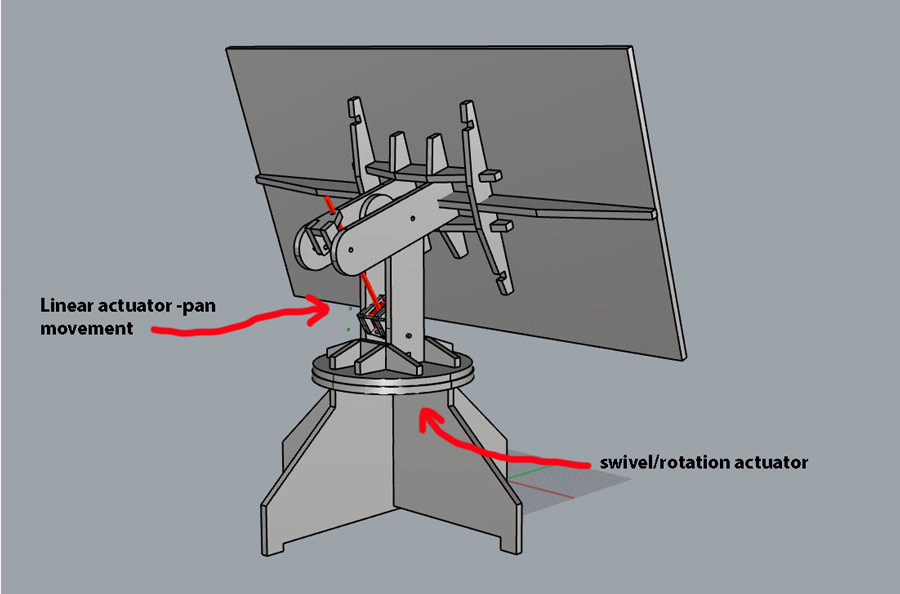
While my team mate continued with breadboarding and programming the proper steppermotor set up, I proceeded with fabrication by reviewing the files that I had produced during the mechanical design week. When I reopened the file I realized there were quite a few details that had not been taken in consideration and were relevant in the 1:1 scaled model. For this matter I added the bearing pocketing holes, reviewed measurements between the different slots, and the tolerances.
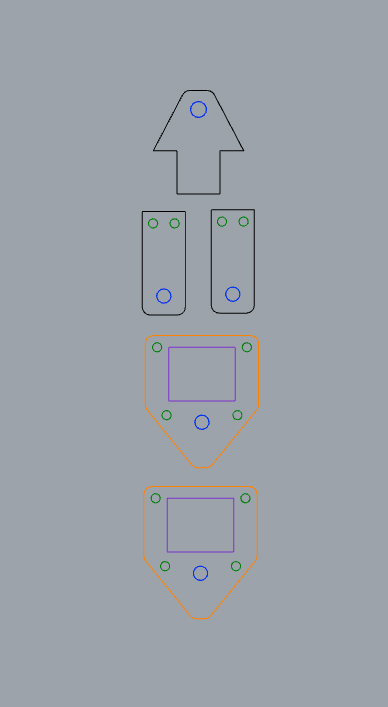
We had agreed to make the actuator mounts using 3D printing but at the last minute we decided to design and CNC them with the same material as the rest of the structure. I researched the specifications and measurements of the stepper motor and invented a design that can be milled in the same batch as the rest of the elementos so we can test the design functionality of all the components at once.
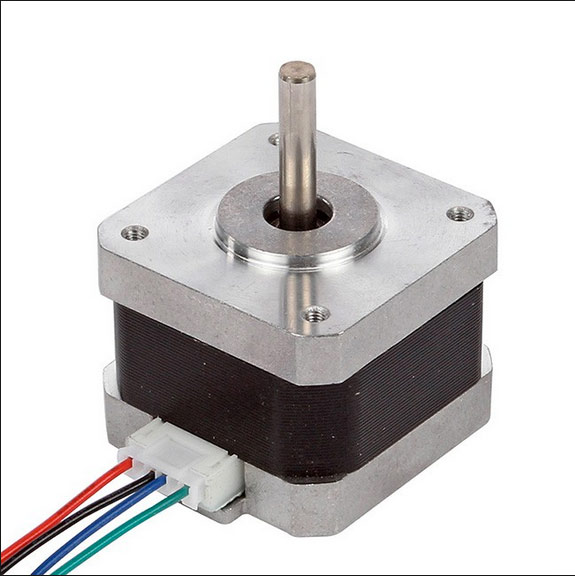
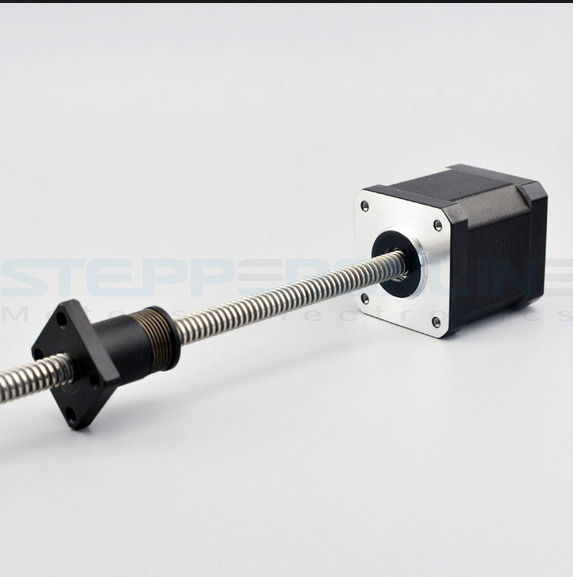
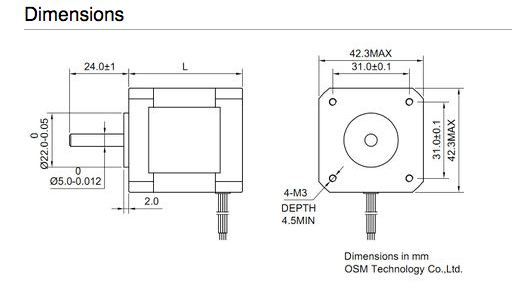
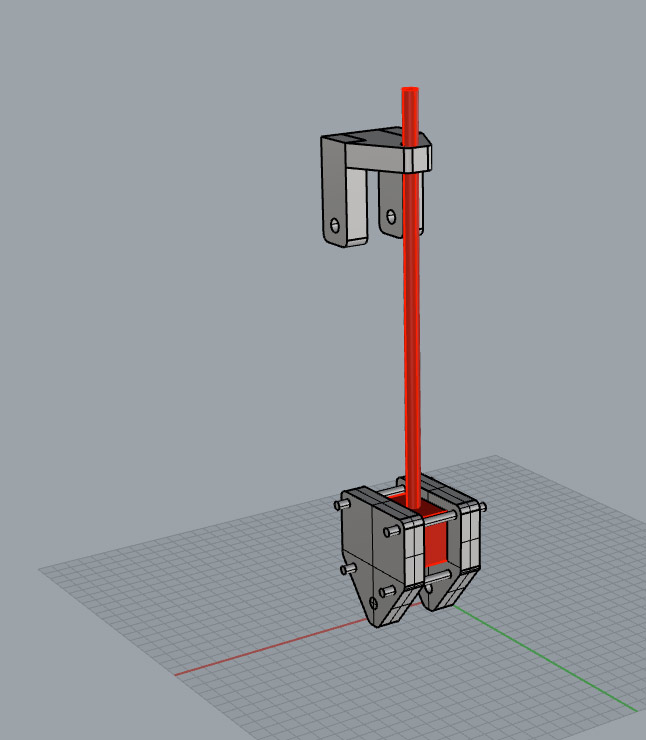
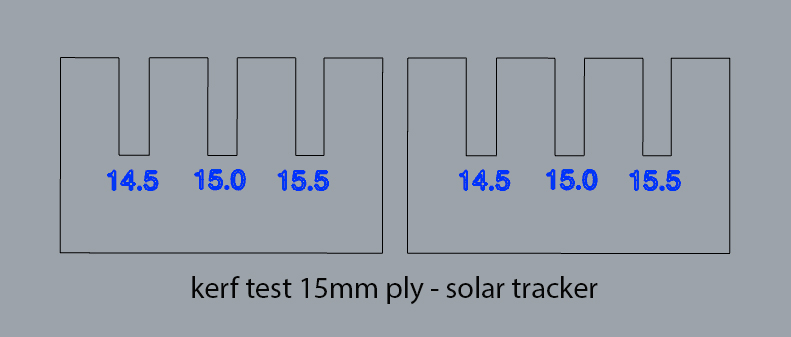
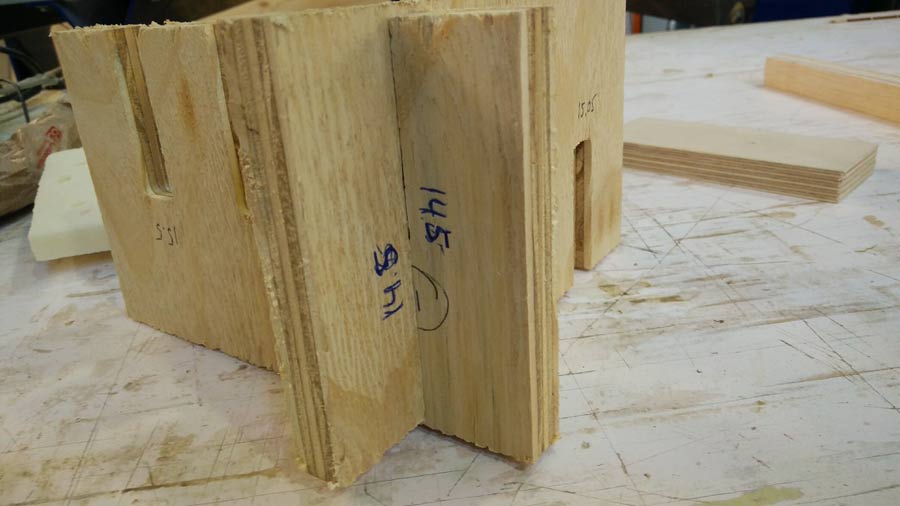
We are using 15mm. low grade plywood. I made a pressfit test at 14.5, 15.0 and 15.5 mm. The 14.5 slot gave the best resutl so I just scaled the model so all the slot are at 14.5 mm.
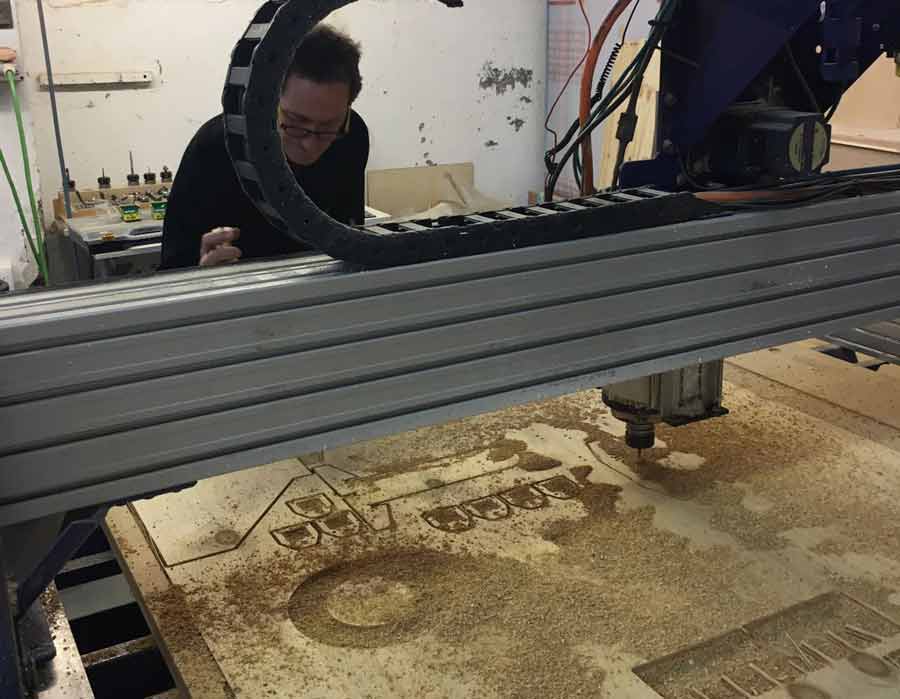
I nested all the parts and components prepared the milling strategy with Rhinocam and generated the Gcode to mill on the lab's shopbot.
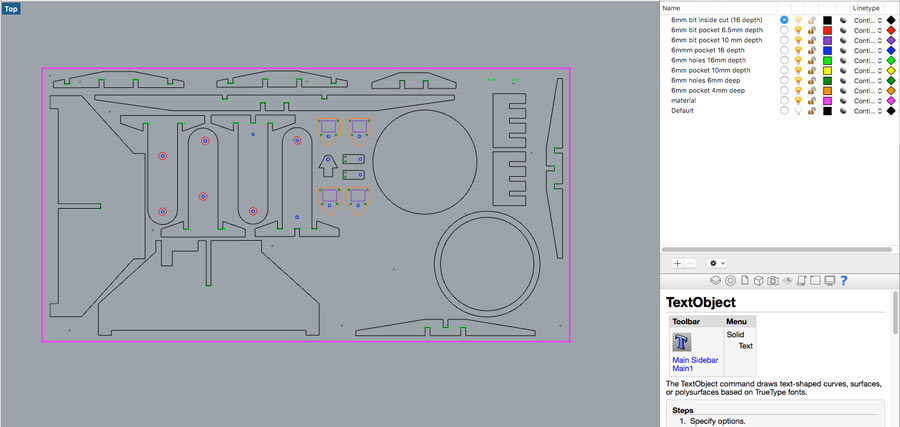
The sacrificial board on the shopbot is wornout and it affected the precision of the milling. I had put only .03mm. extra of depth cut so in many areas the bit did not mill completely through the material. No big deal. A bit of sanding and that was it.
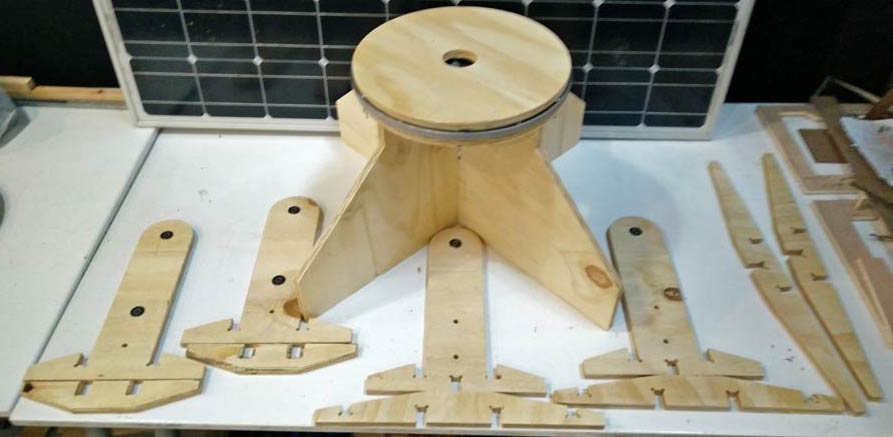
We went on assembling the different parts and putting the machine together. Most of the component fit well except for soem mistakes in the structure holding the solar panel. I got confused with some of the pressfit parts - soem should have been female are male and vice versa. None of if is dramatic as this version is the first one and we will use it mostly to test the mechanical parts as support to also test the actuation. Nevertheless I took notes of the flaws to correct the files for the next iteration.
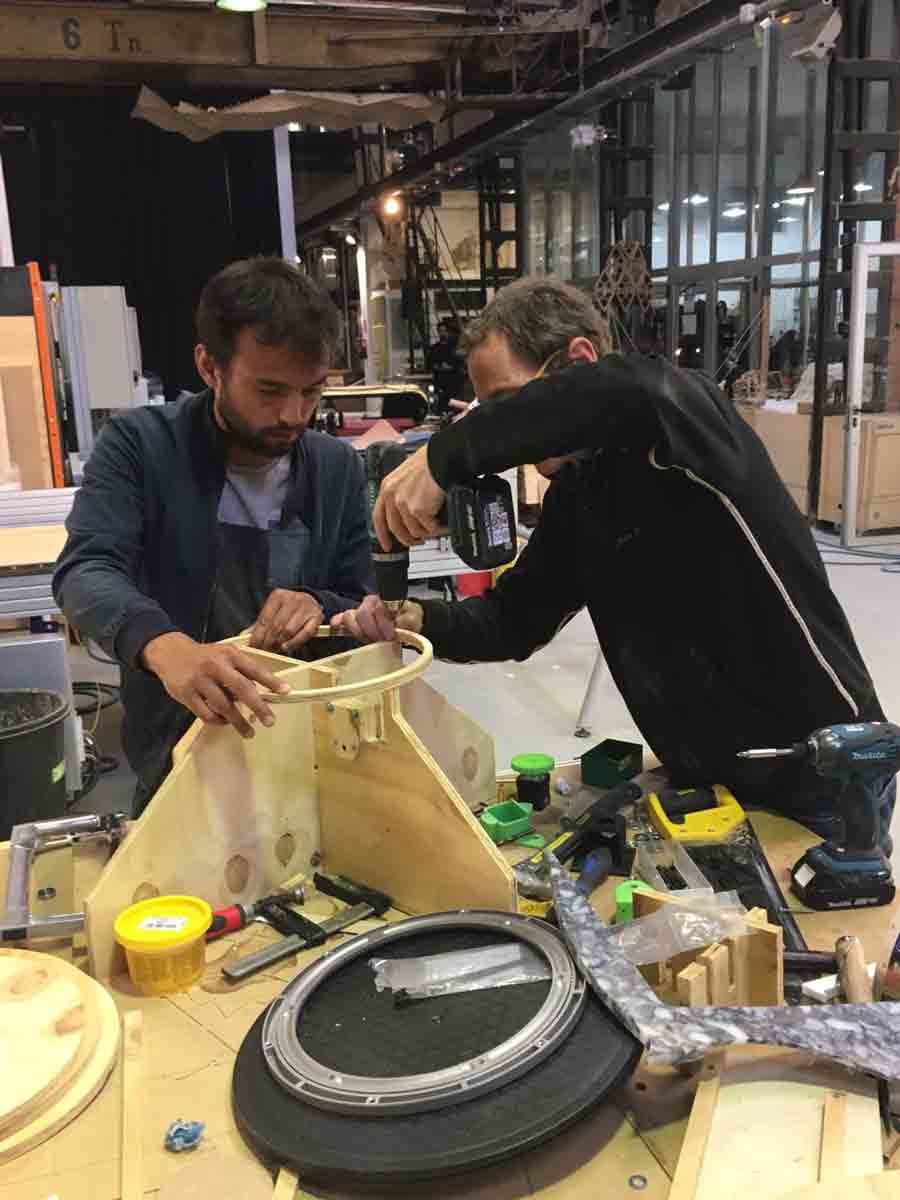
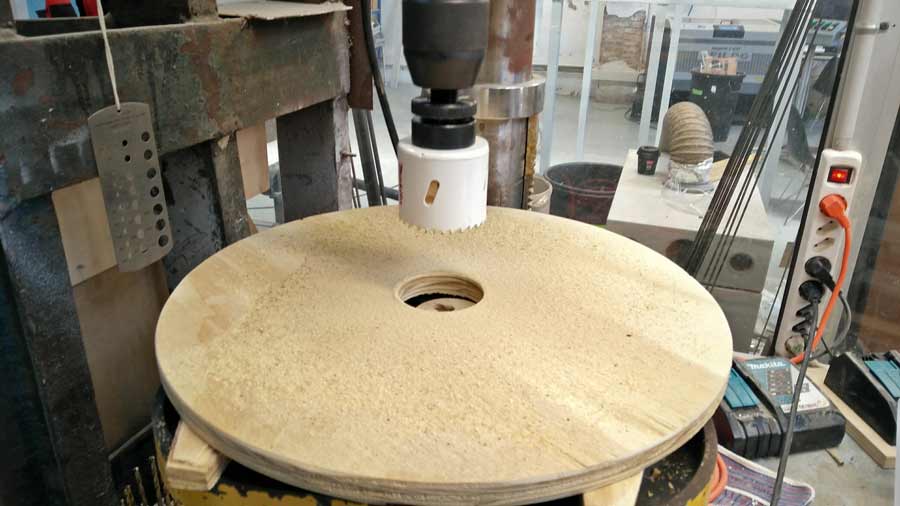

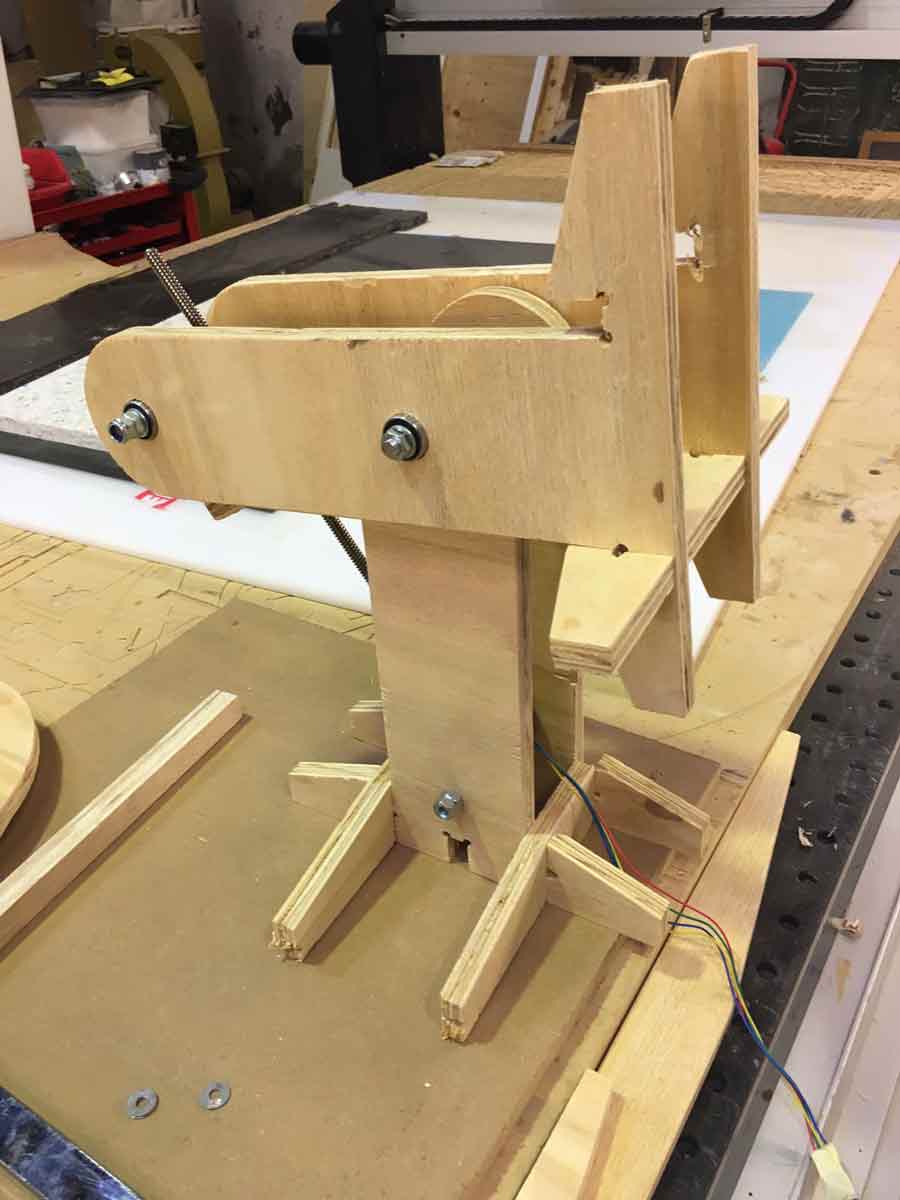
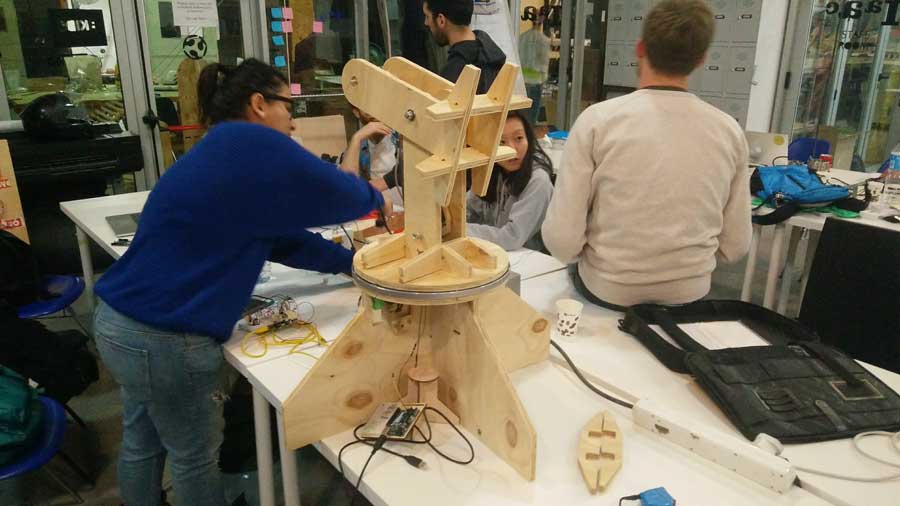
Making the machine work
Once we had the machine assembled I joined in to work on the integration of the mechanical and electronic part and eventually testing, debugging and troubleshooting the electronic and the programming.
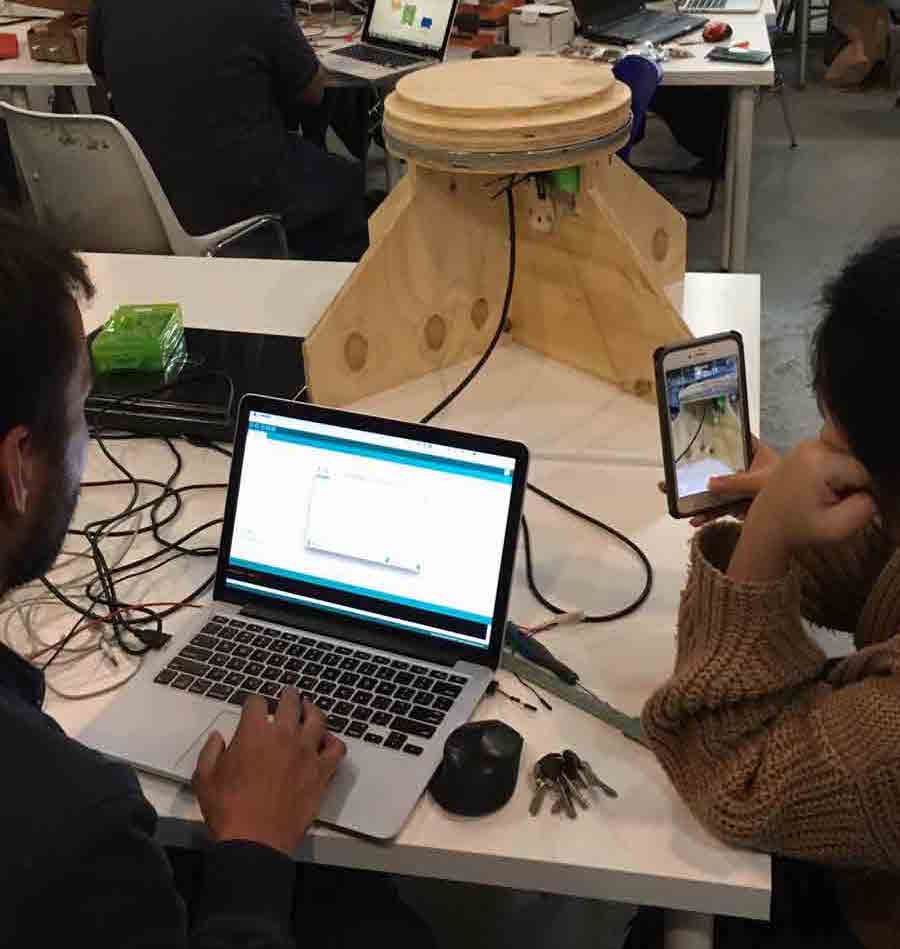
At this point Trinidad and Jean Christophe had worked a lot with the CNC shield and succeeded in controlling the steppermotors but they were struggling with the interaction between the LRD's and Steppermotor interaction. They had connected the stepper to 12v and managed to have the motors move with the shield but when it came to integrate the LRD's reading into the code they hit the wall and could not debug their code.
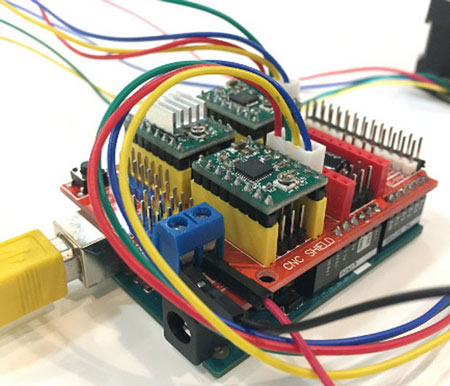
From their research they beleived we could eliminate the shield and connect the driver directly to the breadboard and wire them to the Arduino Uno. This way we could avoid the GRBL library from the Arduino IDE sketch which would simplify programming. By connecting the driver directly on the Arduino board we also simplified the electronic schematic. The new schematic though integrates a HC-SR04 ultrasonic sensor that allows to stop the vertical axis motor when it reaches its maximum and minimum position. It was necessary to avoid damaging the steper motor.
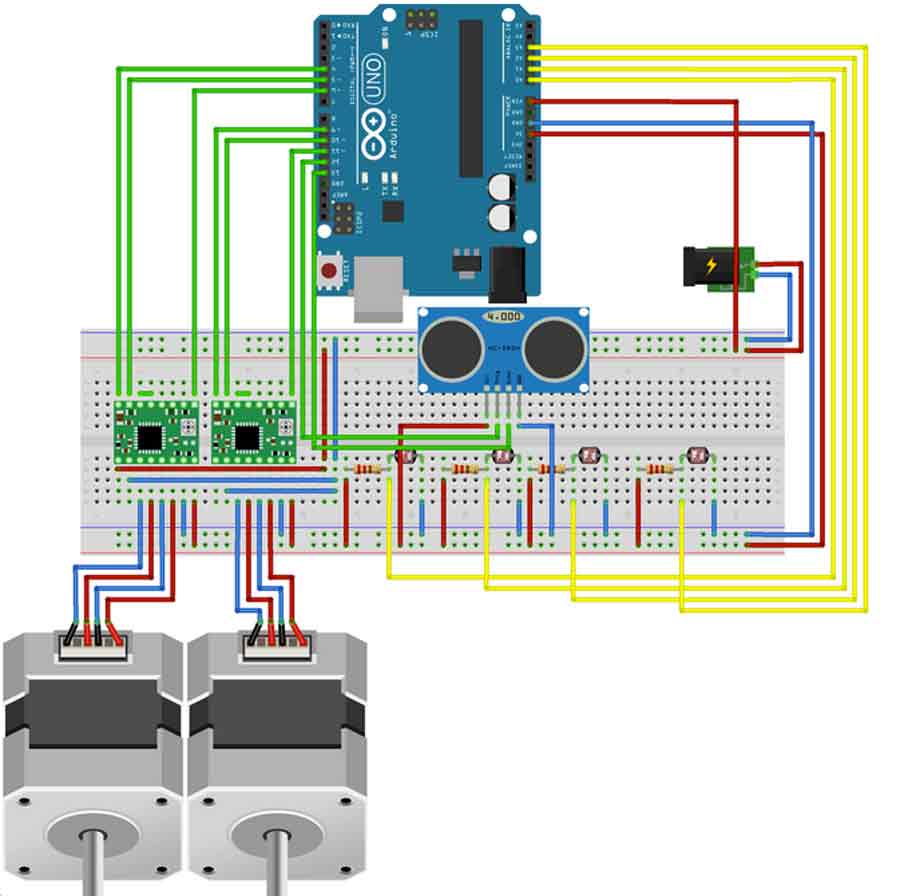
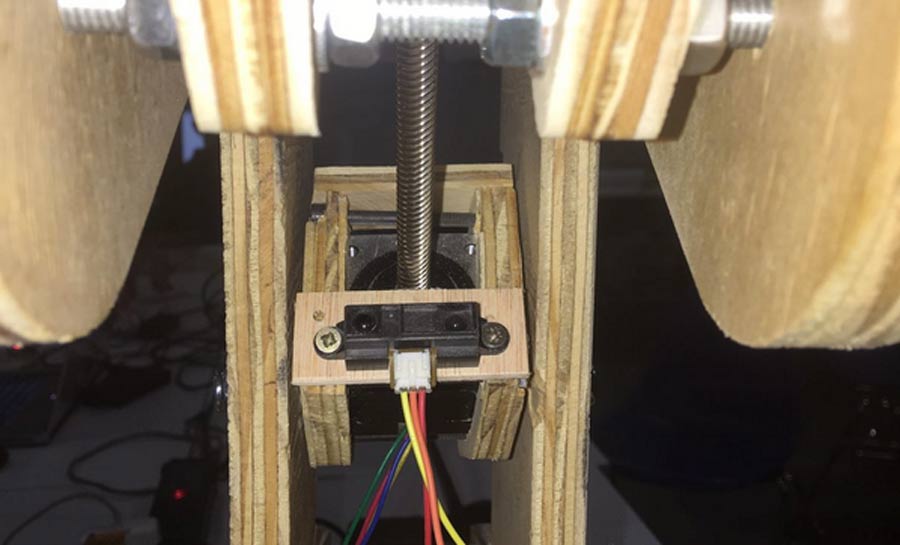
Indeed this got us out of the impass and we could finally get the LRD's and the motor to interact. We used an Sketch from an instructable project as a base to develop our Arduino sketch, editing it for the sensors to always seek maximum light possible and integrating the steppermotor functions.
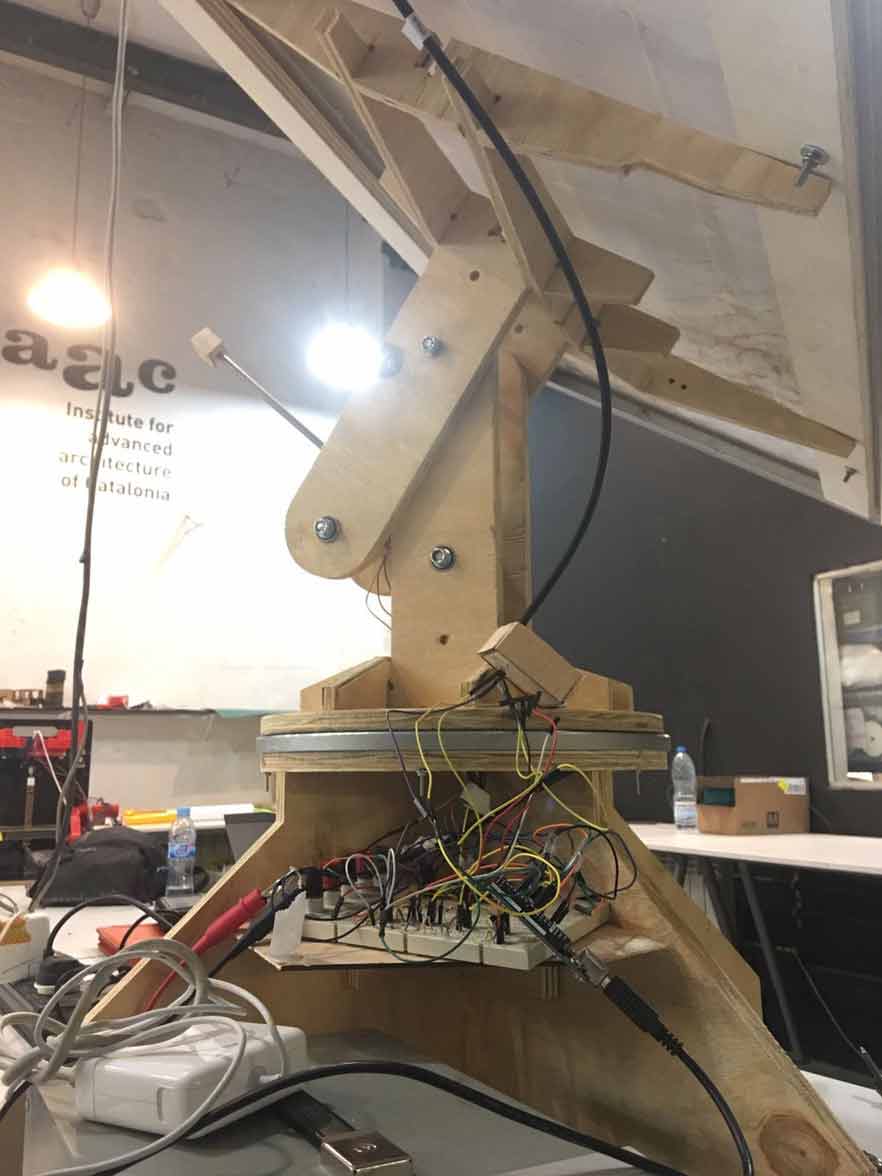
Finally we could get the machine to move in both axis and respond (even though a bit erratically) to the sensor inputs.
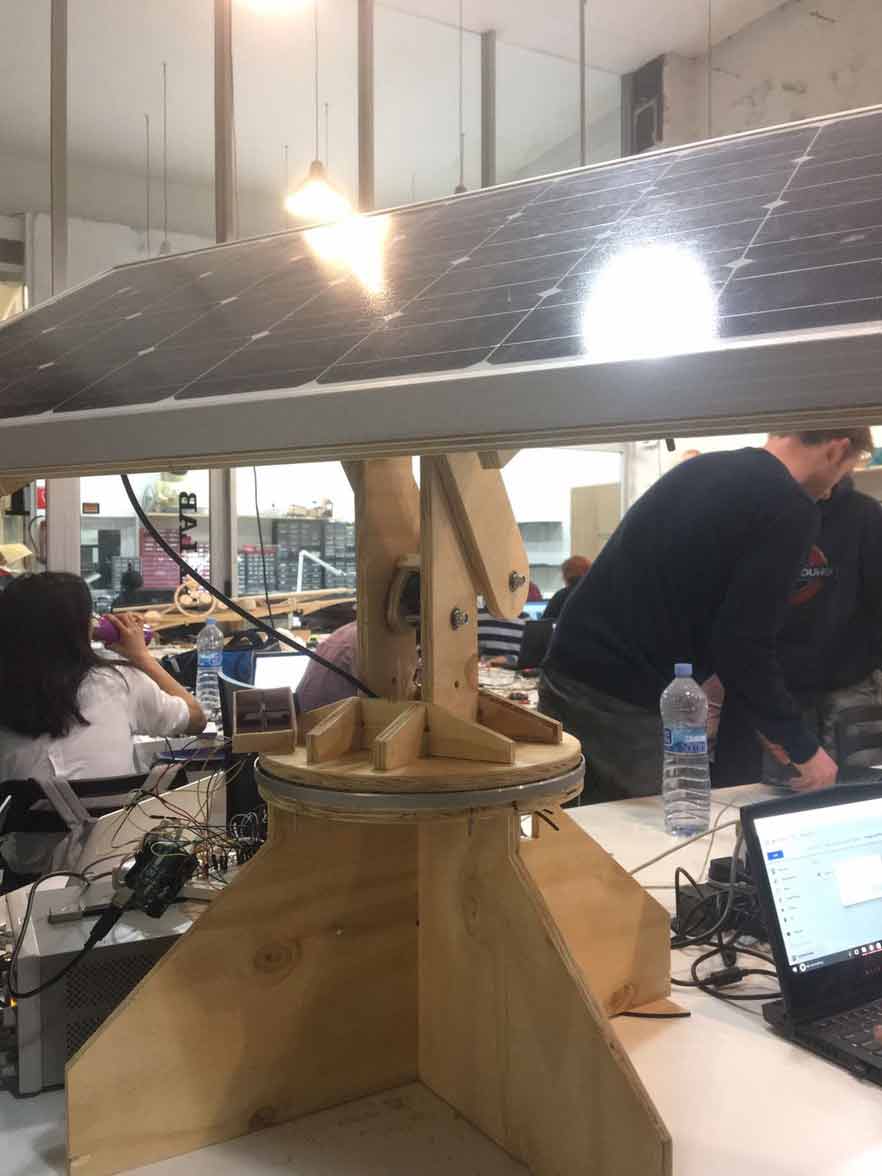
We made an intent to actuate the solar tracker with a solar panel (60 x 110cm) but it could only move on the horizontal axis. The weight was too heavy for the actuator on the vertical axis. This could be solved by simply adding counterweight on the edge of the vertical axis arm.
Conclusion
Time has ran out and we still have a lot to do before we can consider this machine fully operative. We have done huge step and the result is the fruit of enormous effort from each members of the team, and that makes me conscious how much energy and know-how is embedded every machines that surrounds us. For it to work perfectly and not fail when beeing used it must go through countless iteration. We have done 2 overall iterations and we are amateurs. Nevertheless this experience was very rich in learning and discovering the complexity of many aspects of the process - most importantly the fabrication process.
I did not suspect the step would be so high between the digital files and the physical product. When going from file to fabrication there are so many little hidden details that appeared and that I would have nnever suspected. I thaught my files were perfectly ready and that everything would come out right. I can say that may be 60% came out well and the rest had flaws. Not to mention what came out right but which needs to be reconsidered after having been challenge with the physical dimension. That makes the iteration process so valuable but also the idea of spiral development because it is always dynamic to build on conclusion rather than take one process very far and only at the end contrast it with the other processes involved. This assignment comfirms that.
Working in team was also a great experience. It took us a while to find the right dynamic, to agree. There was a feeling of competition between Dom and I and I felt a bit unconmfortable at first but a little psychology we overcame it and started working together well - naturally focusing on aspects that are closer to our respectiv skills and becoming complimentary teamwork. With JC and Trinidad it went very smooth. From the very beginning we felt very accomplice and I trusted they would get the work done on time. Never a concern or a worry. I had a great time and I learned a lot. I wish now to have another week to complete the machine.
Links to the project:
Group final page
Trinidad Gomex/electronic and programming documentation
Jean Christphe Juan/ electronic and programming documentation
Dom Moore/design + engineering documentation
< a href="http://archive.fabacademy.org/archives/2017/fablabbcn/group/machine/group6/index.html">Group's complete documentation.
Access original files here.
