Assignment:
A_Make a machine, including the end effector.
B_Build the passive parts and operate it manually.
C_Document the group project and your individual contribution.
B_Build the passive parts and operate it manually.
C_Document the group project and your individual contribution.
B_Design and build a Machine.
In the previous week I had proposed for this assignment to make a solar tracker using the experience of our last year fellow student from Greenfablab's who initiated such a project but which was left unfinished. The idea is to either make a second iteration of their design or simply benefit from their know-how and experience and create a new design. A group was created, formed by Trinidad Gomez, Dom Moore and Jean Christophe Thuan, and we started working on the project.
The first step was to meet Grégoire Durrens, who led last year's project and who is now Greenfablab manager and have him share his experience and get a better understanding of the design and strategy they used. They had developped a design in which the whole structure of the solar tracker swiveled along the sun path while the solar panel attached to the structure would also pan accordingly.
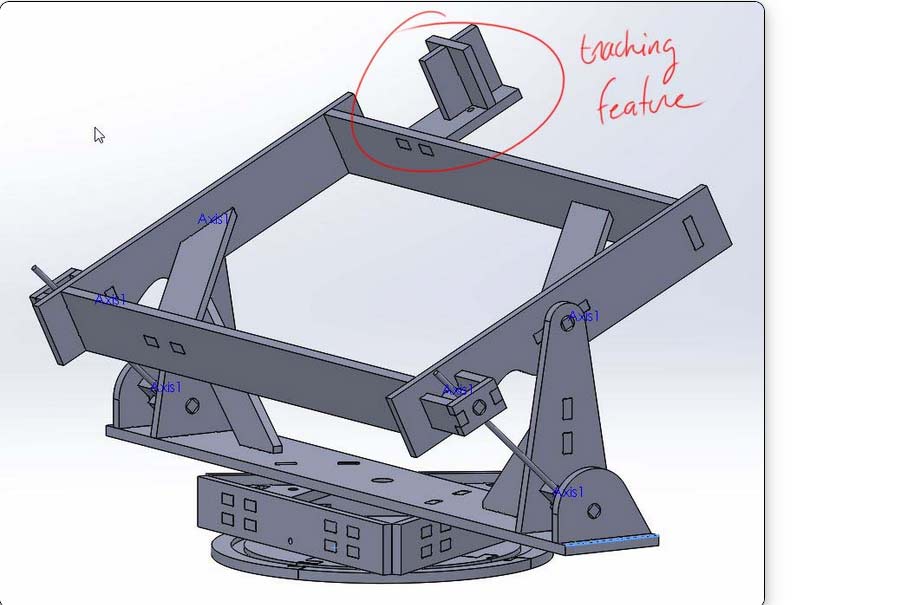
They had also developped a 2 axis light sensor system (calculation made by barrycenter) that seemed very interesting.
Gregoire's advice was to keep the project as simple as possible and even start by making it work with one axis (horizontal) and then add the vertical axis.
After meeting Gregoire our team had a brainstorm in which we decided to create our own original design. We did not like the idea of having the whole structure rotate and taught we could find a better solution. We did some research and came to conclusion there are 3 main approach to designing a solar tracker:
1º Linear axis actuation type.
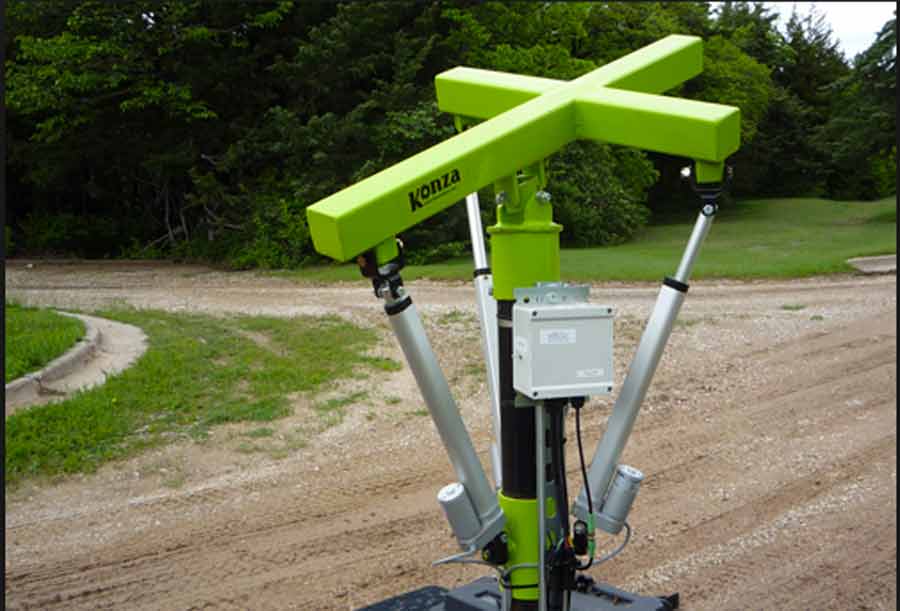
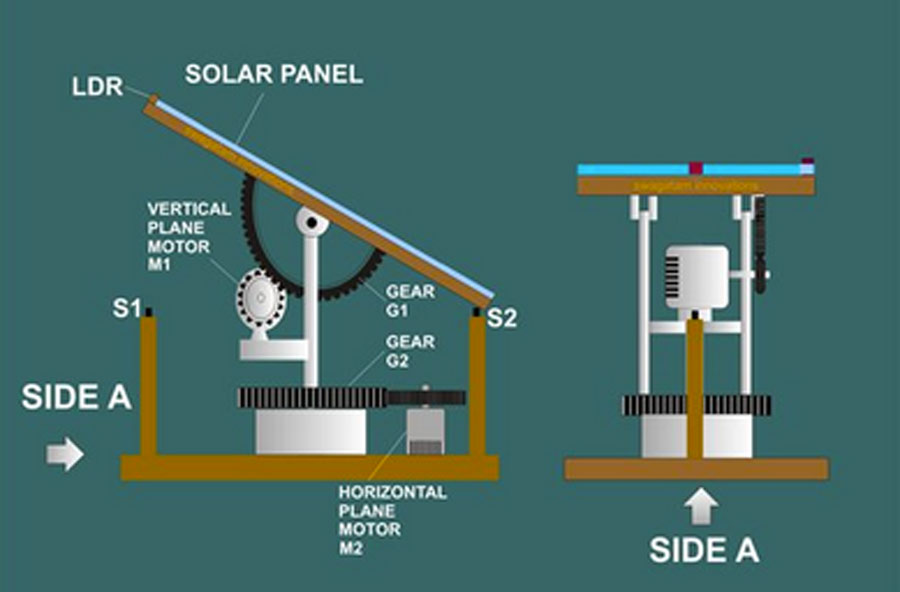
Or the 3rd one which is a compbination of the 2 precedent strategy.
Here is a series of references I gathered while researching different stratgies for solar tracker.
DIY solar tracker
DIY simple idea
schematic diy solar panel
Sunfolding system
After discussing the group agreed to develop a system that could be adapted either to capture the sun ligh using a photovoltaic solar panel or to reflect the sun using either a 'heliostat style' parabolic, a simple mirror or a lens for focusing suns light onto a reciever, for instance in a solar furnace. By tracking the sun we can capture up to 35% of the energy available on a daily basis. For a system to be efficient the design must have maximum flexibility and the capacity to remain as mucha as possible at a 90ª angle from the sun.

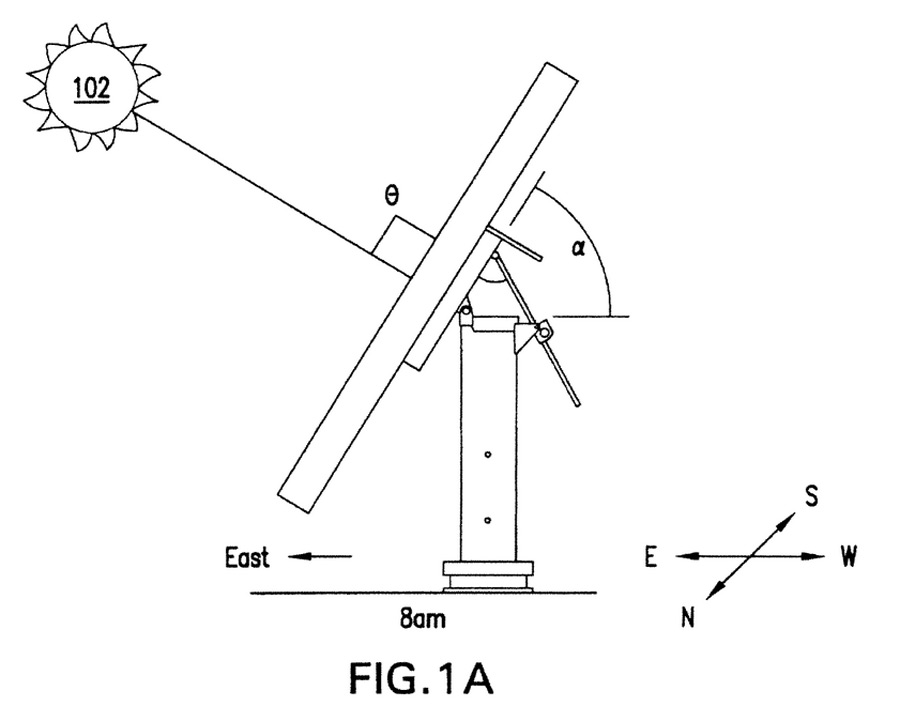
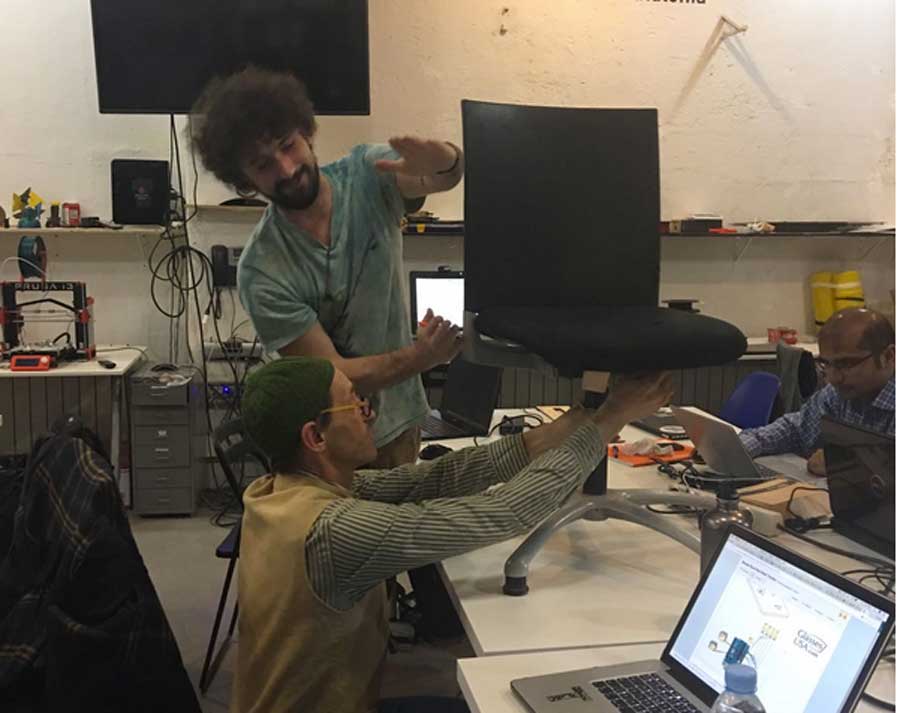
We made a first list of material and of processes involved to realize the porject:
1º - mechanical design main structure = rhino/CNC milling
2º - support for actuator + gears = 3D printing
3º - electronic design = arduino board wired to 2 servo-motor for prototyping ( bi-polar stepper motor for final version)
5º -data inputs = 4 light sensors for suntracking
5º- programming =Arduino Ide light sensor/steppermotor sketch
To organize the work we split the group in 2. Trinidad and Jean Christophe will team up focusing on researching and implementating the electronic and programming part while Dom and I will be responsable for the design, engineering and fabrication aspect of the project. Nevertheless we will all be involve in each processes and all decisions will be taken in concensus. We also set the objective to have a laser cut model as a proof of concept of the final design + a well defined strategy for the programming that includes actuation tests with arduino board and servomotor (the Steppermotor won't be delivered until the machine design assignment week) for the end of this assignment which is next wednesday.
Designing the solar tracker
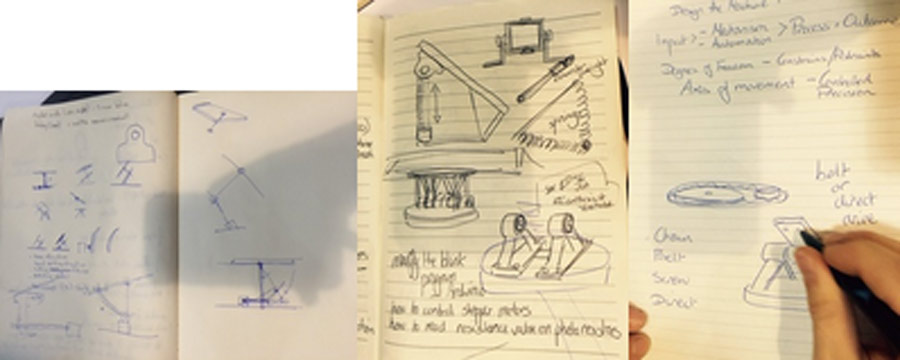
After brainstorming we took a few days on our own to contiue with our research and develop our respectiv concept. Next meeting is set to friday to present each a proposal to the other team members.
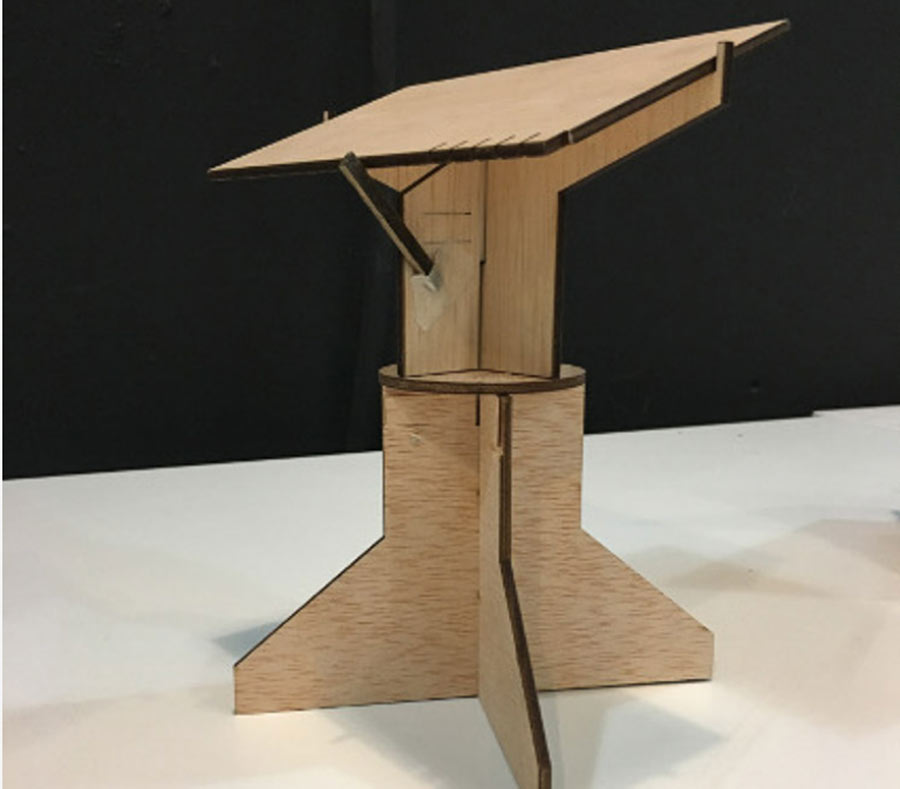
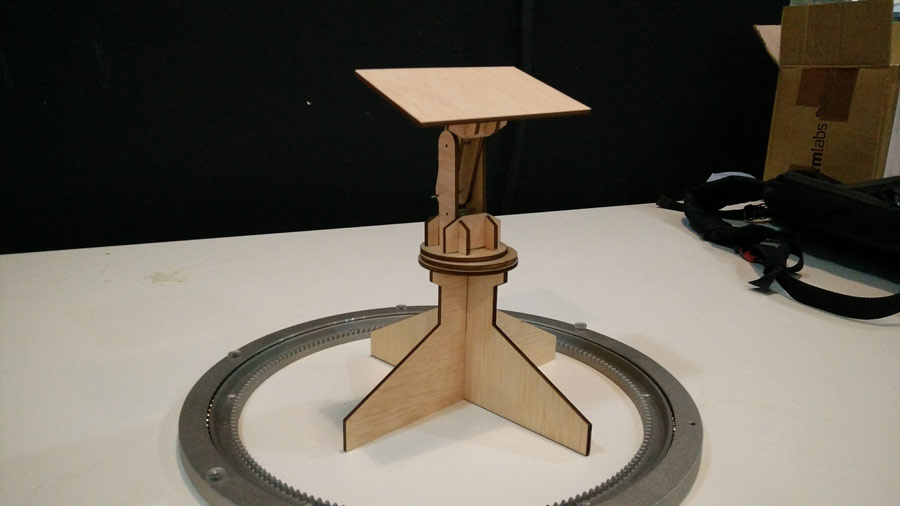
My concept, which was designed in Rhino, is a 2 axis tracker that combines a swivel and a tilt movement. I integrated a lasy-susan mechanism that allows the structure holding the solar panel to swivel on the base while the attached panel tilt using linear actuators. I produced a laser cut model (1:10 scale) to present to the group. My focus was to create a design that can be both efficient and made using technology and materials (as much as possible) available in the Fablab ecosystem. For that reason I designed it for flat material (plywood or such). At htis point of the process I did not have a solution for the swivel mechanism and I was conscious the design had issues with proportions and counterweight balance. Nevertheless I believe it has good quality and I am interested to hear the feedback from my group mates before making the next itiration.
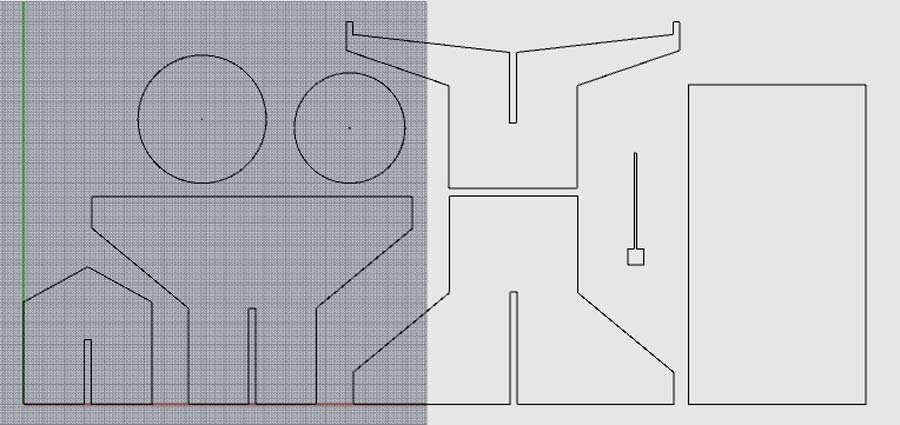
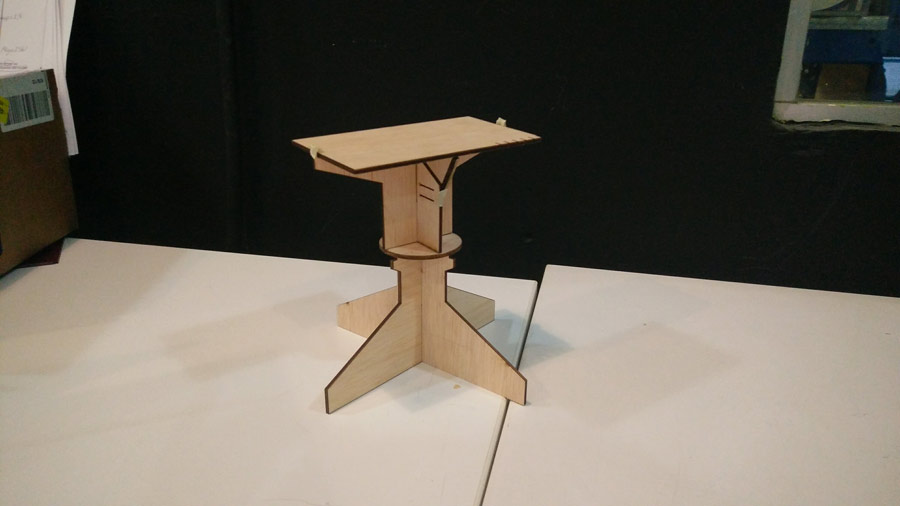
I colaborated with Dom in producing the model of anther concept bbased on a completely different approach. conpept which I found very interesting from an engeneering perspective but might be a bit difficult to fabricate with flat material. Anyhow we laser cut a model.
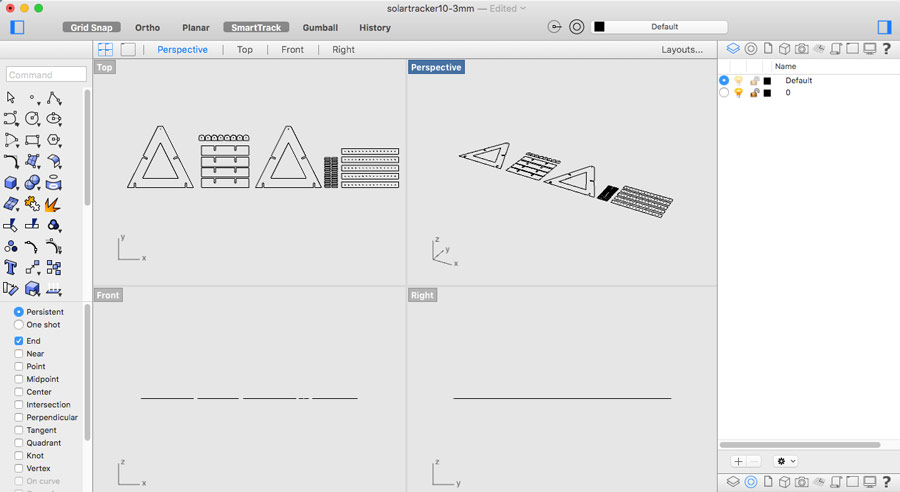
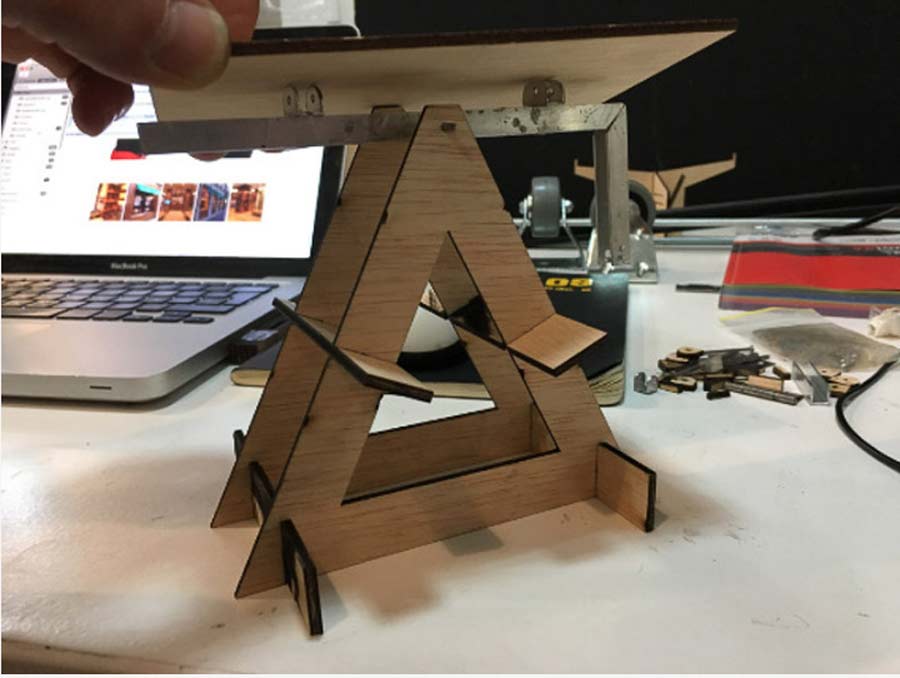
During the team meeting we agreed both proposal were interesting and that each of them would need further iteration before we could decide. During the week-end Dom and I worked respectively on the next itiration of our concept.
I adapted the structure holding the panels and reviewed the proportion of the tilt axis and redistributing the weight closer to the center of gravity.
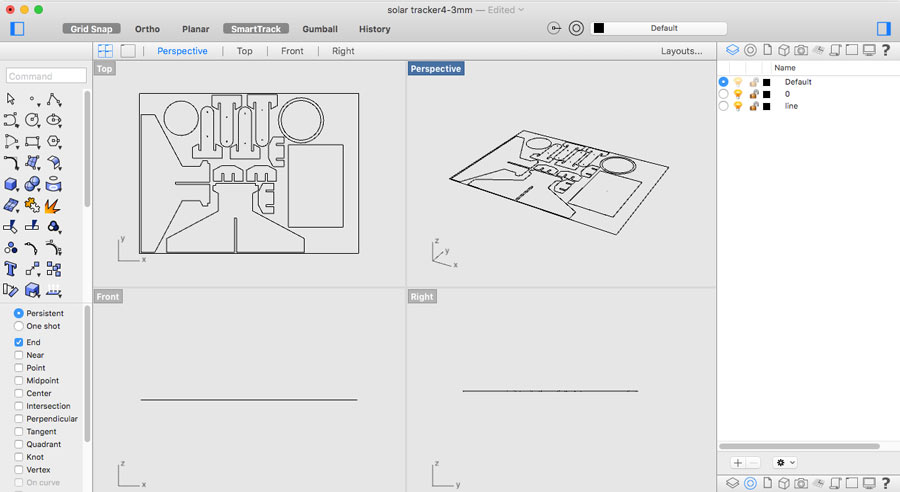
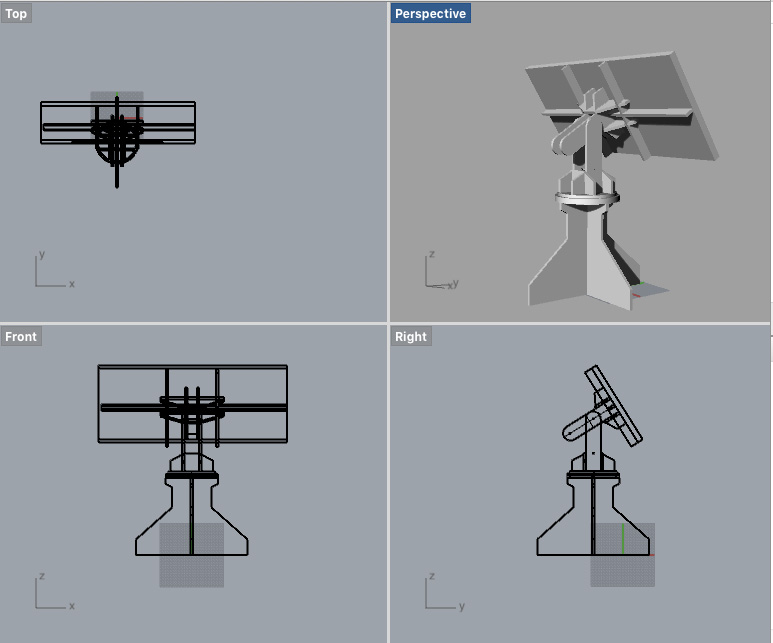
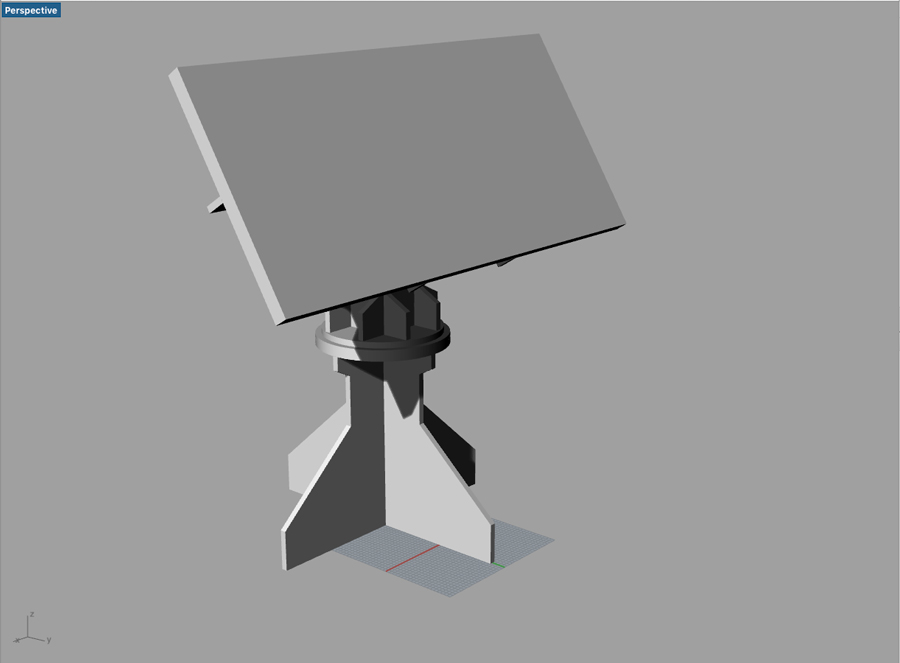
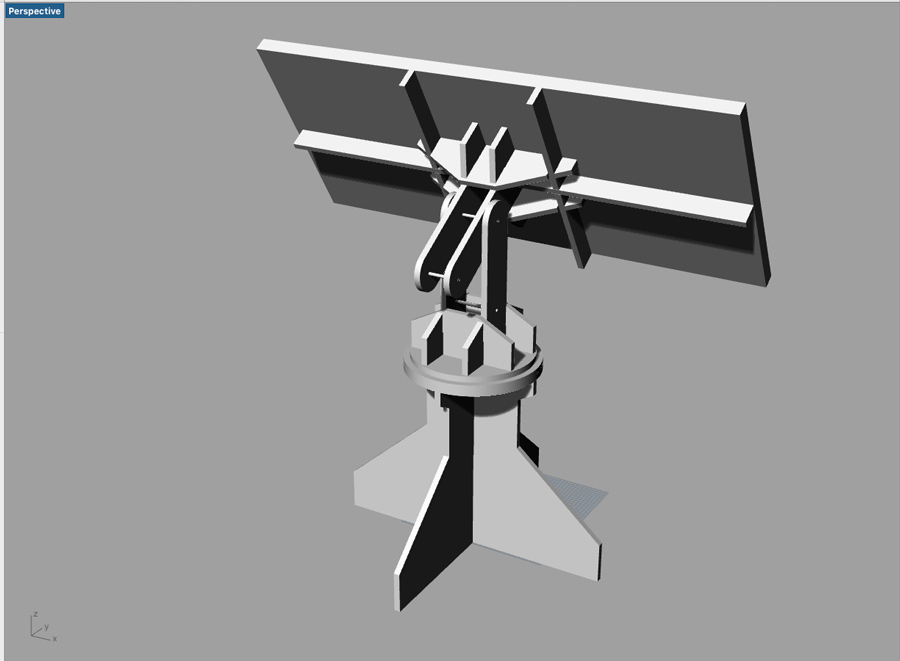
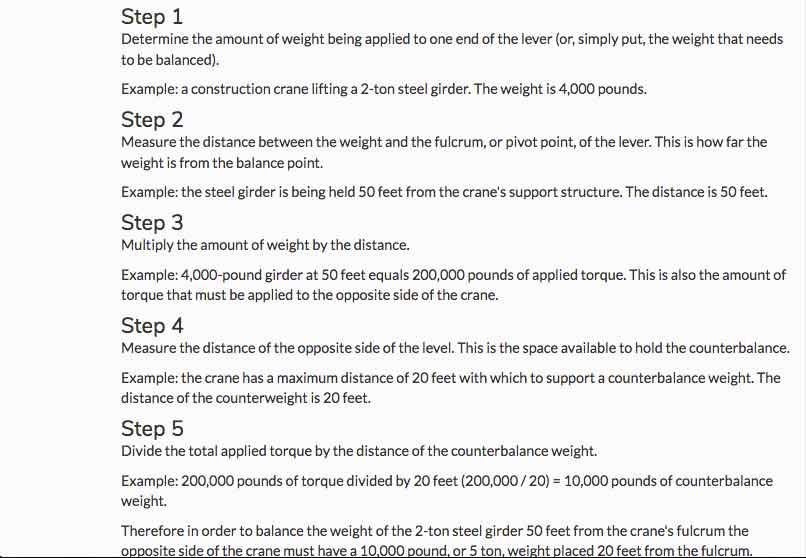
The design do not allow more offset of the vertical axis. In case the solar panel, mirror or component we place on the tracker is to heavy we would have to apply a counterweight. I am including a reference to calculate counterweight
I also went to a bunch of hardware store to scout a lasy-susan that could help us resolve the swivel mechanism and found one with an integrated gear. Before the presentation I had the time to I produce another 1:10 scaled model.
Dom also presented the new iteration of his concept.
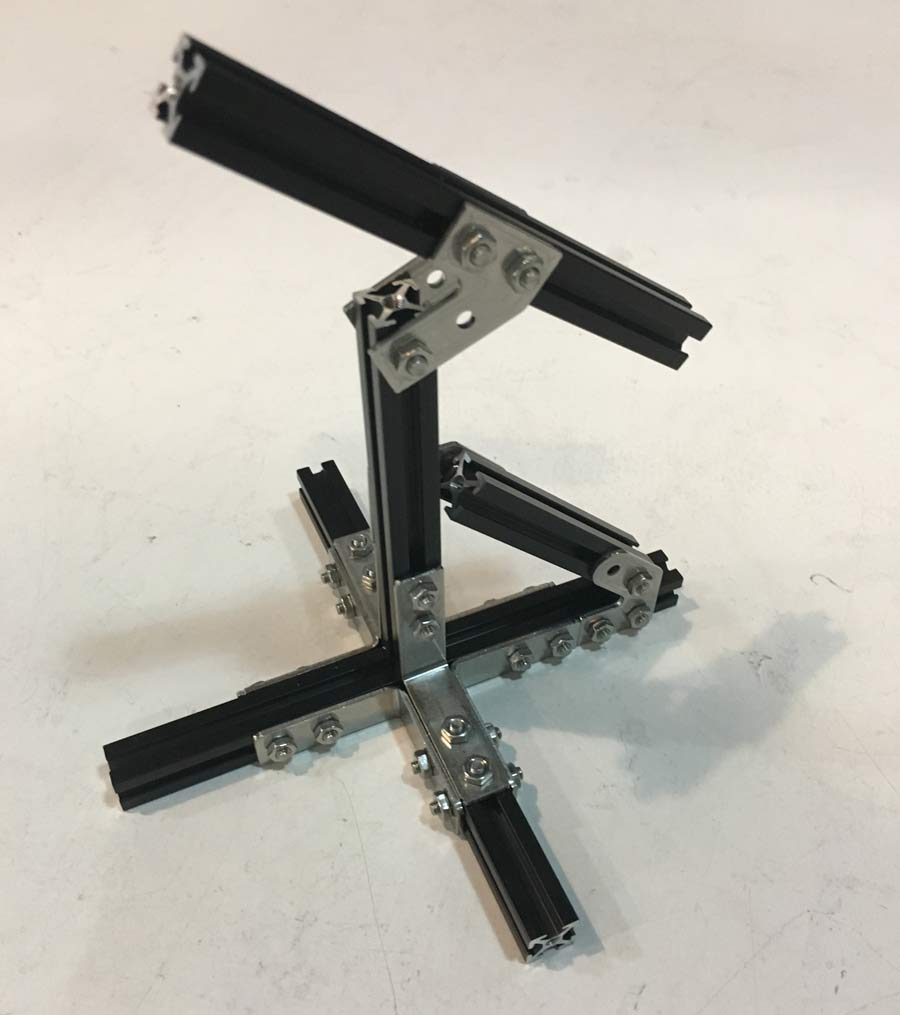
Everybody agreed that Dom's concept was very interesting but somehow not that well suited for this project as it required materials such as the aluminium section that are costly and would need to be outsourced thus implying delays in delivery and risking to postpone the prototyping process. Dom also mentionned he was interested to use his concept for his final project so we finally decided to build the solar tracker following my concept.
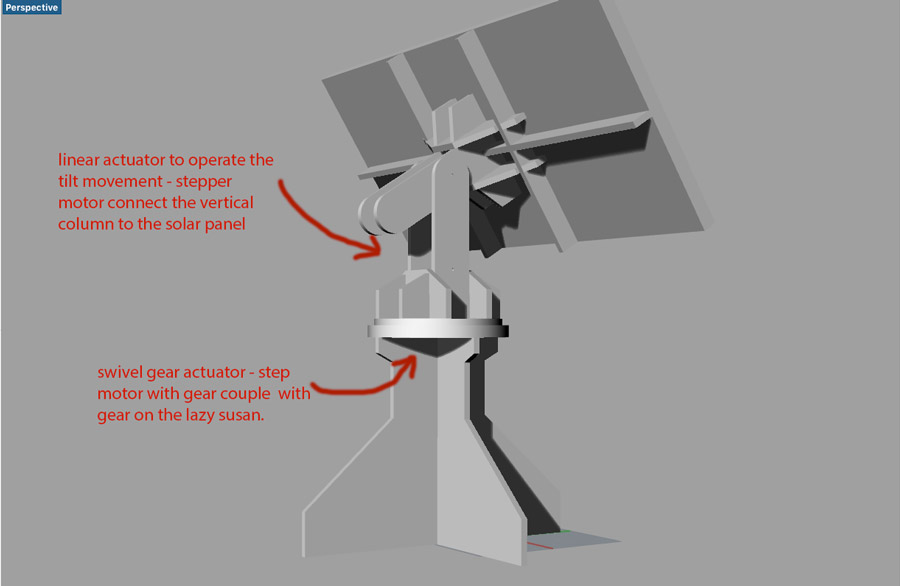
Here 2 videos showing the latest version of the design and how the actuators operate on both axis:
Now that it is comfirmed that we will be bulding this model on a 1:1 scale I need to adapt the files so they fits the real components we will be using. bearing, bolts for the axis, etc.

Paralel to completing the design for fabrication I also scanned a fragment of the lasysusan gear so we can design and 3d print a matching gear to attach to the nema steppermotor of the horizontal axis (swivel).
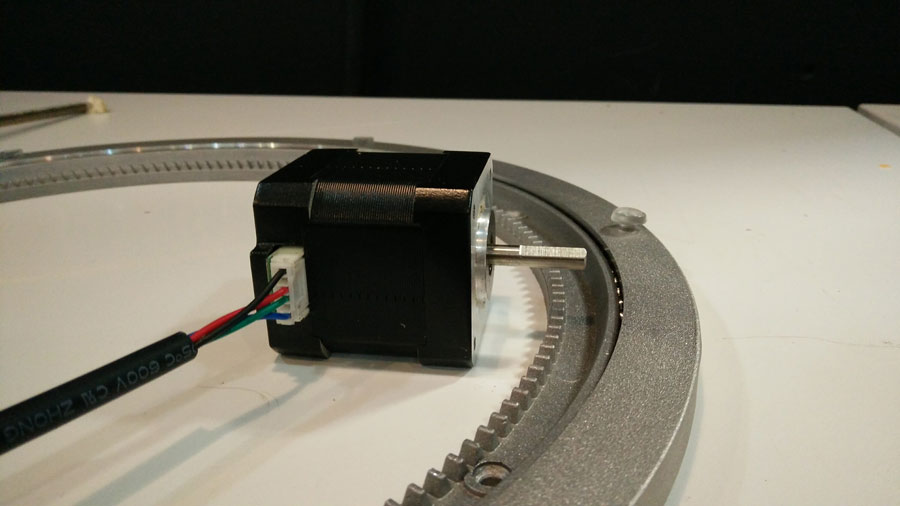
I did a putty casting of the gear of the lazy susan (the actual lazy susan do not fit on the Modela bed) and placed it on the Modela bed and with the scanning device made a .25 mm. scan.
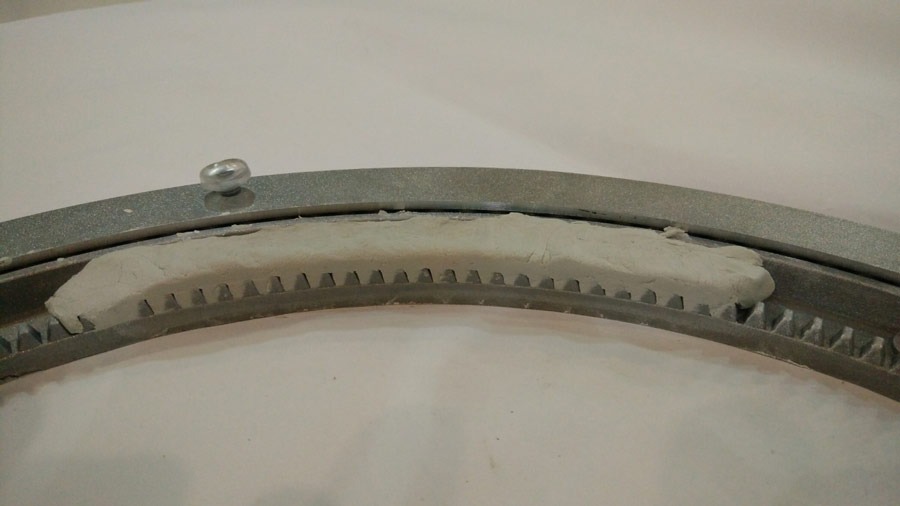
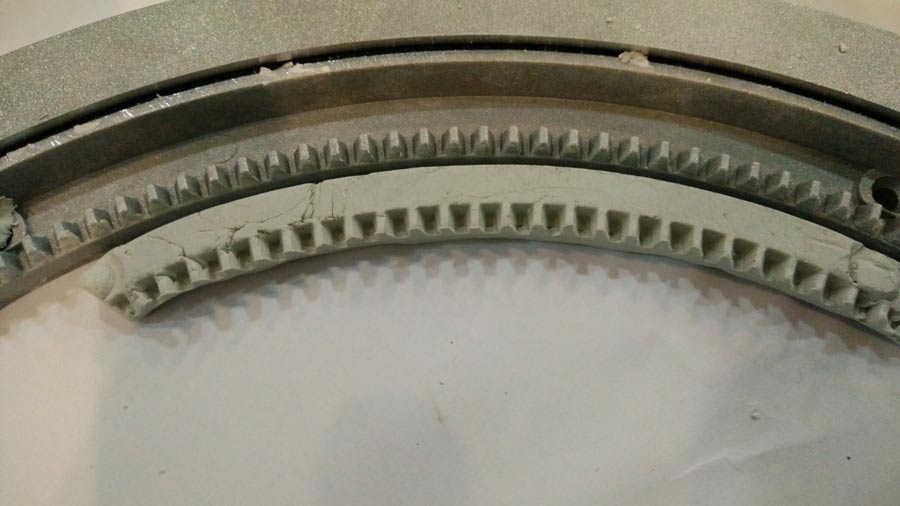
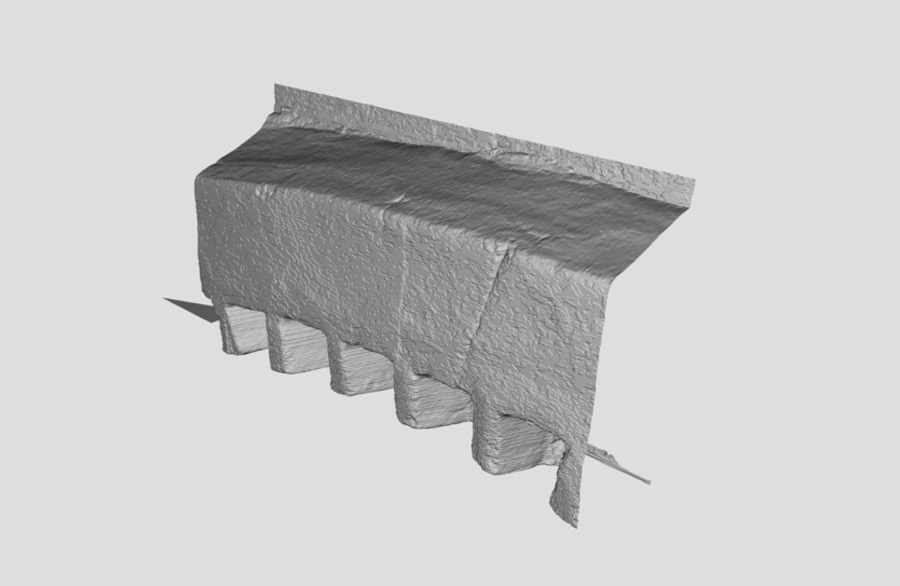
We imported the .stl file of the scan into Blender and with Victor, a blender expert from our lab, we created one gear tooth using the scan as a template and applied it repeatedly throughout the circumference of the gear (diameter 120mm.).
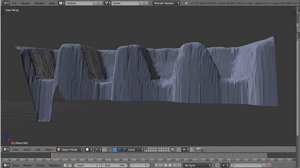
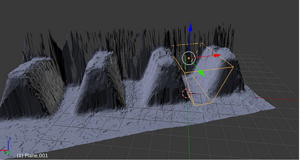
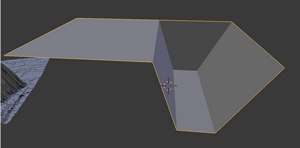
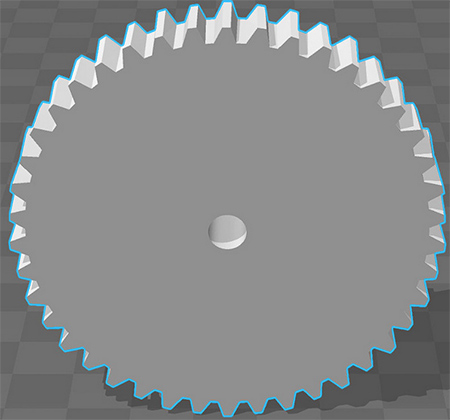
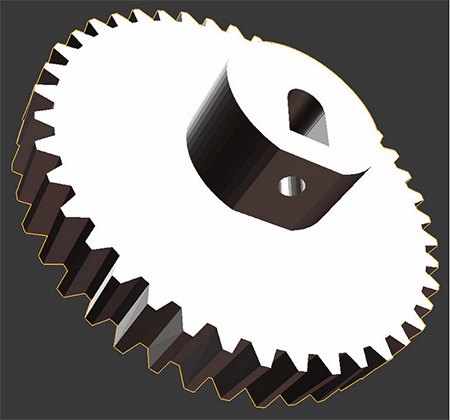
Dom had designed the holders for the actuators and we 3D printed one version of each along with the gear. We did a quick print just to test out the size and comfirm the design were right.
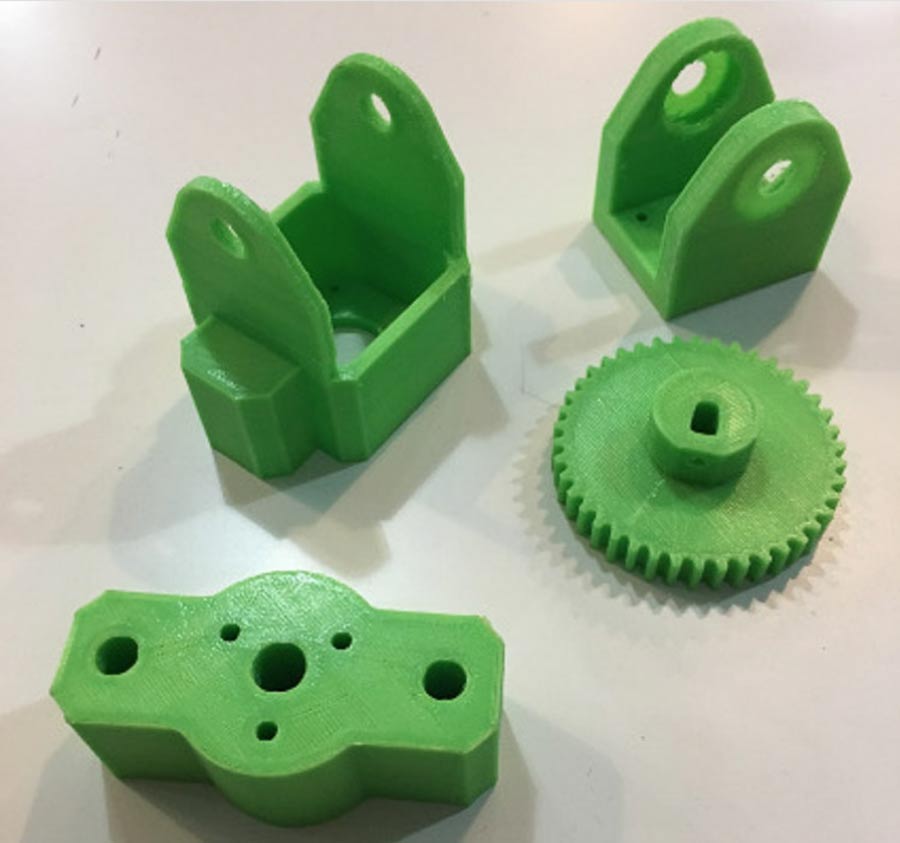
Paralel to design the main structure of the solar tracker and colaborating wit Dom in creating and printing the 3D printed parts, I followed up with Trinidad and Jean Christophe on the evolution of the electronic and t programming.
Electronic and programming
Paralel to designing the machine I followed up with Trinidad and Jean Christophe in developping and implementing the electronic + programming strategy to actuate the solar tracker.
We considered different the following strategies to communicate the different actuators:
-Gestal nodes with a Fabnet adaptor which is a small electronic control board that can be easily networked and connects via Fabnet USB to your computer and to the steppers
-CNC shield compbined with Polulu drivers.


There are many options of CNC shields depending on the type of machine and the quantity of motors involve. The CNC shield can be mounted on the Arduino board directly.
The Polulu driver> mounts onto the shields and serves to control the stepper motors. There are also many different models to choose from depending on the application, the current and voltage of the circuit.
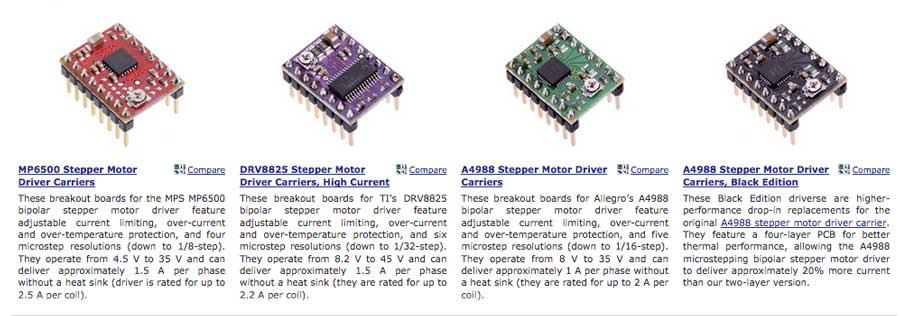
After doing reserach and consulting with our instructor we are inclined to work with the simpler and cheaper solution which is the Polulu drivers. Our machine is fairly simple as it involves only 2 stepper motors and there seem to be no reason to use gestalt node which are more suited when there are more motors involved. It also requires stronger programming skill which would be a problem for our team.
In terms of programming we have made progreess in capturing datas from the light sensors and linking them to control 2 servo motors. We breadboarded circuits and created sketches for each function independently at first.
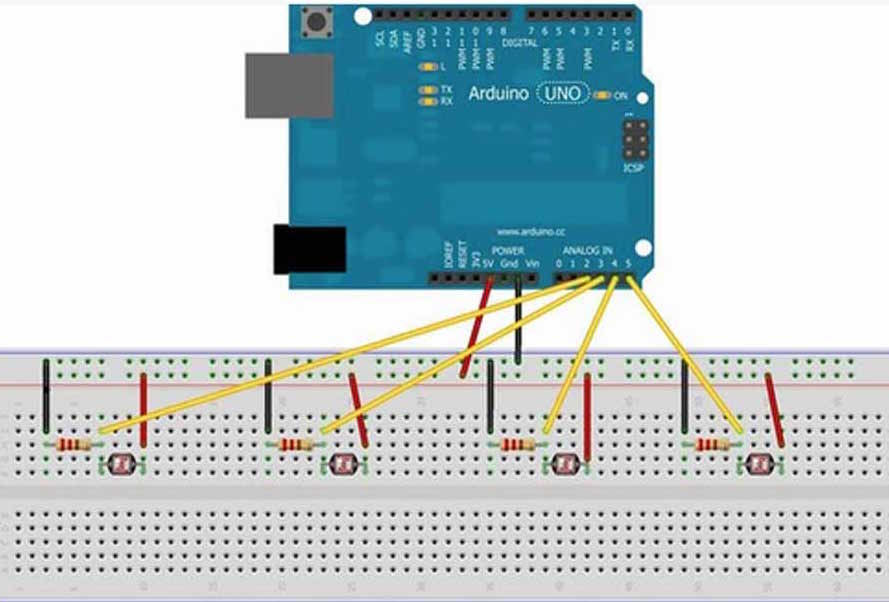
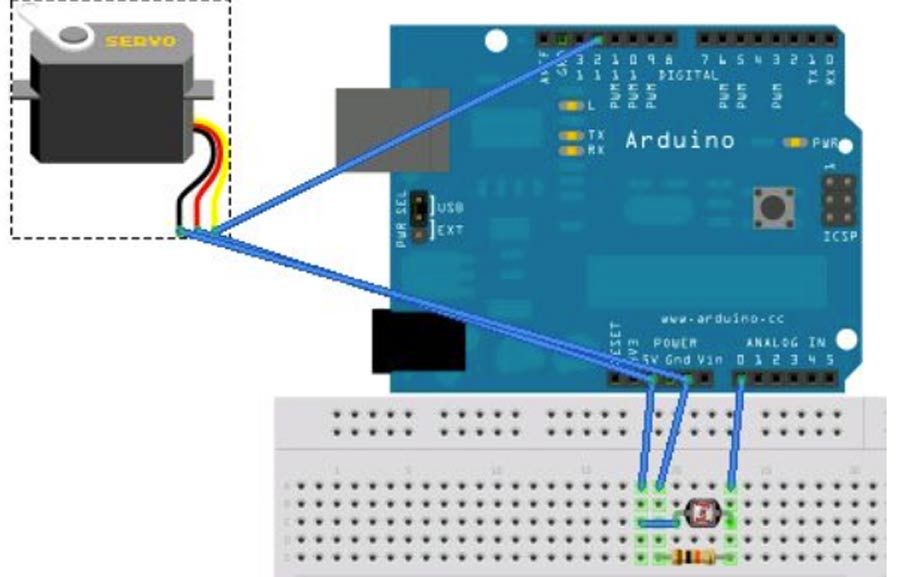
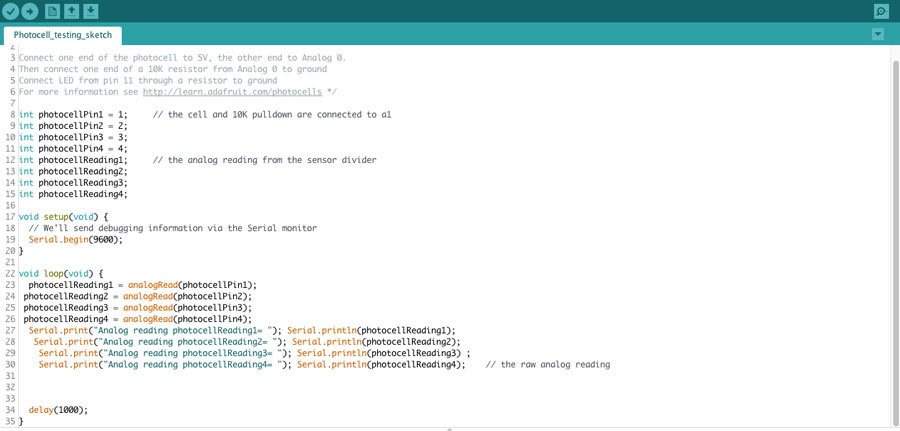
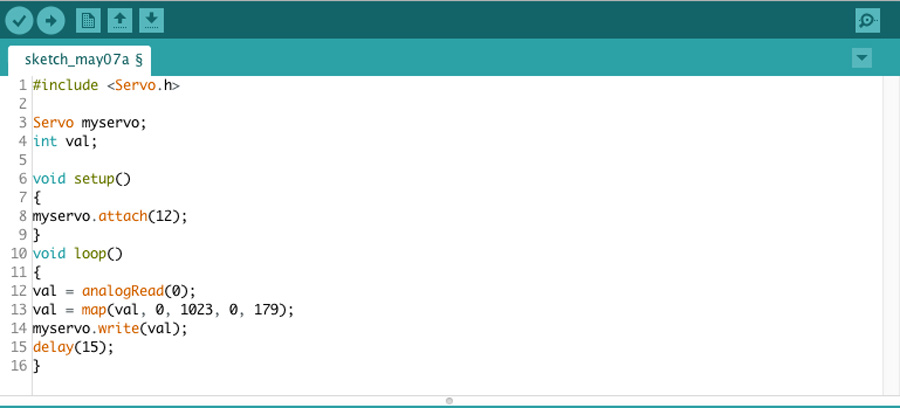
Eventually we made a servo motor to interact with the data captured through a LRD sensor, and finally we connected 4 LRD sensor to 2 servo motors. The following video shows how we finally managed to make the LRS's and the servo motor interact. As we notice on the video we have also created a box of 4 compartments to isolate the LRD's from eachothers thus helping a more direcional reading of the light.
At last we ordered the following components that are not available locally:
-1 nema 17 stepper motor (normal shaft suited for gear system)
-1 nema 17 stepper motor (lead screw)
-1 CNC shield (3.51 from Protoneer)
-2 Polulu driver (A4988)
And we will source locally the following items:
- I Arduino Uno circuit board
- 100 jumper cable of different colors
- 4 light sensors (LRD)
- 10 meters of 1mm. electric cable (from board to sensors)
- 5 meters of 2mm. electric cable (from board to Stepper motor)
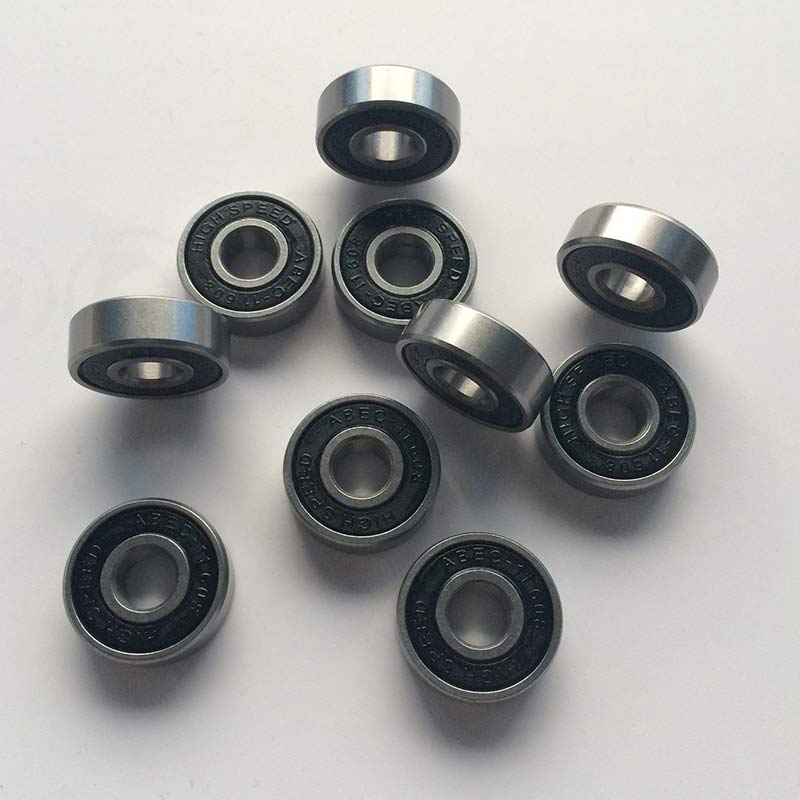
- 16 skate board bearing (8 x 22 x 27mm)
- 8mm diam. threaded rod (1meter long)
- 20 normal 8mm. nuts
- 20 lock 8mm. nuts
- 1 x 15mm thick plywood board (122 x 244 cm)
The total estimated cost for the project is: 200 euros.
Conclusion
It has been a very intense week. Learned a lot about Rhino - working in the 4 view planes - the workflow to convert and nest the files for laser cutting.
I also enjoyed very much working in groups and learning from eachother. It has not been easy at times especially in getting straight decisions to be taken and be firm about it. At times it seemed we had taken a decision and a few days later realizing a member of the team had just continued on his own idea and igonoring the direction we had agreed to go. Anyhow none of that caused any conflicts other than with my-self. Good reflection on how I work in team and how I feel about it.
Even though I was not in charge of the programming and the electronic I learned a lot just by observing and studying the work my team mate have done.
I wish I could have a chance to bring this project further. Who knows. May some part of it by recycled sometimes....
Links to the project:
Group final page
Trinidad Gomex/electronic and programming documentation
Jean Christphe Juan/ electronic and programming documentation
Dom Moore/design + engineering documentation
