Embedded Programming
For this assigment we had to program the PCB that we designed. To designed the borad i had to I started making the connection according to the example and the datasheets of the components. To connect the microcontroller has some pin that is digital , so its just reads HIGH or LOW and some that is analogic
that reads variation of data. To know where to connect the person have to look the datasheets of the microcontroller that they are using, which microcontroller has their on design and the person have to learn the ideal one for each case. I connect the board to the computer with FTDY cable ans to a programer.
With the board ready i started to study to how to program it.
For that we had to learned how to use the software Arduino.
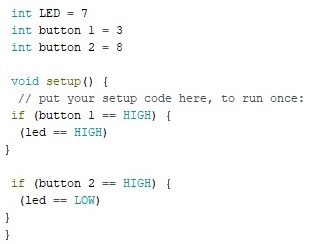
After that i wrote the ideia of programming that i was thinking to do , but because i didn't know how to program in arduino.
We had a class about the arduino and i learned how to used.
The first step was to add the Attinny44 to have the arduino’s built-in boards manager.
So first i follow
this tutorial to install the Arduino library for Attiny.
After i set the menu "tools":
-Board - ATtiny 44
-Processor- ATtiny44
-Clock - External 20 MHz
-Port - here it was connected
-Programmer- AVRISP mkll
And press “Burn Bootloader”
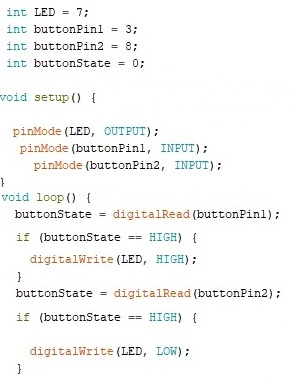
After it, i used the Arduino Menu "examples" to program it in a way the arduino could read what i planed before. For that i used the button example , i copy and past a button more because my board have 2 buttons. And i programed one to turn on (HIGH) the led and the other to turn off (LOW).
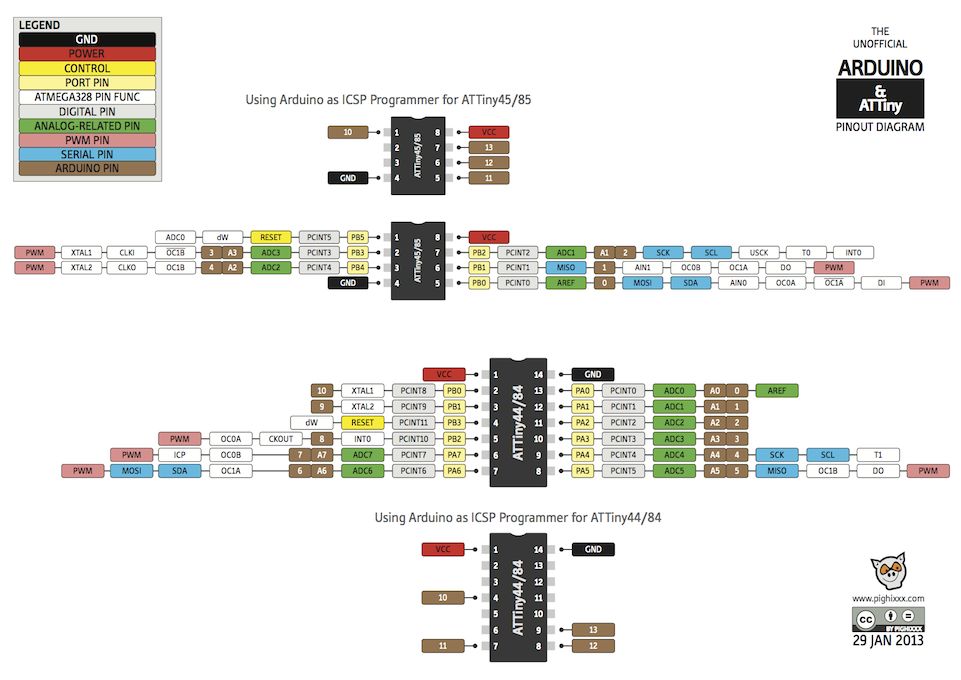
I had to find wich pin in the ATtiny44 is similar to the one in arduinos.
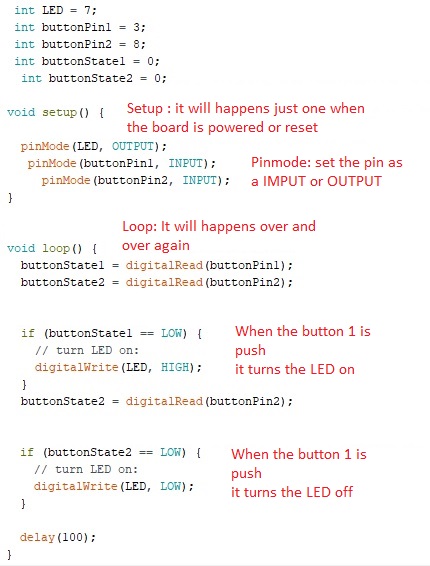
After running the code i had to change the buttons status to LOW because the way i put the resistors.
I would like to learn to code more , everytime that i try to do something outside a tutorial i end up not making it work. I would also like to try/learn to
code out of the Arduino plataform, so a C or a Phyton.
Here is the file.