CNC
For this week assigment i had to make something big. I also used it on the week 14&15 and the week 16.
I have a big experince with CNC before and for the lack of material in the day and the lack of time for all the students of Fab Academy barcelona i did a simple project, a stool, which i designed in Rhino 2D. I used lines and curves to do the basic shape. After i add circles on the edges to make the doogbones.

To start we as a group did some test with the machine and material. We test the runout, alignment, speeds, feeds, and toolpaths at the same time our Santi teach us how is the process to ude the CNC machine of the Barcelona FabLab.
Here in barcelona he have more than one machine , for the test and my project i used the Shopbot machine (ull size PRSalpha ShopBot CNC with a working area of 4270 x 2310 x 1730 mm) .
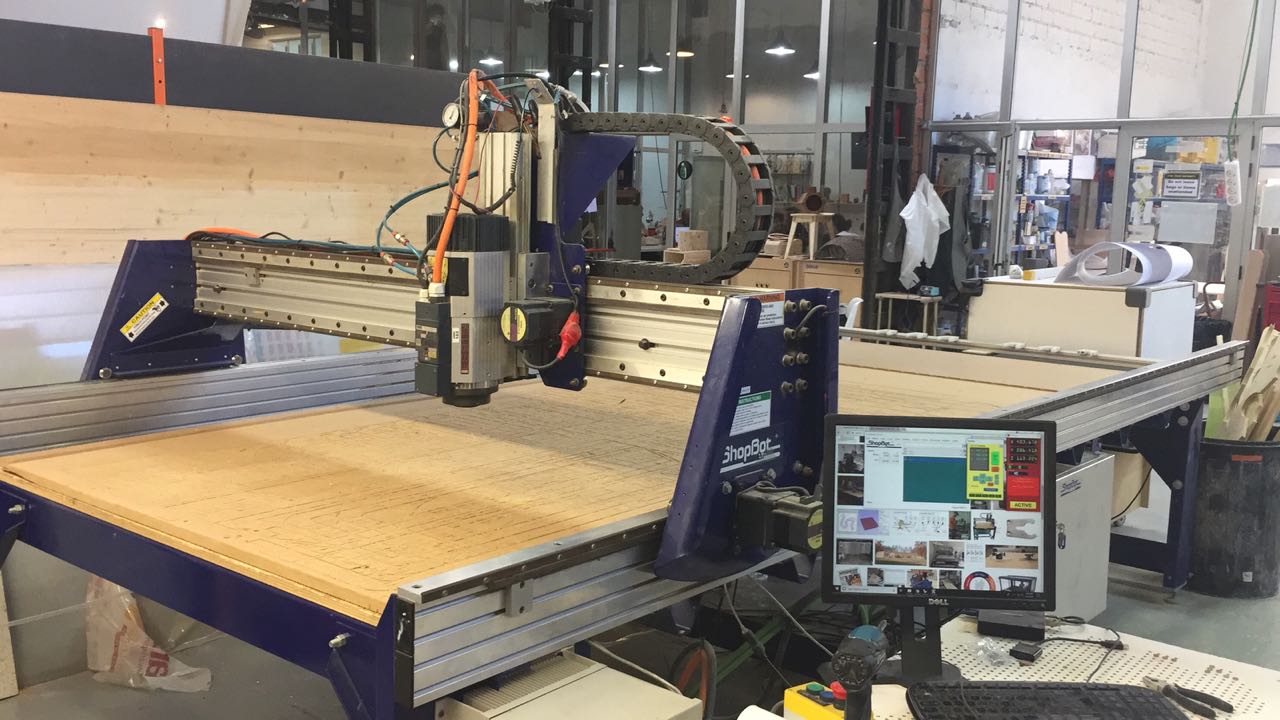
The material we used had 15 mm wood. We used a flat 6mm endmill as the tool. The tools can varible the material , shape and thickness and to choose all depends on the matrial , quality of cut and time avalible. Always when adding a new bit have to leave a 4 mm margin margin between the end of the flute
and the nut. One of the iportants things to know about the CNC is stool x speed, so it can be the fastest as it can go without breaking the stool. After all ready we run a hole file to fixed the wood on the table. The person has to be carefull to the screw be at the same level as the material or it can break the tool.

With all set we run the file from Nico.
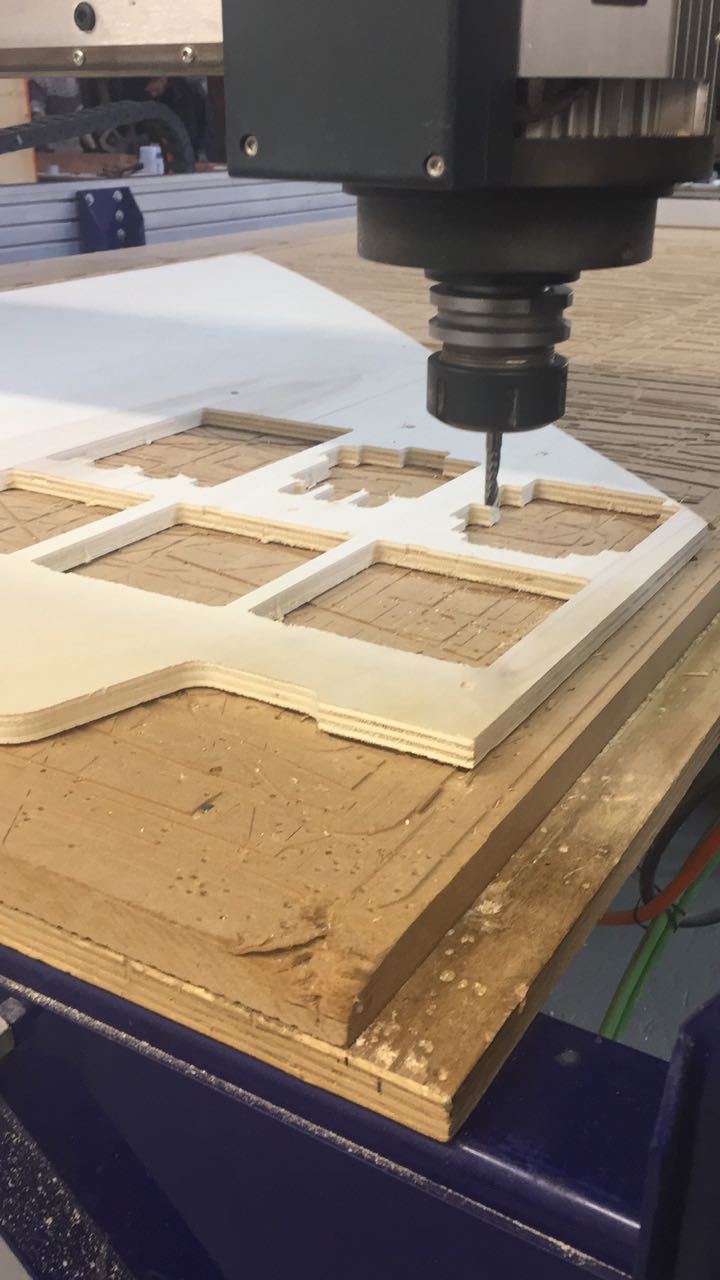
After the test i went back to design, all the clearence i changed for 15,2 because it showed in the test that was the best Press-Fit . I used the offset command to make it the right size and add some points out of the design to fix the wood on the table.
I used Rhino Cam set the STDL (G-code to the CNC follow) fou cutting it.
In rhino Cam works inside Rhino, for this project i used the 2 axis option. First i add my stoke. I used a piece of the wood that we test it so i had to mesure
the free area that i had to work. I allined my design at the top of it, becase this design was just a 2D simplified view of my stool.

First i set the engraving for the holes to fix the wood. After engraving for the bother of the junctions (dogbones), i did it to have a better fit becase the CNC
make round corners.. I ajusted some of setting for all:
“Control Geometry”:i select my draw so it woild be the path that the tool should follow as reference
“Tool”: 6mm mill),
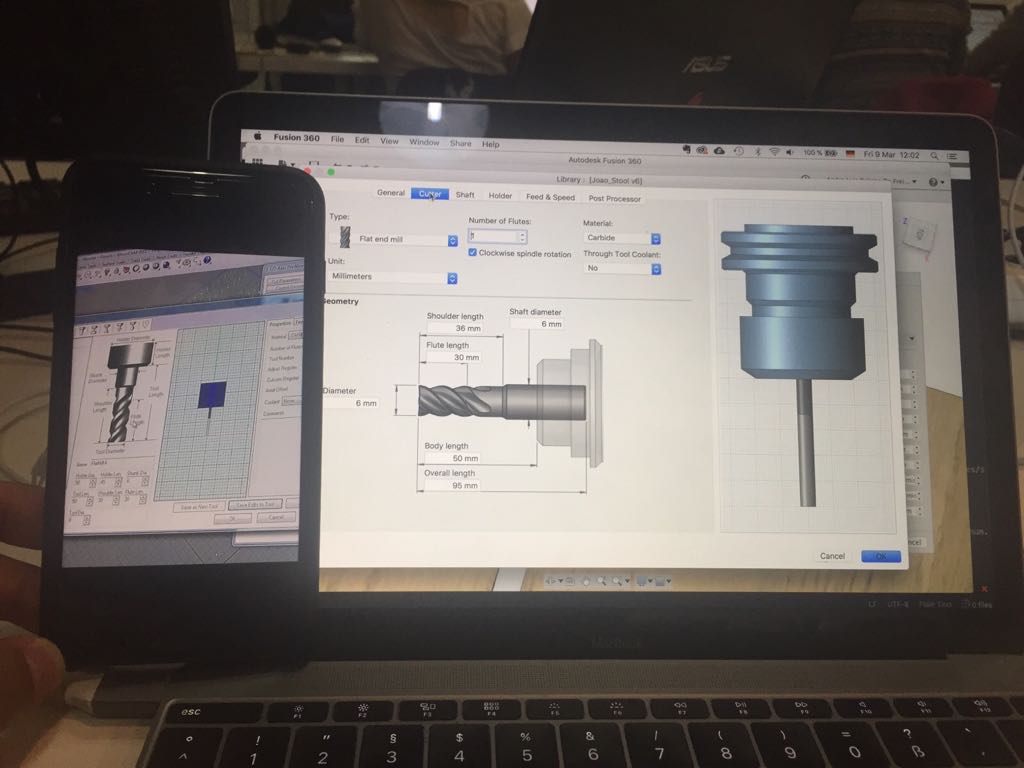
“Feeds & Speeds”: we load from the defaults from the tool settings,
“Sorting”: “Minimum distance”
“Entry/Exit”: “None”
“Clearance Plane”:automatic one
“Cut/Parameters”: “Global Tolerance”

And the profile for the cut. I have to select the tool i used on Rhino Cam, i used the 6mm one as the test.

I used all the group test conclusion (RPM: 12000,
Plunge: 1000,
Travelling clearance plane: 4000,
Rest of the parameters:2000,
Step down: 4mm max).
After all set i simulate to check if it was right and after it i post. I put the file in a pendrive and open it in the computer of the CNC. I cleaned the machine. And fixed the edges of my wood.
For this machine is necessary a few security things, as tie the hair and use protaction glass!
Using the program from the Shopbot, first i set the XYZ as standard ( true machine home X-0 Y-0) with the comand C3.
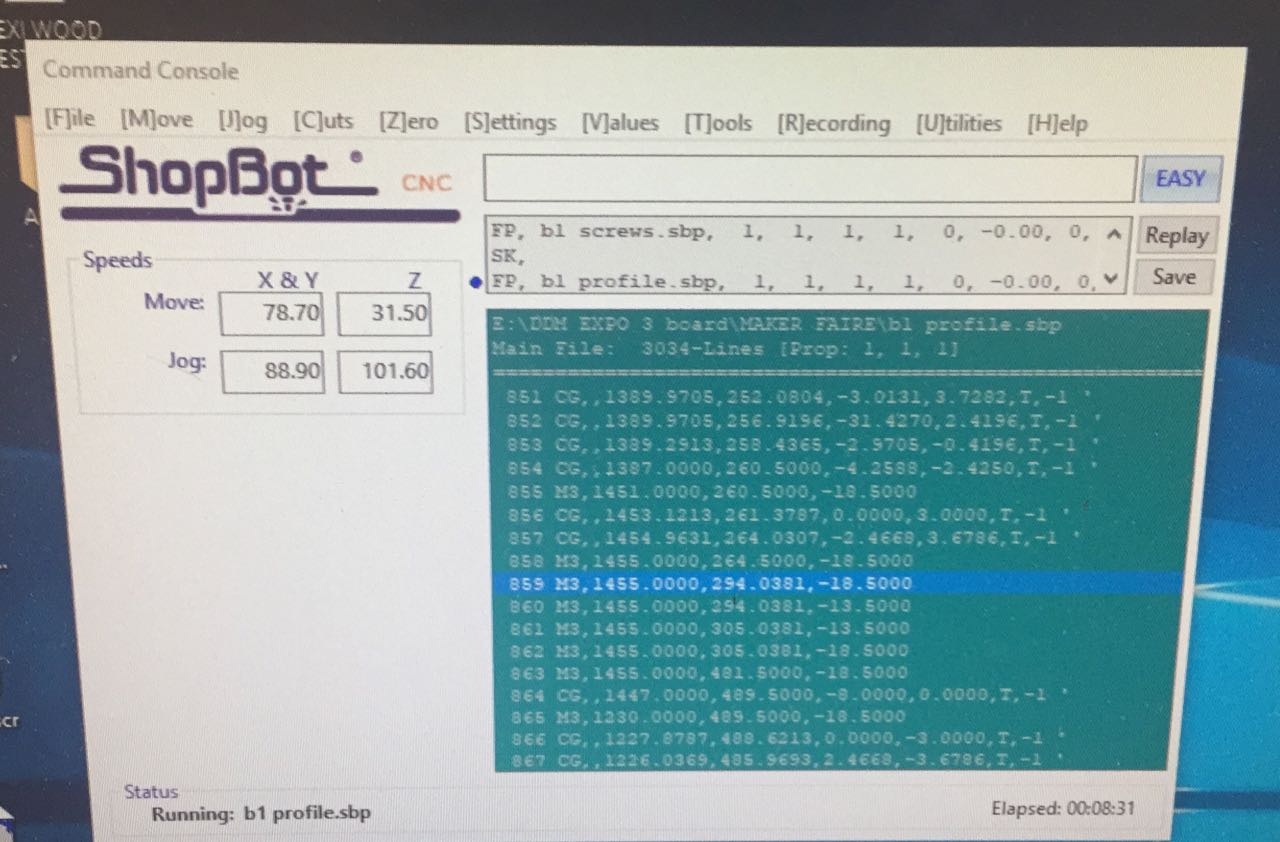
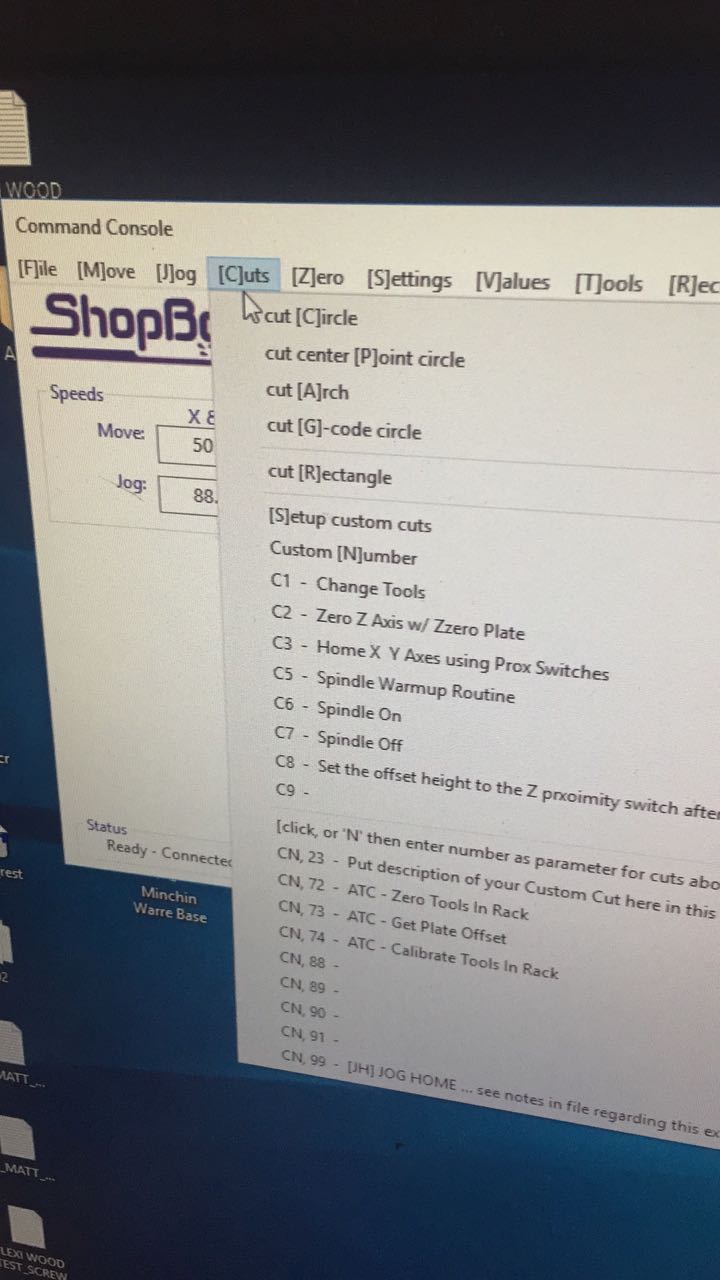
After i choose my XY was more or less where i meassure the free part of the material.
The Z was in the surface of the wood.
After with the I took a photo of the cordinates before reset to have it if the machine turned of for some reason.
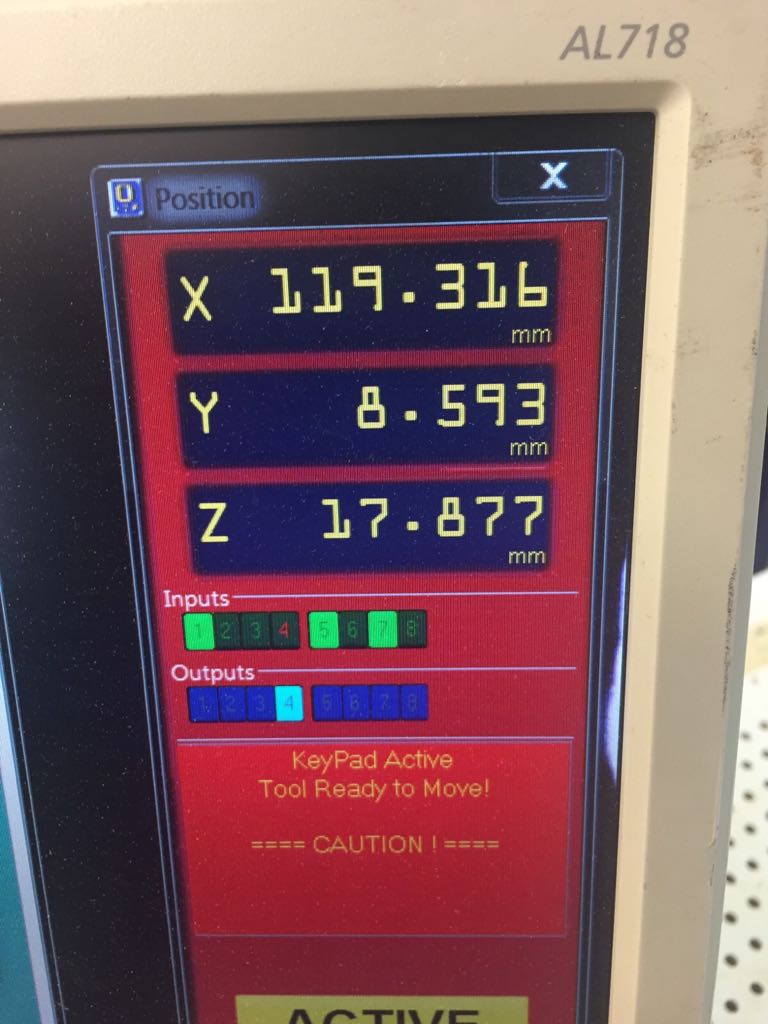
I turned on the air cooler. Whith all set i i run the file to do the hole to fix better the wood.
After the wood was weel fixed i run the second file with the wholes and the cut.
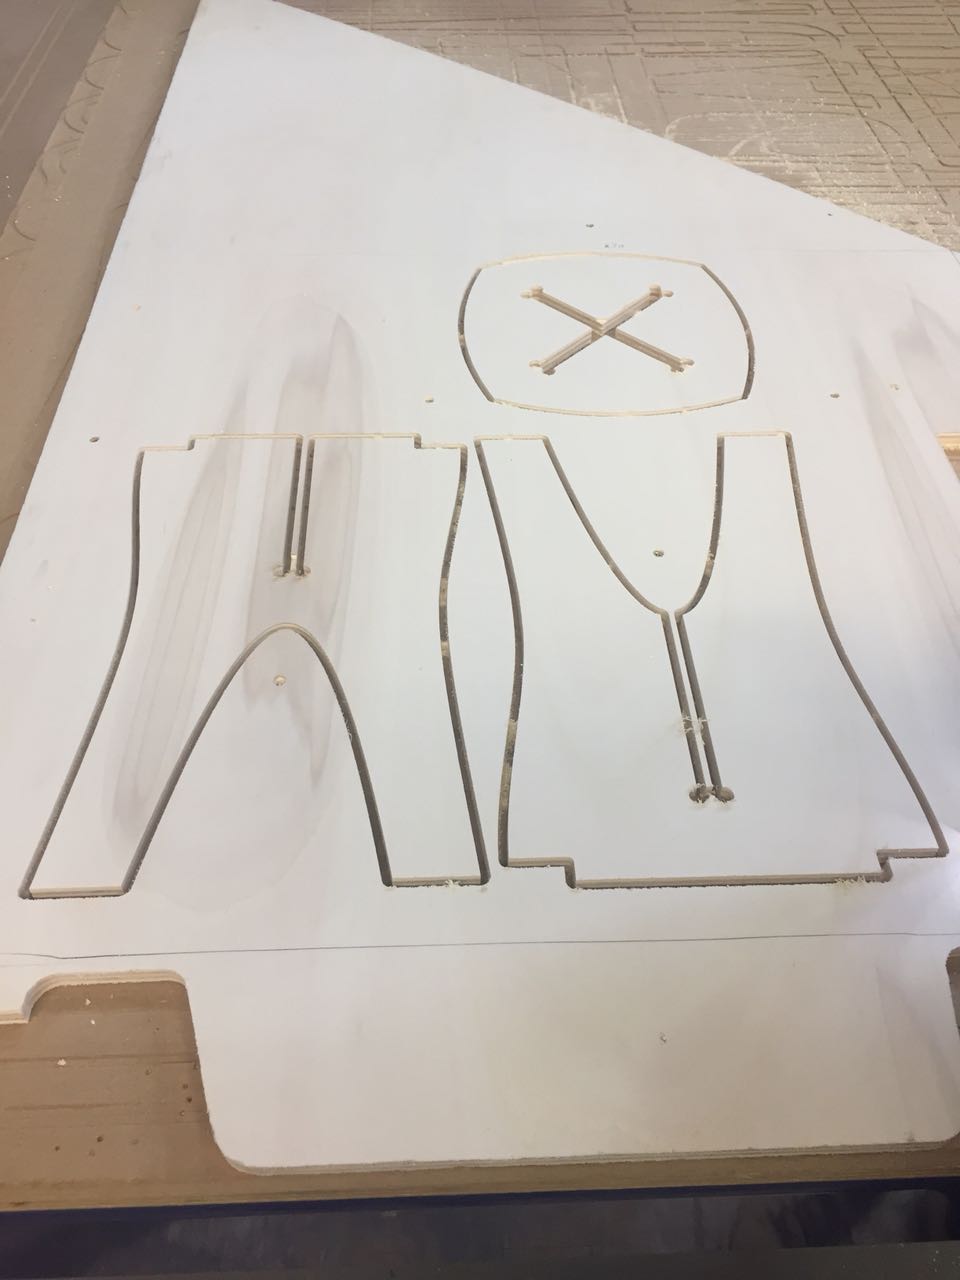
With everting cuted i just had to put all parts together.
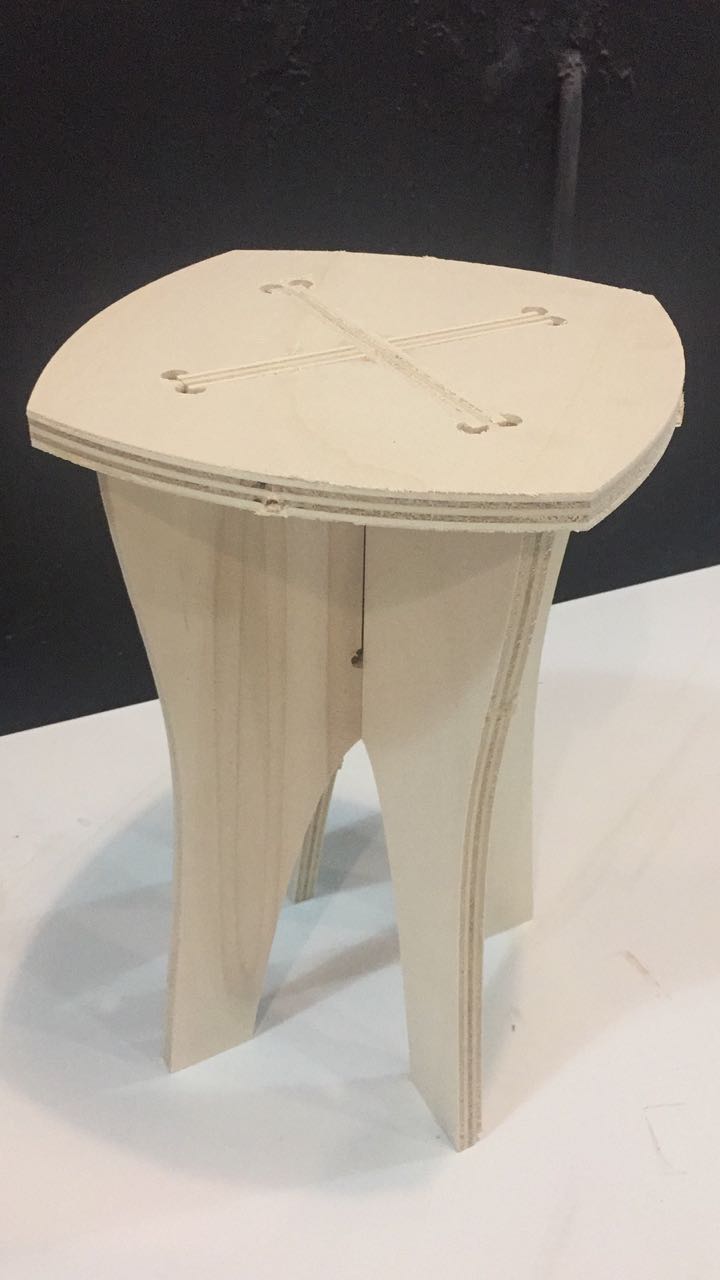
Here is the
file.