Design and 3D print an object
The 3D print have a lot of advantages and disadvantages. It can make shapes that it's not possible be done in substractively producition and it more and mora affordable. But it's still have some limitations as the time of production, limited size, lack of details in smaller scales.
For my object i wanted to do something more complex to design and print. It is not possible to be made substractively because all the angles of the model and because it is a hollow sphere. The tools would not be able to reach all the parts inside
I designed a globe. For that i started with a flat photo of a map and with lines
i make the contour of it.
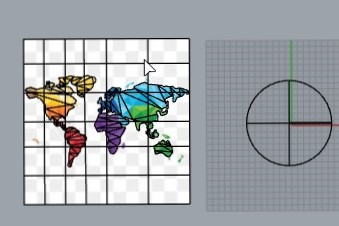
I project the polines to a sphere to make it in a shape of the goble.
To do the lines i use a contour command and them i array to make it arround the sphere.
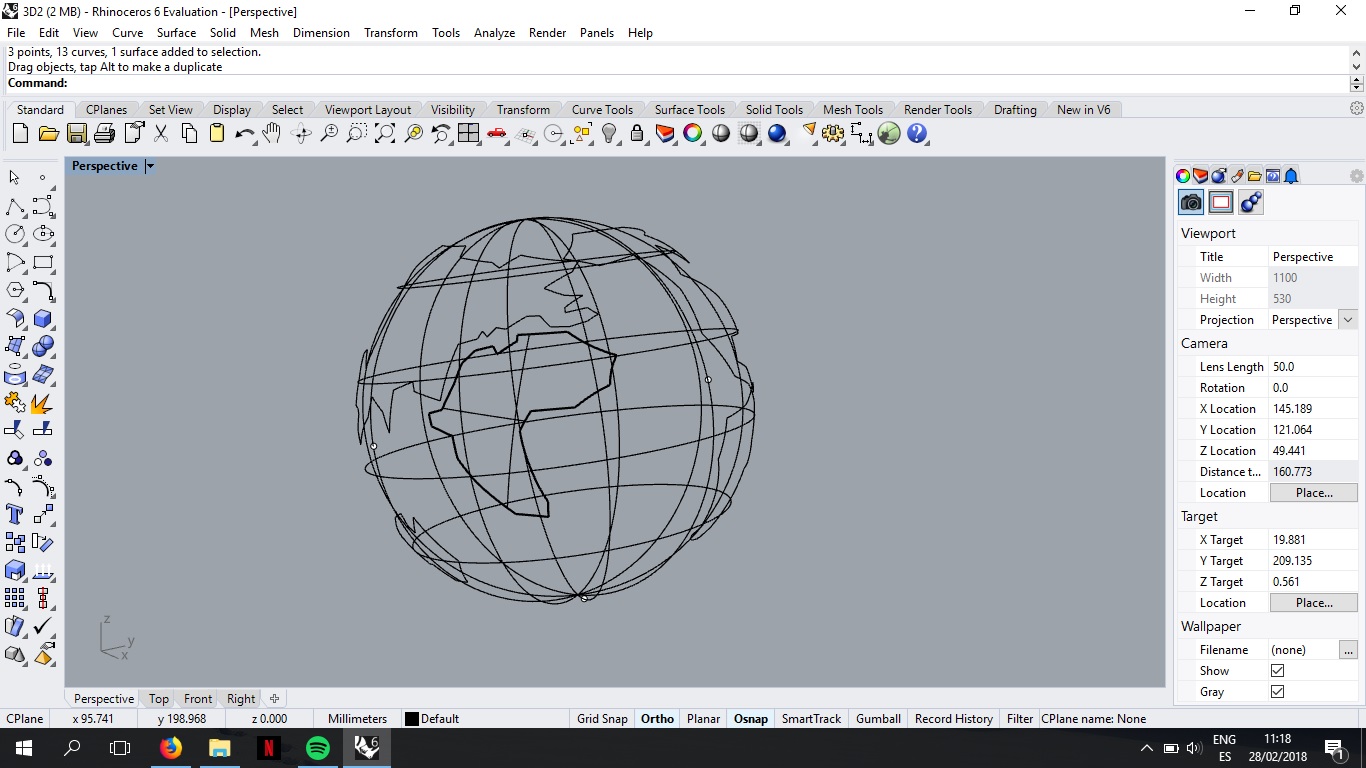
After that i made the surfaces with the mapa shape and extrude it. And also i extrude the lines in a pipe shape.
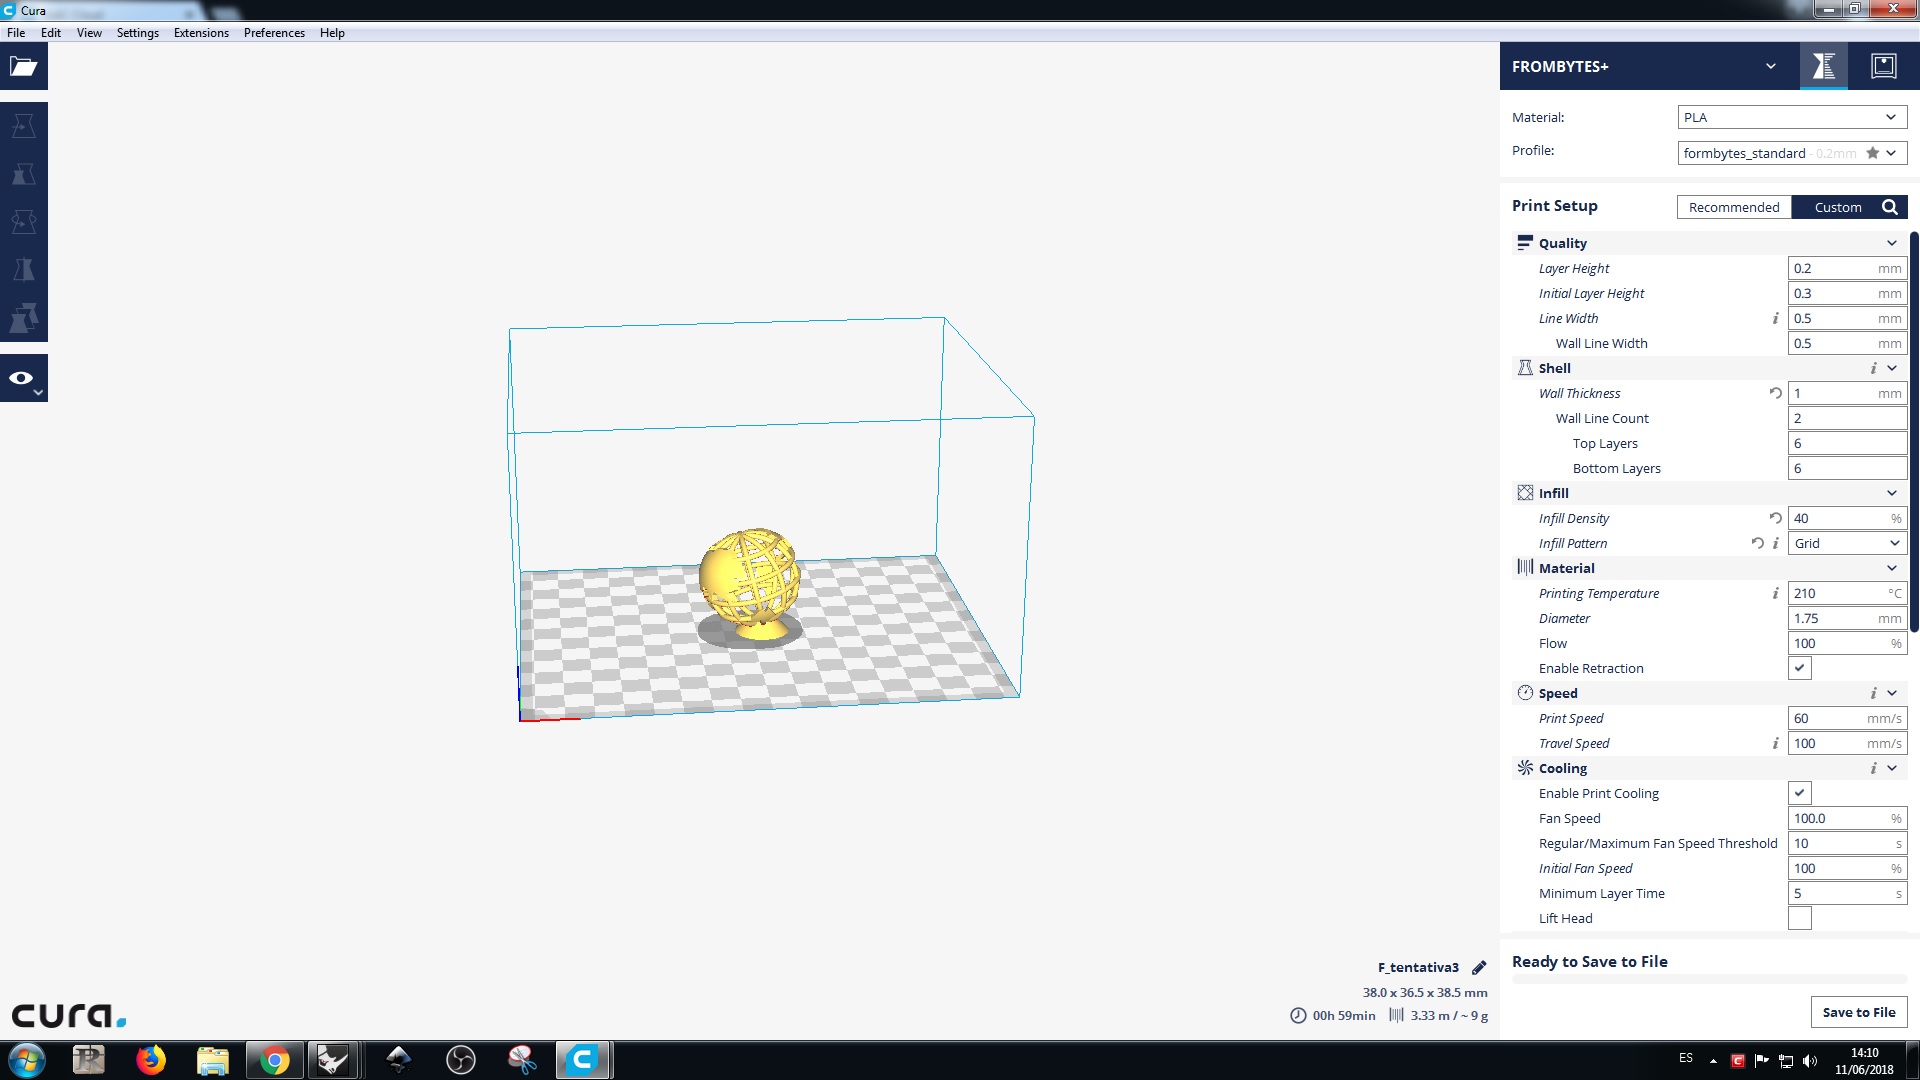
I used Cura to generate a G code and export the file to the printer. Here in the lab we have many 3D printers(
RepRap with nozzles of 0.4mm or 0.6mm,
MakerBot and
Formlab stereolithography (SLA)).
The Cura has presets setting for each machine, so no need of a lot of changes but a few:
Infill:its the structure inside the wall to hold all the pice, more Infill more strong the piece is but more time it takes to print.
Supports: It~s a way that cura can try to decrease the error by building some structure to "hold"the print. But it can be pretty hard to take out from the final print.
Layer hight: this what influence the quality the most. Lower means more resolution but more time. Max layer height should be around half the nozzle diameter.
Wall thickness: determines the thickness of the vertical walls, more thick more strong the piece is but more time it takes to print.
Temperature: You have to make sure it is the righ temperature according to the material.
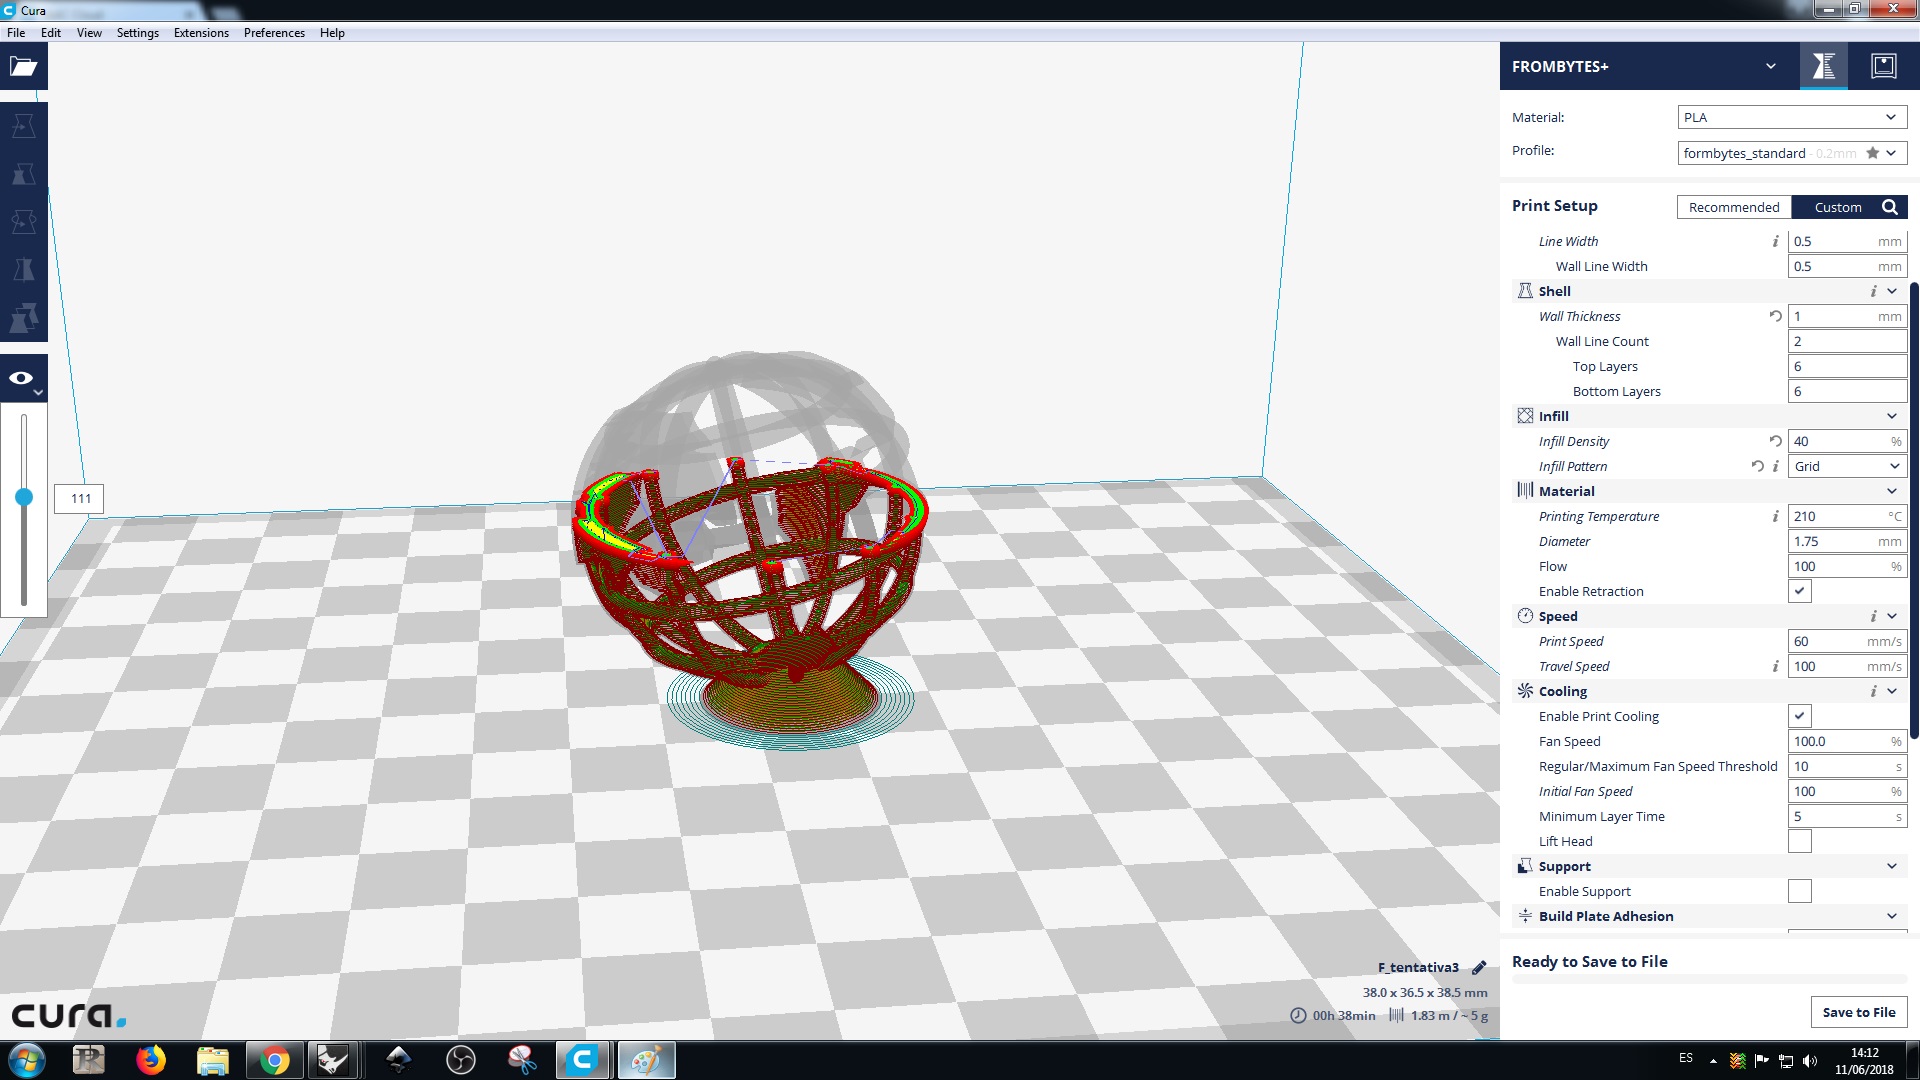
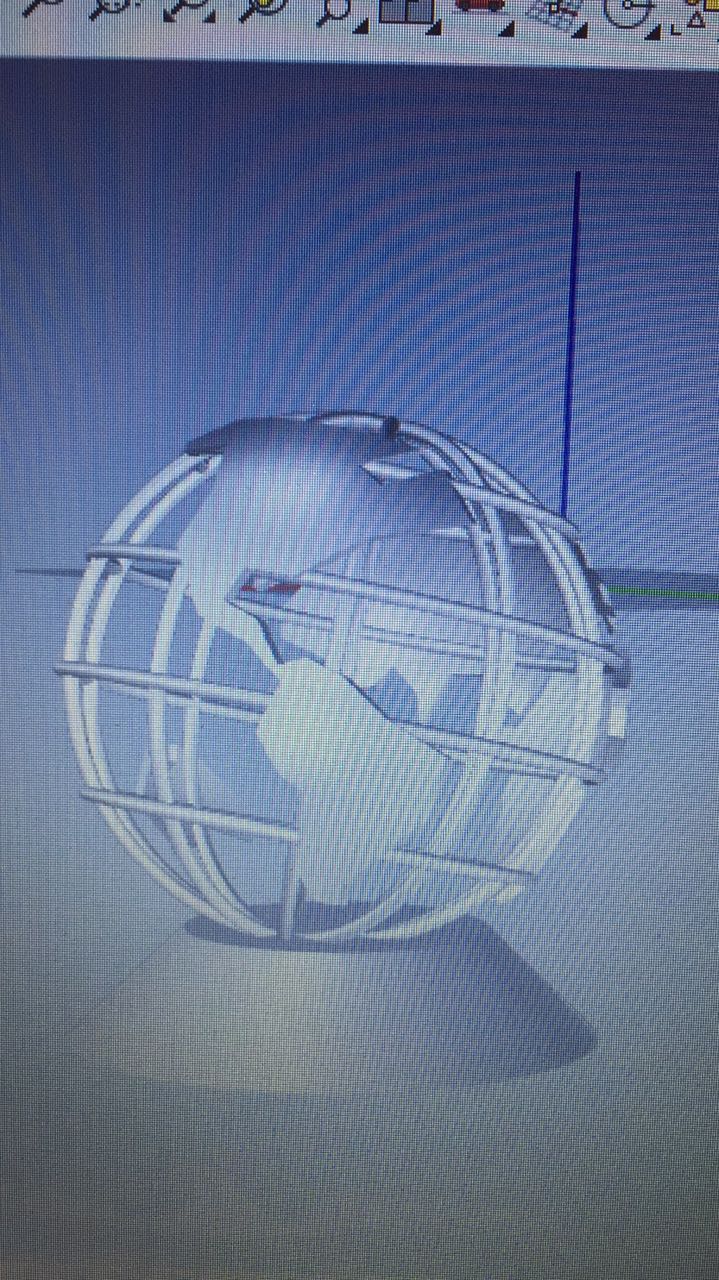
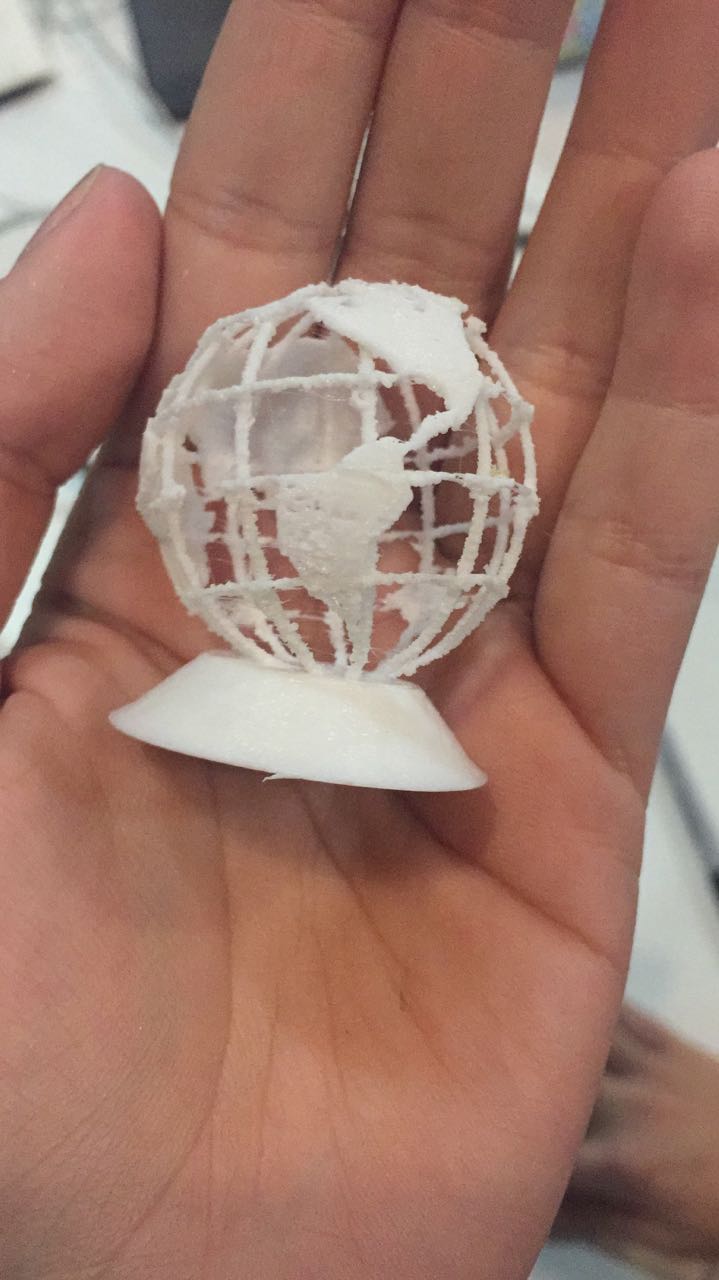
For the firt try i send to print to a low resolucion without structures.
For that i used the printer Formbytes we have in the classroom.
I had a lot of issues, like a lot of lines did not close but It turned out better than i expected.
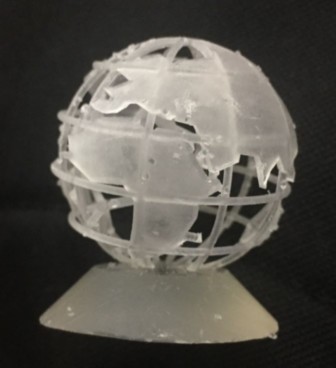
I tried too with the SLA FORMLABS 3D PRINTING,
that use resin and laser to print.
I belive my biggest problem with the 2 first try were because when
i designed i did too big and it was to slim when i had to scale.
So, i had to go back to the Rhino and redesign it.
For the 3rd try , i printed with structures to test how it would turned out.
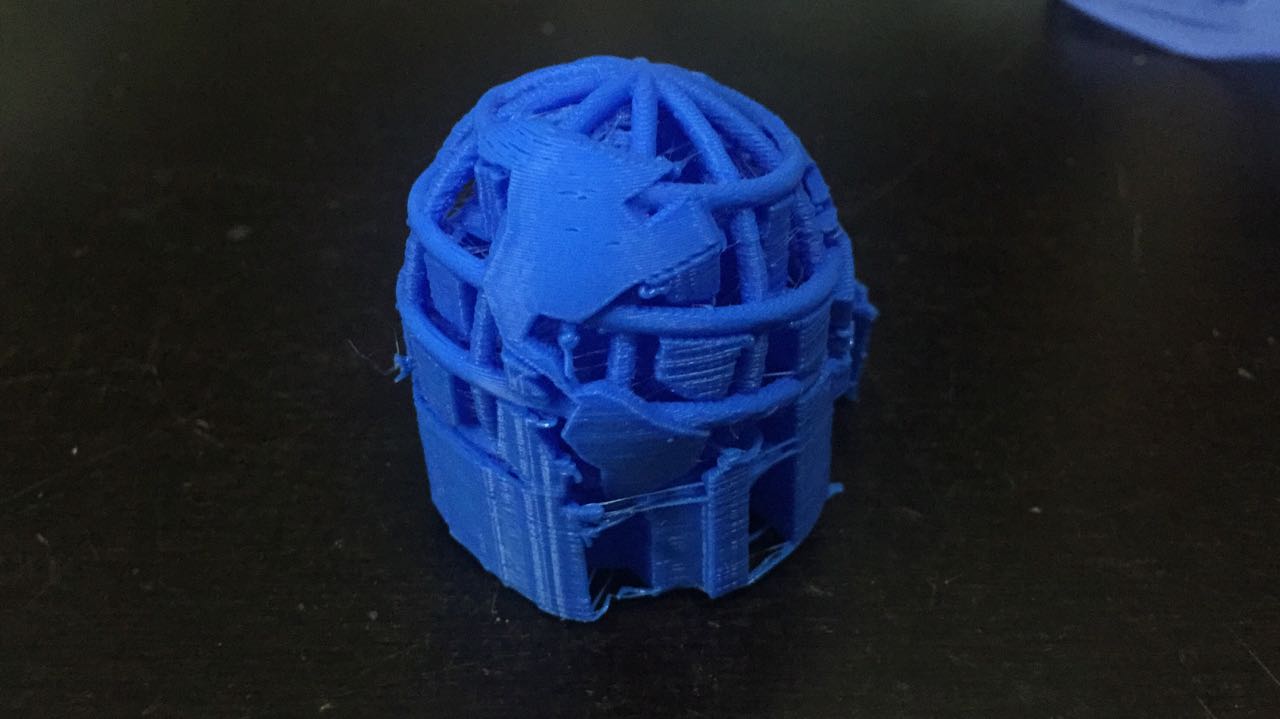
I had a hard time trying to take off the structure so I decided to do one more time without it to check.
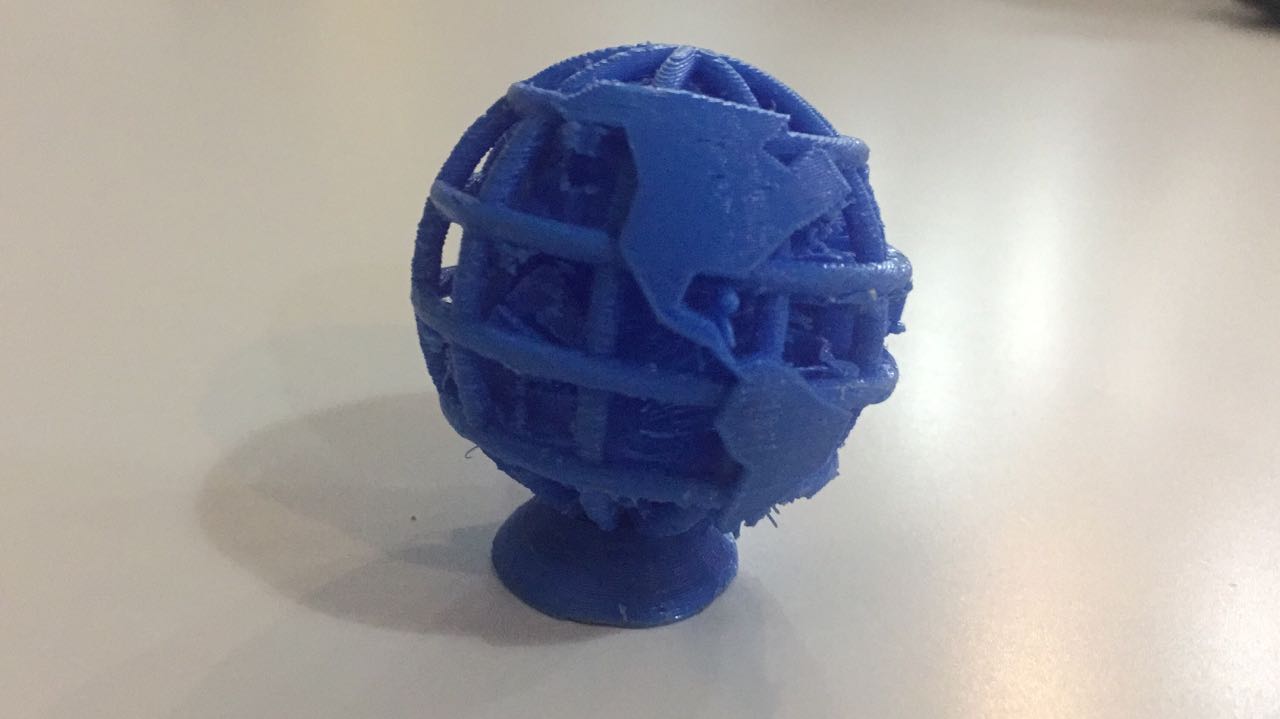
And that´s the final result. It turned as i expected, good but with a few issues.
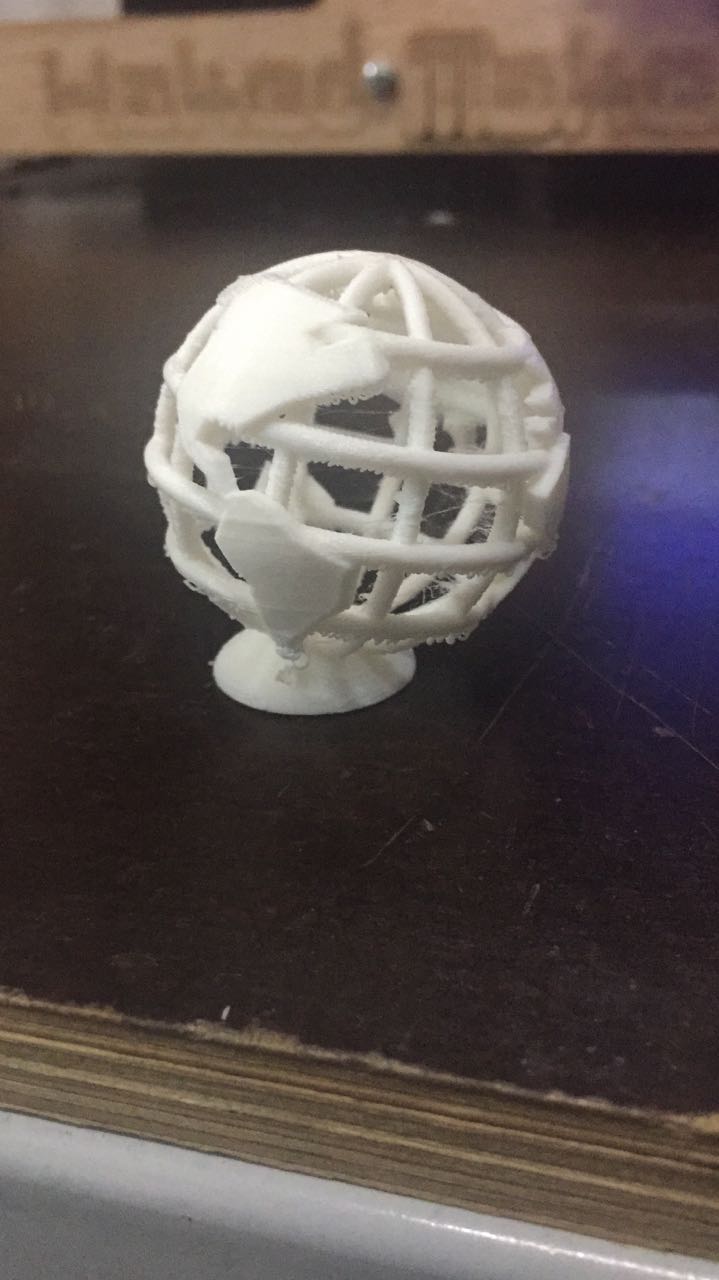
Here is the
file.