
3D Scanning and Printing
February 25, 2015
Assignment:
Design and 3D print an object
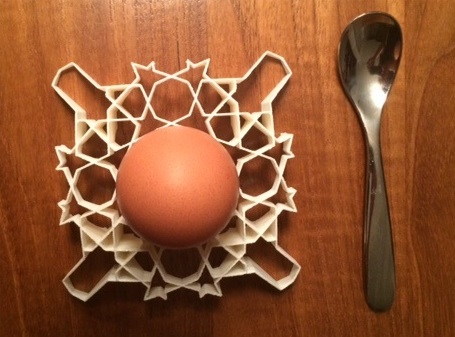
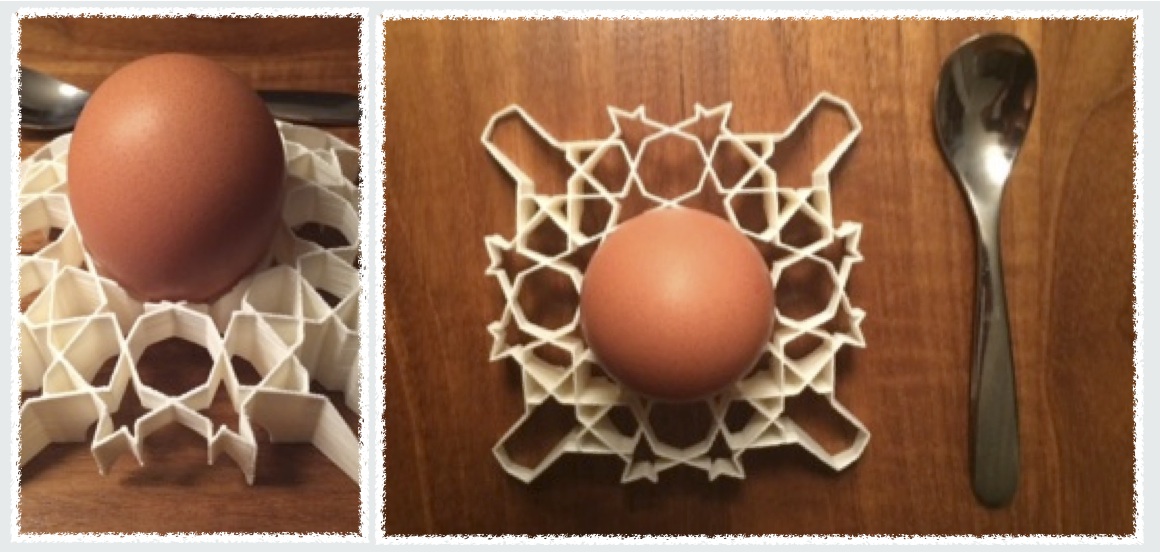
After designing the egg holder in Autocad and exporting it as a .stl file I imported the file into our 3D printer drive, Catalyst EX, where the best settings for optimal printing were selected. I then proceeded to 3D print for 11 hours 47min.
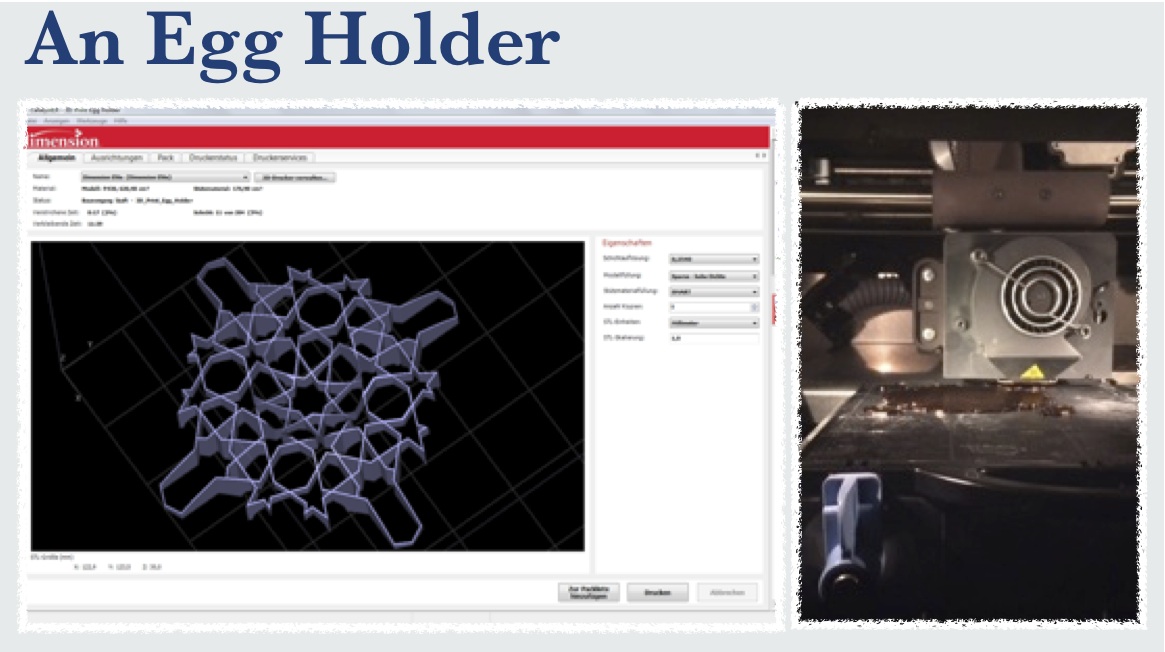
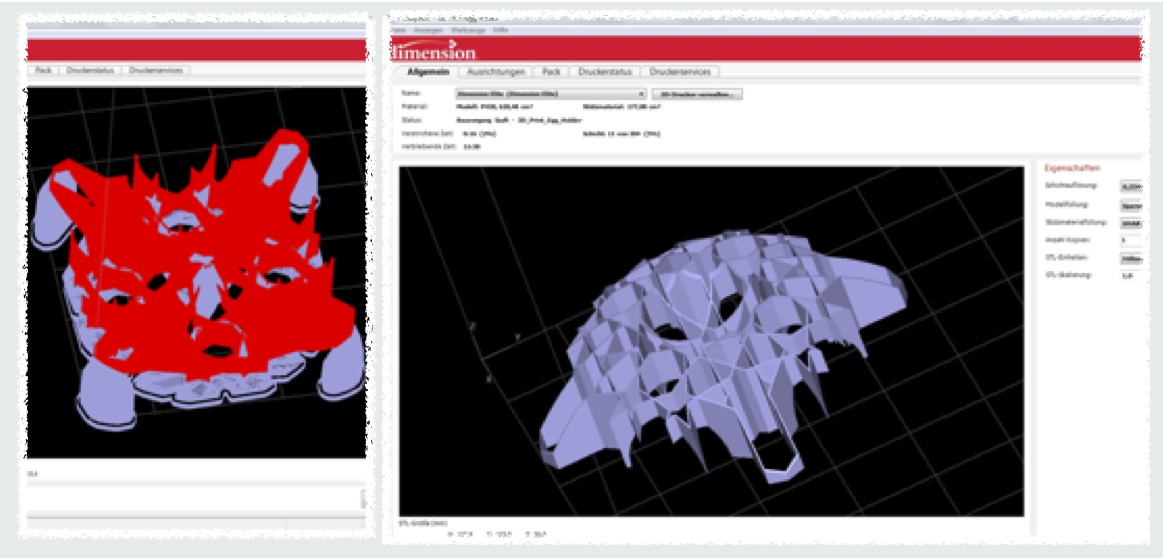
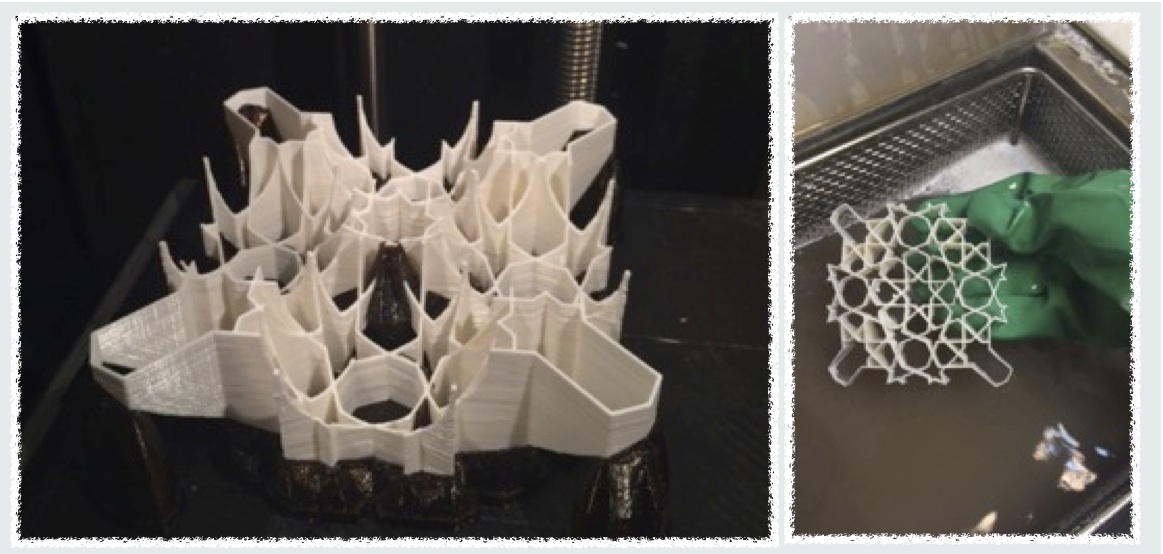
The 3D printer used was a Stratasys Dimension Elite. It printed the egg holder in ABS with a supporting structure (Dark brown material in photo above) which then had to be soaked in a chemical for nearly two hours to dissolve.
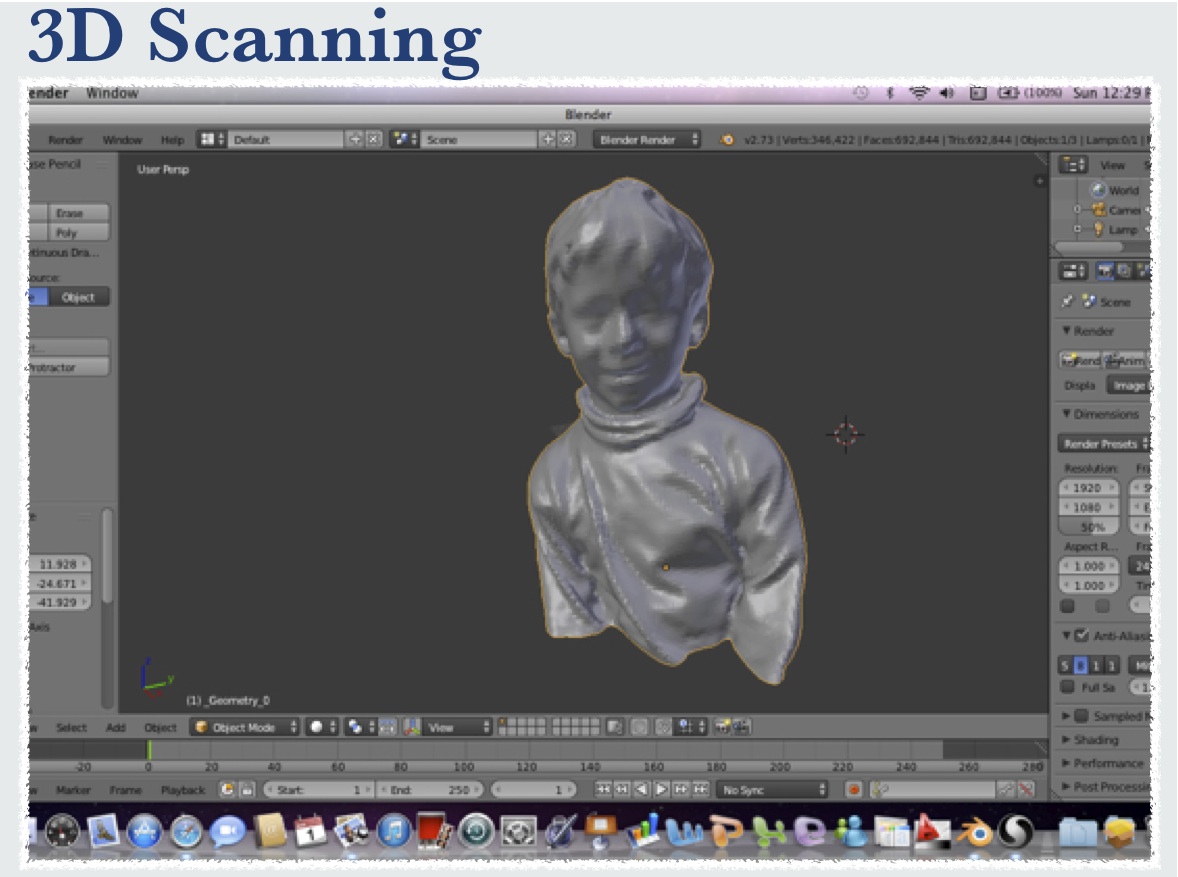
I decided to scan using our Asus Xtion Pro Live Scanner.
Normally, you could 3D Print directly from the file generated, but given the poor resolution, I decided to edit the file first, so I exported it in .obj format and imported into Blender. Blender is a new tool for me, so it took some time figuring out its capabilities. Online videos and explanations were paramount in understanding the program. I primarily used Blender to weld the vertices and recalculate the object, so that it was possible to import into other programs.
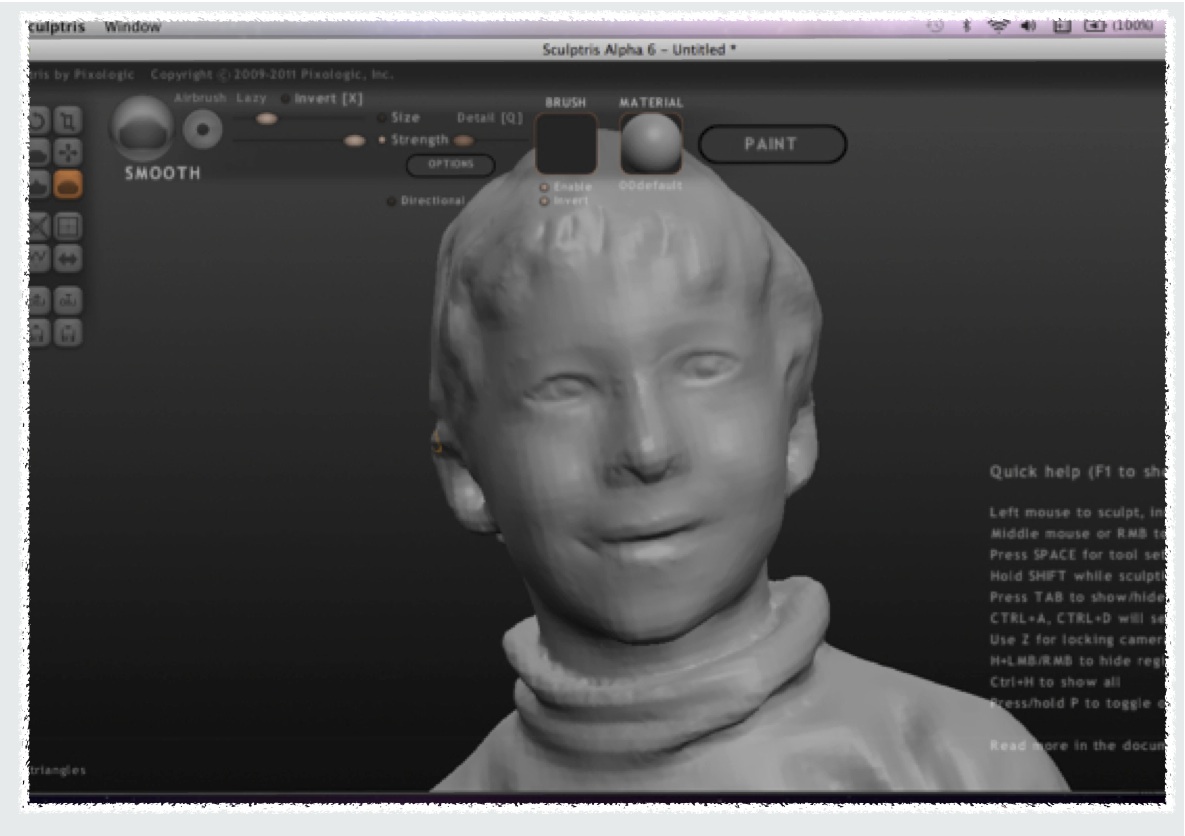
I also imported the file into Sculptris, another freely available program, and played around with it. The more I played with the file the more unrecognizable it got. At the end it was so hard to get a good quality 3D file, that I decided it wasn’t worth to print. It would have required a lot more time to modify the file.
I realized that it would be better to have a more precise scan to begin with and just do minor adjustments. It was definitely a learning experience and exposure to two new programs.
In this link you can find the Egg Holder Autocad File:
Myraida's Egg Holder Design File
- © Myraida Rivera Marzán
- Website Design: HTML5 UP

All of Myraida's 2015 FabAcademy projects by Myraida Rivera Marzán is licensed under a
Creative Commons Attribution-NonCommercial-ShareAlike 4.0 International License.