
Computer-Controled cutting Class
3rd Worldwide gathering for Fabacademy 2015 feat. prof. Neil Gershenfeld
11 February
16 weeks to Final project
Weeks Work
For this 3rd assignment we are expected to try out different techniques for Computer controlled cutting using the machines presented bellow and original drawings designed and vectorized by us using last weeks' knowledge on Computer aided Design.

Vynil-cutter is generaly used for:
- signs
- pop-up cards, books
- screen printing
- flex, multi-layer circuits
- antennas
- custom stickers
Lasercutter is generaly used as 2D cutting tool that enables 3D objects from assembling parts, used for:
- marking, engraving
- screen printing
- press-fit construction
Assignment Development
RESEARCH NOTES
Peano's Curves are intriguing and a subject of latest interest to me since the matter of space filling structures are elements that interact with our understanding of space and the idea of finite and infinite associated with.
"The subject of space-filling curves has generated a great deal of interest in the 100 years since the first such curve was discovered by Peano. Cantor, Hilbert, Moore, Knopp, Lebesgue, and Polya are among the prominent mathematicians who have contributed to the field. However, there have been no comprehensive treatments of the subject since Siepinsky's in 1912. Cantor showed in 1878 that the number of points on an interval is the same as the number of points in a square (or cube, or whatever), and in 1890 Peano showed that there is indeed a continuous curve that continuously maps all points of a line onto all points of a square, though the curve exists only as a limit of very convoluted curves."
Space filling curves poped up on my researches and later on I discovered the italian Designer and Master Bruno Munari had also explored them on his studies. To see more about munari and Peano's curves go to [+]
Other examples of Hilberts and Peanos curves in the world of fine arts stroke my attention [+]
For many reasons, mathematical, architectural and aesthetically I decided to use these kind of evolving curve iterations to try out the vinyl cutter. Here is how:
Spacefilling curves explained -VIDEO
DESIGN for the Roland Camm-1 CX-24 vinyl cutter
Inkscape + Vinyl cutter
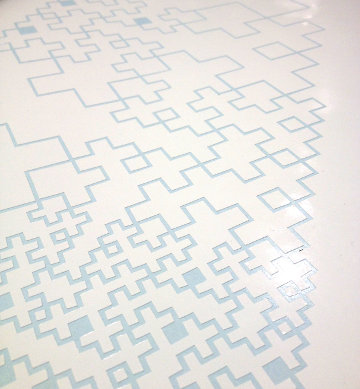
Very similar to Adobe Illustrator (software with what I was most familiar with), Inkscape is a vector based software very easy to use, available free cross-platforms and it can be used for vector graphics editing. I used this software for assembling the different iterations of the curve to do a sticker to cover my laptop.
When ready I exported it to fabmodules and send it to cut from there. Everything is pre-set in a very optimized way so I went directly to the first cut.
Fortunately enough I was lucky with the first settings on the vinyl cutter:
- Pressure 80 velocity 2
Also thanks to the orthogonal nature of the design it was fairly easy to cut. Removing the unwanted parts was apparently easy since my goal was to create an unique line that would allow me to easily remove it all, in reality was not that simple.
Video removing unwanted parts

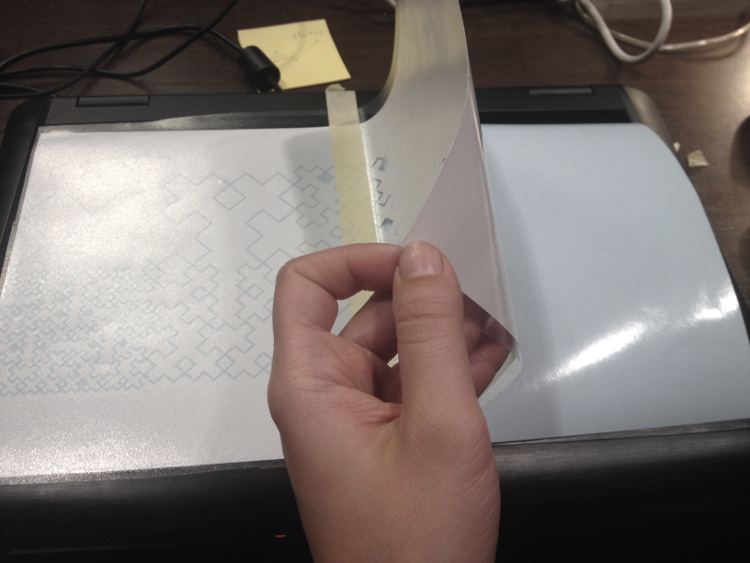
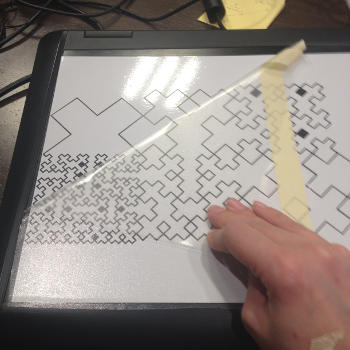
Applying the transfer film went well but placing and removing that film are the more tricky parts. Some of the islanded squares were left behind despite of all the efforts to make them stick. This is a task that need precision and patience. Lesson learned!
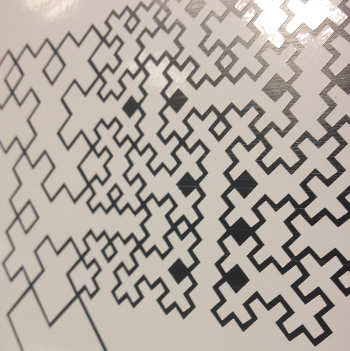
Nevertheless the result was no so bad despite of not so exiting.

DESIGN for Full Spectrum 5G 45W Laser cutter
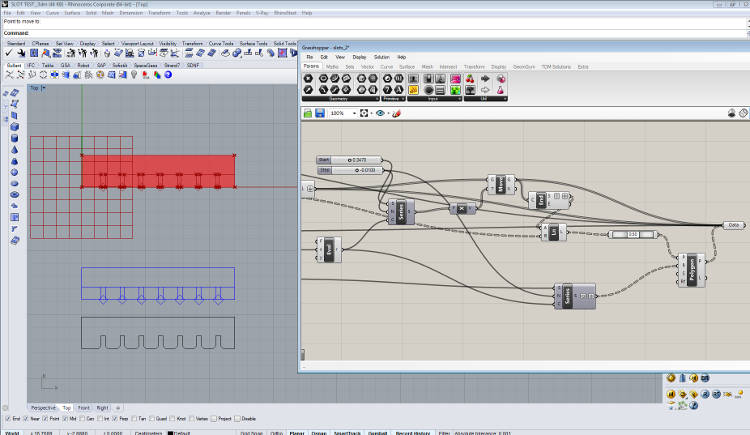
Rhino + Grasshopper + 123D Make + Laser cutter
For this second test in the Laser cutter I went by Antimony to make a parametric design but I was having problems with mine since it was crashing all the time. Understandable for the phase of development it is in but a bit frustrating time wise. So I moved to Rhino in order to do the same thing using Grasshopper.
Building a fully parametric design is hard work but it is a feeling of great accomplishment when you finish it!
LASER CUTTING
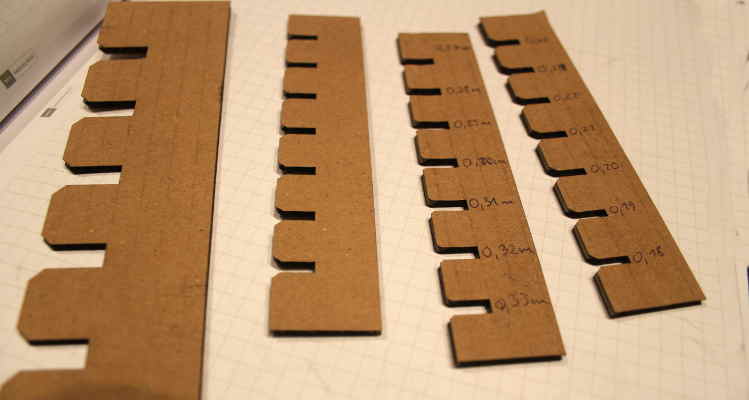
For laser cutting I had somewhat of a previous experience so it wasn't that difficult to get things running. And every time you have a new assignment keep in mind every variable changes even if you ordered the same material at the same place there are always shifts that you have to count on. So for that do a press-fit test kit.
Work-flow:
- measure with caliper the select material - cardboard 2.27mm
- apply that value to the thickness component on grasshopper
- a series of iterations will be created as a set of slots with increasing width dimensions
- Place the cardboard on the cutters bed - make sure is fixed and regulate distance from laser beam
- Set the cutter to speed 70 / power 90 (in laser Full spectrum)
- Do a area boundary test to make sure your design fits the available area
- PLAY! - AND NEVER LEAVE THE LASER UNATTENDED
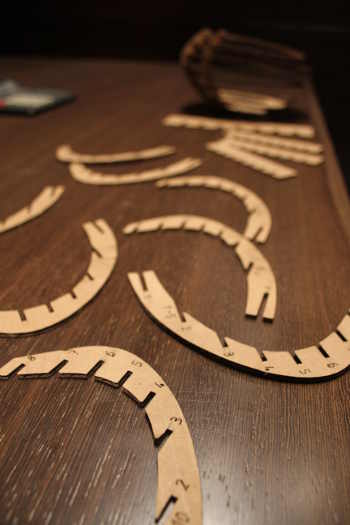
After a scaled design mistake, a to big slots iteration I got to the perfect fit - 0.19 mm
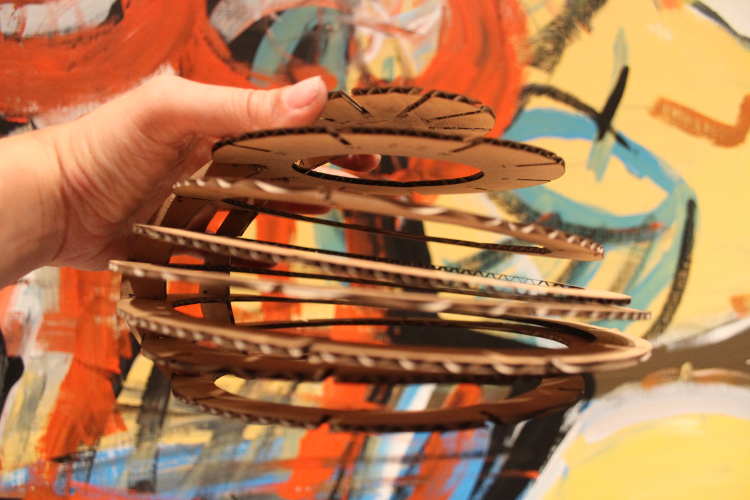
So that set I thought it could be a good idea to try a different software than Inkscape or illustrator so I went to 123D make.
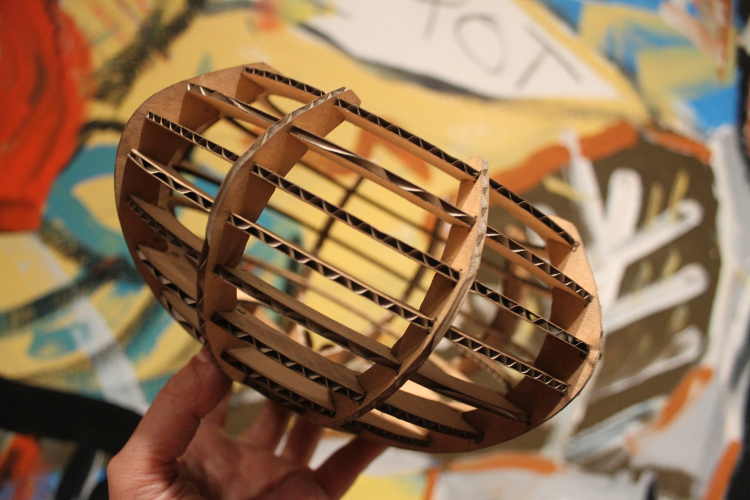
There is almost every step accounted for so using the key value of 0.19mm I just had to set the sheet of cardboard to the available area and adjust the values presented in the software and fast enough I was able to cut the final pieces of a 3d model of a pot I did in rhino just by revolving a simple silhouette section curve.

What have I learned?
- No glues, no screws, no clips just press-fit. A surprising simple technique that can produce really amazing outcomes with unexpected reinforced strength
- for every material and every tool there is need to readjust settings and most importantly make tests first!
- Having a parametric design saves you a lot of time
- Laser cutting seams limited at first because you associate it to only 2D when in fact it is a new world of choices is you are creative enough in your designs
Still a lot more to test!