Resume of the lesson
The last 4 weeks were quit hard , this one is more relax : as our tutor told us showing us some tips to weld "don't think" !Neil give us some usefull tips, especialy those ones :
- always start with the element located in the middle of the board
- place first a point , and the fix the element heating again this point => then you can weld the other legs , changing side between each in order not to over heat a specific zone
- heat some seconds the copper and the legs, and then approach the weld-cable
Home Work
The job is to build our first circuit, a programmer we'll use later to upload th code in our final project board. The programmer'name is FabISP.
We have to :
- build the board
- weld all the electronic element on it
- test the board
- upload the code
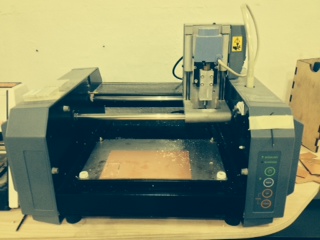
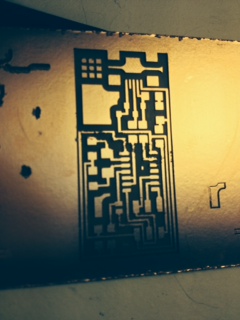
We first build the circuit, using a PCB board covered by copper : we'll use a Milling Machine, and the FabLab module , an in-house driver developped by the FabLab'Team. Following a step by step give a perfect result, the only tricky point is to use the correct tool and setting well the zero point of the Z axle. testboard
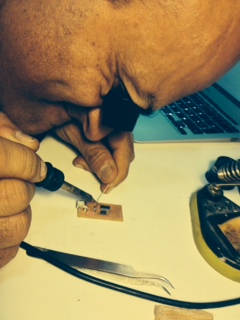
Then start the second step : weld all the eletronics elements on top of the board. The very bad news is we directly go for SMB (surface mounted board) instead of the more easier "hole mounted" : when we look at a FabISP already build, we've all think "it's impossible to succed this, it's too small, especially the black chip on it and his many legs". This is were our instructor told us "don't think , just do it" !
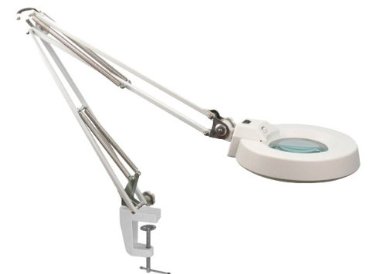
He was right, we've all succeed : this is the key point of the "learning by doing" method. But I have to say there is a tool which can boost your speed and accuracy 30% : having a a magnifying glass with including lamp like this one above.
Because we didn't have it at the beginning, we suffer a little bit more :
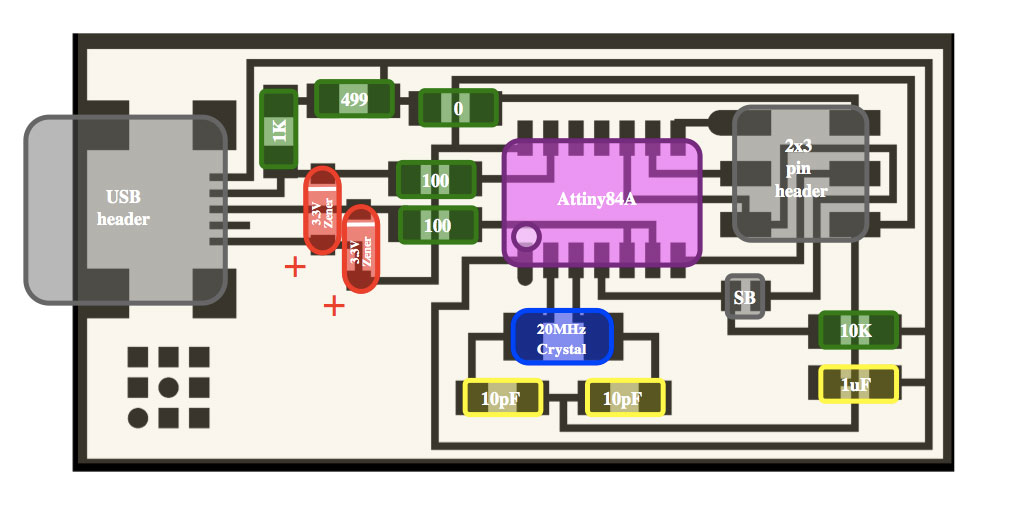
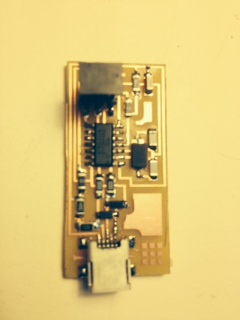
I prefer to use this diagram, giving a more clear information for the elements which are not simetrics like diods or the chip : Diodes have polarity the "C" or cathode end is marked with a tiny line.
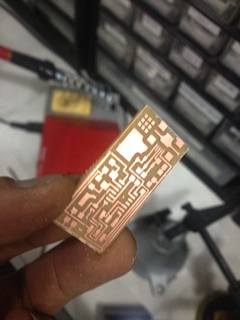
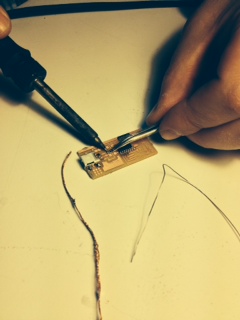
I make a big mistake : puting too much force on the tool , I break the copper path of one o the USB conector. By chance , I succed to replace it with welding material, avoiding loose a 3 hours work ! (by the way, I evaluate Luciano would have need 20mn to do the same board..). Some image of the snail work :
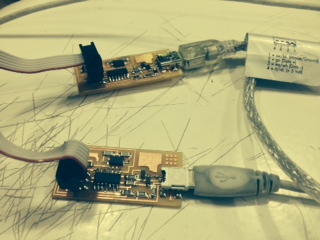
We then have to test if the board is working well : it's easy using a ATAVRISP2 programmer ( it give you a green light if correct).
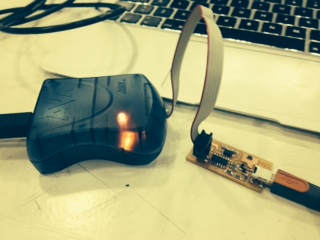
Next step is to upload the code in our FabISP , in order to give it life : it has to be conected to the USB port, but we can not send the code through, because ther is none chip speaking USB by default in our board, so the computer didn't see any "intelligent" device at this stage. The USB connection here is just to power the board, meanwhile we connect the 6 pins conector of the FabISP to the ATAVRISP2 programmer in order to send the code trough it.
THe result is a programmer... witch we can use now to programm other FabISP boards :