Resume of the lesson
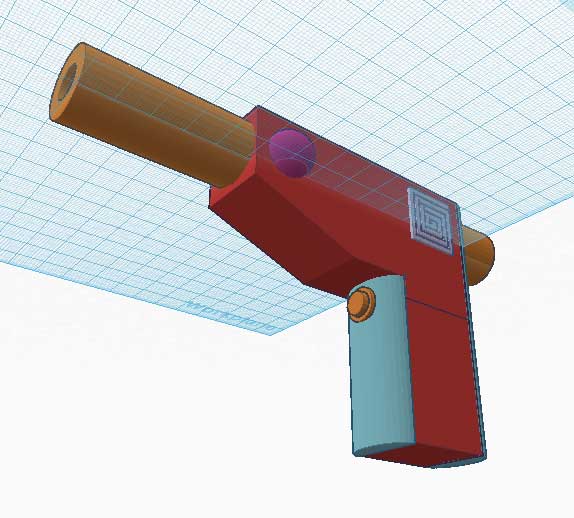
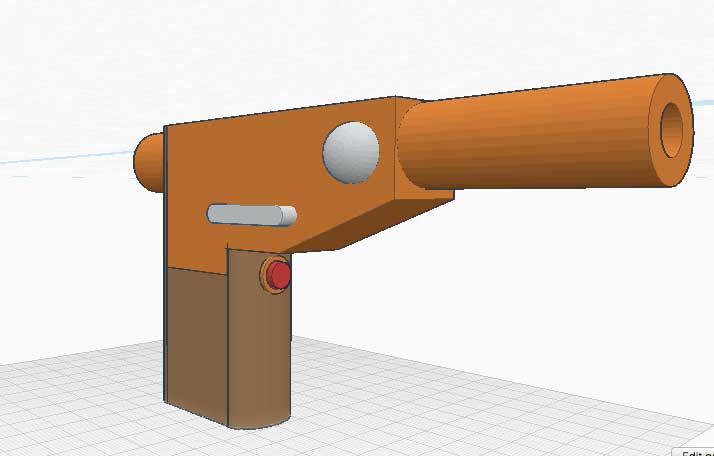
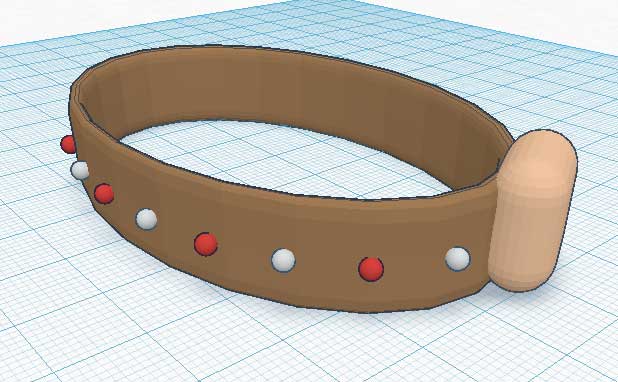
I first start using tinkercad.com, an amazing web CAD. Following 5 o 6 online tutorials , you're ready to start creating your 3D volume. The main point to understand is how to use correctly the "workplane" when you are creating shapes.Then it's quit a fast solution for approximate prototyping.Here is the design of a first sketch of my project :
But , as tutors of the Fablab said, Tinkercad is not a profesional 3D software, and you quickly found too heavy limitations.
Then I've tried to use Rhino ... a real nightmare software , especially if you're using an Apple computer ! The Mac version is still in beta, so 3 main points are missing in action :
- the contextual help menu, displayed on the left side in the PC version , giving you the way to use it .. very usefull
- all the tutorials are done with the PC version : bad luck , the UI is quit different in Mac ..
- there is no MAC version of Grasshopper !! a critical point for the next stage, Laser and Vynil Cutters
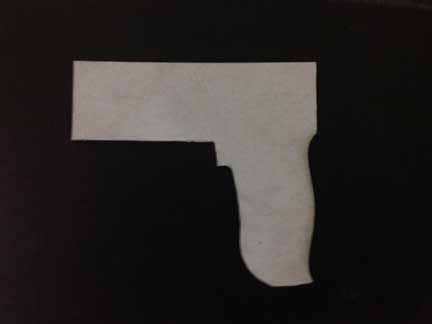
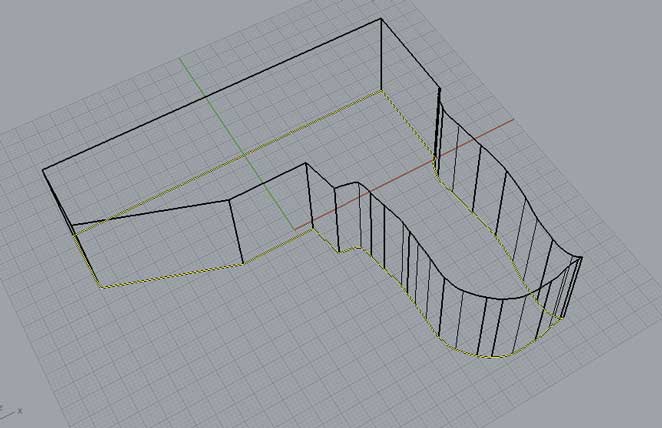
But, with a snail productivity , I finally draw a first version of the FunGun. Because it was difficult to decide what would be the correct size and shape in the screen, I step down and make cardboard shape , in order to have the correct scale. Then I made a foto , and import it on Rhino => it was then "easy" to extrude the curb :