
Week 11. Composites
The assignment for this week was to produce a fibre composite part. The first part, as almost all the weeks, consisted in though what I wanted to make. After some thoughts, I remember a video I saw some time ago, of how to make a cover for your bicycle helmet for the winter, and I decided to do something similar.
My bicycle helmet has some holes in the surface in order to refrigerate yourself. Anyway, these holes in the winter are a bit uncomfortable. As the shape of the helmet is very difficult to replicate, I think that with composites will be easier to create an easy to mount/dismount cover for it. I will apply directly the composites in the helmet instead of designing and building a mold, as a mold was already designed and built in molding and casting week.
|
|

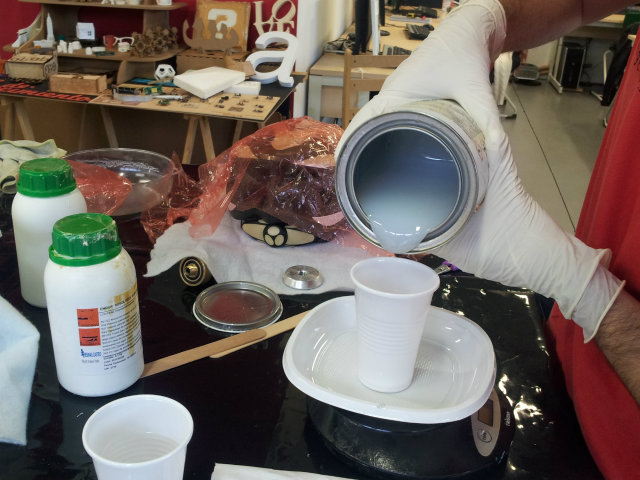
Once I had my "mold", I selected the different elements to be used in the process. To make the composite you need a textile and a mix of resin and hardener. For the textile I selected a kind of sackcloth: as it is very porous, the resin will go through it easier getting a better finish. For the resin and hardener, following Nuria advice, I used Resoltech 1040T resin and fast 1048N hardener, which make a working time of 20 min. According to the datasheet, the mixing ratio used was 100g of resin and 30g of hardener.
|
|

Once the mix was done, it was the moment of apply the resin to the textile, and carefully put it on the top of the helmet. It is important at this step to do it carefully, preventing possible folds that if not will appear in the final creation.
|
|
|
|
|
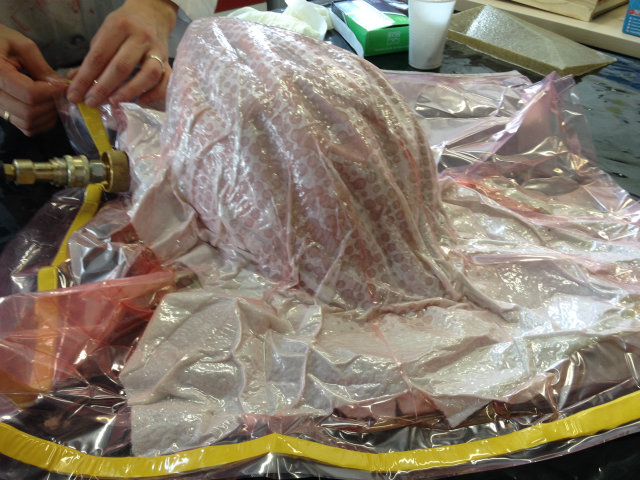
Vacuum bag and wool sheet to do a good vacuum. |
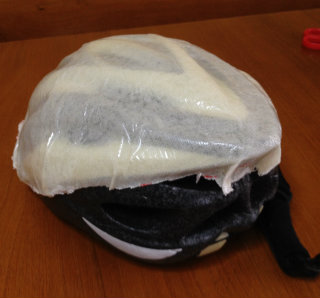
Placing and protecting the helmet. |
Mixing the resin and the hardener. |
|
|
|
|
|
Painting the textile with the resin. |
Applying the composite on the top of the helmet. |
Close the bag a connect the vacuum pump. |
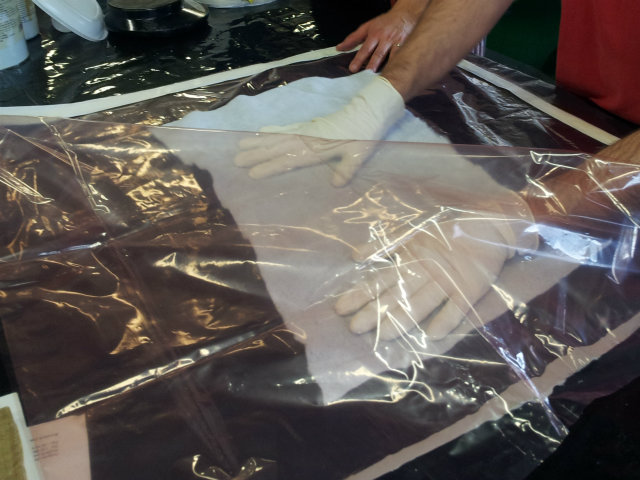


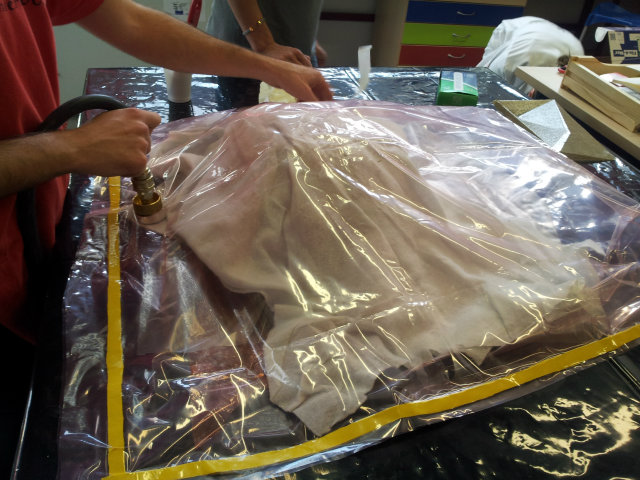
With the textile placed on the top of the helmet, it was put on the vacuum bag, and all the air extracted. This will make the fibre to be stuck to the surface shape, and get a better finish.
|
|
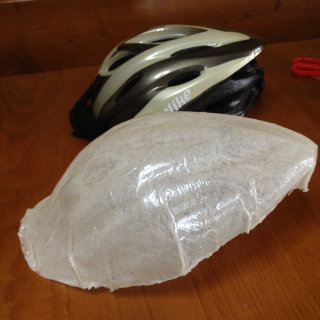
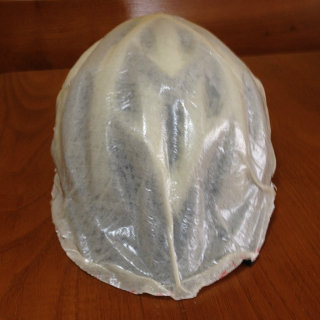
After almost 24 hrs in the vacuum bag, it was the moment to open it and see what we have created. When the bag is open, as the surface I created was quite irregular, I needed to carefully extract the composite to avoid break it. You could see in the images below that the cover obtained seems to be quite good.
|
|
|


Anyway, before using it, I cut the remaining textile and the edges to have a better appearance. This winter I will have an easy to mount cover for my helmet to avoid my brain getting freeze!!
|
|
|
|
|