

Week 9. Molding and casting
Molding and casting week is the moment to make pieces in a cheap way. The assigment for this week is to create a mould and cast some objects with it.
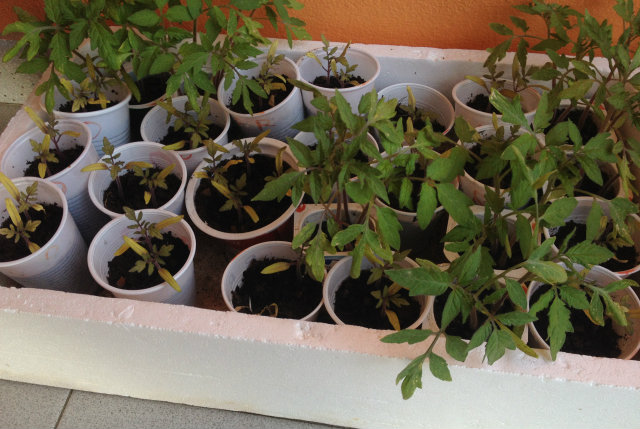
I was thinking what useful thing I could make... when I see that my mother was using some plastic yogourt cases to seed different vegetables, so I decided to create some customized molds to produce them.
|
|
Designing the mold
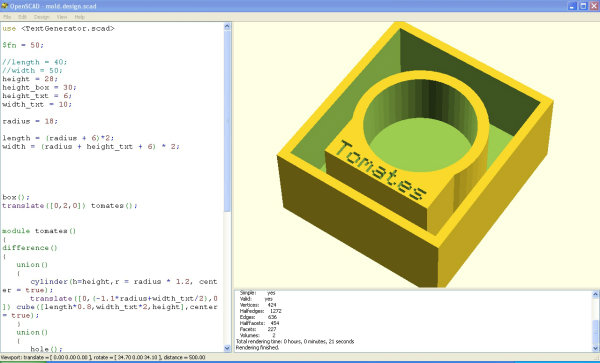
I designed a mold in OpenSCAD. It was a very good idea to use a parametrizable software, as it allow me to modify the size of the design when I measure the was block. You can see and download the final design here.
|
|
The design must be exported to binary stl in order to be processed by FabModules, so I exported it. The stl file can be downloaded here.
Creating the inverse of the mold
The design was milled in the modela to get the inverse of the mold in a block of wax. To correctly process it with the modela, I needed to create 3 different .rml files and process the independently in the Modela:
|
Rough path with a 3mm ball-nose mill. It takes out a big amount of wax. |
|
||
|
Finish pass with a 3mm ball-nose mill. It delivers a better surface finish than the rough pass. |
|
||
|
Rough pass with a 0.8mm mill. This last one was the used to process the letters. |
|
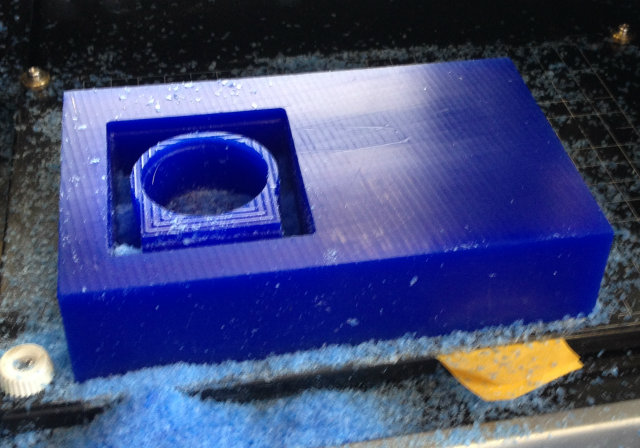
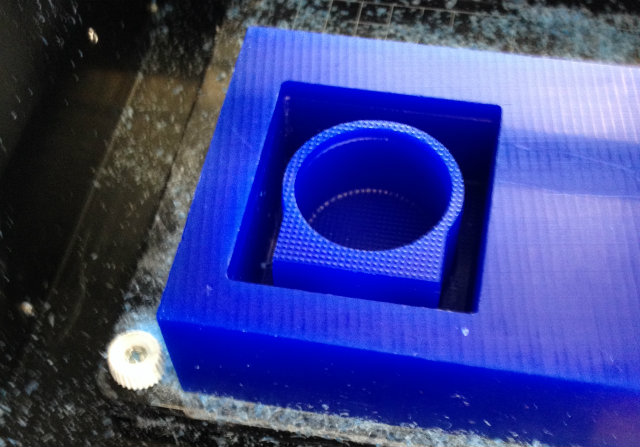
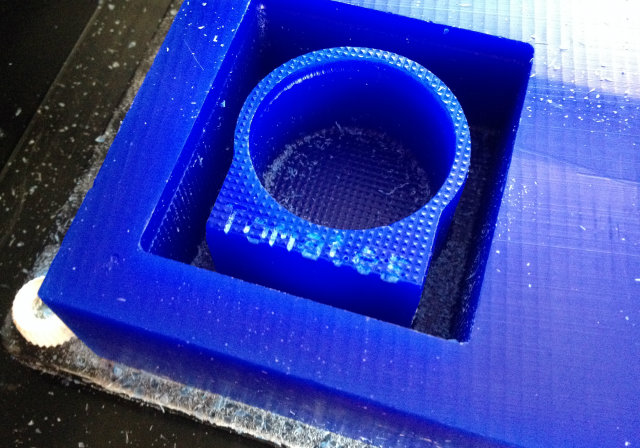
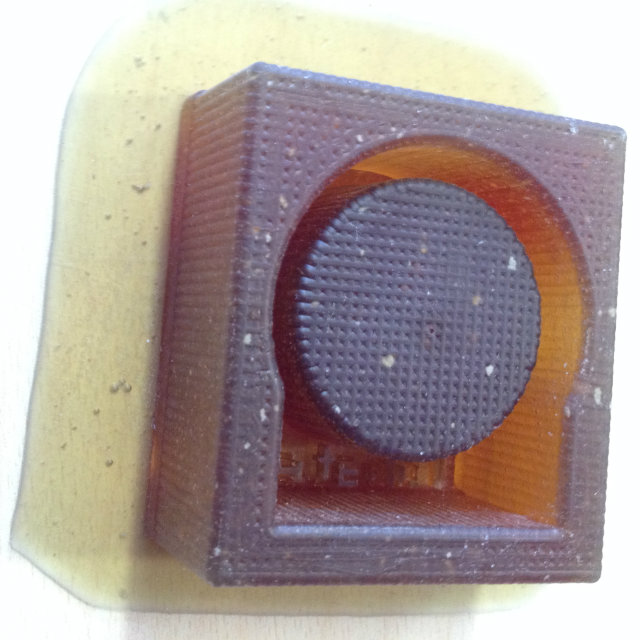
The block of wax it is machined, so now we can pour the elements to make the mold inside.
Creating the mold
Once the wax mold is taken out of the Modela, it is needed to clean it carefully, specially the narrow parts. Some chips of wax could be introduced in those parts and waste your design. Then, before prepairing the mixture of material for the silicone mold, it is useful to spray it with a silicone-free release spray, which will make easier later to extract it.
|
|

To create the silicone mold, following Nuria advise, I used PMC-121/30 polyurethane rubber compound. The mix ratio advised by the producer is 1:1, so, dimensioning the size of the mold, I mixed 60g of each product and mix it in a glass. Once it was well mixed (be careful not to do it to fast, because you could create bubbles), it was poured on the wax mold.
|
|
|
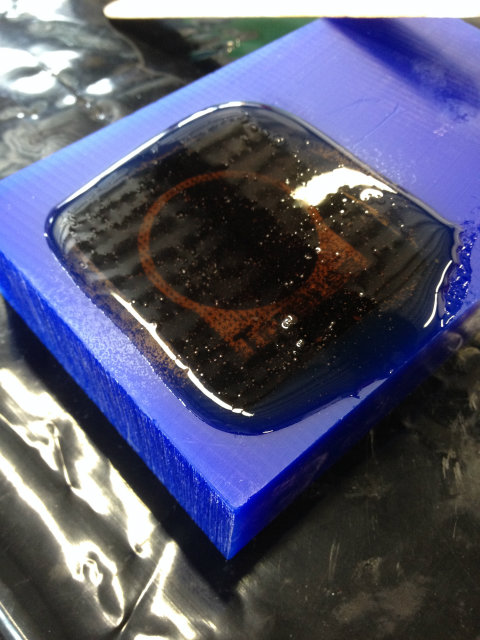
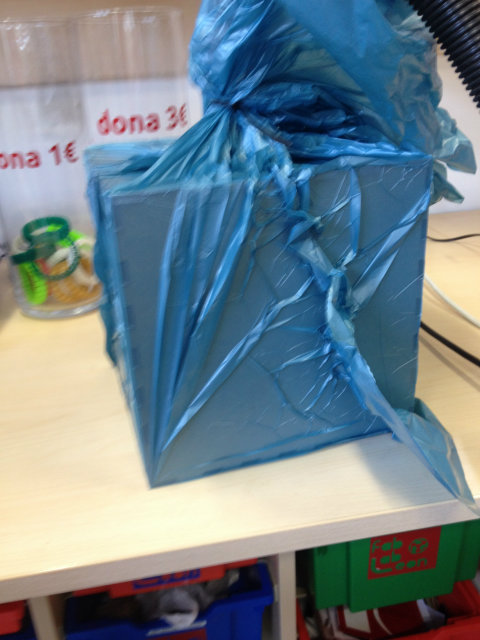
If you see the picture above, there are still some bubbles in the mix. To remove them as much as possible, I followed two steps:
- Shake the wax mold with a vertical movement.
- Introduce it in a vacuum chamber.
At Leon FabLab there is no vacuum chamber, but the people working there built a nice approach! It is based on a press-fit box, with a hole in the top of the diameter of a home vacuum cleaner. Putting also a rubbish bag around the box, the vacuum obtained is very good!!.
|
|
|

Now that almost all the bubbles are out, it is the moment to wait some hours until the silicone is dry and the mold can be extracted.
|
|
|

Creating my design from the mold
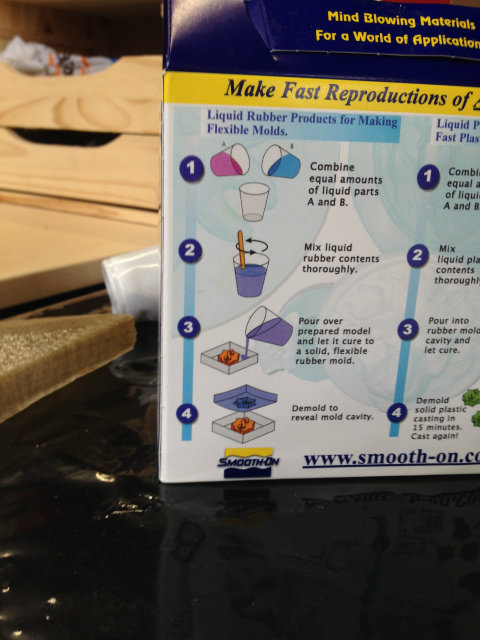
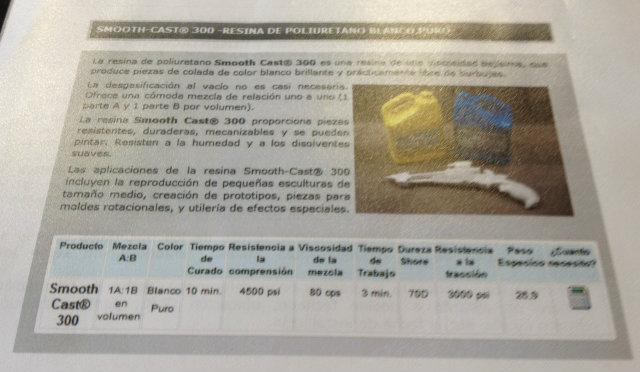
With the silicone mold ready, it is the moment to build the final part. The material used to create it was Smooth-Cast 300, an ultra-low viscosity casting resin. Following the datasheet, it is needed to mix it with a 1:1 ratio and there are only 10 minutes to cast it in the mold until it is dry.
|
|
Both parts were mixed, blue colorant was added to give it better appearance, and it was poured to the mold.
|
|
|

