Fab Lab Barcelona SuperNode /Fab Lab Sevilla /Jose Perez de Lama
Weeks 16-19++ / final project

Retablillo de las Maravillas v1.0
Developed july>>august 2013
2./ Structure
2.1/ Chassis
2.2/ Secondary structural elements [roof & ramp, and marquee]
2.3/ Cushioning
2.4/ Screen / interface
[2./ structure]
[2.1/ chassis]
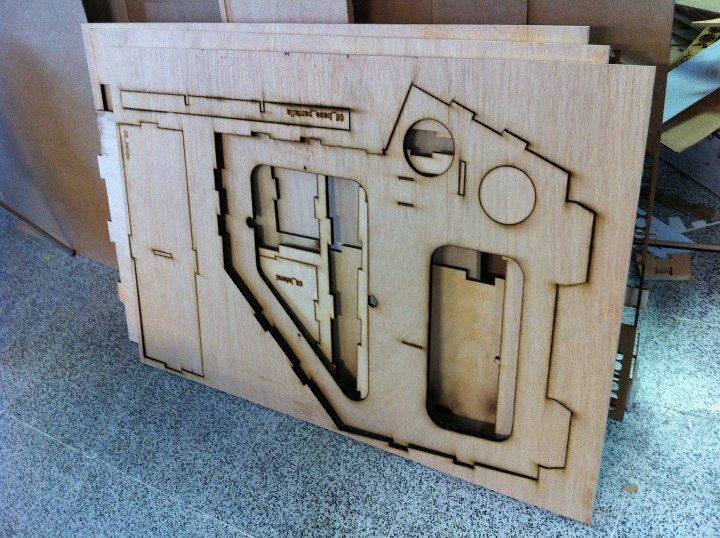
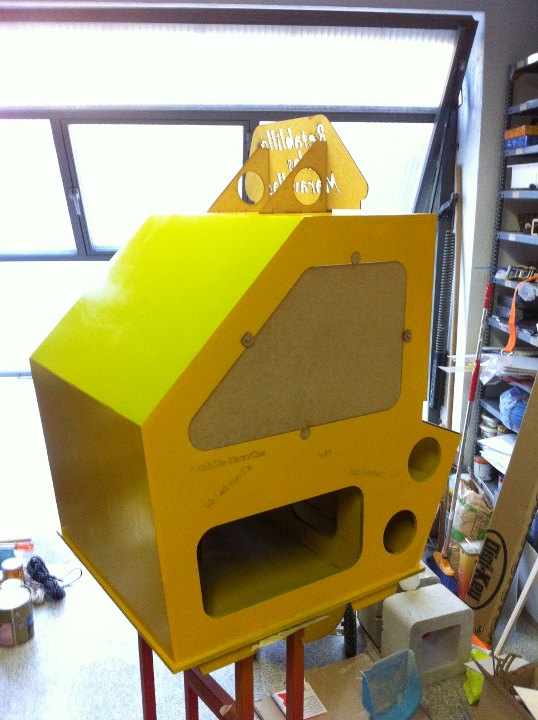
The structure, has been designed with Rhinoceros [version 4 SR)] to be laser cut in 10mm plywood [ecological panels from Garnica, a Spanish supplier].
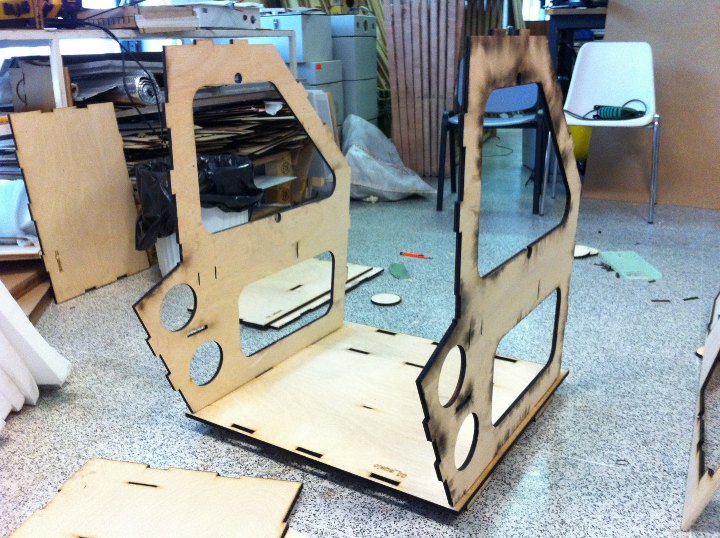
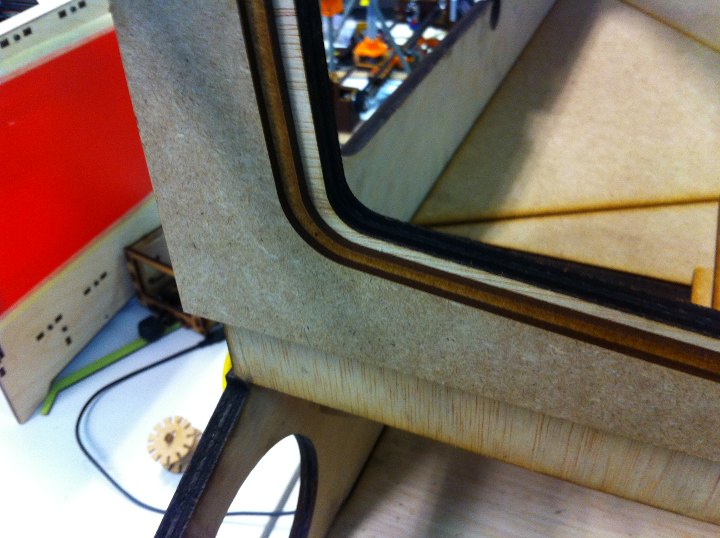
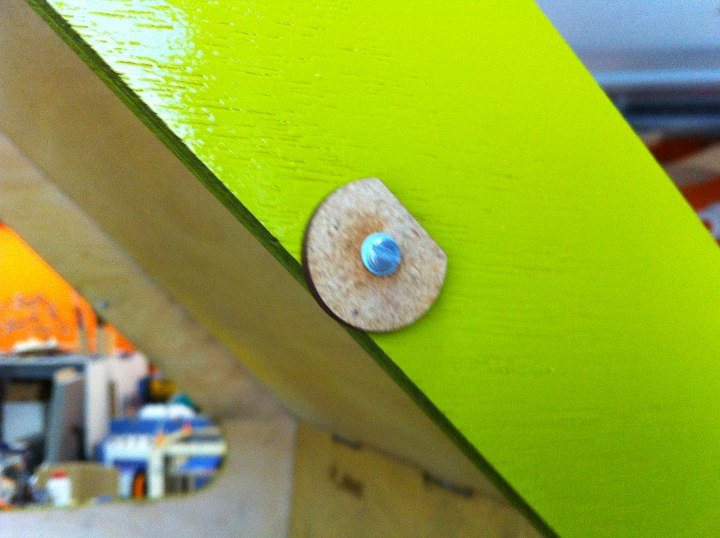
I have called "chassis" the element that forms the main shape. It is designed to be loosely-press-fit and glued together for further strength.
The chasis supports the other more minute elements of the contraption, such as a secondary structure that collects and guides the balls to be recovered by the players, the moving platform and the electronic boards and batteries.
I decided to use 10mm plywood boards so that i could laser cut them instead of milling, which was a faster and easier process. 10mm makes a strong enough piece, and it also helpes it make a lighter and easier to transport.
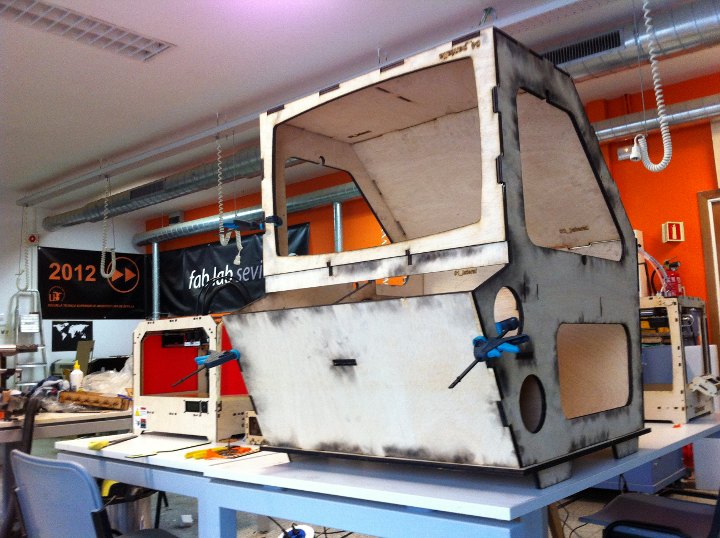
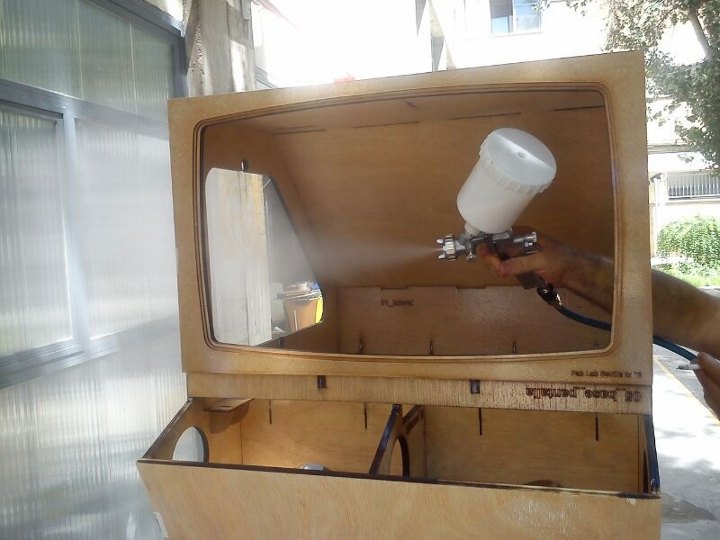
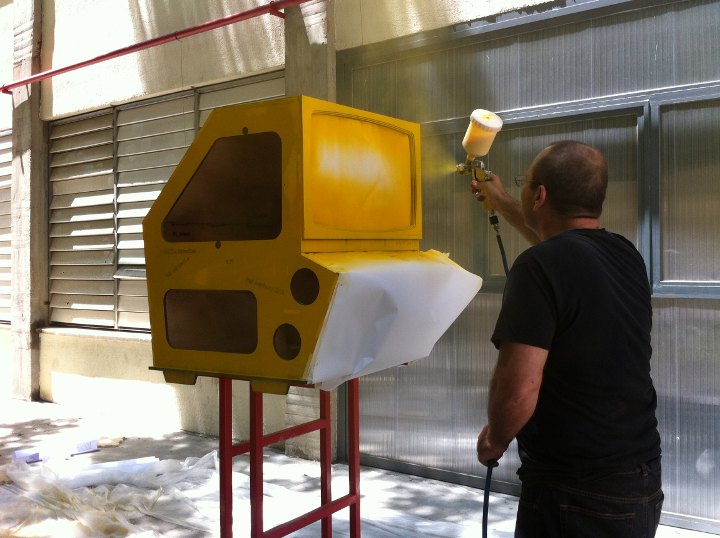
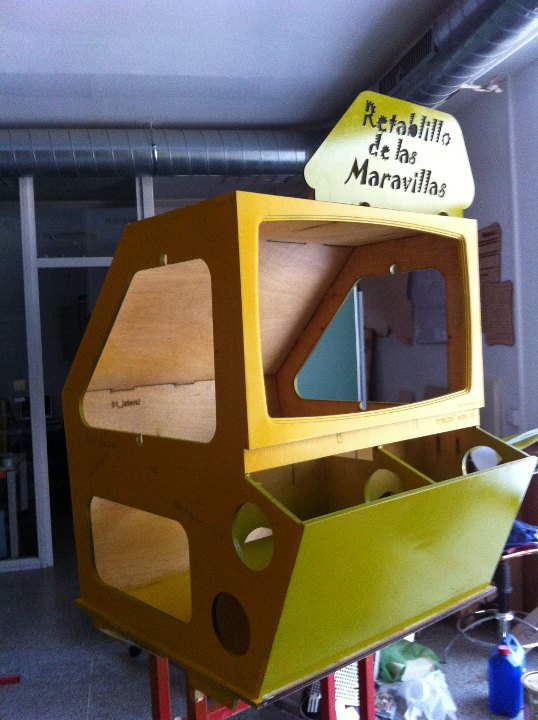
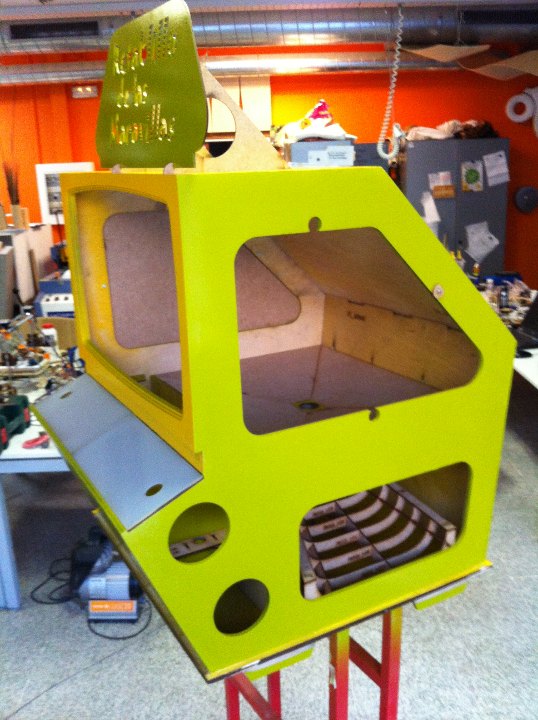
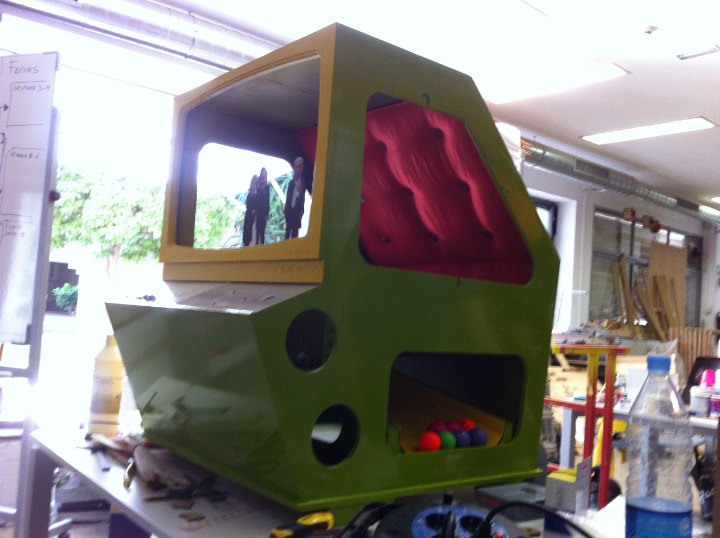
The final finishing is painted with synthetic enamel, sprayed in multiple layers, combining yellow and green. We learned a lot in this process. One of our conclusions is that our next project we will test polyurethane paint instead of enamel. The painting process was one of the most time consuming of all the fabrication process, but it definitely, i believe, makes a difference.
Download here all Rhinoceros files and for structural elements, including cutting files >>
.3dm files | alt download without file extension
[2.2 secondary structural elements]
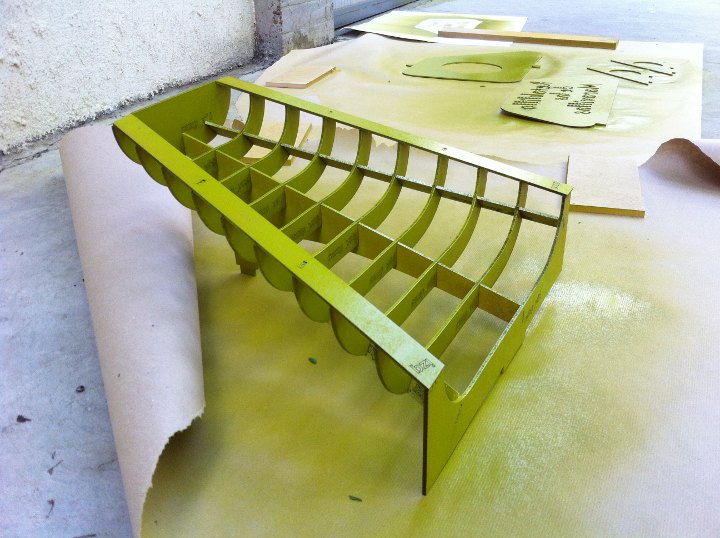
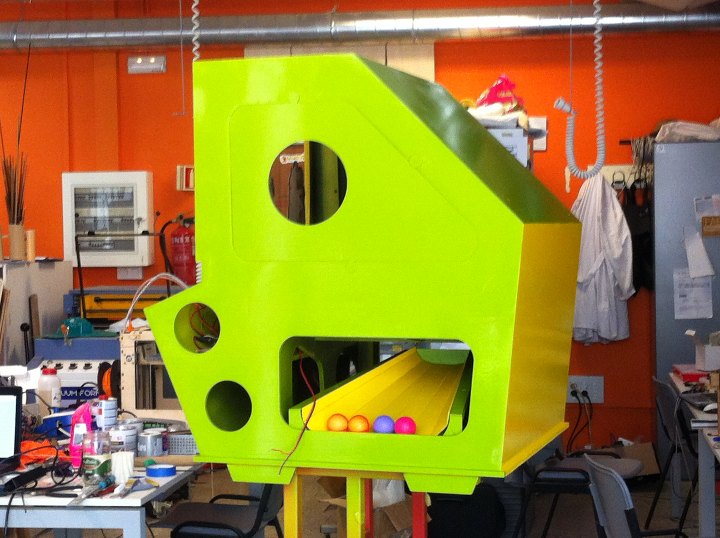
A second set of pieces fit into the chasis to collect the balls thrown into the "screen" and conduct them to a window on one of the sides of the chassis.
This elements were designed again with Rhinoceros, using a more classic press-fit system, to be laser cut in 3mm MDF. Their geometry is much more interesting and demanding from a design point of view than that of the chassis.
One of the secondary structures i called "roof" and it works like a Roman compluvium-impluvium making the balls move towards the center of the "backstage" and fall through a hole, to the second of the structures that i call, ramp, which works like a slide to bring the balls back to the side of the chassis. The "ramp" has a very nice press fit structure of planar elements solving a rather complex geometry. To make the surface of the slide, which is developable surface i used the corresponding Rhino tool, and then cut it in cardboard, with lines of perforated dots that help it acquire the right curvature.
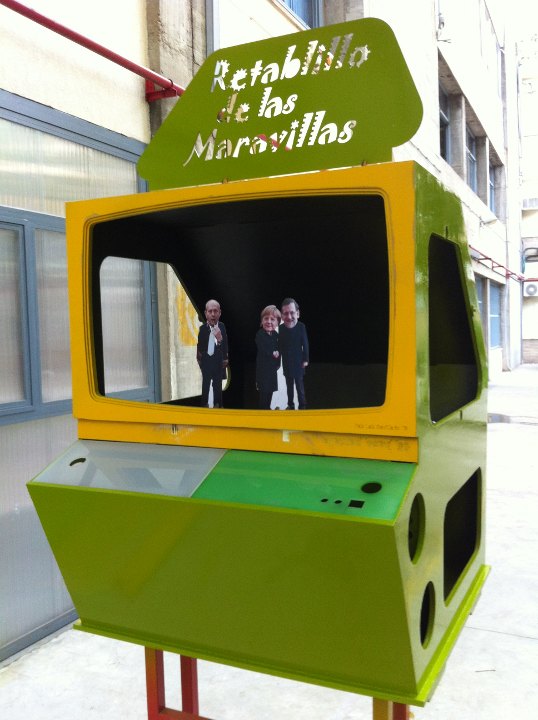
Eventually there is a third piece which i call the "marquee" which press fits on top of the chassis, as if it were a 50's cinema, with the name of the project. This is also laser cut 3mm MDF.
All of these pieces were painted together with the chassis.

Image capture of the Rhinoceros design process with schematic view of the piece.
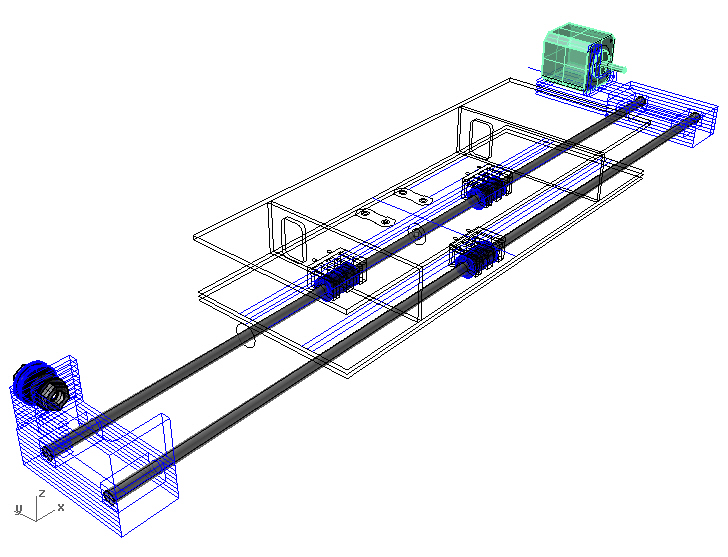
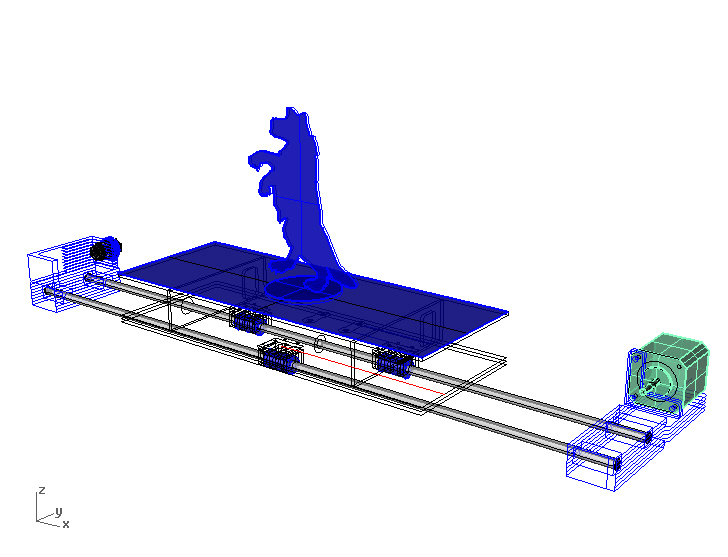
Above: The moving platform and other mechanical elements had to be designed at this stage to make possible a correct integration of the various modules. Above, Rhinoceros drawings of the mechanical systems. Part of them where laser cut in 3mm MDF as will be detailed in the corresponding section of the documentation.

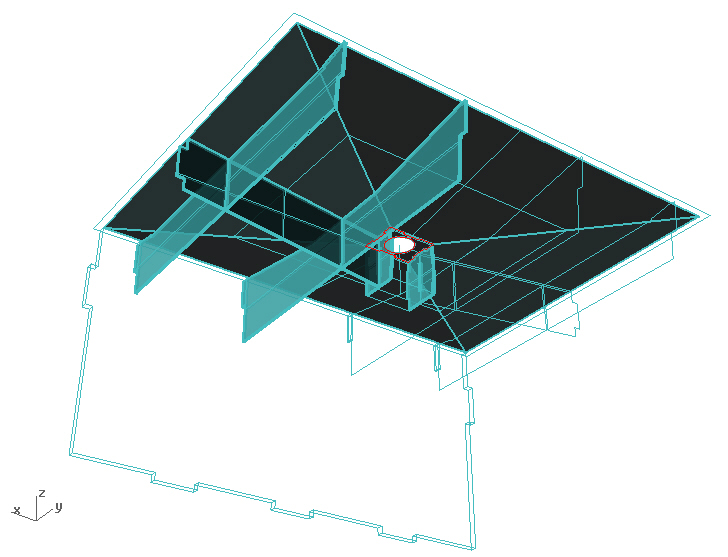

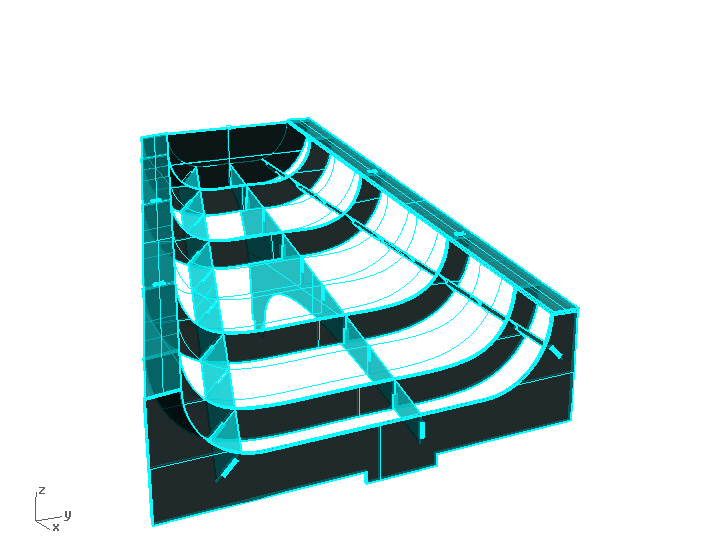
Rhinoceros image captures: top left, detail of the motor holder in its place; of the secondary structural elements; top right, geometry resolution of inclined roof planes; bottom left, succession of surfaces to conduct the balls; bottom right, press fit structure of final slide.
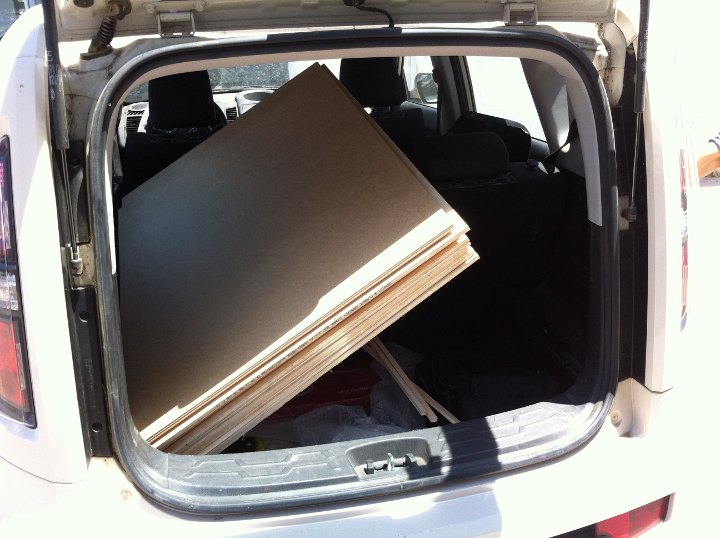
Below laser cutting and assembly process of 10mm and 3mm elements:

3mm components; secondary structures:
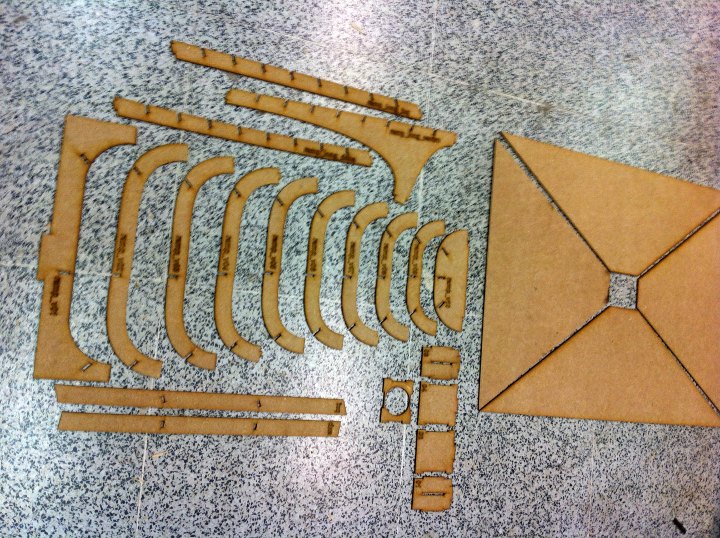
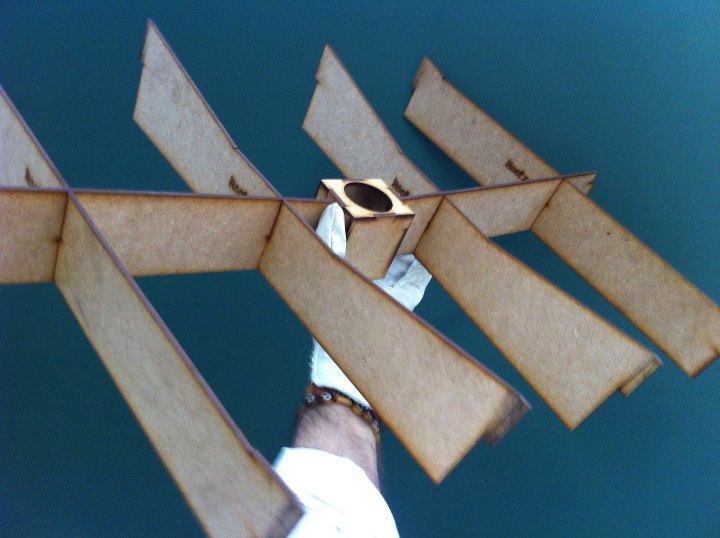
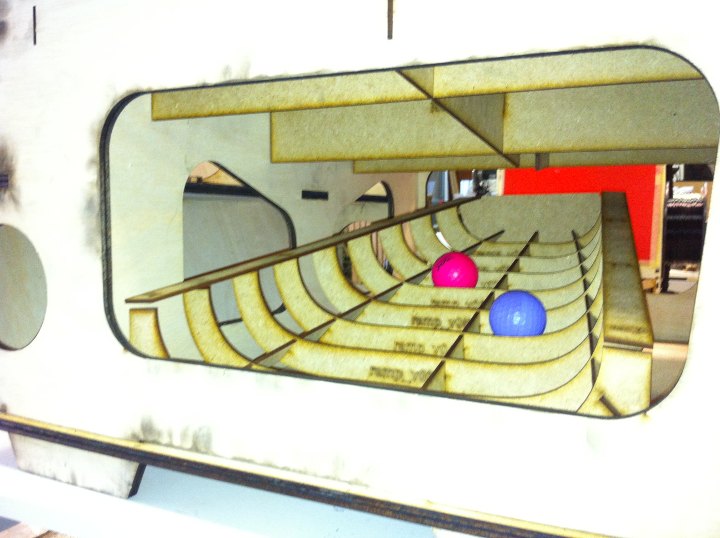
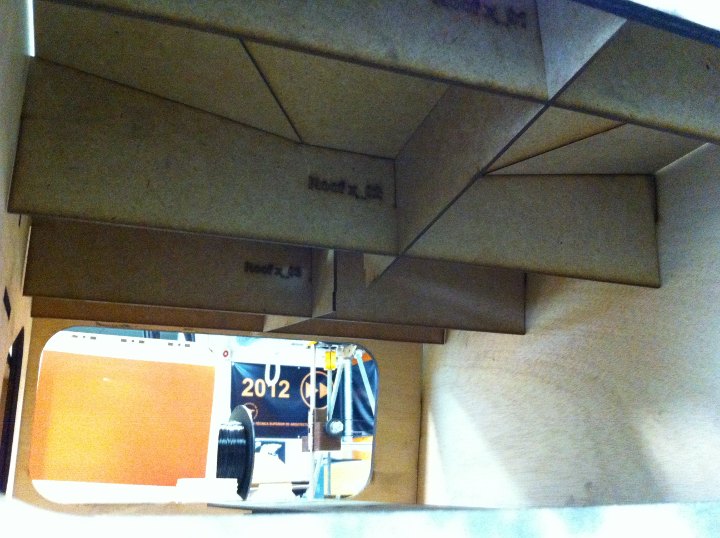
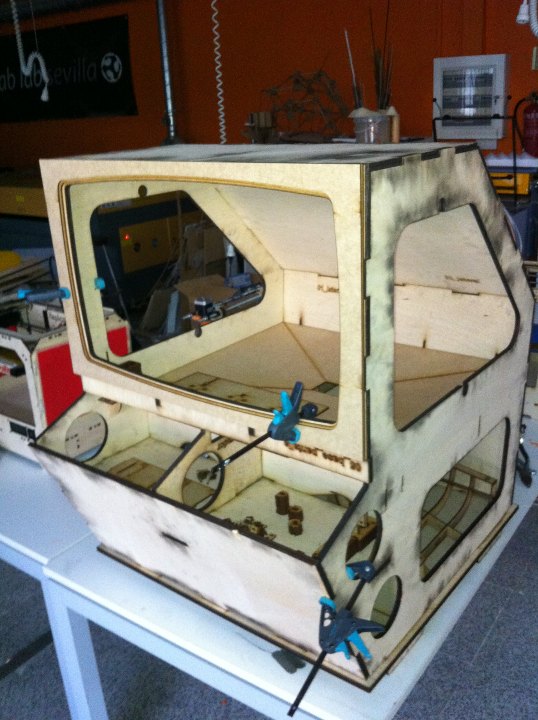
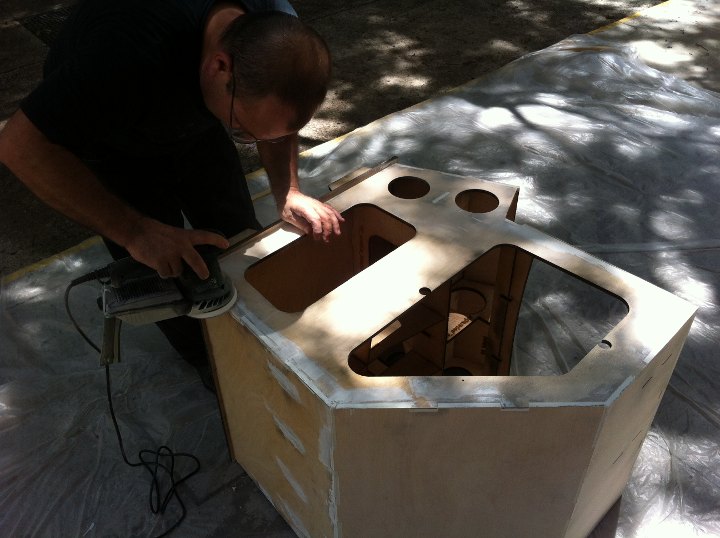
Painting, actually took a lot of work. Four layers were applied looking for a smooth finish and a nice color pattern: yellow and green in a "cubist" fashion outside and a black background with green sprayed on top of it inside. Aureliano, one of our colleagues at school taught us how to use the pistol and actually performed large parts of the process. I believe the paint, even if not so "digital", does make a huge difference; especially after laser cutting instead of milling the plywood. To achieve a nice finish it took some preparation work, and quite a lot of sanding after each of the four layers applied.




[2.3/ cushioning]
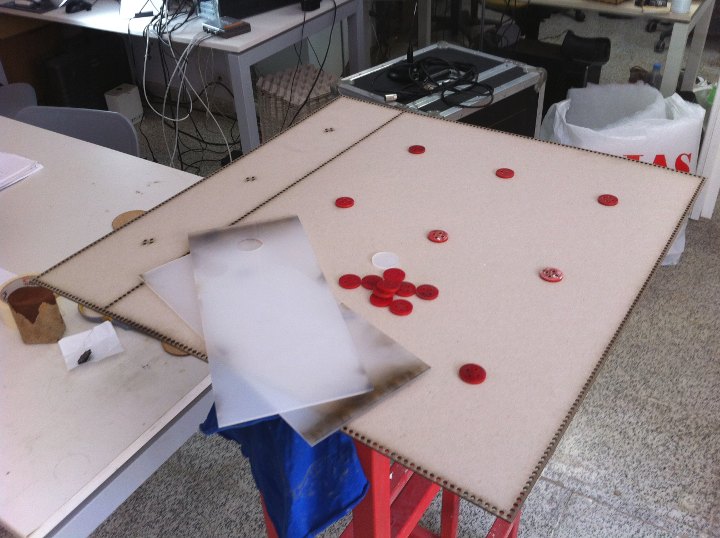
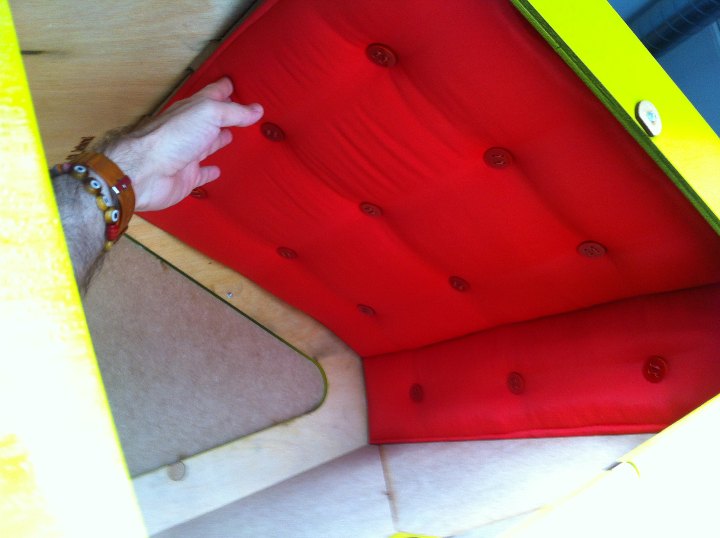
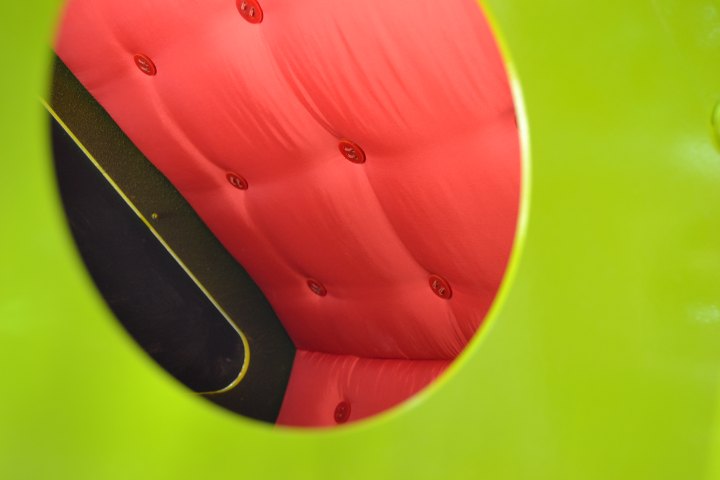
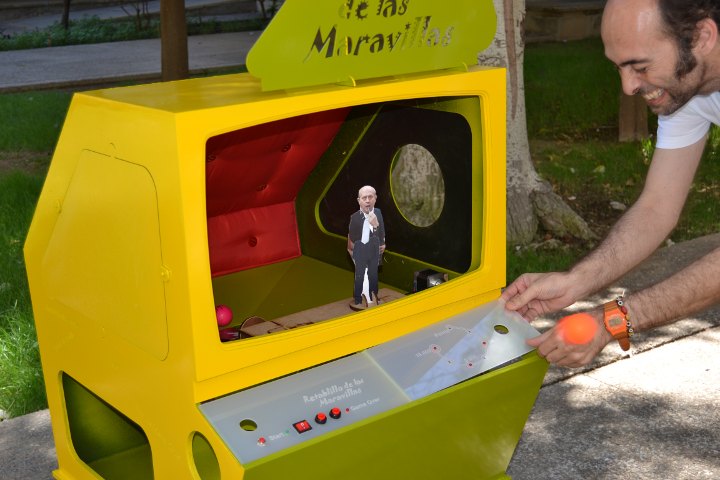
In order to help reduce the bouncing of the balls, - and of course to make the Retablillo look fancier, even a bit luxurious, a capitoné piece of cushioning is attached to the end wall of the backstage. To fabricate this i needed the help of my mother! I laser-cut the pattern in cardboard for her, including lines of perforations to help the perimetrical sowing of a red fabric and that of the buttons, and to allow for the needed folding of the two planes. The fabric is the kind used for the inside lining of jackets or skirts. I also laser-cut a set of buttons, in red 3mm acrylic, that were then used to give the piece volume. The cushioning was eventually attached to the inside of the chasis using velcro tape.
[2.4/ screen - interface]
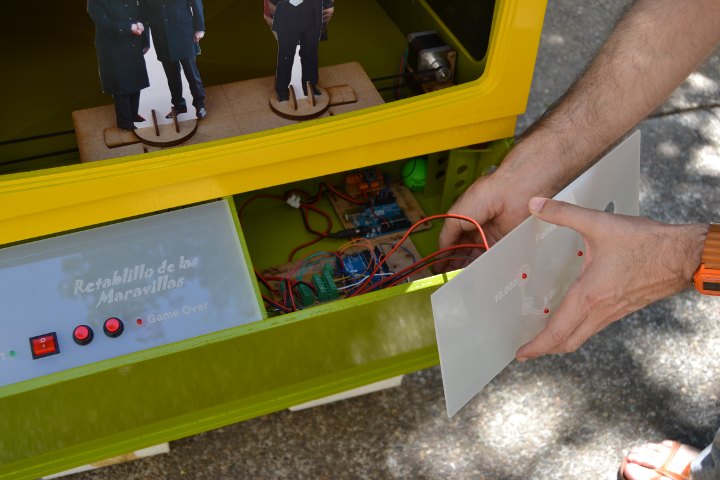
The interface design became one of the last decisions to achieve. After an initial unsuccessful test painting the acrylic board on the back side and laser-etching the paint, I believe the chosen solution wasn't a bad one. Eventually i laser-cut, once again, a white translucent 3mm acrylic, etching on it some graphics as well as perforating it to allow for the command buttons and some LEDs. The LEDs controlled by the programming inform about the game start [green light] and game over [red], in the left side of the control panel, and about the points achieved by the player on the right side of the panel. The design of the scoring interface resembles in a way a speedometer., going from 50 [knocking down the right character], to 5.000 [knocking down the left characters], to 10.000 points, if the players achieves to knock down all the characters.

* "El Retablo de las Maravillas" is the title of a short story, “entremés”, by Spanish classic author Miguel de Cervantes, where he depicts a lighthearted while ironic story around a theatrical representation: http://miguelde.cervantes.com/pdf/El%20Retablo%20de%20las%20Maravillas.pdf
///
Unless otherwise stated, information in this page is downloadable under a Creative Commons Attribution-Share A Like license; attribution: Jose Perez de Lama / Fab Lab Sevilla / Fab Academy 2013. Work is based in the documentation provided by Neil Gershenfeld / Fab Academy 2013; and Anna Kaziunas, AS220 Fab Academy 2013; among other sources.

final project home / structure / mechanics / electronics / programming / all files
return home /perezdelama.jose