computer-controlled machining
Week 9 Overview
This week Fab Academy covered using computer controlled machines. We mainly discussed
the most popular machines, various materials, tool choices, feeds & speeds, lubricants and safety.
The assignment for the week was to
- make something big.
and learn how to use a large CNC like the shop bot.
What big things to make?
There are 2 different things I made for this assignment.
Firstly, I made a bicycle stand
that hold the back wheel of the bicycle up off the ground. This is for carrying out maintenance on
the bicycle in the back yard.
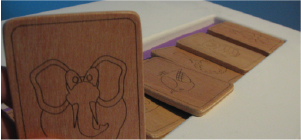
Secondly I made 2 small knelling stools.
Step 1) Making the 3D models
I made the 3D model of the stool and bicycle stand in solidworks.
I wanted all of these things to be designed so they are flat pack and
can be put away in storage or transported. So I made the joints to slot together tightly.
After making the model in Solidworks I saved it as a DXF to import it into the software to use on the
large CNC.
Download the solidworks and DXF files for the Bicycle stand
Download the solidworks and DXF files for the Stool
Step 2) Converting the 3D models into gCode to send to the Machine in vCarve
I used vCarve to import and 3D models, create the tool paths and generate the gCode.
I created a detailed document of the process I went through to do this -
Detailed description of vCarve usage here
I also followed a guide provided by MakLab where we made our 'Something Big' pieces.
Here's MakLab's guide
Download the vCarve file
Step 3) Cutting the pieces on the CNC router (using NcSTudio software)
The material I used was 18mm OSB. I managed to fit into 1 sheet. I would have liked nicer material but
it would have cost a lot more.
The tool bit I used for both internal and external cuts was a 6.3mm upcut end bit (1/4 inch).
I used the following settings for the router to cur 18mm OSB:
- Stepover: 40%
- Pass Depth: 4mm
- Cut Depth 19mm
- Feedrate: 4m/minute
- Plunge Rate: 2m/minute
- Spindle Speed: 20,000 rpm
I made a very detailed description of this set up here
Download the gCode (NcStudio file)
Below are some pics of it being cut and sanding off the tabs.

Step 4) Assemble Final Pieces
The stool fit together perfectly but the bikes stand needed a bit of
sanding along the joints to get the pieces to fits together. In future I'd do a test run of this
taking into account the tool thickness and material thickness and the length of the joints.
You can see the final pieces assembled in the photos below.
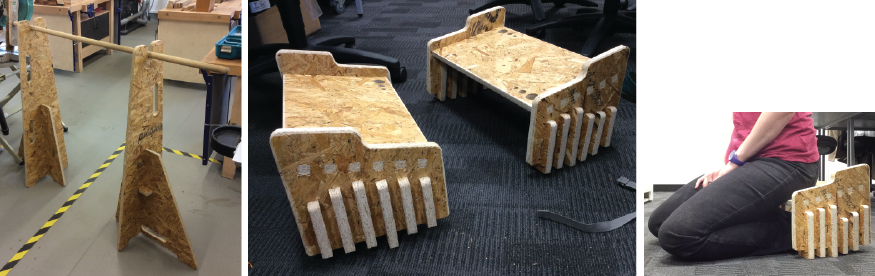
The final stools work pretty well but were a bit too low and the tilt forward could have been great.
If I was making them again I would change this. Instead I changed around the supports so the tallest supports are
closer to the front of the stool. This lifts the stool higher off the ground and allows it to rock a little
back and forwards which it nice for sitting on. It ruins some of the aesthetics though. Some meditation stool actually have a curved base so you can
adjust them to an angle that suit the person using it best.
Week 9, Mar 20
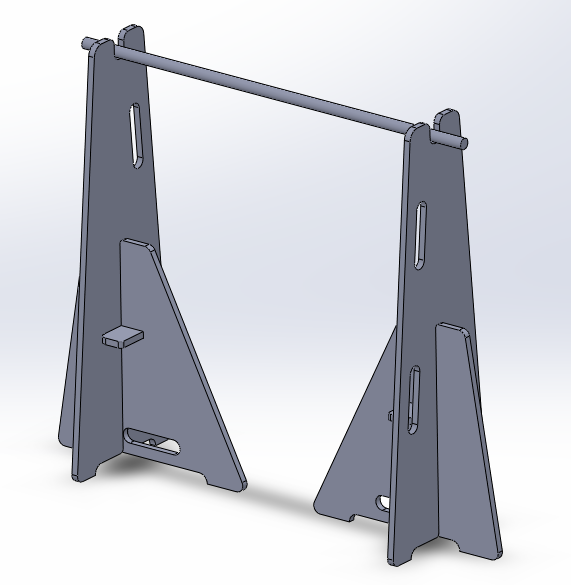
3D model of the Bike Maintenance Stand

3D model of the knelling stool