networking and communications
Week 14 Overview
The networking and communications week covered creating wired and wireless networks. We might want to use these in any machines or systems that we build that require more than one output, such as cnc machines or surround sound speakers for example.
- Link to this weeks academy information page - networking and communications
- Link to the tutorial from Fab Academy content page - Hello Serial Bus - Using C
- Link to the tutorial from Providence FabLab - Networking - Hello Serial Bus (I followed this tutorial, more reliable from previous experiences with content archive)
Assignment
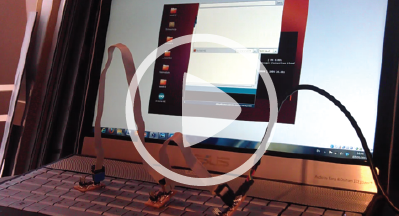
Build a wired &/or wireless network with at least two nodes What we ended up doing is programming each board using the FabISP. Then hooked these up to the computer using FTDI cable and used the arduino serial monitor to communicate to the different nodes on the network.
Description of Embedded Programming Work
I decided to make a wired network following the tutorial from Providence Fablab- Networking - Hello Serial Bus
Hardware
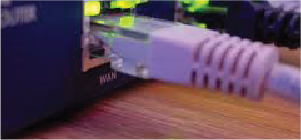
- Ribbion Cable
- FTDI cable
- mini usb to usb cable
- FabISP board
- Bridge board - board - components
- 2 node boards board
Software running on Ubuntu OS
- FTDI driver are already installed on ubuntu but normally would have to install these on mac or windows OS
- Arduino IDE Software - Link to Download the Arduino Software
- link to C programming file for the network - hello.bus.45.c
- link to the makefile file for the network - hello.bus.45.make
- GCC & avrdude - installation advice in this tutorial - should already be installed from previous electronics work
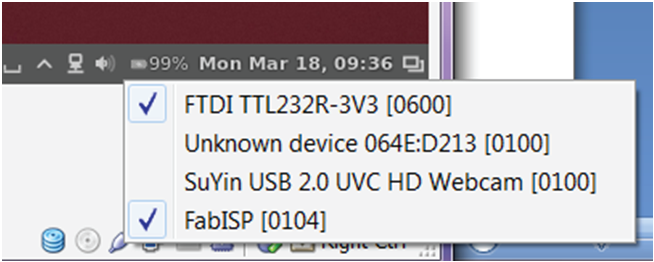
I'm using the ubuntu OS running on a windows machine through virtual box so this threw up a problem seeing the attached devices.
I had to make sure the devices plugged into the computer were selected in virtual box as shown in the pic below with ticks beside them.
Creating Circuit Boards
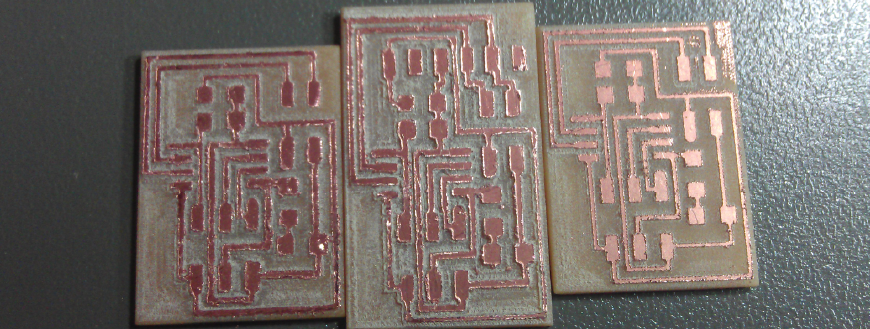
First of all I milled out the bridge & 2 nodes boards. Then I stuff these before getting to the programming.
Programming the Boards
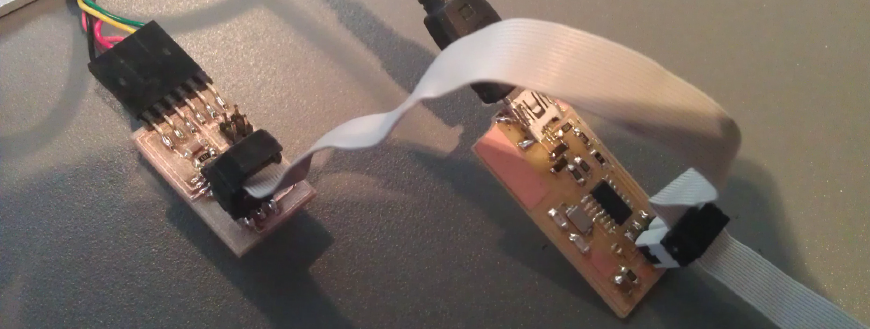
Initially I connected the FabISP to the bridge board using the ribbon cable. The bridge board was powered by connecting it using the FTDI usb cable. Once I had these connected in the terminal widnows I entered the following ....
This is programme with the id as 0 according to the line in the c code....
 Next I needed to programme the next node board with a different ID. So I changed the code in the c code
from
Next I needed to programme the next node board with a different ID. So I changed the code in the c code
from
to
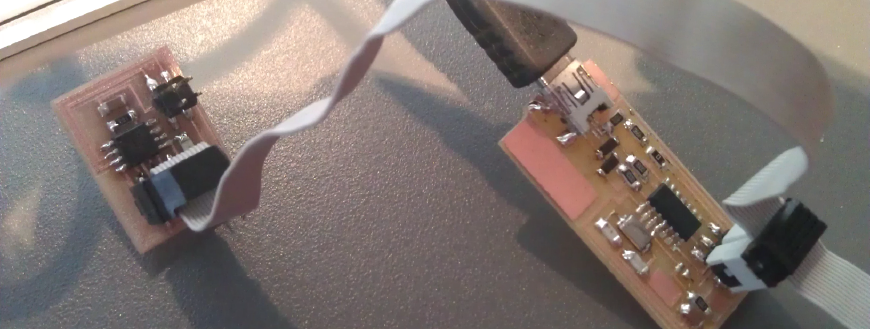
and connected the FabISP to the node board using the ribbon cable and enter the following into the terminal ....
I repeated the same for the second node board. Changing the ID in the c code to be 2 and then programming it using the FabISP.