
Bonus project
Some weeks ago I started to fly RC planes, so... I needed to make a plane at the fablab! I started searching on the internet for designs that can be made from fabbable materials, and found a lot of them using foam-core board, so I found one I liked (a p-51 mustang), and started to adapt the design to be cutted on the laser, and to think on parts I can make on the 3D printer. So my fabplane was born.
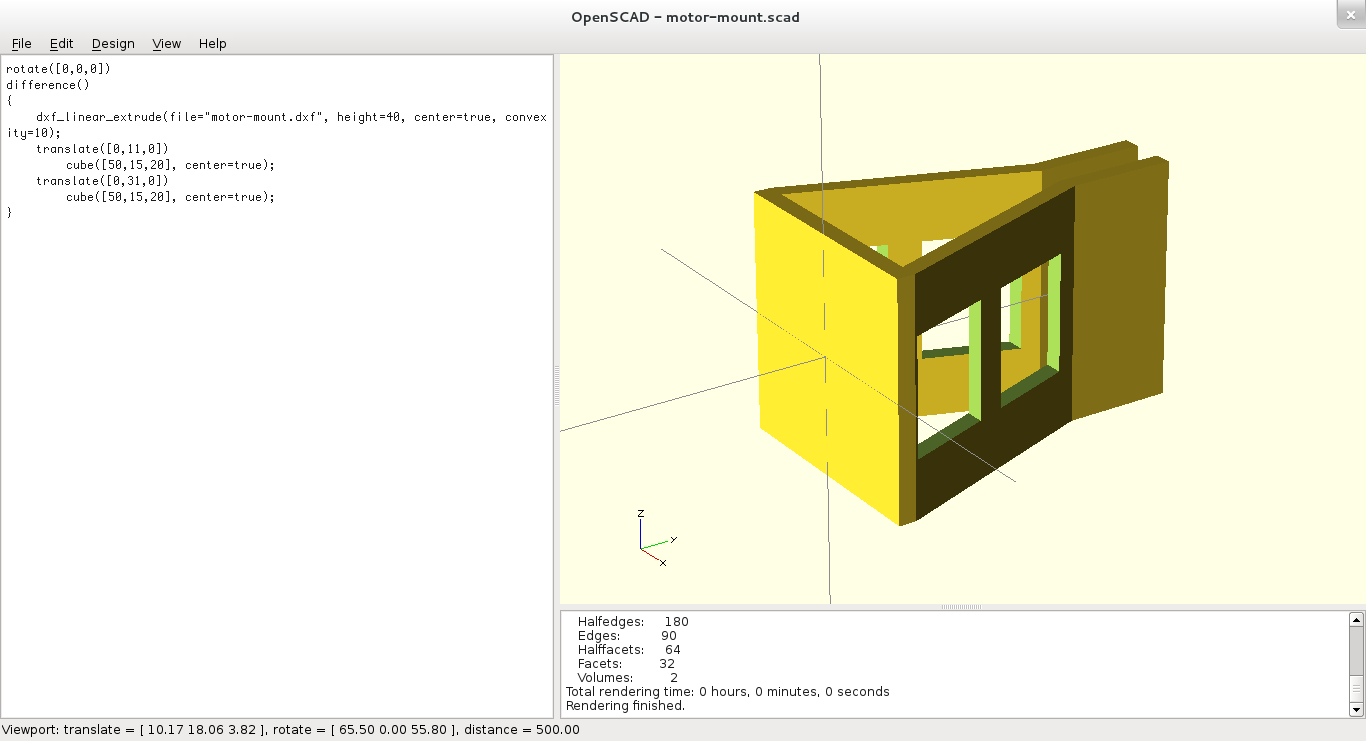
After testing some cuts and making the final CAD design for the lasercut, I designed and printed some structural parts to make the plane stronger, and some other parts like the motor mount, landing gear, and one of the parts I am more proud of, some really small hinges. To print them on the makerbot, I did several tests until I got the final design, I print the two sides of the hinge at once, but translating one of them a bit from the axis so they won't stick. Then you just need a bit of wire (I use cutted legs from resistors or LEDs) to assemble them.
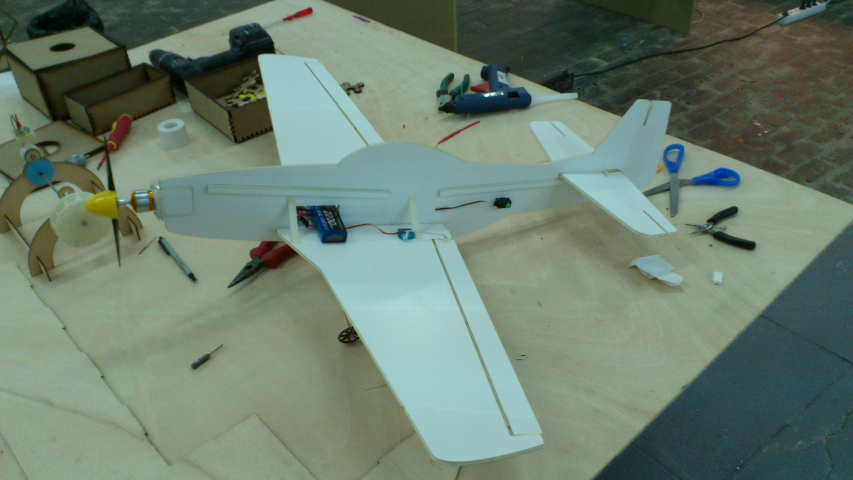
In order to assemble the plane you just need a 1000x700mm 5mm thick foam core board sheet, the 3D printed parts, hot glue, and the RC parts you want to use, mine's has a 4 micro servos, 2200mAh 2C li-ion battery, a 30A ESC, 2.4GHz receiver, a 2700KV Brushless motor, and a 6" propeller.
Then you cut the foam on the laser, and assemble the plane looking at the pictures, using hot glue to hold the parts. For the wings, glue the second layer on the big one, and then make 45º cuts on the fronts (top and bottom layers) to make the air flow better.
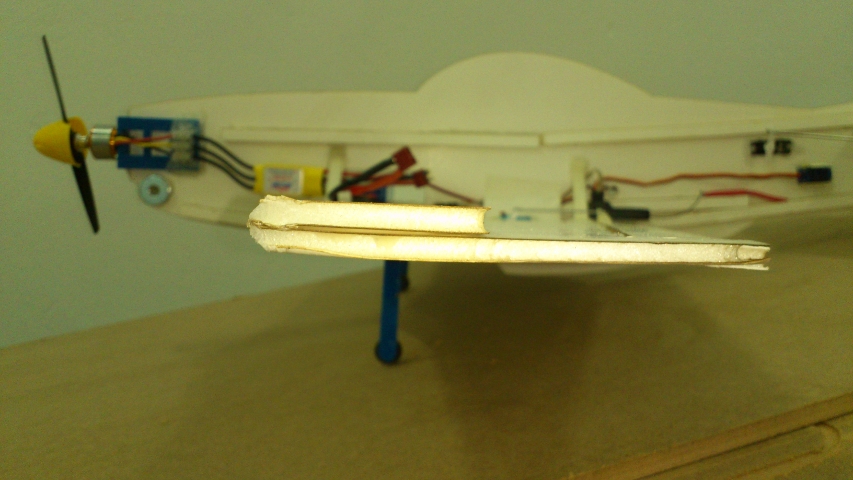
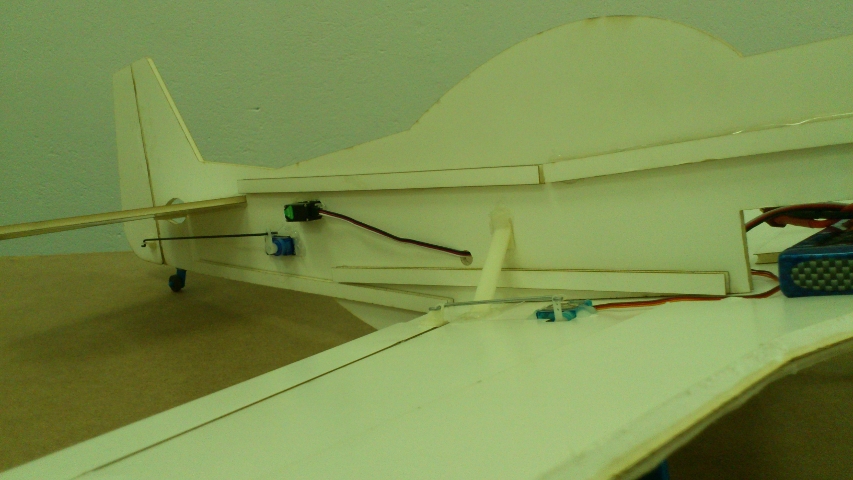
Then mount the 3D printed parts, motor mount, wind reinforcements (as you can see they don't form a 90º angle, glue them to the wings so these form a bit of a "v" shape, 170º instead 180º),
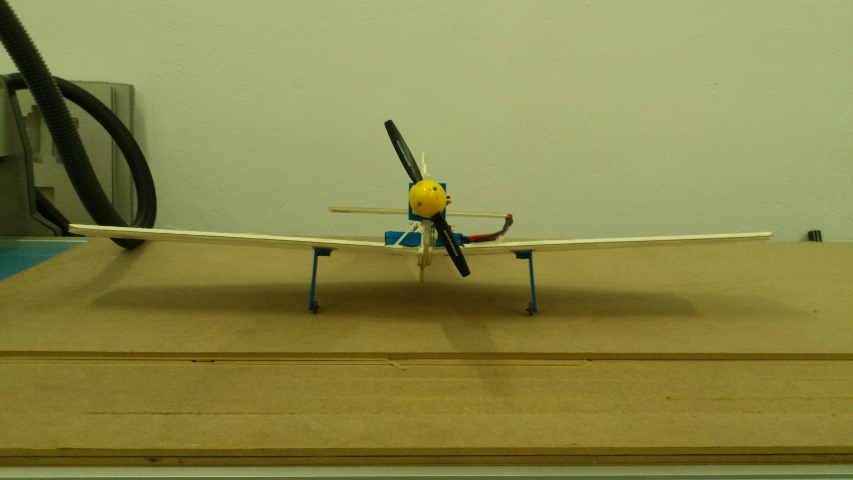
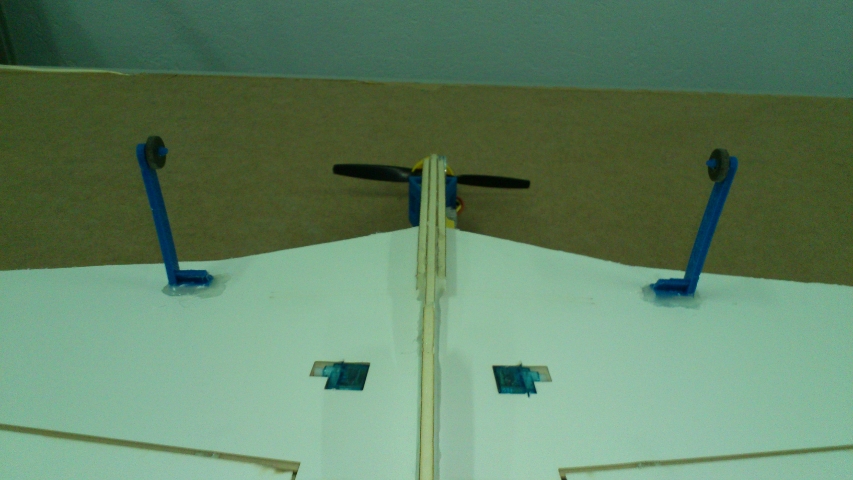
the landing gear (using some rubber gaskets as wheels),
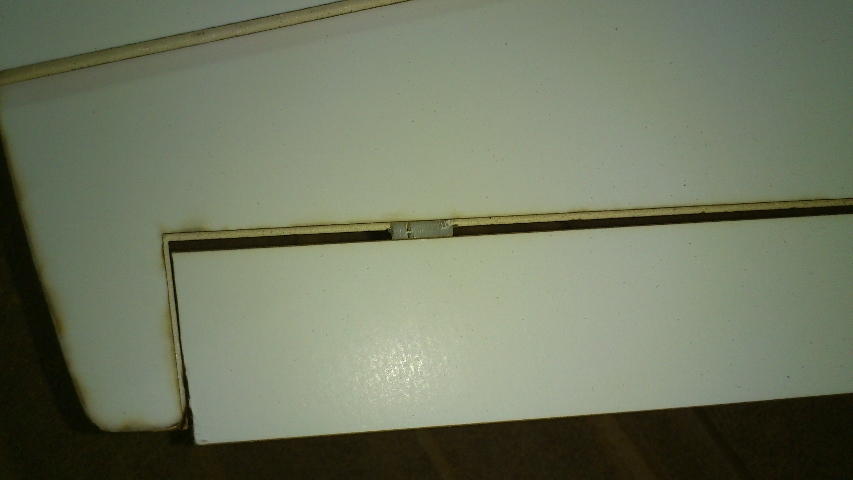
and the hinges to mount the control surfaces, two on the rudder, two on the elevator, and three on each aileron, so print 10 of them. In order to mount them, I mark the spots where they go inside the foam, and make a small cut with an x-acto knife, apply a bit of hot glue to one of the sides of the hinge, and insert it on the cut. Then after fixing the number you need for your surface control, do the cuts at the simmetrical place on the foam of the surface control, apply hot glue to the other side of the hinge, and insert the surface control on place.
Then glue the control horns, and mount the electronics, servos, receiver, motor, ESC, etc. After some practice, you can build this plane in less than an hour.
The first try was not very good, the plane was not leveled, and bended after taking off, started to turn out of control and crashed, just after 5 seconds!
So after this big FAIL, I updated the design with some reinforcements, a printed motor mount, and found the center of gravity of the plane. The DXF has some marks on the green layer for engraving with the laser (very low power), for the center of gravity (lines below the wing), and the place for the landing gear (crosses), and also for the center of the wing and horizontal stabilizer.
Final plane:
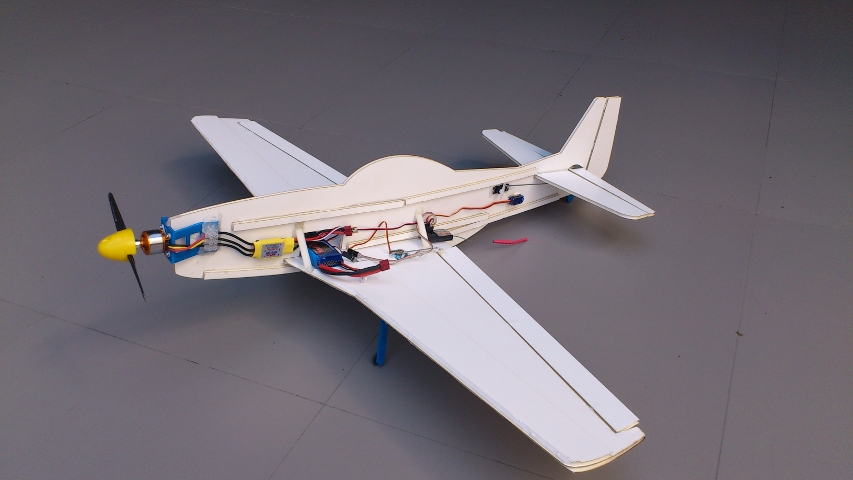
Maiden flight: The plane flies great, it's really responsive (too much!) and works nice on high alpha, but it's too advanced for a novice pilot like me.
Second camera and wreckage:
Files: