For this week, in cooperation with Alexander Walzer, we’re gonna make a light paint machine, using as model the Draw Bot, but we want to move the motors into the penholder piece, because then we can almost hang it in everything, like trees and outdoor spaces.
Mechanical Design
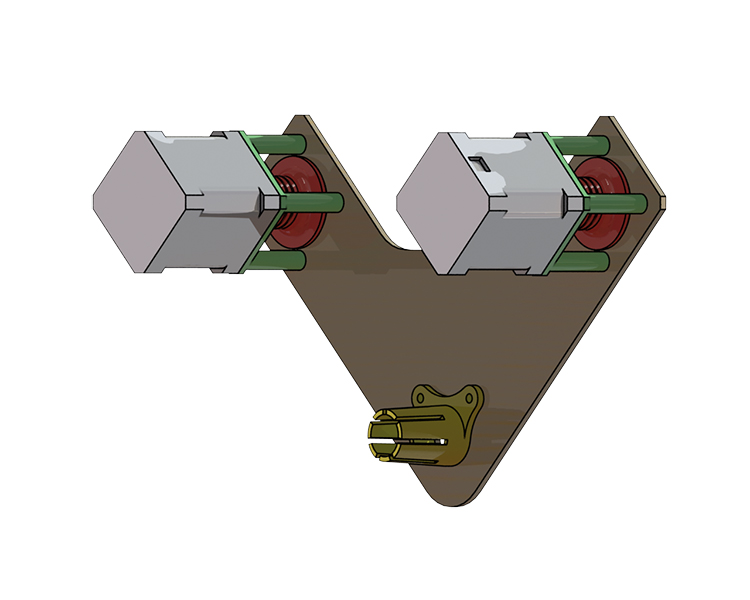
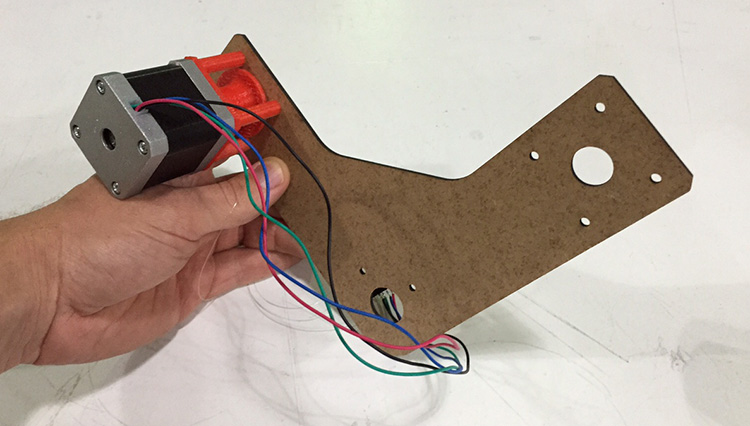
After modeling in SolidWorks we made the first prototype laser cutting the frame and printing the other parts. We are using the Nema 17 and for this first try arduino + driver to control, made by Gabriela Gardosi.
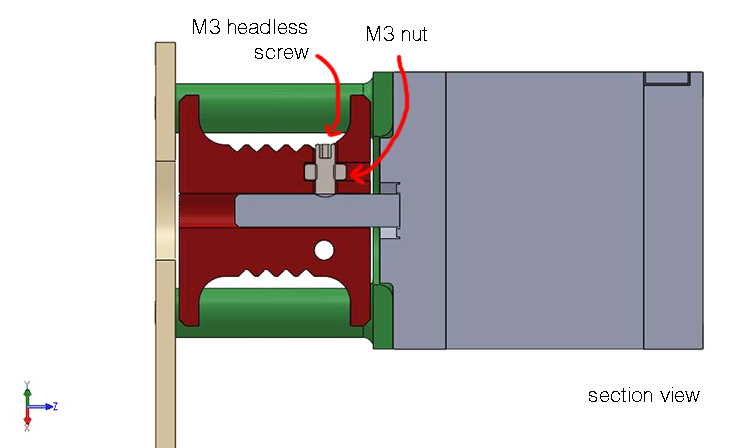
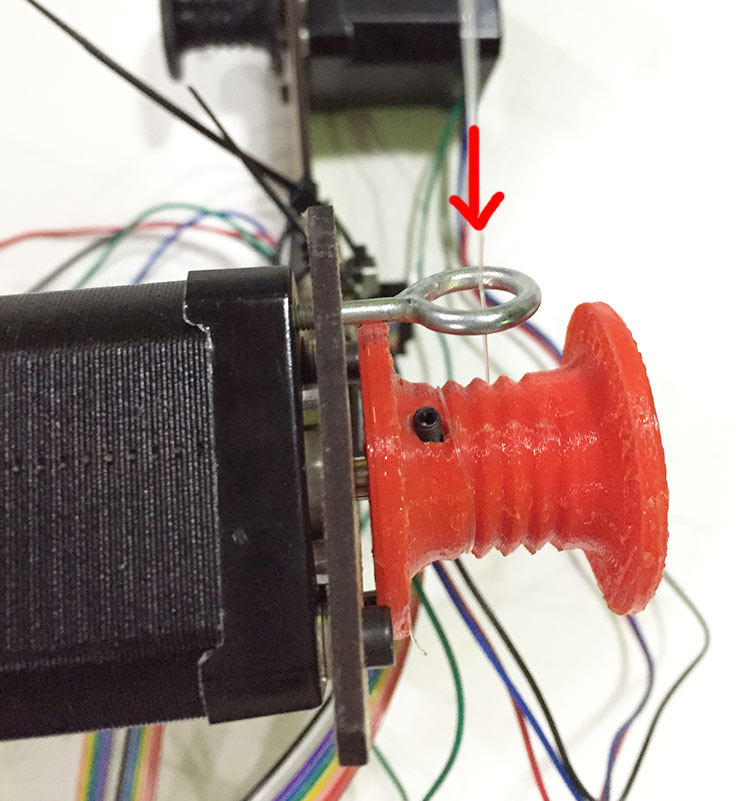
To fix the rolls on the motors, I designed a common system with a nut and a headless screw:
So after this first test we realize that using those drivers, the motors doesn’t have enough power to hang itself. Also the piece that rolls the fishing line is a bit oversized if we will continue to use the fishing line. The motors are a bit heavy and the machine wouldn’t be balanced using them in this configuration.
To solve the balancing we decided to change the motors position and start using the Gestalt node, to make sure that the Nema 17 will be strong enough to hang itself two times.
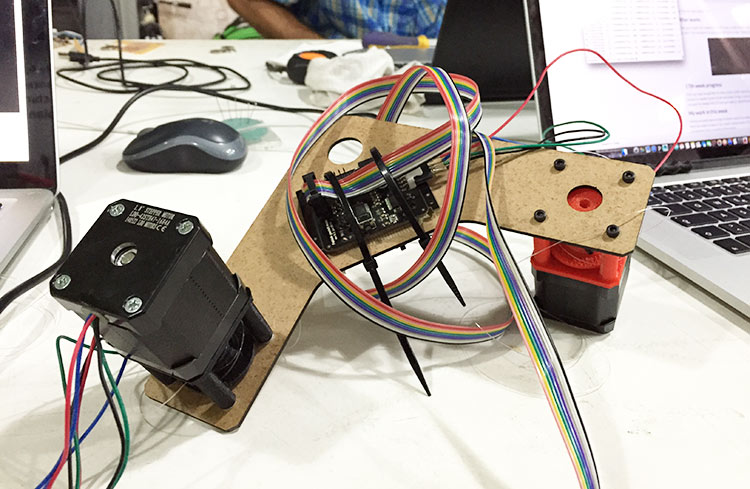
After connect everything following this tutorial we ran the xy_plotter.py example and voilá! it works, and have enough power to go up:
But it was still unbalanced, and so what we did was put the motors a bit more close of the machine body. Also we removed the 3D printed cage because the cables weren’t passing smoothly through it, and in order to keep the cables rolling without get off the rolls we attached a hook in one of the motors holes, and so it could give direction to the fishing line.
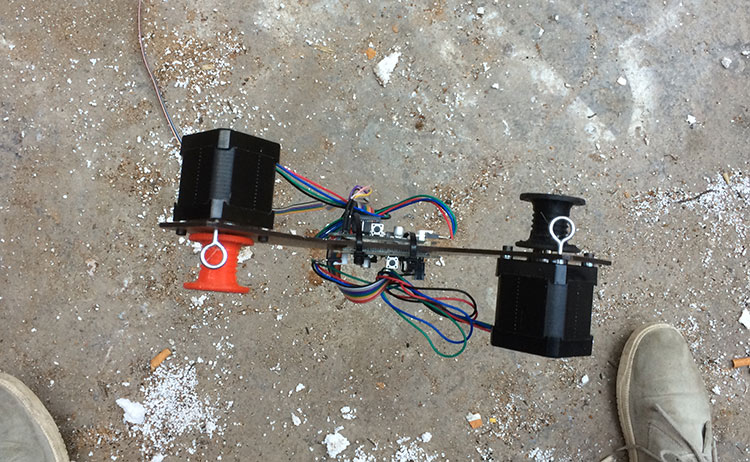
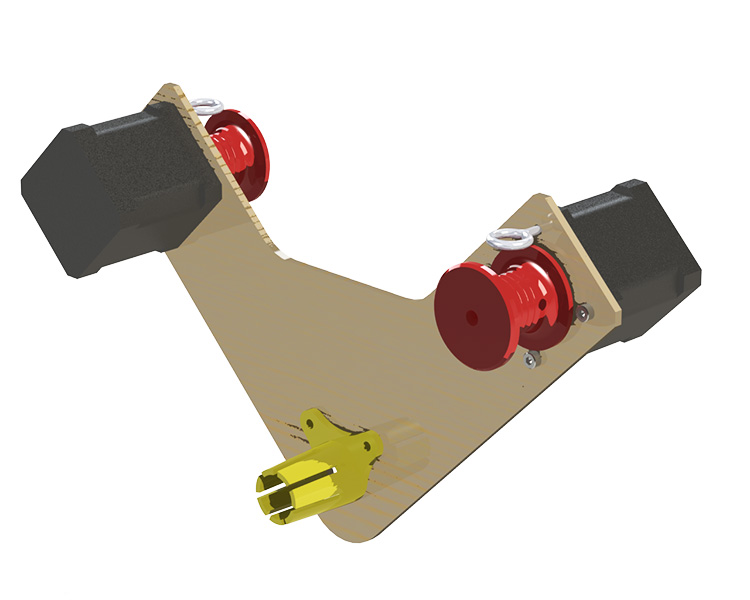
Time to programming it and make it light painting! We moved to outside to have more space and hang the machine in a metal structure that was there. So we made two holes, 1m distance between, in a wood stick in order to tight the machine there.
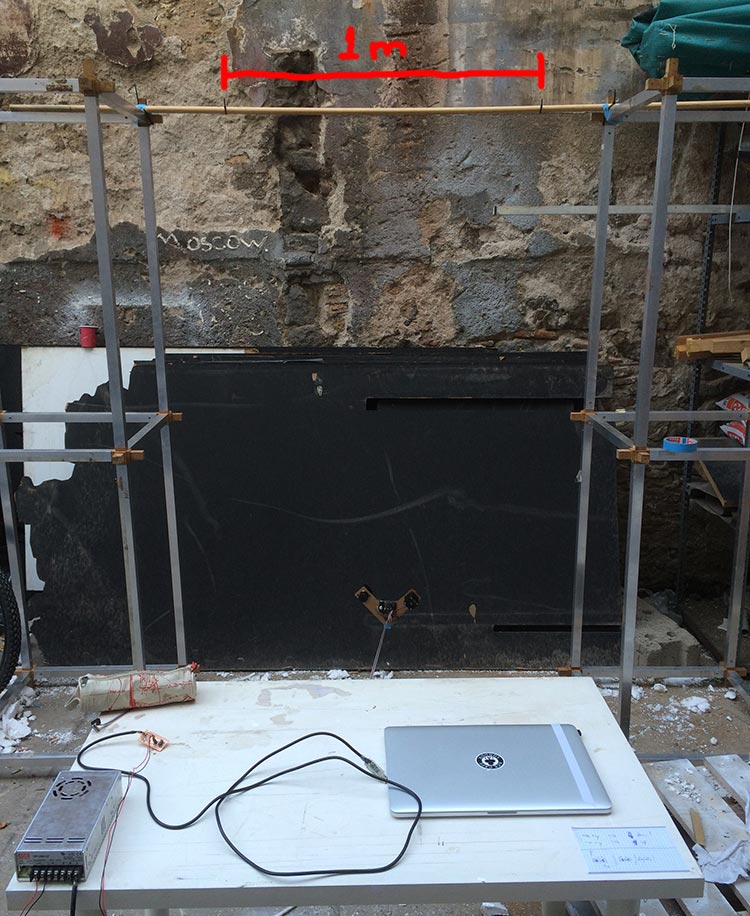
At the beginning the speed was high and the movements were a bit shaking. Next step was find something to generate g-code, since we are using a different style of coordinated system and gestalt as a driver. It was hard to find an application to generate the code based on this kind of machine. After google it we found the Makelangelo, witch is a drawbot machine that you can buy, but also has an open source software that you can export the g-code. So what we did was first define our machine settings, width and length, import our image as JPEG and export the g-code. But the code came in a format that is not possible to simply copy and paste in the python code, so we changed it to have only x,y and everything in one line.
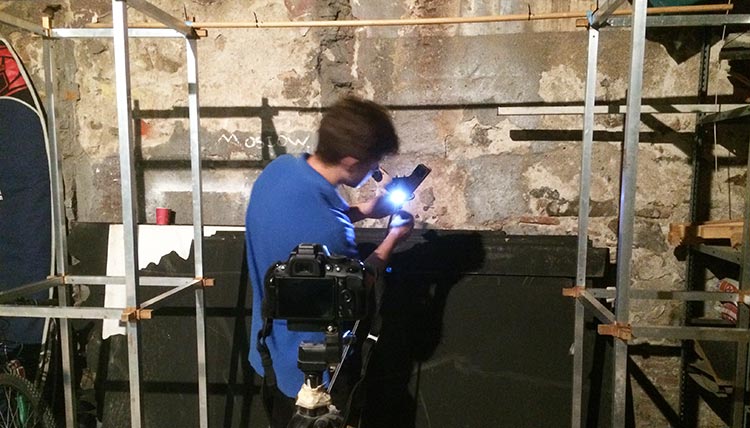
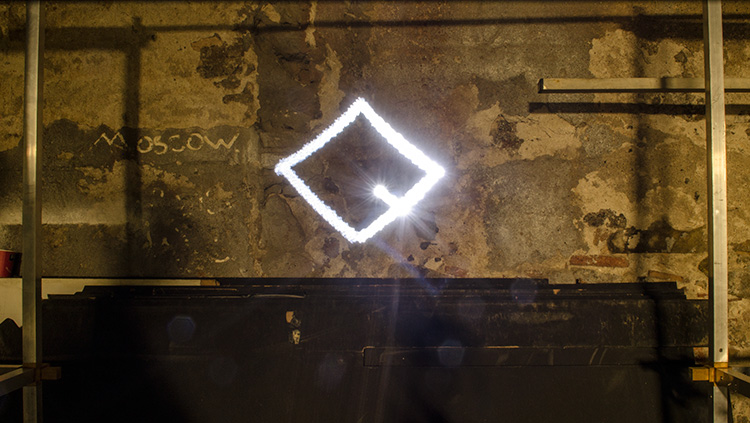
We manage to draw our first tilted square. Ihul! But we still don’t know why it is tilted, weird.
Division of labor:
A) Machine Design and first prototyping - Gabriel
B) Programming & Interfacing - Alexander Walzer
C) Final prototyping - Alexander & Gabriel (and Ferdi :-)
| File | Extension |
|---|---|
| drawbot assembly + parts | .STEP |
| ← week 15 / applications and implications | final project → |
|---|