

At Fab LAb Puebla we have a program called Martes de Makers (Tuesdays of Makers) Three hour courses where we teach people how to make different things using different techniques.
One of this courses is Molding and Casting. We also have Jewelery activities with the Design School.
I want to share some experiences with our courses.
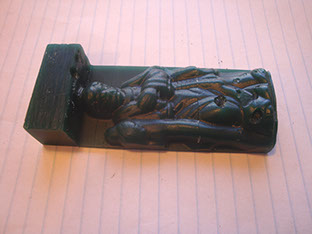
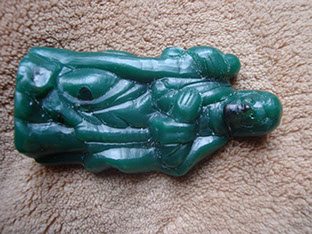
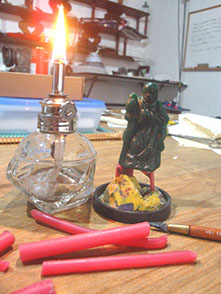
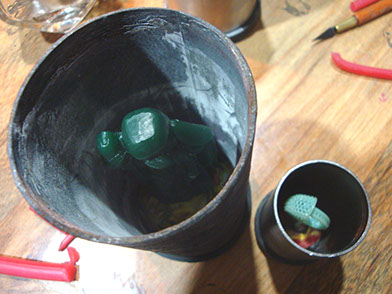
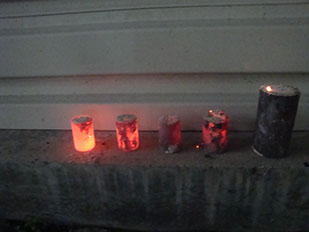
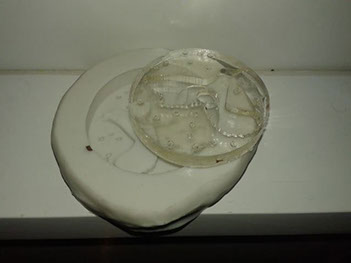
The first is the use of low grade Jewelery wax. It machines fine but we found out that there are a lot of bubbles inside the wax. This is a big problem because one must re work the piece, manually, in order to have a decent model.
You can see the holes in red rectangles.
Zamak vs Babbitt
One product we use a lot is ZAMAK. An Alloy of Zinc, Aluminium, Magnesium and Copper. It has some advantages over Babbitt:
Free of Lead
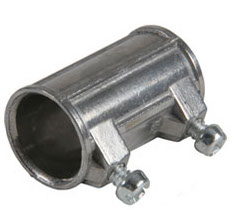
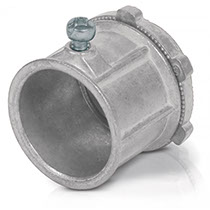
Easier to find (At any home depot you can buy conduit connectors made of Zamak at 1 cts /gram)
Better finishing
Very fluid when casting
Stronger
Babbitt advantages:
Lower melting point (230°C vs 350°C of Zamak)
Can use Silicon molds
To work with Zamak is the same process as jewelery.
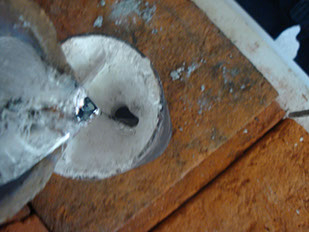
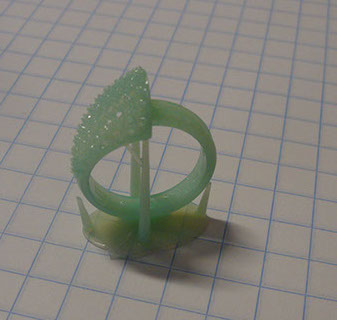
First one have to make wax canals and put the piece into a tube.
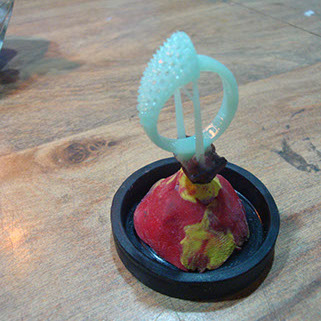
Then the tube is filled with jewelery plaster (Investment), let dry and heated to extract wax.
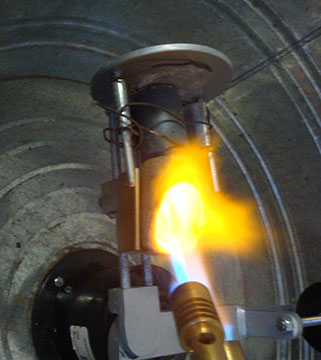
After that, since Zamak is very fluid it is easy to cast directly in the mold
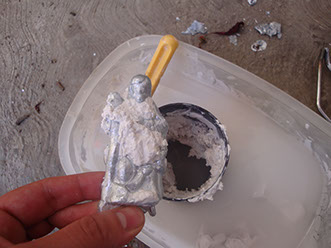

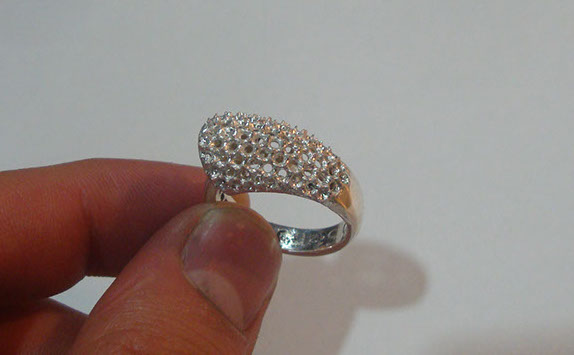
The Zamak´s final result is very interesting, since the material can be finished just like silver at a fraction of the cost.
The same is done for jewelery except that for casting silver in the mold a centrifuge machine or a pressure - vacuum one is needed in order to insert the silver into the mold.

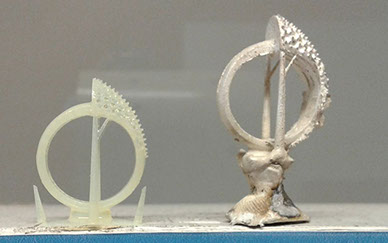
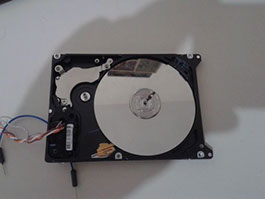
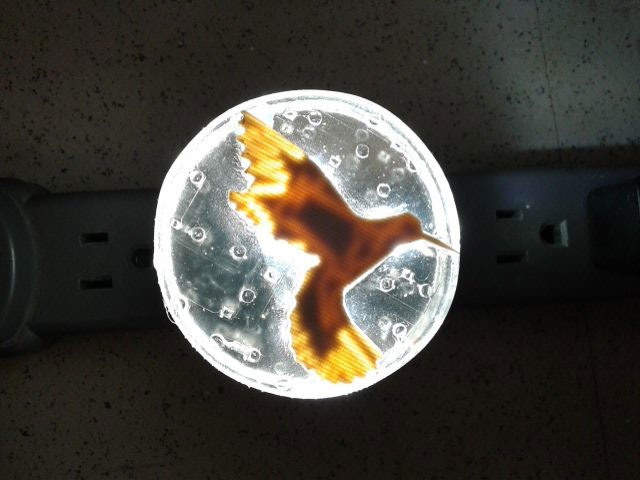
For this assignment I wanted to use some electronic waste combine it with casting and previous assignments.
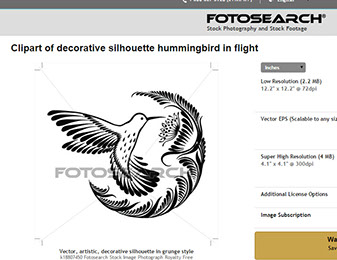
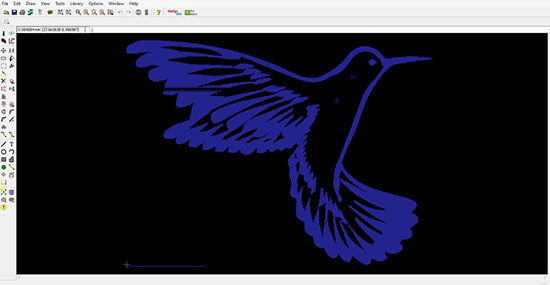
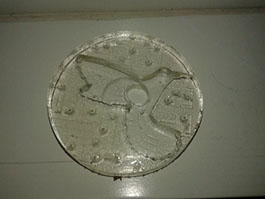
I made an electronic board hummingbird with light, encased on a transparent resin mold on top of a brilliant hard drive to reflect the bird's light.
I saw this cool Idea at instructables and found a nice hummingbird at Fotosearch.
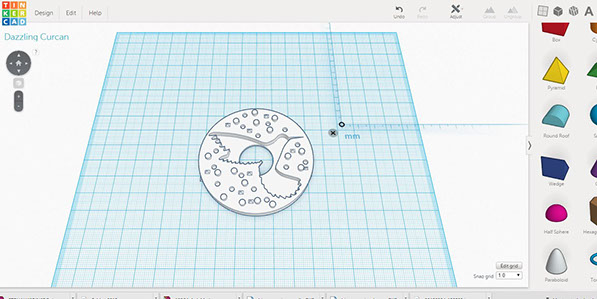
Then I made the vector with inkscape.
Finally I made a circle the size of the hard drive and I embedded the hummingbird vector in it to make the final mold.
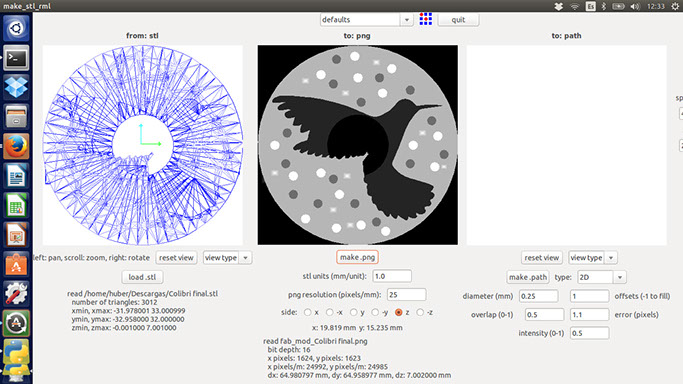
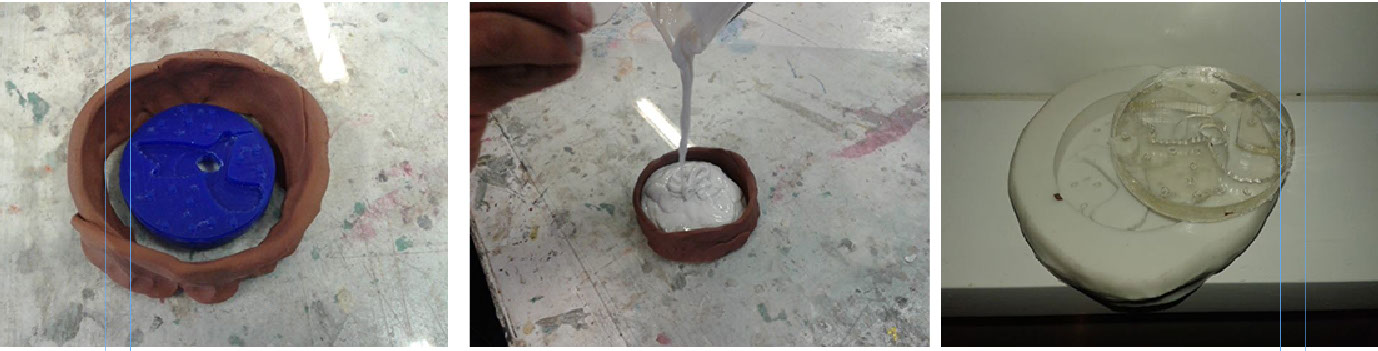
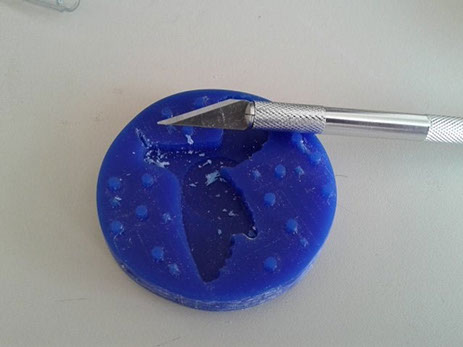
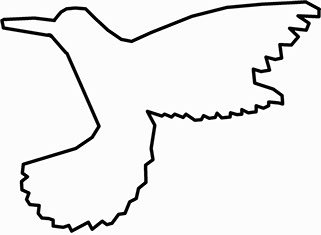
To make the mold first I had to cut the milling wax to proper size, this way I avoid wasting material.
Then I loaded my STL file in fab Modules to machine the wax.
I had a problem since I did not calculate the cutter size and leaved a very small beak and I had to cut it by hand.
You can find the stl's mold by clicking here.
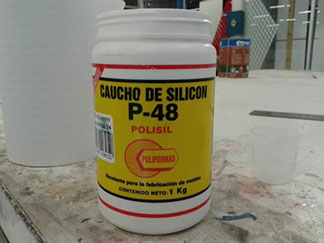
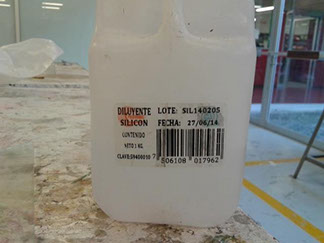
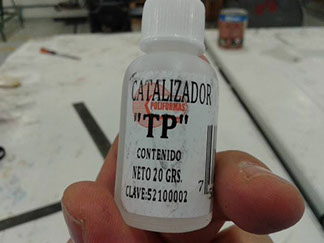
To make the silicon mold I used Caucho de Silicon P-48 and mix it with solvent at 2 / 1 proportion and then added 50 drops of catalyst to a 100 ml mix.
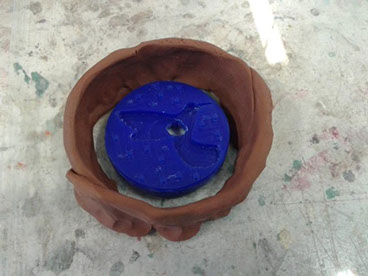
Then I put the mold on a glass and surround it with plaster. I poured the mixture to make the silicon mold and wait about an hour and a half.

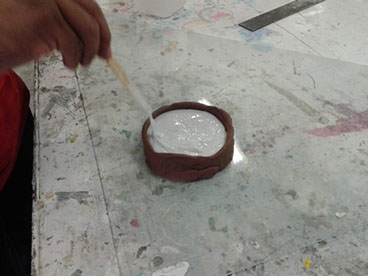
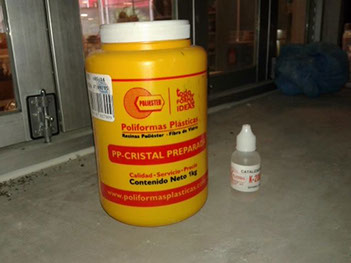
Once I had my mold, I made a mix of transparent resin adding a drop of catalyst for every gram I used of resin and pour it into the mold

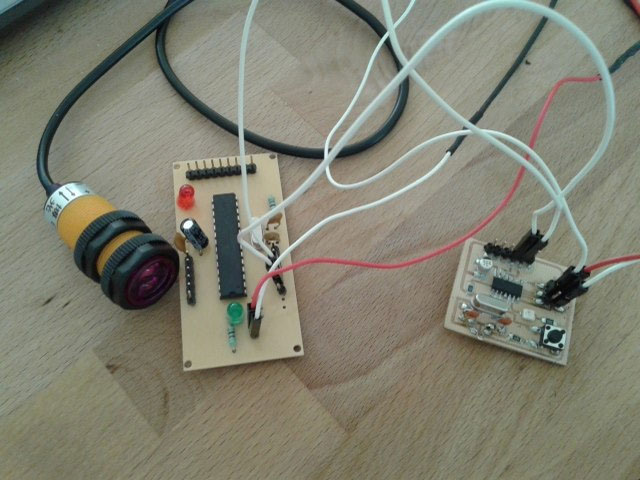
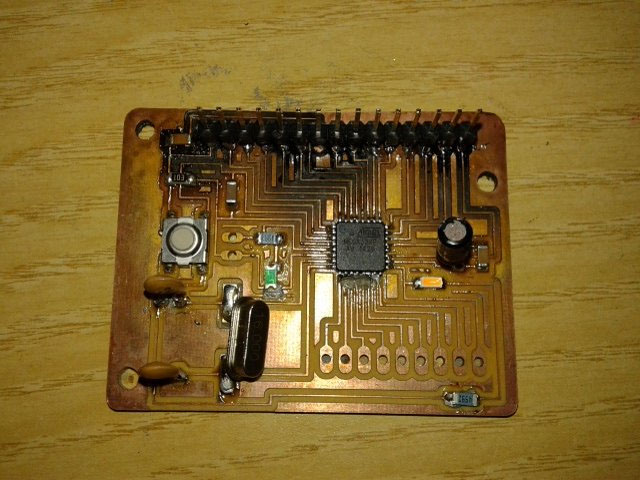
The next step was to make the electronics with Eagle.
I used the same vector I used to make the STL. In the board window I use the MENU: File / Run ULP / import-bmp.ulp to import the vector as a bit map. There I draw the circuit, the cutting path an some paths to simulate feathers
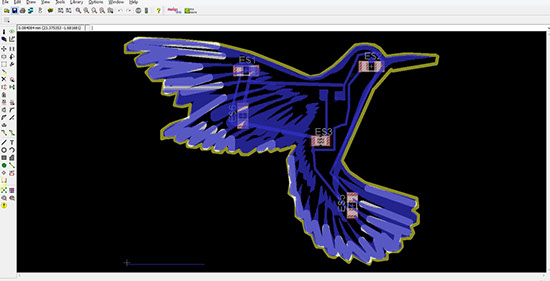
The next step was to extract the images to make the circuit, engrave and cut it in the shape of a hummingbird
And milled it

Next I am going to use the hard drive disk and put it behind my transparent resin casted piece and add the hummingbird with lights to make a nice night lamp


Learnings:
Have to be very careful with the size of the tool. If it is too big it won't cut small parts
When using resins have to be very precise with catalyst because using too much can cause the resin to turn yellowish. One can not appreciate in the picture but the resin is not transparent.
Do not touch resin until is completely dry. Otherwise you will leave fingerprints all over it.