
WEEK 9 - Molding and Casting
Assignments: design a 3D mold, machine it, and cast parts from it
DESIGN FILES
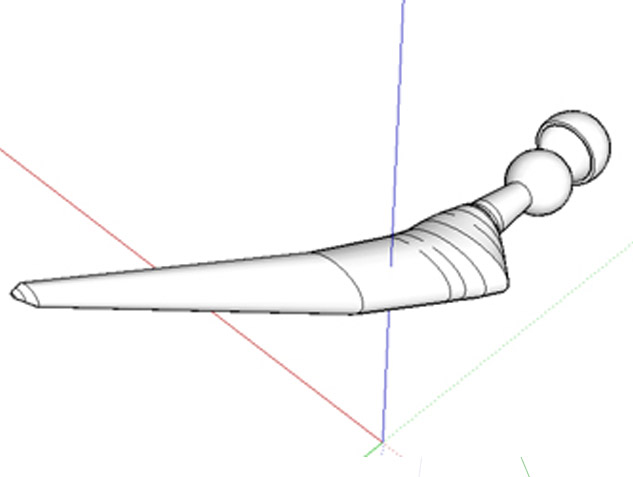
So for this weeks assignment, I messed around with someone else's project. Few months ago we had a couple of high school girls who wanted to 3D print a prostetic hip bone for a presentation they had to make on biomaterials and 3D printing. I sat down with them and showed them how SketchUp could be used to design such a part. Showing the basic tools and the controls at the same time. They didn't know anything about 3D modeling so instead of showing them how to draw cubes and other random stuff, I decided I'd demonstrate every steps to acheive their goal.
The file was still on my desktop and was the simplest shape I could mold and cast.
Converting the model for molding wasn't that complicated even though it was the first time I tried it. Add keys, duplicate, flip one and then let the boolean operations do their work. Two halves of the same 3D model with interlocking parts.
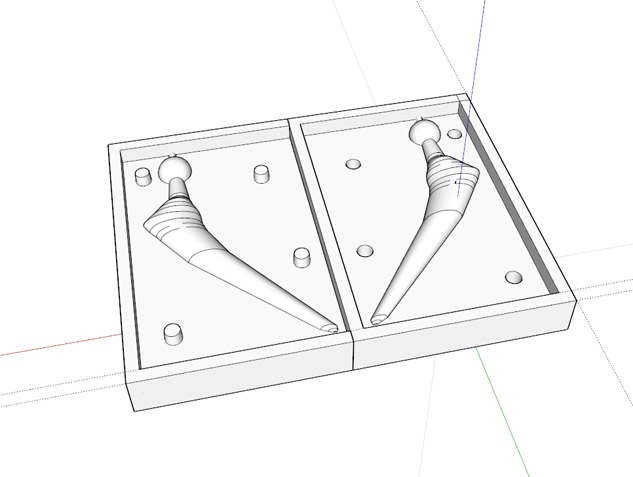
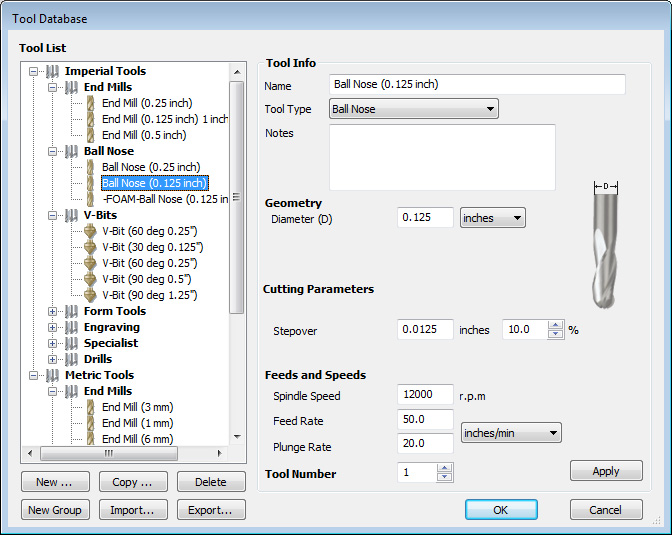
Using Aspire to create the G-code, the first step was to create the roughing cut. I decided to use a 1/4" endmill with a 2mm allowance around the surface of the model so I could "surface finish" with a 1/8" ball nose. I decided to use a 1 1/2" piece of wood as the base for my mold as there was some laying around left behind by some guys who wanted to make paddles for their frat brothers.. always scrapping all the junk I can find for my own projects. For the feedrate, I usually adjust the percentage in mach3 while it's cutting so the wood chips and noise looks good.


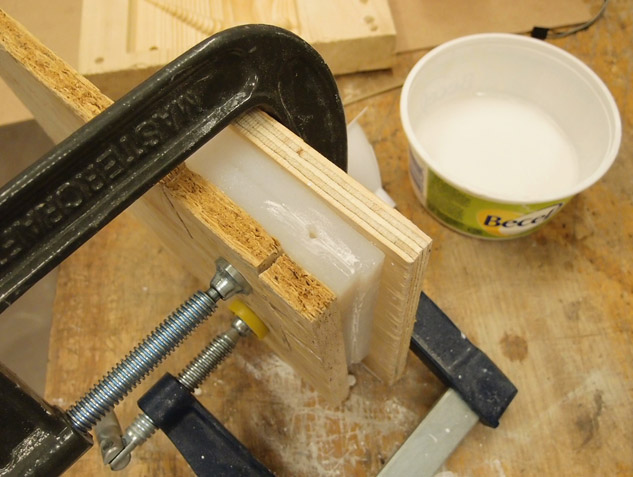
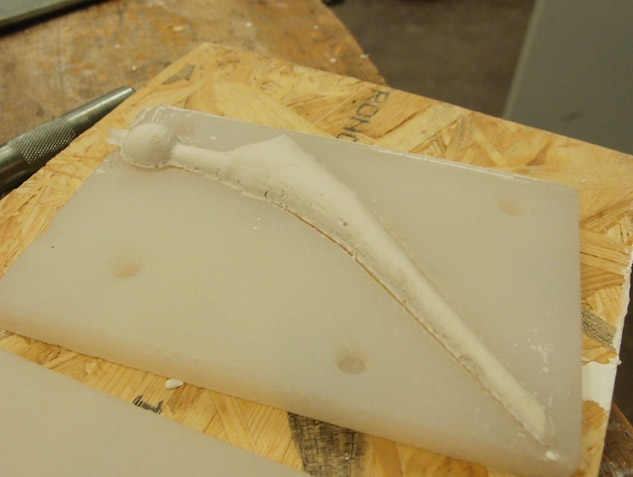
For the mold, I used smooth-on's Dragon Skin 30 as it's super flexible and I could easily peel if off my wooden positive part. Mixing a 1:1 ration of part A and B for about 5 minutes making sure I wasn't putting too much air bubbles in my mix. I then poured evenly in both pockets, quickly tapping the edges with my finger to minimize air bubbles and then placed everything under a set of flood lights generating a lot of heat to cure the mix. About an hour later, I had perfectly flexibles, really precise duplicate. All I had to do was stick both of them face to face between clamps and then pour wathever I could find in.
I had some problems with the keys. One was the exact negative of the other and fitting them together was really hard, I had to cut half of the extruded part so they'd fit together properly. Once fixed, both faces could be easily aligned, sealing the mold. We have a lot of plaster, so I tought it'd be interesting to cast a prostetic hip bone with a bone looking material. Mixed a batch of plaster then poured it in the mold. Hadn't realized how small my opening was before trying to insert a small funnel in.. but by pushing and turning the funnel, it actually made it's way in... creating a small opening around the funnel which created a small leak when the mold was full. In order to get the air out of the mold, I pushed a long and really thin piece of wood through the hole. Wiggling it around I could see some bubbles coming out.
After a few hours, I had a nice plaster prostetic hip.