WEEK 3 - Computer-controlled cutting
Assignments: Design, make, and document a press-fit construction kit
DESIGN FILES
So this week's assignment is to make a press-fit construction kit out of cardboard. Good, sturdy and flexible cardboard. Since we received our laser cutter not too long ago, finding thick cardboard wasn't that hard..
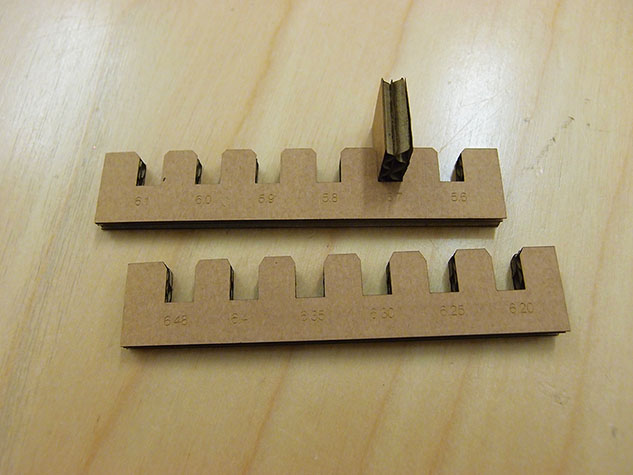
I first measured the thickness using a caliper, 6.48mm thick. I then used this measurement and Illustrator to design a comb test pattern with various width. 6.48mm all the way down to 6.2mm. To make sure I had a clean border to test with I also cutted a 20x20mm square.
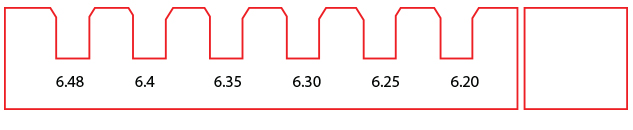
Using Trotec's Job Control cardboard preset didn't cut all the way through so I had to reduce the speed a little for a clean cut and my first design couldn't hold the test piece at all.. I had to design a second comb with much smaller cuts, decreasing by 0.1mm instead of 0.05mm.
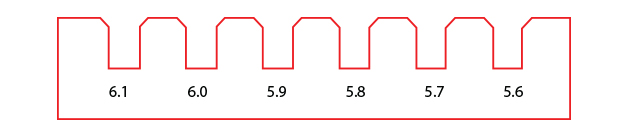
It was a wise choice since the fit was perfect somewhere between 5.7mm and 5.6mm.. the last 2 values on my test pattern.
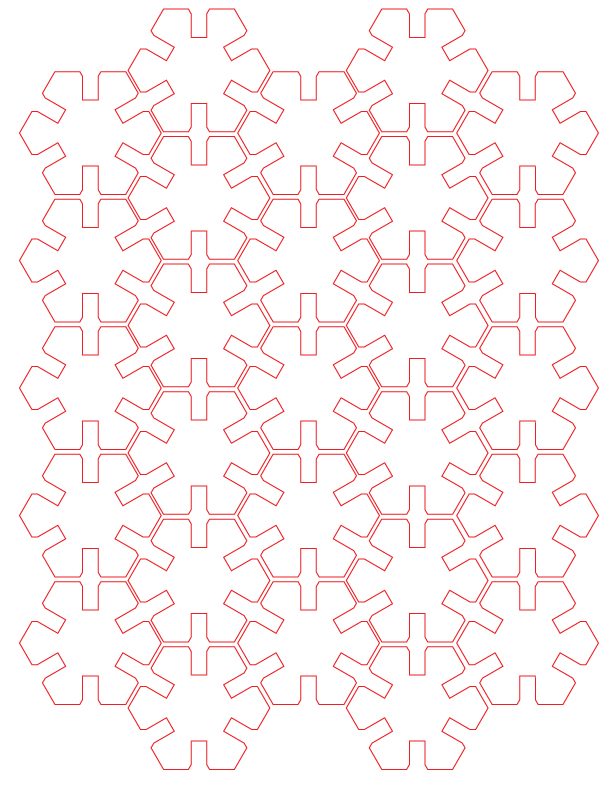
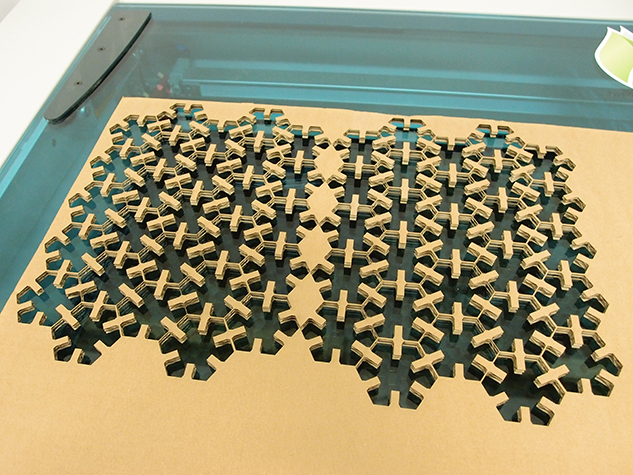
Now that I knew the width of the cut, I was diving into designing the kit. I was torn between trying to design something complex using Blender's parametric plugin Sverchok or doing a simple block that could be shaped into wathever I wanted. I opted for the second option. I wanted to create organic structures that could quickly be assembled using a single block design. I went for 5cm hexagons with 1cm deep x 5.7mm wide cuts.
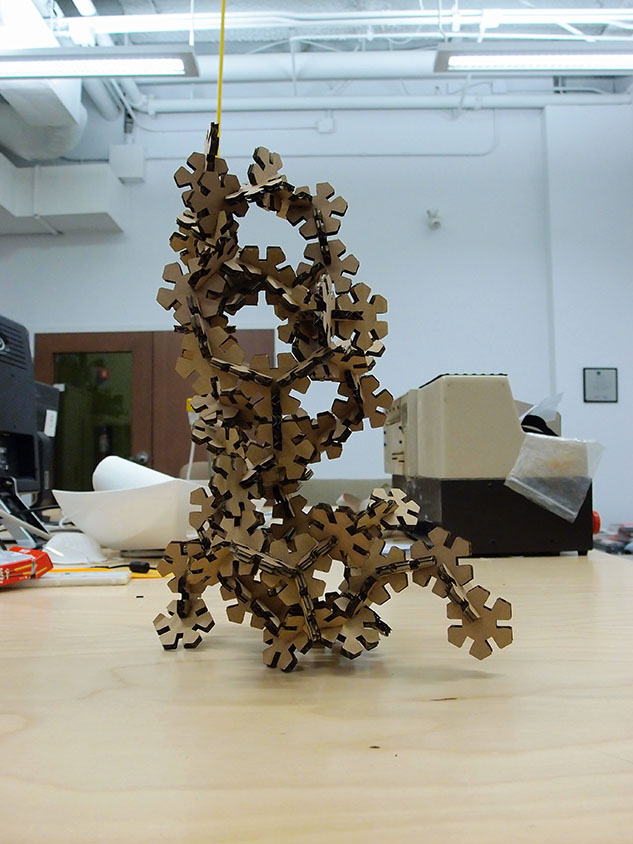
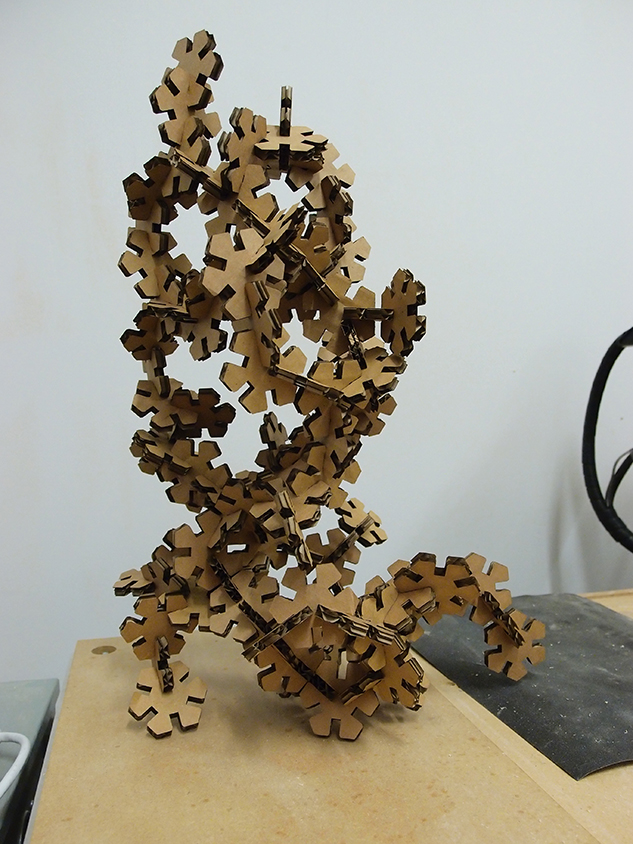
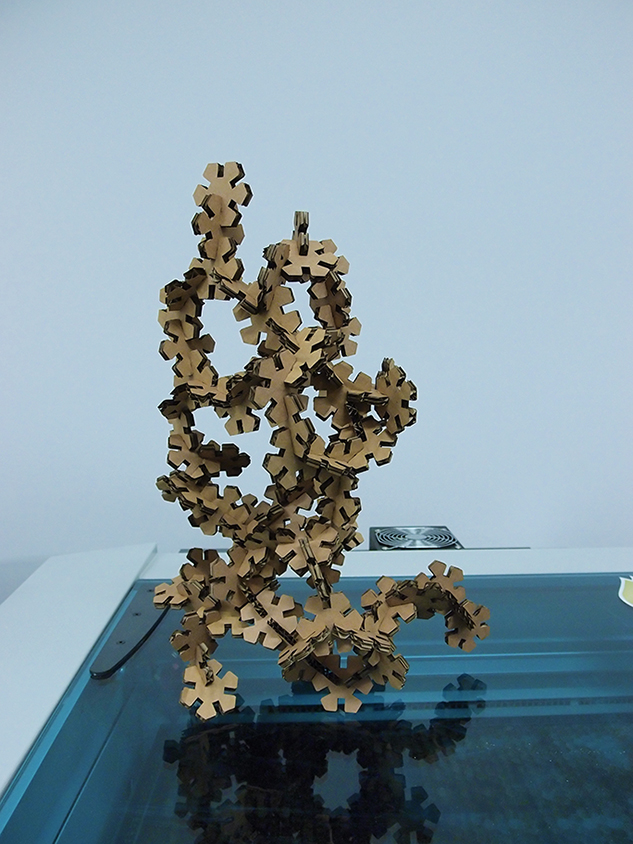
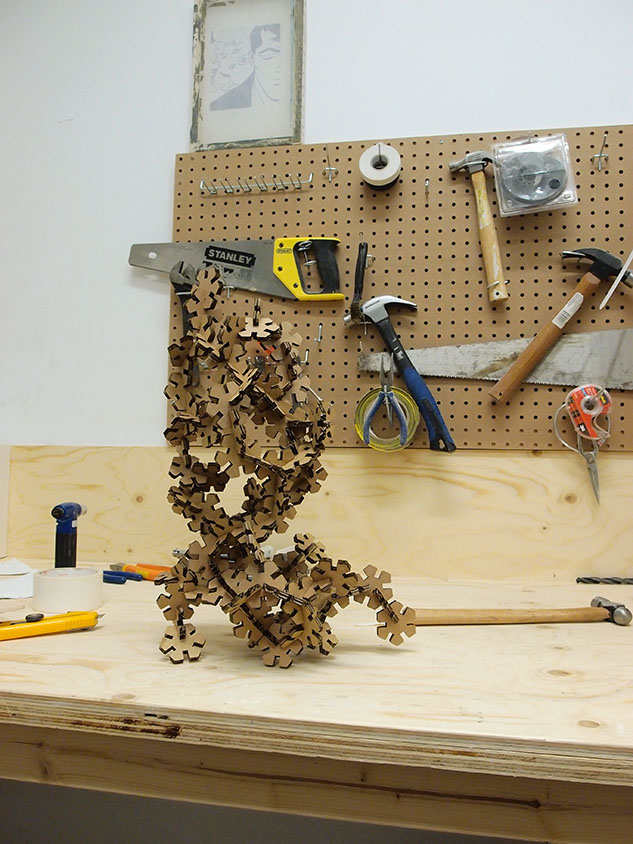
Being a big yoga fan, I decided to build a structure that would embody natural balance. I opted for my favorite yoga pose, the famous Poireau.

My sculpture on a CNC.
My sculpture on a laser cutter.
My sculpture on a workbench.
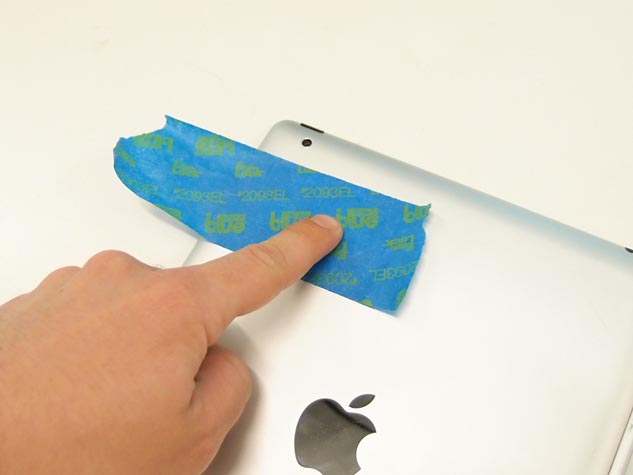
Vinyl Cutting
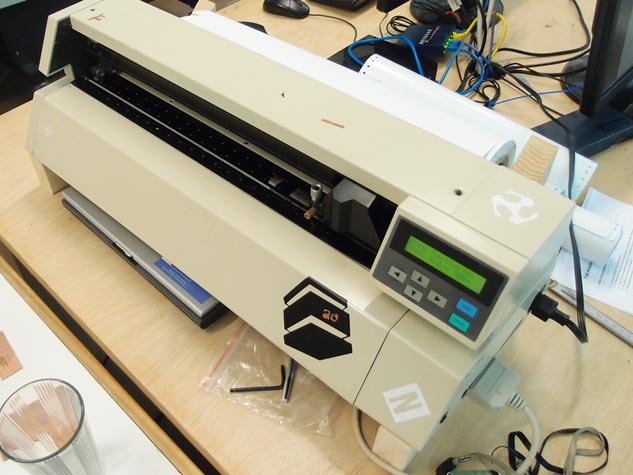
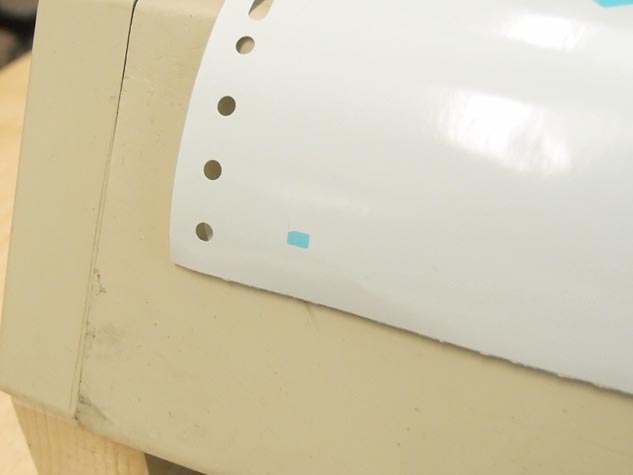
Our Vinyl Cutter is an old Roland DG Camm-1 PNC-1000. We had an old laptop with a parallel port laying around in the lab and we setted it up so we can use it as a remote desktop. I prepared the vinyl cutter manually drawing a small rectangle to see if the pressure and height of the blade was fine.
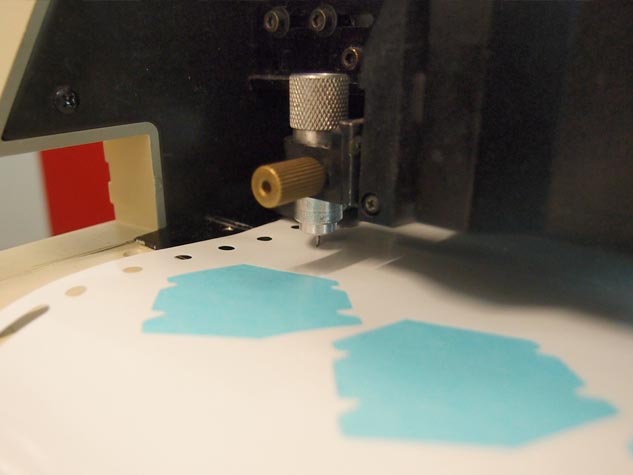
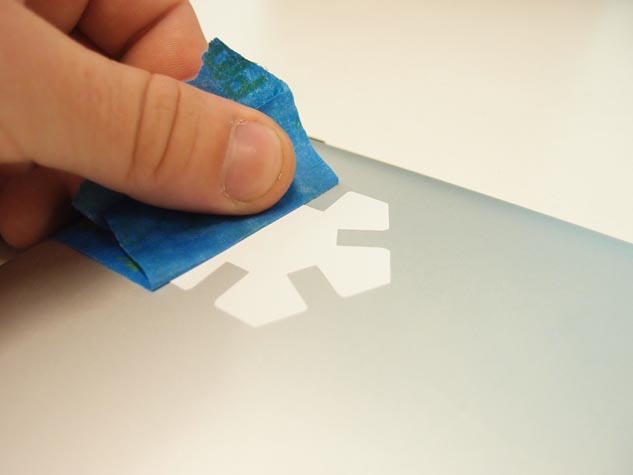
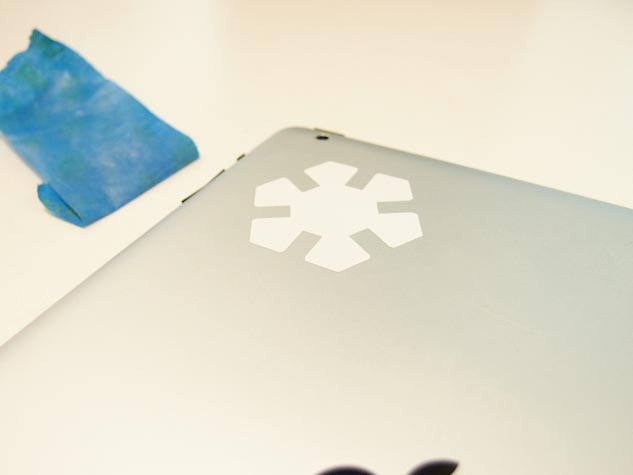
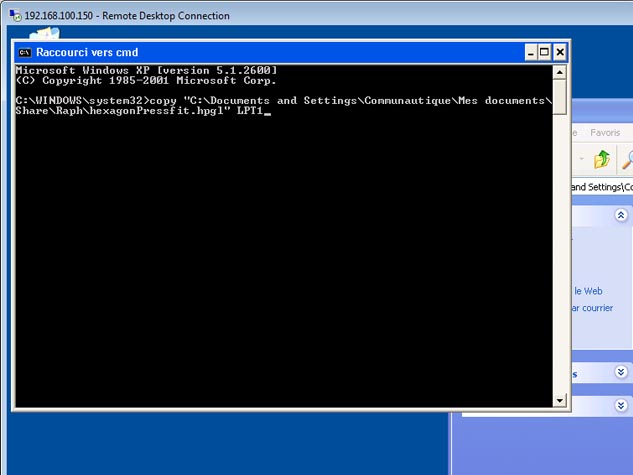
I decided to vinyl cut the same design I made for the laser cutting. Inkscape can export as hpgl natively and the Camm-1 is waiting for it. Time to send my HPGL file to the parallel port...
Step-by-Step: