Week #13 || Composites
Software used:
Machine used:
Setbacks:
1. Mycelium Insulation
Mycelium is being used more and more for various practices outside the realm of mushroom cultivation. Amongst other purposes, one that is slowly being developped and comercialised, is the use of mycelium infused materials as an insulation sheet. See for example the company Ecovative Design, who are pioneering with mycelium is various practices.
This short TED video shows their work, and how they make all natural composite materials as an alternative to styrofoam.
Since I am also working a lot with mushrooms during this course, this week is the perfect chance to create a composite material using mycelium. We are the Green Fab Lab, so when there is chance to make a green alternative to using harmfull materials such as the epoxy, we want to embrace that! I am designing an incubator, and I want to use a mycelium composite as the insulation inside the housing.
Since mycelium does not grow over night, this composite was impossible to create within this week, and will most likely take about 4 weeks to finish!
2. Step 1: Creating Grain Spawn
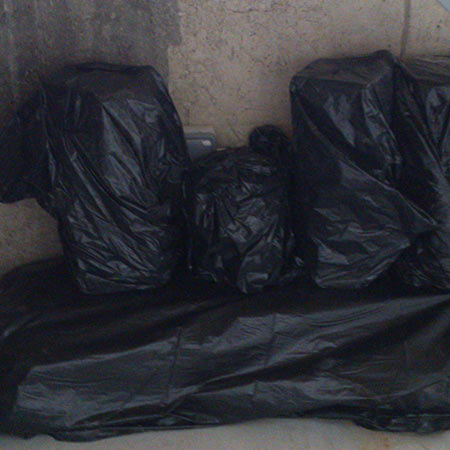
At the beginning of February 2015, I did a test with growing mushrooms on spent grain from a local beer brewery in Barcelona, Edge Brewing. (have a look at the updates page of Week 3)! I made 26 bags of 400 grams of grain spawn each. I tested with various quantities of mycelium, to compare the innoculation rate. Although it did not produce as many mushrooms as I had hoped, it did leave me with a large amount of mycelium. It is already nearly 3 months old, which is a long time for a grainspawn. For cultivation the mycelium I have is past its prime, but it will still be vigorous enough to grow into other materials for creating a composite!
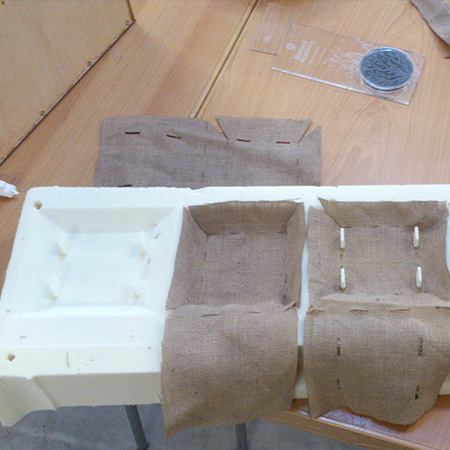
3. Step 2: Creating the Mold for the Test
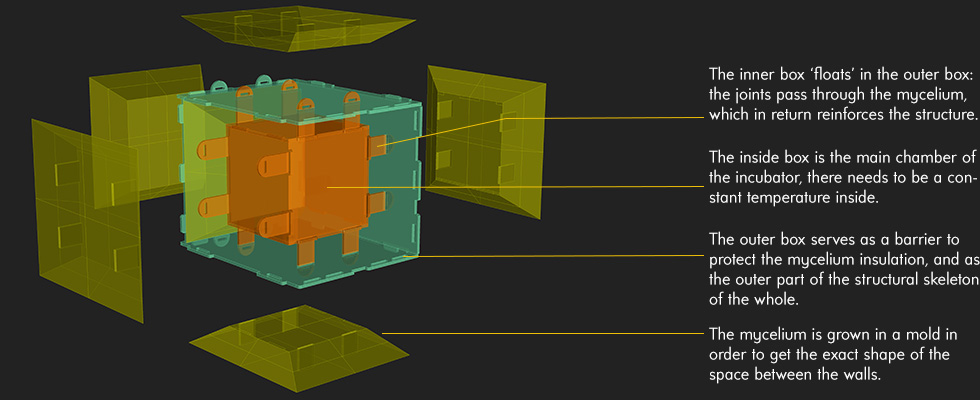
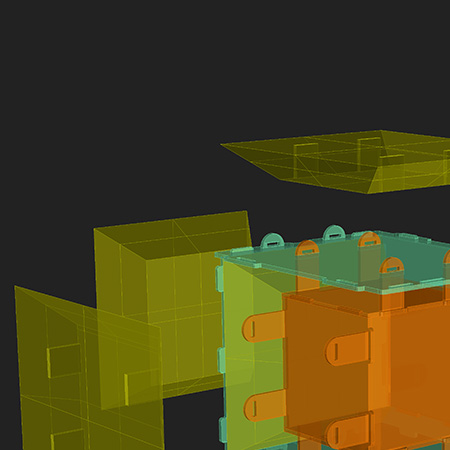
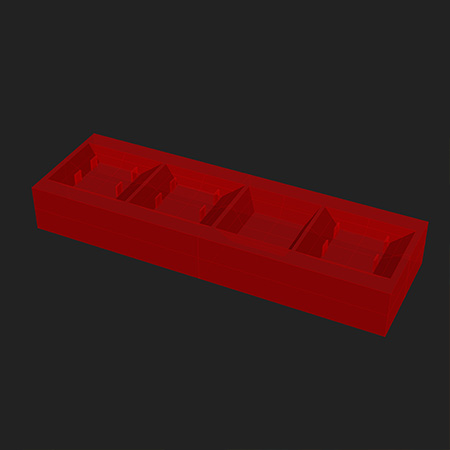
For our lab I am designing an incubator, and I want to use a mycelium composite material to use as insulation for the inside of the walls of the housing. Designing this will take me some time, but for now I have made a little double box to serve as a test for the construction. It has a double wall, which is to be filled with the mycelium composite. It is 2.3cm on the outer sides, and 4cm on the top and bottom. I want to see both thicknesses to compare them. After designing the box, I created a mold for the shape the mycelium composite would need to have, it is made in such a way that the pieces interlock perfectly both with each other and the structure, actually becoming part of the structure!
3. Step 3: Preparing the Materials and Innoculation
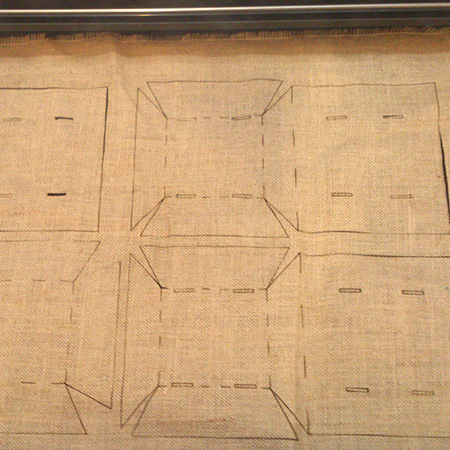
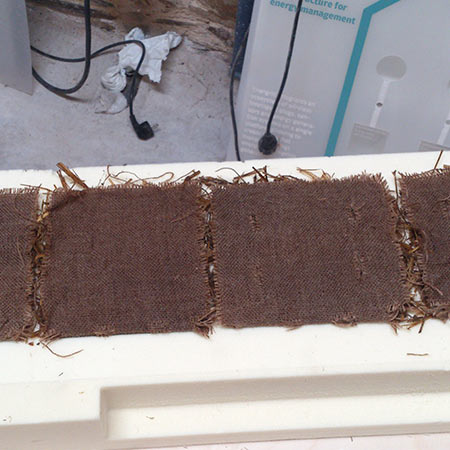
The mycelium composite is capped on both sides with burlap fiber, and filled with a mixture of the grainspawn and straw, giving it its substance. For the burlap, I used the shape for the molds in Rhino, and used the command 'Unfold surfaces', so I could cut the exact shape with the lasercutter, and fit them into the mold.
To make sure the mycelium does not just grow into the straw and wood, I soaked the burlap in a mixture of water with honey and blackstrap sugarmolasses, to give the burlap a higher nutrient content.
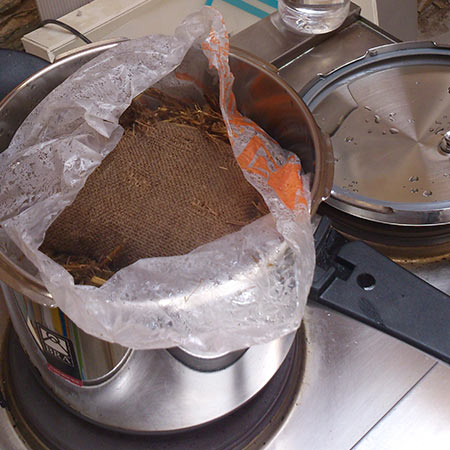
All materials to be put into the mold must be sterilized first. To do this, I put everything in a pressure cooker for 75 minutes. Once sterile, the material must be alowed to cool down.
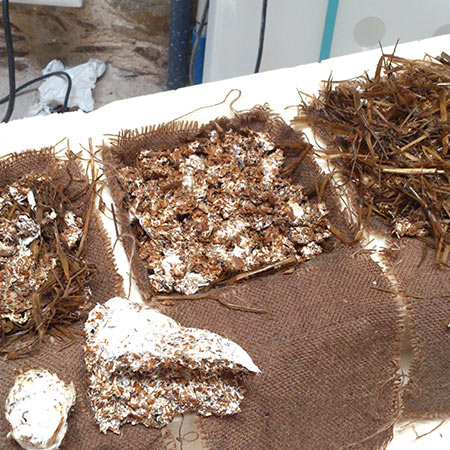
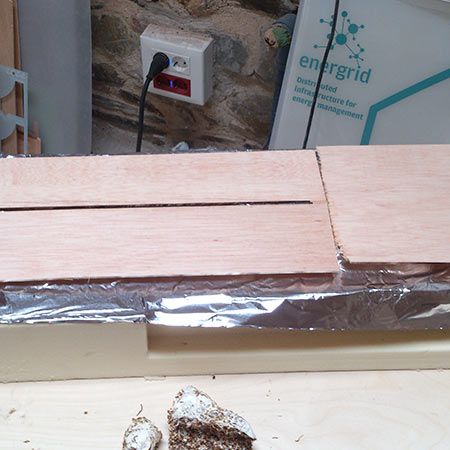
After cooling, it is time to mix the grain spawn with the substrate, and press it into the mold. Making sure not to squash it too tight, I fold over the burlap and press it as well as possible into the shape of the mold. Once everything is in place, I close the top of the mold with a sheet of aluminium wrap, thin plywood and bricks on top to weigh it down, and put it away in a dark and warm space for it to grow.
Now, it's a waiting game. I will open the mold in about one week to check how it is doing...(mold was filled on 01-05-2015)
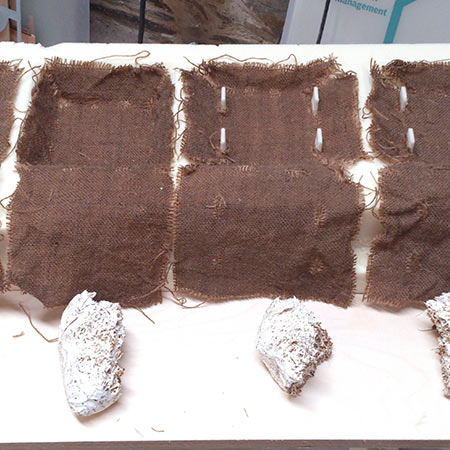
( Opened on 11-05-2015)
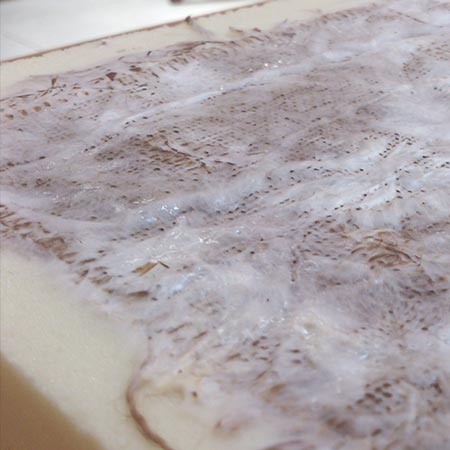
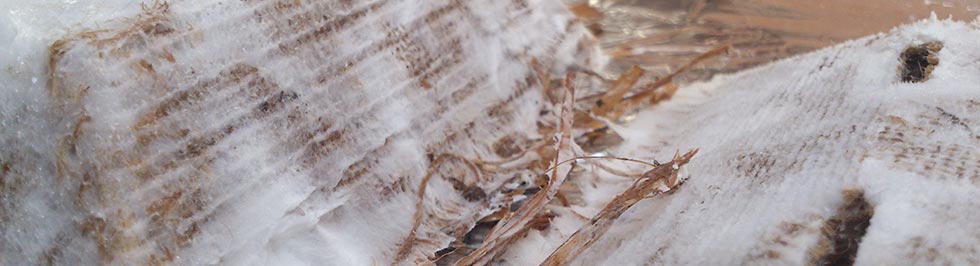
After only 10 days, the mycelium had grown all through the material! I am very surprised with the result, the detail is amazing! This may be the first time ever mycelium has been grown with Shopbot milling patterns on it...
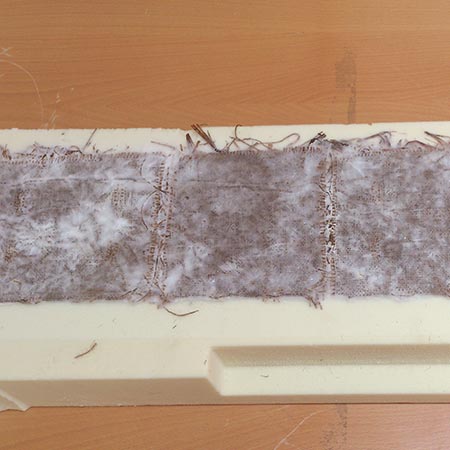
3. Step 4: Drying
After having taken out the pieces from the mold, unfortunately I had to kill off further growth (to prevent fruiting). 15 minutes in the oven at 70 degrees centigrade does the trick, followed straight away by drying. First it is dried in the sun, and then it is placed in front of a fan suspended over a container full of salt to complete the drying process. Once it was dried, it had become a beautiful and cohesive material!
Files
Click here to download the file used for the mold RHINO.