Week #5 || 3D Printing and Scanning
Software used:
Machine used:
Setbacks:
1. 3D Scanning
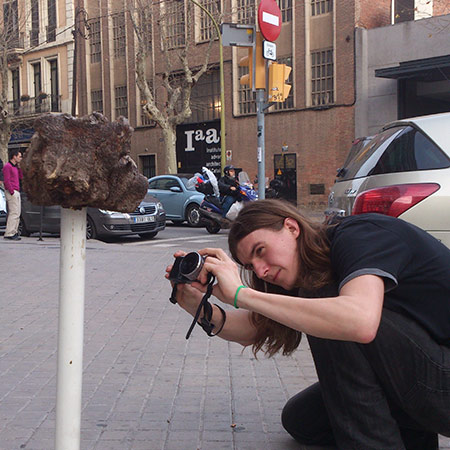
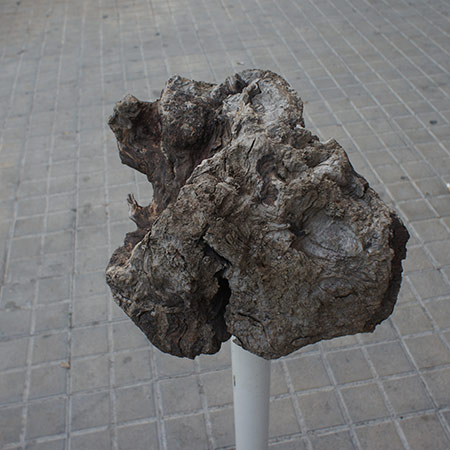
For the 3D scanning I chose to do photogrammetry. I had found a beautiful stump of wood in the woods around our Fab Lab, and had the idea of making a fruit bowl from it. Having a 3D scan of the object would greatly help me get to that goal, because I plan to use the Shopbot CNC for that.
I had to do three photoshoots before I got the conditions right. First I tried using a white background with a grid and a few references around it. I rotated the object, in stead of moving the camera around it. This did not work out very well; a broken mesh was the result. Also my second try was wrong, I again used a monotone background, and rotated the object. This time there was no mesh created at all, just some faint points.
The third try was successful, after reading some tips from Recap. I now placed the object on a pillar, with many references around, and walked around the object. The result was perfect!
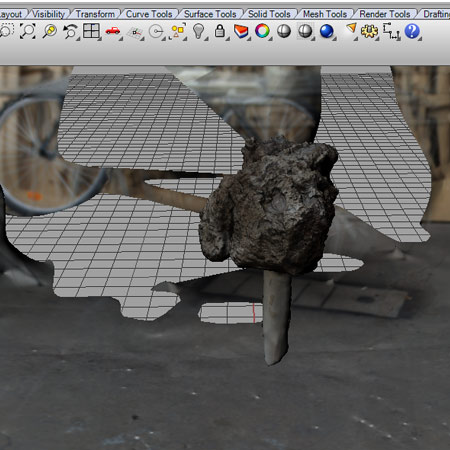
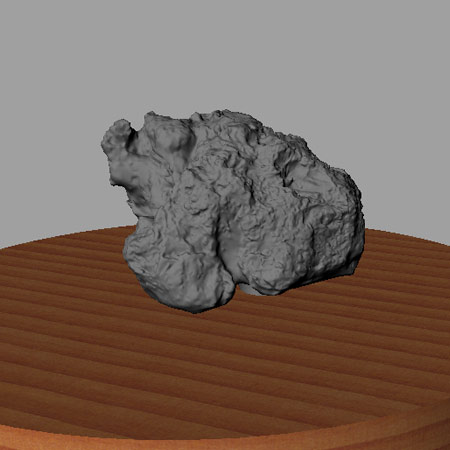
In the end I got a nice mesh into Rhino, exported from the online version of Autodesk Recap.
2. 3D Printing
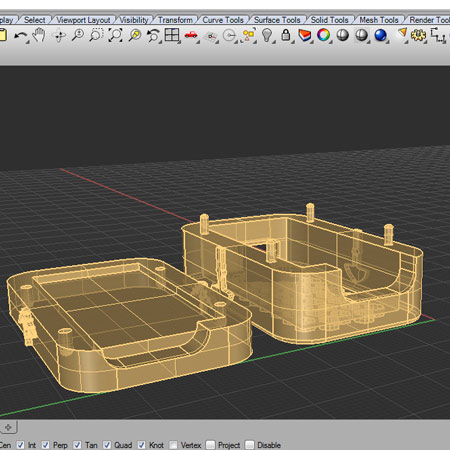
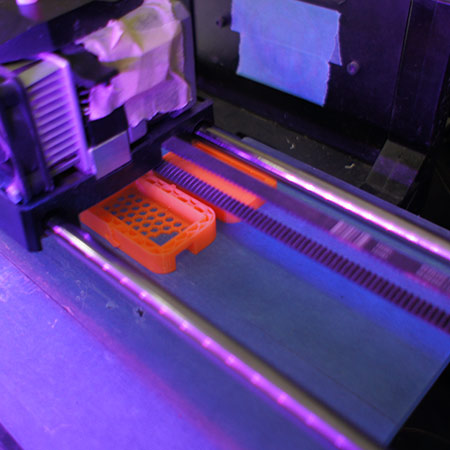
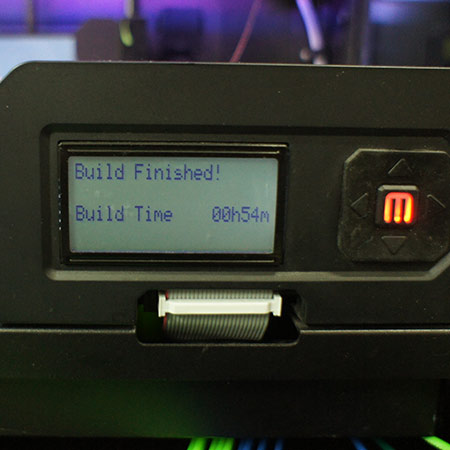
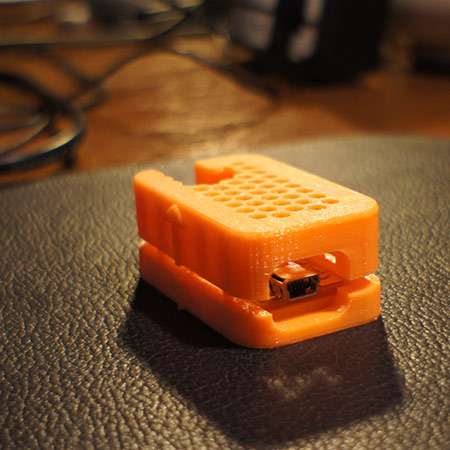
For the 3D printing assignment I decided to make a case for the FabISP. It is a pretty straightforward design, and it printed quite smoothly. I feel there is not much to say about the process, since the machine was literally just a 'push the button' deal. My main comment is that the joint should be wider, because it is on the limit of how small the printer could make details. I watched the Makerbot for the entire 54 minutes, as closely as I could. I found the technology to be absolutely mesmerizing! I realize the machine is not yet where it should be, but with the speed of development I think in just a few years we will have something very special to look forward to.
Files
Click here to download the STL file for the ISP case.