_MOLDING
This week's assignament was making a 1 or 2 parts mold out of wax that could be replicated, create a negative of the mold with silicone, which is a flexible rubber and finally use it for casting the final part in a chosen material.
As I had started learning how to use SolidWorks, I decided to use it to create my design: SolidWorks BottleOpener file / .stl BottleOpener file
This is a 2-parts symmetrical mold, so I milled it once. Tips for milled wax mold:
Do a design according to the mill bit to be used.
Make sure to leave at least a 5 degrees draft at the bottom of the extruded box of the whole piece.
Do a at least 4mm hole to pour the material in which you are casting.
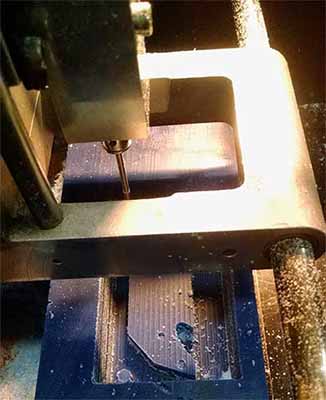
To mill the wax mold, I exported the model from SolidWorks as a .stl file, and opened it in the Modela PLAYER Software.PROCESS:
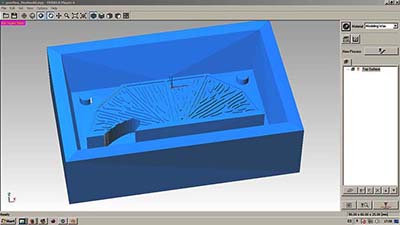
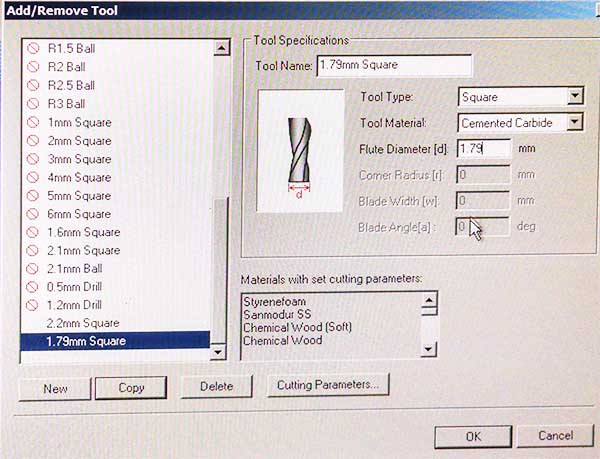
The first thing is add the mill bits that I was using- I chose a 2.2mm square mill bit for the drafting, and a 0.79mm square mill bit for the finals.
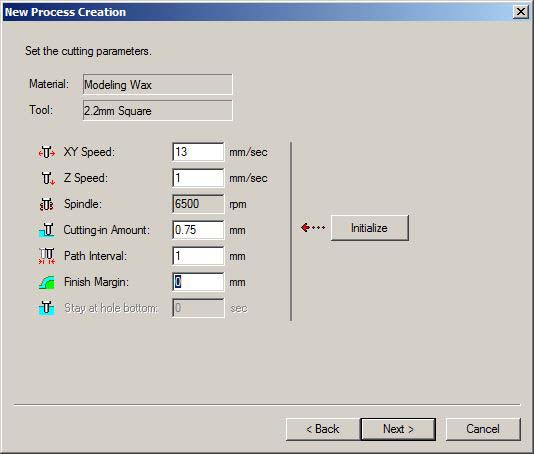
After that, create New Processes: Setting the material (Modeling Wax), mill bit, and speed
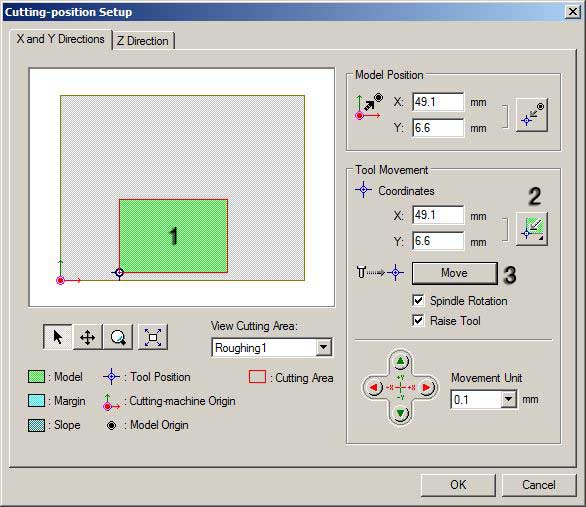
Set the X, Y position by moving the rectangle to the right position. And Z position directly from the machine.
_MODELA WORKFLOW OUT OF CONTROL
Once I sent the model to cut, the modela flow control seemed to be out of control.
 HOW TO FIX THIS:
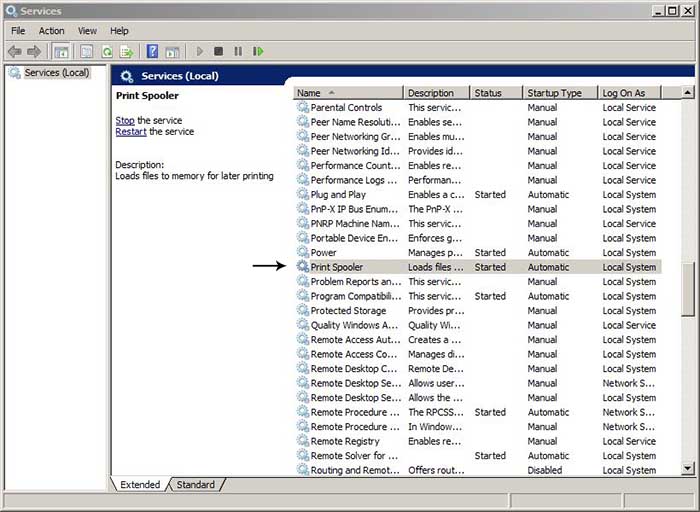
go to control panel, Administrative Tools (view local settings) Print Spooler + stop the service
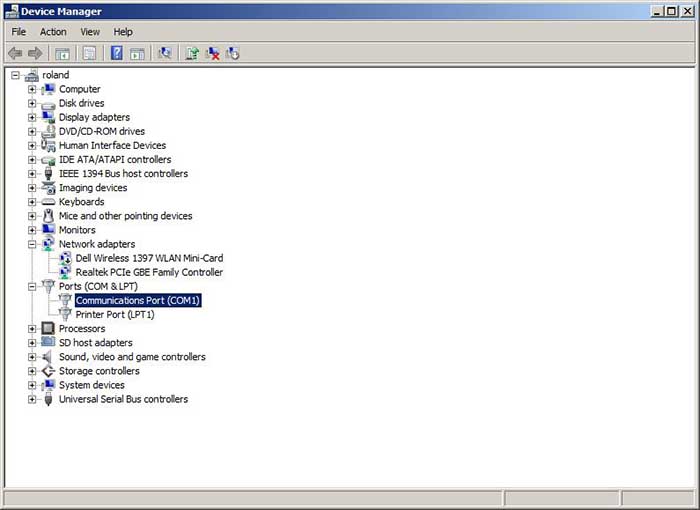
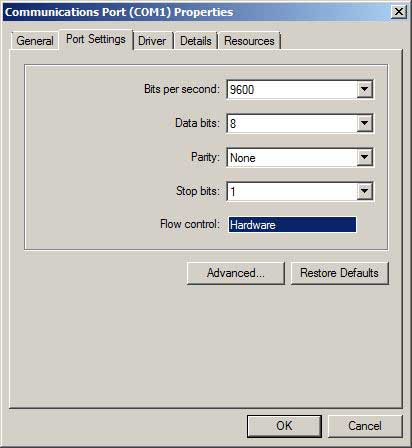
 go to device manager + ports + communication ports + and change the flow control to Hardware.
 Finally go to PRINTERS, delete the existing files and restart the Printer Spooler by playing Run/Play. Make sure to restart the Modela PLAYER Software.

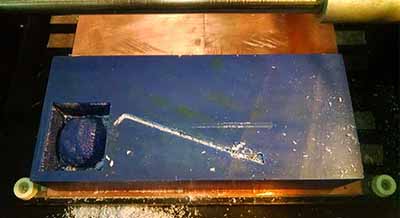
_WAX + SILICON MOLDS
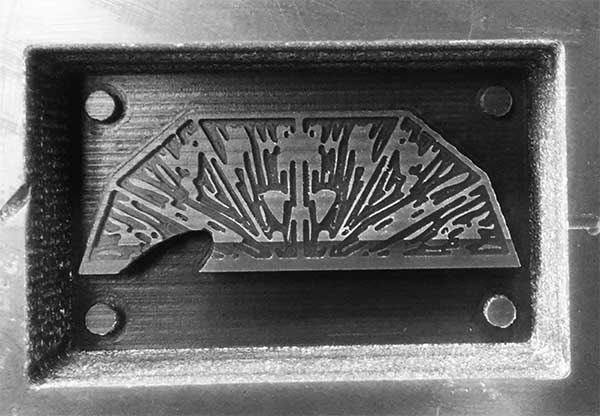
The whole mold, both drafting and finals, took 2h 15min. This was intended to be a two part mold but as there was a lot of people waiting to mill I decided to experiment with different types of silicons to cast rather than spend longer milling.
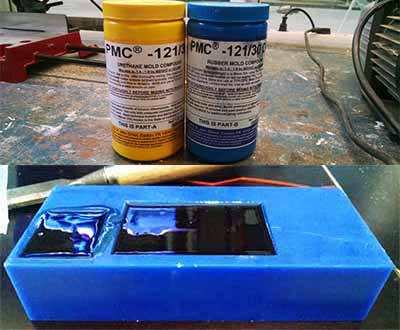
The silicon mold is 90mm x 60mm, so as the silicon mix ratio is 1 A:1 B my whole mix was 40grs: 20grs for each component. How to measure the amount of silicon I need? Pour water into de wax mold and weight it, this gives you the amount of silicon you will need.
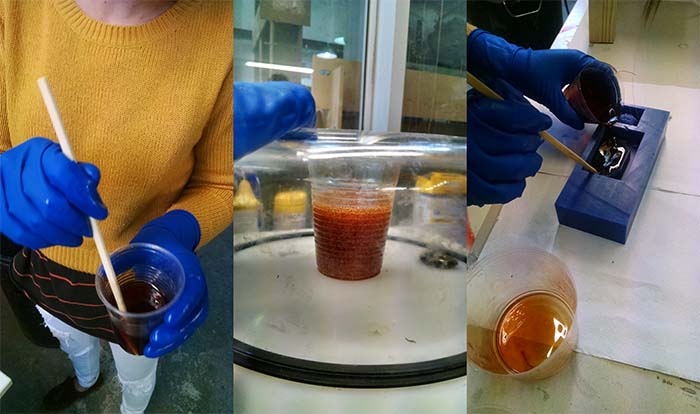
Before pouring it to the mold, the Urethane and Rubber need to be mixed: "when you think you are done, mix five more times"
After mixing, take it to a vacuum camera to be sure there is no bubbles inside.
And pour it into the mold as close and slow as you can. If the mold fits in the vacuum, take it again to take as much bubbles as possible.

_PLASTIC + CHOCOLATE CASTING
For the plastic casting, no vacuuming is needed, on the contrary it had to be as fast as possible.
Before pouring it to the mold, I added removing spray. ADVICE: removing spray works better when is not so dry, so spraying the mold 10min before the cast is better than doing it 24hs before.
The plastic cast takes about 30min to dry completely.

For the food cast, I used a foodsafe silicon which ratio is part A 10lb:9.0lb part B. This silicon needs a lot of mixing and vacuuming.
As for the the first silicon mold, the best thing is first to pour a thin layer for the little holes to get filled and take the mold inside the vacuum camera.
Finally pour the rest of the mix from a corner so the silicon can get every corner. It takes 24hs for this foodsafe silicon to dry.
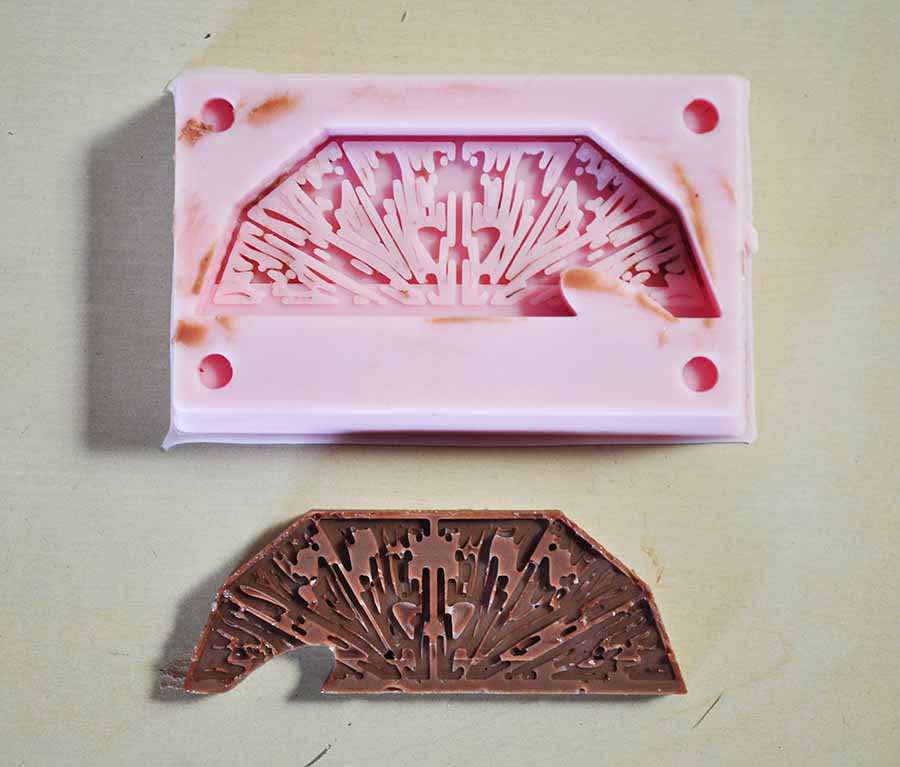
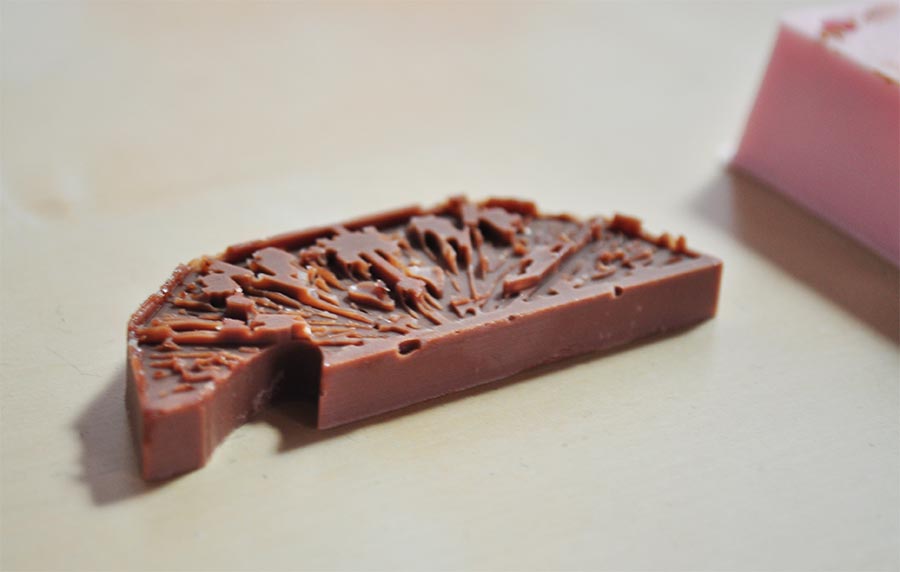
For the chocolate cast if your negative mold has little instertices like this one, the best way to do it is injecting it, first a thin layer to make sure its correctly filled and the the rest of the chocolate.