Composites
The composite, is a resultant structure by combining different kinds of materials in layers: a fiber and a matrix. The matrix can be resins (epoxy, urethane) or cement, wax, polyester, metal, ceramics, etc. The fibers are added to reinforce the structure, as they provide rigidity and prevents fissuring. They can be natural like cotton, linen, silk, bamboo, wood, etc., or carbon and glass fibers, Kevlar, etc.
The aim of this technique is to obtain the strongest materials than the individual materials give (like concrete (cement and aggregate). This technique it's widely used in industry, especially in aeronautics and aerospace, due to the high strength and high weight reduction, allowing higher payloads and significant fuel reductions.
The first step is to design a model, make it, add all the materials in layers and then use a vacuum system to compact the material to the mold, while the matrix material is cured.

ESA/DLR-NASA
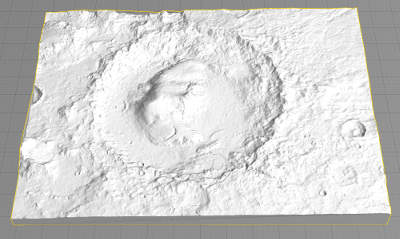
Thinking about my professional projects, I decided to make a topographical model of Gale, a 150 km-sized martian crater. I took this decision for two reasons, one because it was a good opportunity to complete practice with milling machines in which I wanted to mill a topographical model in 3D, but there was insufficient time; and second, to learn another technique for producing these 3D models with different types of materials.
The original idea was to use data from planetary probes to generate a 3D model of a specific region, but as I did not have enough time and experience to process it, I used one of the images that the ESA, NASA and DLR space agencies have already generated. You can donwload the original Gale Mars crater. The image was made with the High Resolution Stereo Camera (HRSC), onboard the European Space Agency's Mars Express mission.
Once donwloaded, we had to make some adjustments to the model, specially fix some little erros due to the presence of wrong mashes on the model edges.
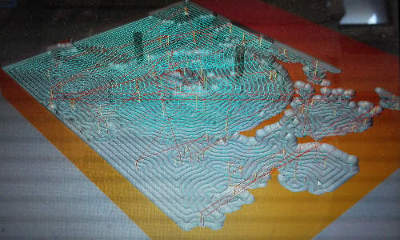
Then we rescaled the model, and used the RhinoCamm to generate the GCode files for the milling machine.
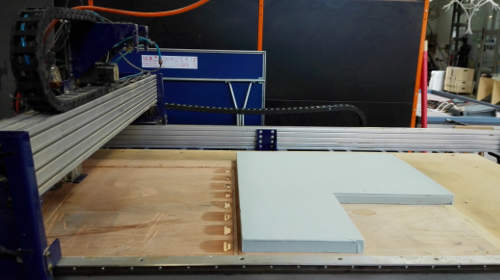
This time I had the opportunity to use a ShopBot router, the PRSalpha 144.
I selected high density foam to mill the 3D topographical model.
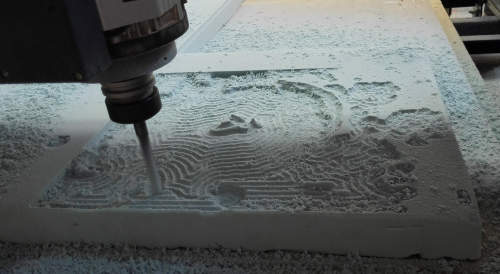
First I used a 12mm mill bit to make the rough work.
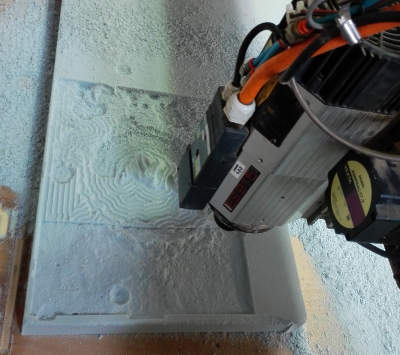
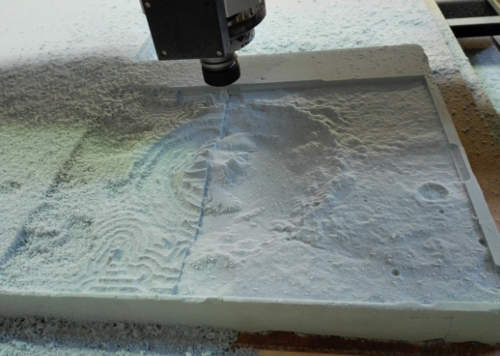
Then I used a 3mm mill bit to make the finest work.

To not take long using the CNC machine, we set a low resolution for milling. Still, the result in terms of details is not so bad at all.
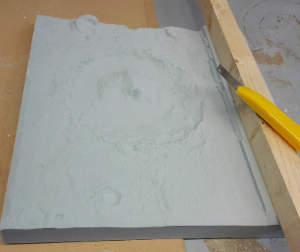
The next step was give some finishing touches to the model, cutting the edges, and using some papersand. Meanwhile, with a piece of high density foam, we made a test in the vacuum machine, to see how it works, specially with the edges, that can break during the vacuum process. If the model have some delicate edges, you can adjust the machine properly.
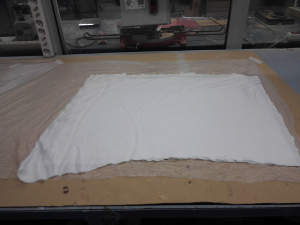
Once you have your model, it's time to prepare all the materials to make the composite. As a fiber, I selected a cotton and sinthetic mix textile for my martian model. Many thanks to Anastasia, our Fab Lab expert, who recommended me to use this fiber -and also helped me with the RhinoCamm process and materials-, with excellent results.
This is the list of materiales you need to use with the vacuum machine:
- Fiber: x4
- Plastic for the vacuum: x3
- Breather material (sinthetic fiber): x2
- Perforated Film: x2
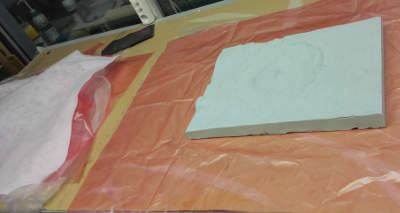
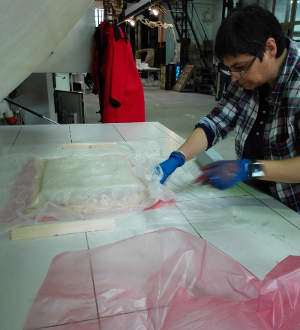
Before you prepare the expoxy, you must have all the materials ready to use. On the bottom, a transparent plastic, perfored plastic (the red one on the images), and the model. Also you have to prepare the fibers to apply the epoxy. Remember all the safety rules to manipulate these products.
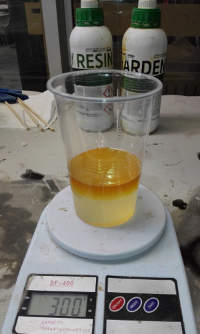
To prepare the epoxy, wee need to mix the resine with the hardener agent, 2 parts by 1. In my case we prepared 200ml of resine and 100ml of hardener, which was only serve to half of the fiber pieces. Mix homogeneously. Mix, and mix, and mix. But remember that you only have 25 minutes before epoxy hardens.
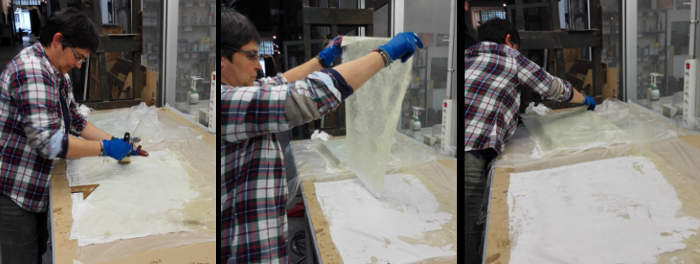
You have to spread well each fiber with a brush. Better if you can use a roller or a spatula, it's most effective when you are in a hurry. If you can have some help for this part, much better; manipulate the fiber with the expoxy is not so easy. If you want to conserve the model, you must covere it with a plastic film. Then, when the expoxy is ready on the fiber, put the fibers layers covering the model. This technique is know as wet lay-up.
Once all the layers of the fibers are on the model, cover the top with the perfored plastic, the breather material, and finally with the transparent plastic to protect the vacuum machine.
In the document Vacuum Bagging Techniques, you can find all that you need to know about this tecnique.
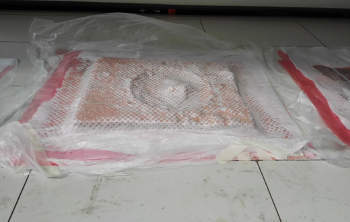
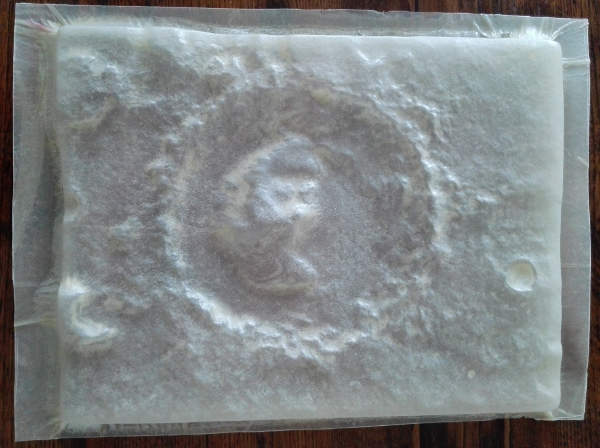
Now you have your model ready to get inside the vaccum machine for the compression molding process.
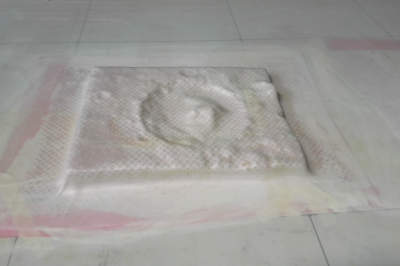
The process takes about six hours. My martian model remained inside the machine a whole night.
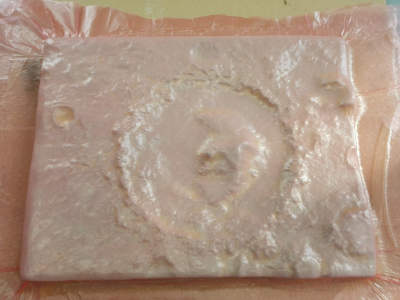
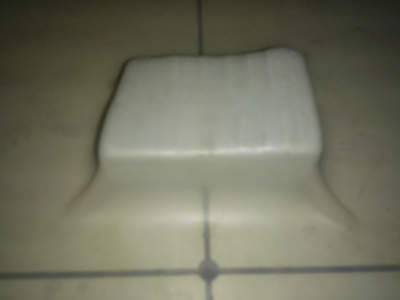
Now it's time to discover the results. you have to remove all the layers of material, which in my case, it was relatively easy.
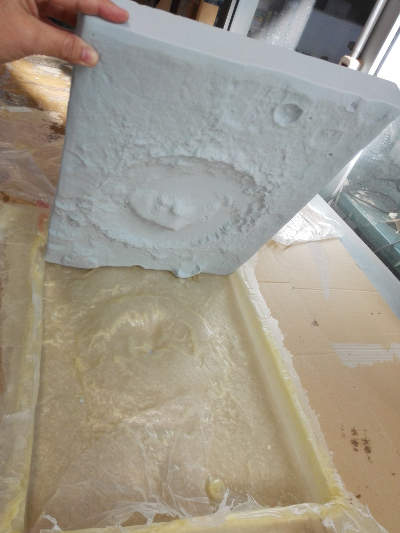
Even easier was to remove the composite structure of the martian mold. Only a very small part of the foam remained stuck to composite, but neither sides suffered damage.
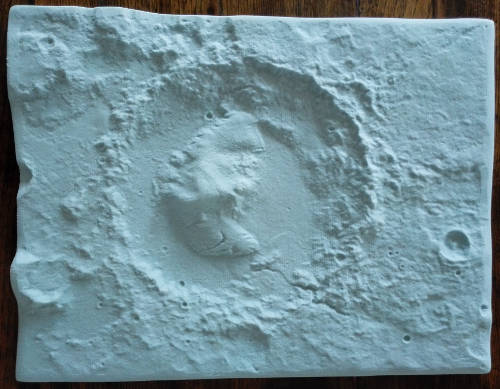
And the final result, a great martian composite, made with just two layers of fibers, with a low resolution milled 3D model.
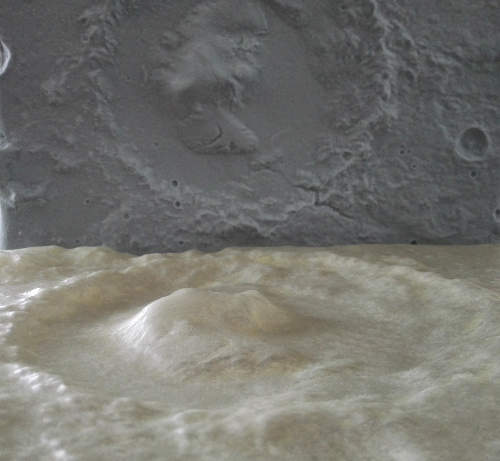
I just made a beautiful 3D model and a composite of a huge martian area of 200km, in just less than a 50cm. Amazing!
On these links you can find more information about Gale Mars Crater (by DLR), the ESA's Mars Express Mission, or the NASA's 3D models webpage.

Fab Academy 2015 website by Milena Orlandini is licensed under a Creative Commons Attribution-NonCommercial-ShareAlike 4.0 International License.
