Molding and Casting
In the Molding and Casting class, the assignment was to design a 3D mold, machine it, and cast a part from the mold.
So the first step was to think about the object we want to mold. As I have tried to do in most classes, I thought of something for my final project, that is, I refocused on my hand.
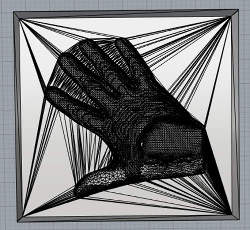
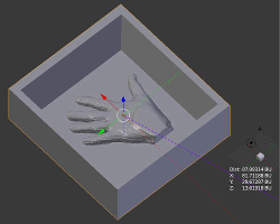
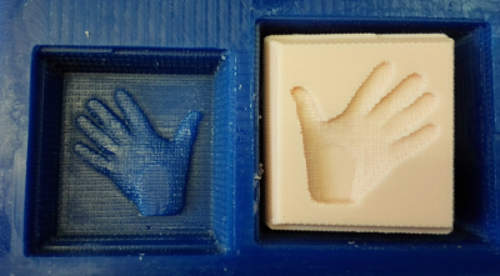
First, we design a box to insert our object inside, simulating the wax block. We have to take into account of measures of wax block, the length of the milling tools and the their diameters; leave enough space between the walls and the object to cast, to allow passage of the tool, and design walls with minimal inclination to avoid the milling tool break when the milling goes down.
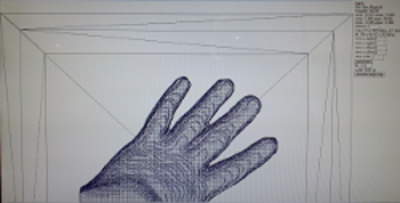
The next step was to export the Blender file into a stl format on the Fab Modules, insert the settings like rough and final cuts tool dimensions, cut depth, scale, speed, etc., and send it to the Modela SRM-20 milling machine.

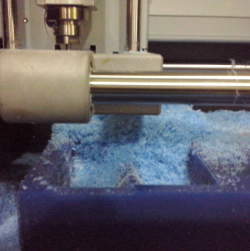
For the final cuts we use a 2.2 mm tool. Even so the final result was not what I expected. I should have increased definition and no scale it too much on Fab Modules, since the result was a object with a very little depth.

To fix a little the milling tool marks, we use a hot air gun, taking care not to melt the wax.
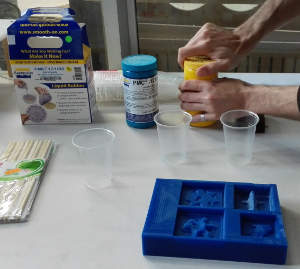

The next step is to make the mold to cast. Don't forget that are toxic products so you have to take safety measures and wear gloves at all times. It is highly recommended that you read the product data sheet, and follow the instructions. Also, you have to know the volume of the mold, in order to use the most accurate possible amount of mixing and avoid waste. You can get the volume with your design software.
We used the product PMC121/30 Liquid Rubber from Smooth-On. There are two compounds, urethane and rubber, that came separately. We have to use exactly the same quantitie of each one, and must be mixed well. We must avoid the presence of air bubbles as much as possible, as they could damage our mold. To remove bubbles, our instructor Ferdi built a vacuum chamber with an old air compressor, which worked really well.
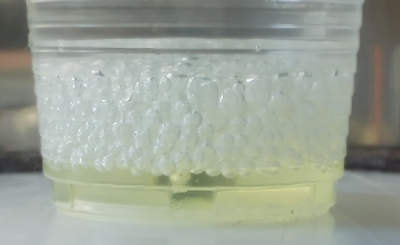
The compressor extracts air of the compartment forcing the bubbles that are in the mixture to rise to the surface. The effect is as if the mixture reached the boiling point.
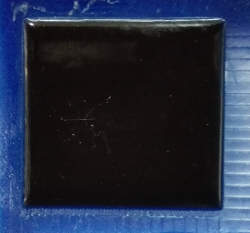
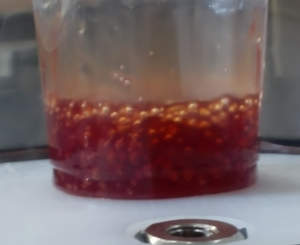
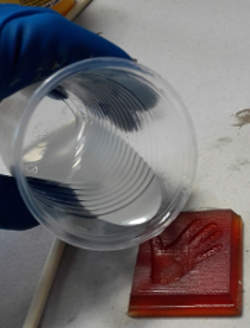
Now, it's time to pour the mixture into our wax mold. Be careful not to to lift too much mixing container, to avoid as possible air bubbles. The same care we must take when pouring the rest of the mixture, since it can form many small bubbles, although remain at the bottom of the mold and don't affect the shape. We can pour the mixture to the edge of the wax mold, more the better. Now we just have to wait twelve hours for the mixture gets dry.
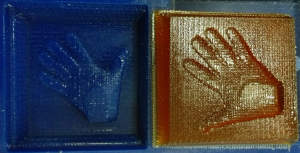

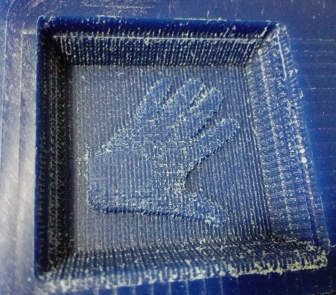
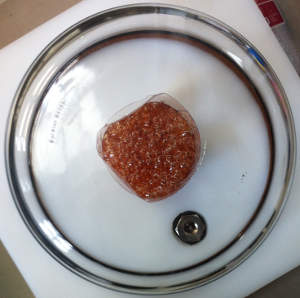
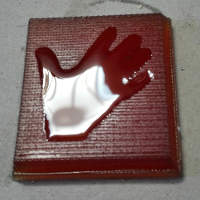
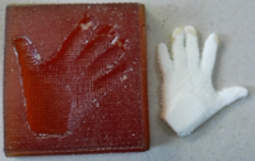
The mold goes easily, you just need to press a bit the edges. Although we use vacuum technique to remove bubbles, some has remained. In the picture on the right you can see three ones with light color; small dark ones are the result of pouring final drops of the mixture. If there is time, it's a good idea to use more the vacuum chamber.
The process that remains is the final part, the casting.
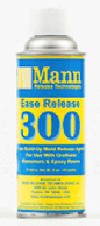
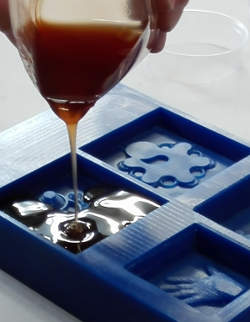
Very important, do not forget to use a mold release agent, as otherwise you may lose the rubber mold trying to get it off from the cast. We use a Mann Release Technologies 300 Easey Release agent.
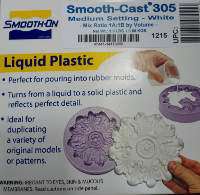
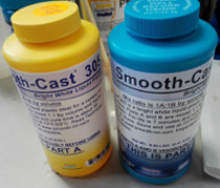
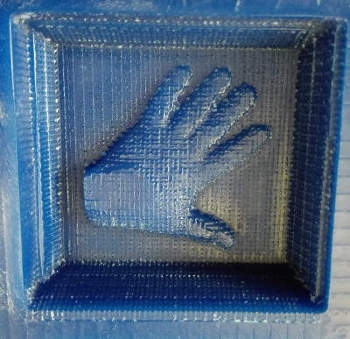
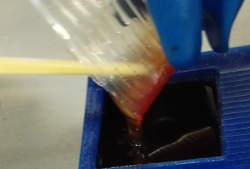
For casting we use the liquid plastic Smooth-On product, called Smooth Cast 305, that just need 20 minutes to get dry. As with the liquid rubber, comes with two separate components which must be measured in equal parts and mix well, and pouring quickly, as it begins to dry after seven minutes of mixing.
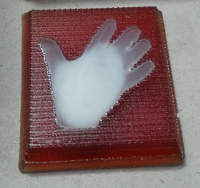
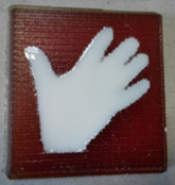
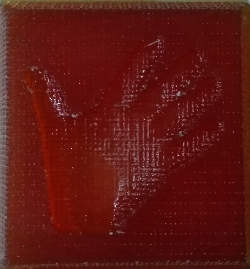
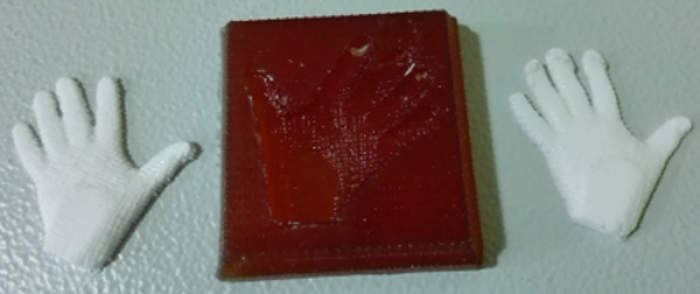
In the first casting test, we did not apply the unmold agent, so it was not easy to to get the mold. The task was not so complicated in my case since my object was very thin, but in the fingers part some rubber was stuck, so the rubber mold suffered some small damages. In the second test we apply the release agent and the object went out in seconds without any difficulty, although the small scratches of the rubber mold was transferred to the cast.
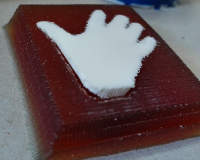
A few weeks later some classmates decided to make a food safe mold, so I took the mold of my hand to do it. So now I can eat chocolate or jelly little hands, or make ice for my fvorite drinks. Give me five buddy!

Fab Academy 2015 website by Milena Orlandini is licensed under a Creative Commons Attribution-NonCommercial-ShareAlike 4.0 International License.
