Computer-Controlled Cutting
In this class we learn how to design correctly the objects to be cut on the laser cutter and engraver and vinyl cutters, and how to calibrate and use the machines. So the assignment for the third week was to design a press-fit construction kit.
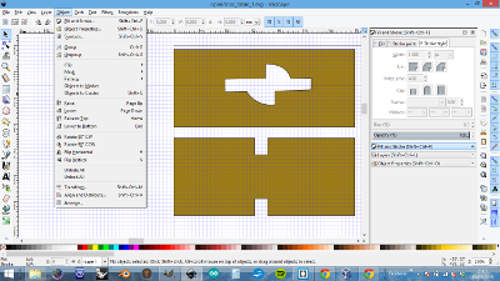
As a first exercise, I made a simple star design of four and five tips to fit them together, like a 3D puzzle. I designe it with Inkscape, with the difficulty that can perform strokes with precise measurements, so finally is better to use Rhino to make corrections to the dimensions.
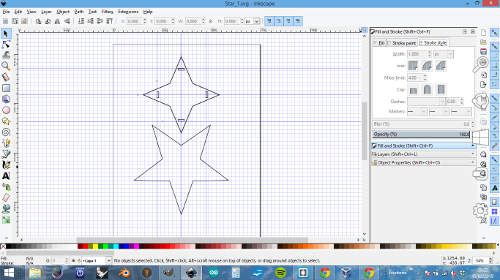
Using Inkscape to make the press-fit pieces (files).
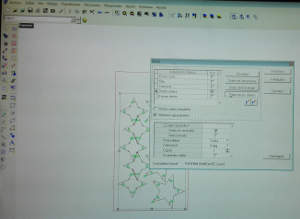
Making the last corrections to send the file to the laser cutting machine.
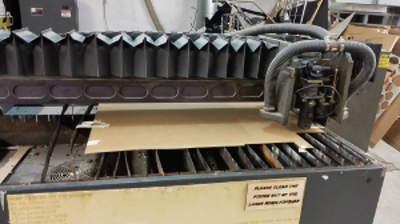
First to cut, you have to place the cardboard correctly into the workspace of the laser cutter, to prevent wrong cuts.The next step is to calibrate de laser: material thickness and starting point. This laser cut machine is a Multicam 2000.
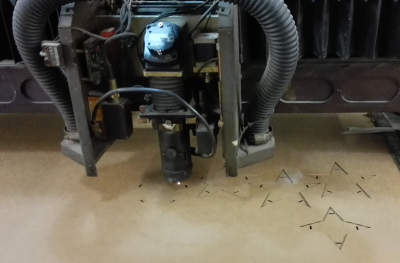
The laser cutter in action!

A close-up of the joints. The problem of working with cardboard is that after a few tests, the points get damaged.

A view of the stars puzzle.
Now, is the time to try something more serious, a X joint.
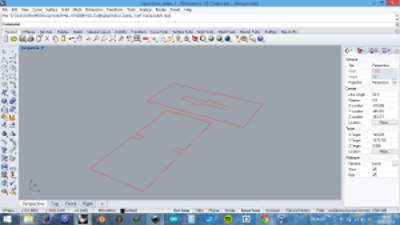
Is better to work with Rhino if we need accurate measurements. Likewise to send to the cutter, we have to open it with this software
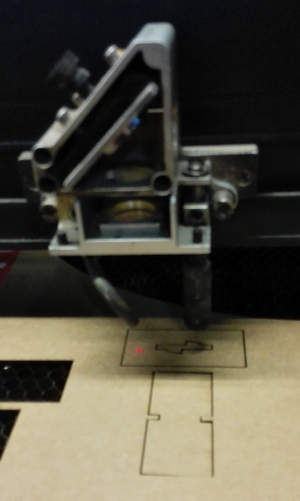
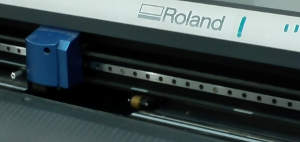
For this joints, I used the Epilog Legend EXT laser machine.
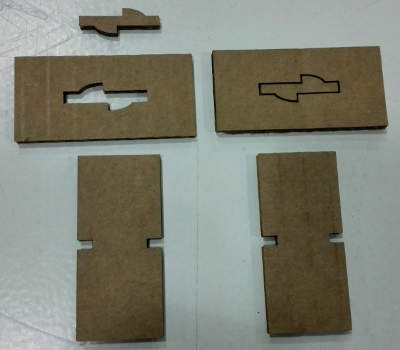
The final cuts of the X joint.
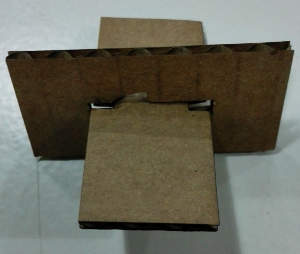
The X joint asembled... in part. Did you remember the Inkscape measurements problems? Only lacked a millimeter to get the full rotation. How big can be a millimeter in digital fabrication!
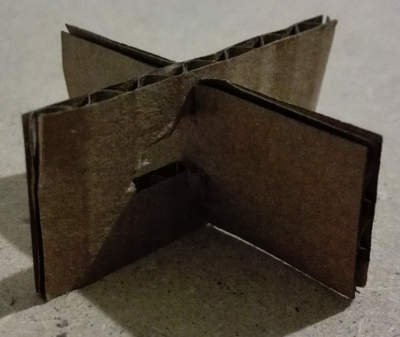
Finally, with the millimeter correction in the radial interlocking, the X joint works.
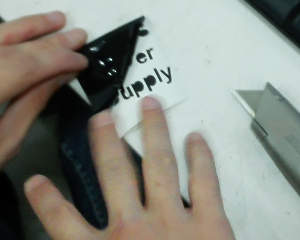
Finally, we learn how to use the vinyl cutter, specially how to calibrate the machine, and some techniques and tricks to do it properly, like the use of transfer paper, twezzers and a good cutter.

Fab Academy 2015 website by Milena Orlandini is licensed under a Creative Commons Attribution-NonCommercial-ShareAlike 4.0 International License.
