
Assignments
"design a 3D mold, machine it, and cast parts from it".
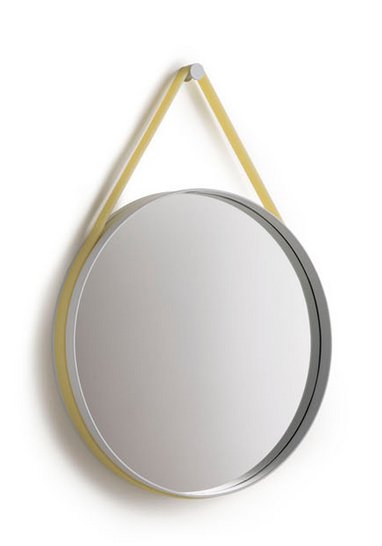
Molding and casting a 185cm silicone band
April 1 / Today I discussed with Waag's Mickael what would be the best way to mold and cast my object. The most logical way to build a mold for the silicone band I thought would be - in my non-expert opinion - a very long wood 'box' in which the silicone is casted. The ends can then be joined by inserting them on each side of a shorter box and casting a piece of silicone between them.
However, the assignment is quite clear about the process we should experience: First design in 3D a hard machinable wax mold, in which you will cast a soft rubber mold, in which you will then cast your object(s). The reason why we should all do it this way became clear soon enough; it's the most difficult thing I've had to do here to date.

Not only the very detailed 3D modeling, but especially wrapping your head around modeling the second level negative shape of the object you have in mind. It drove all of us crazy. More about that later though. First I went to the FormX store to get informed about kinds of silicone, dyes for silicone and the compatibility with the rubber we have for the molds. I bought a fairly strong silicone mix, because the band will have to hold the weight of both the mirror and the bended plywood. I picked out a neon-yellow dye to try and match the original Hay band.
...................................................................................................................................Modeling the wax mold in Rhino
April 4 / Today I started modeling my 'mold for a mold' in Rhino. For the object to be genuinely 3D, I designed a texture of diamonds (pyramids with the top cut off) that will repeat over the whole length of the band. I used the maximum size of the Roland Modela sacrificial layer as the maximum size of my workspace.
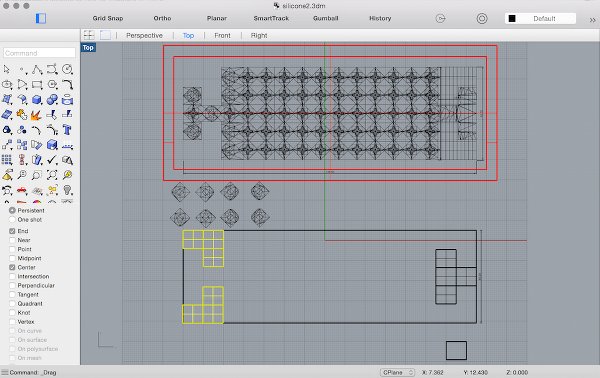
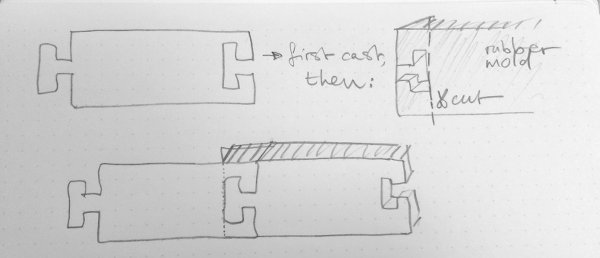
Since I am making modular parts that have to be casted into one another to reach the length of 185cm (which means 14 casts...), I designed a 'joint' that will make the connection between the modules stronger. I got very confused during the process though, and eventually had to quickly prototype the mold and the part in clay, so I could understand what I was doing again. Then it also became clear that one of my joints should be inverted. I also consulted Mickael about another thing; as soon as the first object is cast, it looks like the 'masculine' joint should be cut from the mold, to make room for inserting the end of the first object, so it can be joined with the second. As it looks like this is the case, I will cast two rubber molds, one of which without that joint.

April 7 / It took me a couple of days to finally finish modeling the 'mold of the mold' today. I got stuck in Rhino many times, but now I can say that I have the workflow pretty much under control, and I can find the answer to almost any problem that arises. Half of today got into figuring out why I couldn't cap a polysurface, so that I could substract it from anothe polysurface, and so form the 'outer box' of my model. The final step, took me hours. In the end, Loes was the one that suggested that I might not need a box. Since the STL is converted to a heatmap by Fab modules, the tilted surface alone may be enough. Thank you Loes! Let's hope so.
 ..................................................................................................................................................................................
Milling the mold of the mold
Apr 8 / Today I started the rough milling job before our local review at 11, using the following settings (others are default);
The Fab Modules software estimated the job time to be 46 minutes, but in the end it took a bit more than an hour. After the rough job with the overlap of .25, quite some bits of wax was left in between the pyramids, as well as a thin wall of material on either side of the object. Next time I'll use an overlap of 0.50.
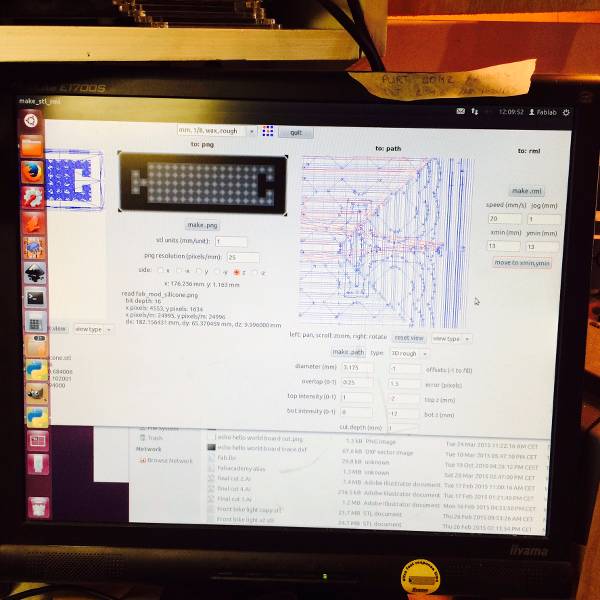
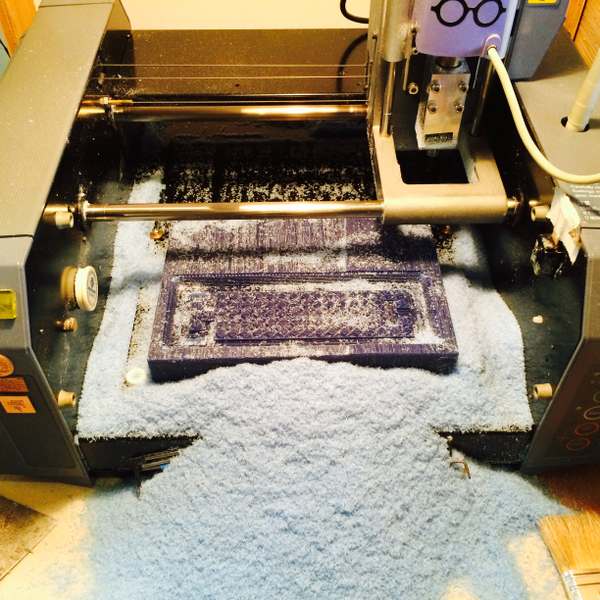
For the fine job, I changed the overlap to 0.95. Fab Modules software estimated the job time to be 4 hours. I took this picture after one hour of milling, and it clearly shows the difference between the two kinds of jobs;

After taking this picture and pressing 'View' again, the machine resumed, but started milling on the outside of the wax block. Very strange, maybe I touched it while brushing? In any case, I deleted the job and ran it again from the start. This means that the job will run after Fablab opening hours and I will see the results tomorrow. Since I always have trouble looking up the modela cancellation procedure (and apparently I often need it), I'll past a short and sweet how-to from Agnes Chang's general guides below here:
How do I delete a job?..................................................................................................................................................................................
First, pause the modela immediately: hit the View button on the machine to send the head back to its resting position. Hold down the Up and Down buttons simultaneously until the view light is blinking. This indicates that the modela still has an unfinished job in queue; if you try to shut off the modela now and turn it back on, it will resume the job from where it left off.
Then stop the computer from sending the rest of the job: fire up the Terminal and type in the command:
ps -aux | grep cat
This will show you the process IDs of all currently-running processes that have "cat" in the name (you can find out more about any Unix command by googling, or through Wikipedia, such as the ps command page.) In our case, cat is the process that sends print jobs to the modela. Look for its process ID, and terminate the modela job by entering:
kill xxxx
where xxxx is the process number. If you are successful in killing the job (which might take a second), the View light on the modela should stop blinking, thereby indicating that the machine is once again ready to receive a job. If you cannot kill the cat process, just restart the computer.
Casting the rubber mold
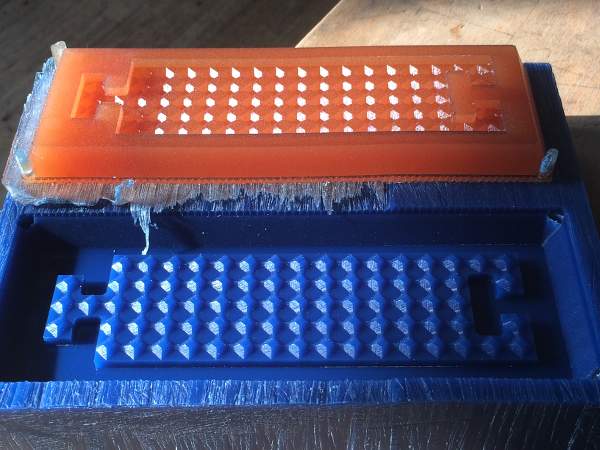
Apr 9 / This morning I found beautiful, fine finished wax mold in the Modela. Now, I saw the effect of NOT drawing the solid box around the mold in Rhino, fortunately this doesn't effect the quality of the mold that will be casted.
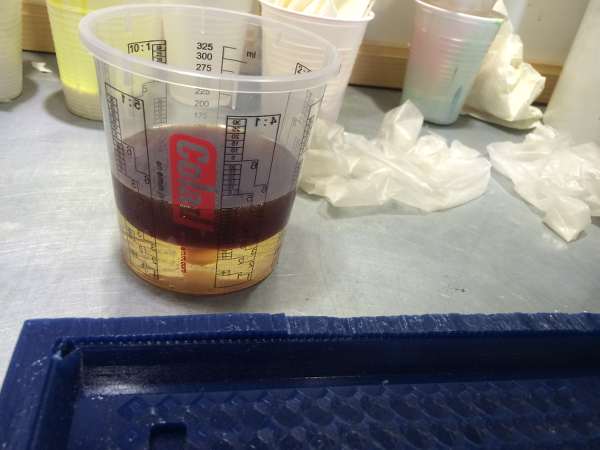
I then mixed the two components that form the liquid rubber (urethane mold compound 1:1 rubber mold compound) and calculated that my mold will hold about 150ml (on the safe side). After casting there was 30ml left, so for the second mold I can mix components more economically. And now.... wait 16 hours for the rubber to cure.
 ..................................................................................................................................................................................
Casting the silicone
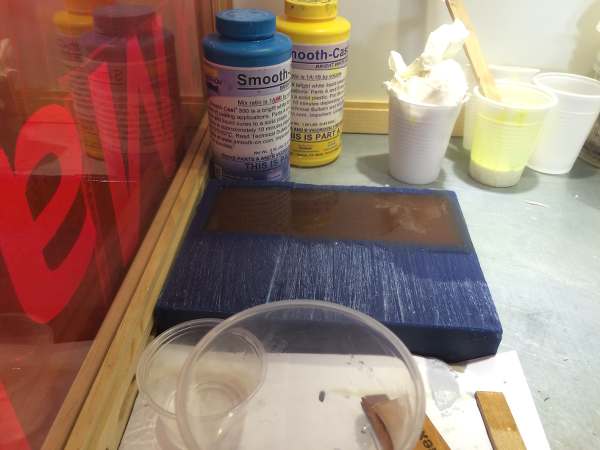
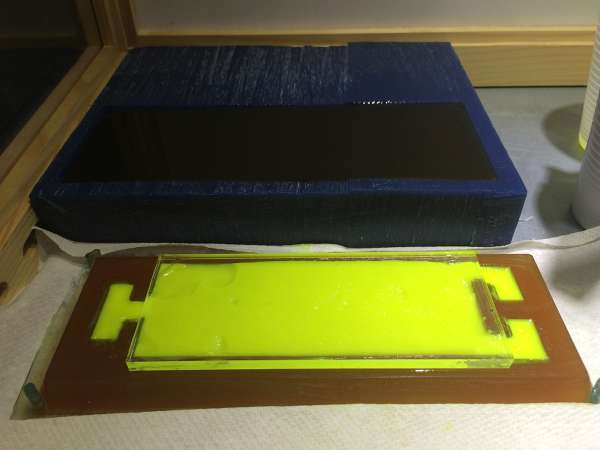
Apr 10 / The rubber mold looks really nice. I placed it into the convection oven for two hours to gain sturdiness and poured a second rubber mold, so I can use one to cut the joint off and still have the original mold too.
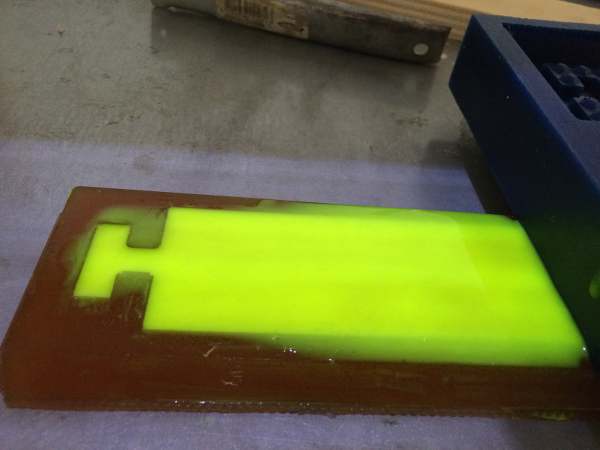
I then prepared the silicone rubber with the neon yellow colorant that I bought. When I was mixing the parts for the silicone cast, I noticed how its texture was a lot different than the rubber for the mold - it was hard to stir even, it only got a little better when I fully mixed the components. Casting the resin in the mold was more difficult too because of its thickness, so much that the top of the silicone was lumpy after I poured - hence the acrylic plate you see on top of it. Now, a 24 hour wait. Heck, I'll give it a weekend!
Apr 13 / The silicone has a really nice elastic feel. The upside looks great, but the backside has an ugly lumpiness. This go I'll try and cast sooner after mixing the components. Thinking of the weight it's going to have to carry though (the mirror in a plywood frame) I'm wondering whether I should have designed the silicone band to be a bit thicker, now it's 4mm plus 2mm of the texture on top. We shall see, it also depends a lot on how strong the joints will be.
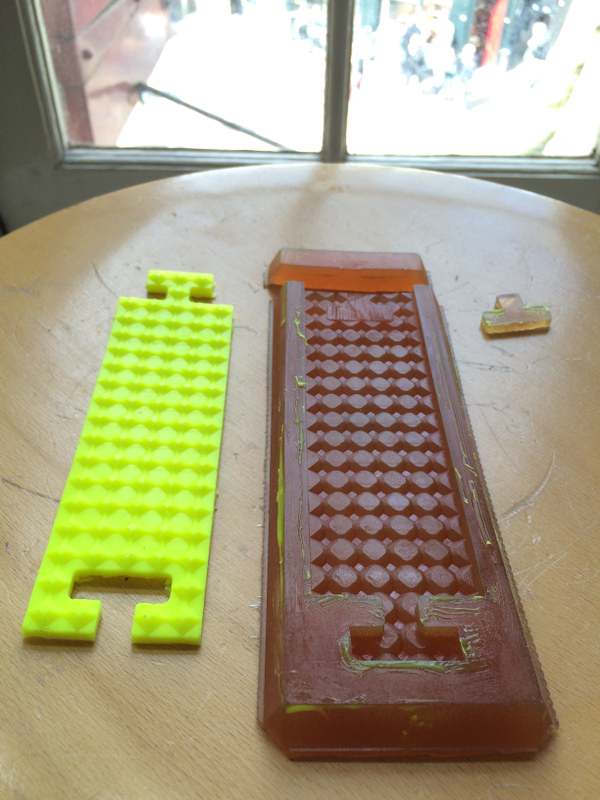
I put the second rubber mold in the convection oven and cut the 'masculine' joint off the first rubber mold so that I could insert the silicone cast (see second picture) and pour the next batch of silicone. The pouring was a lot easier this time and left a clean, flat surface.
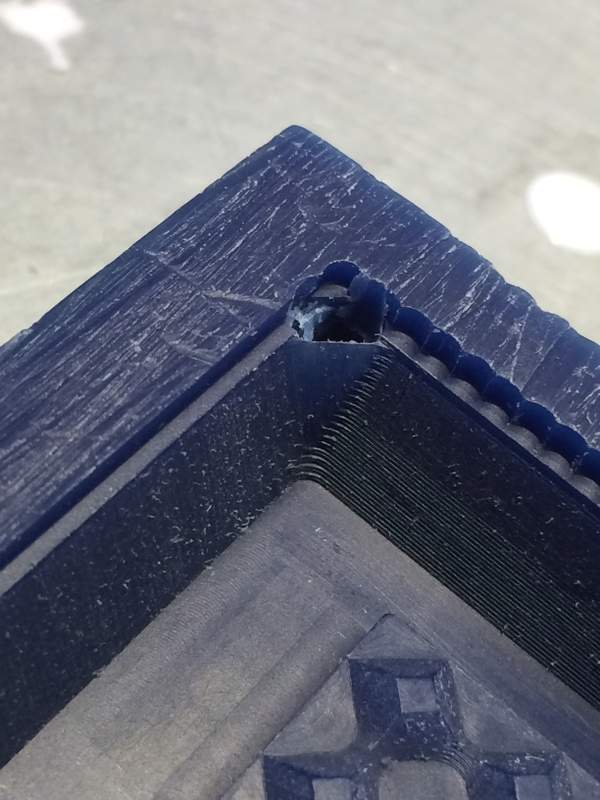
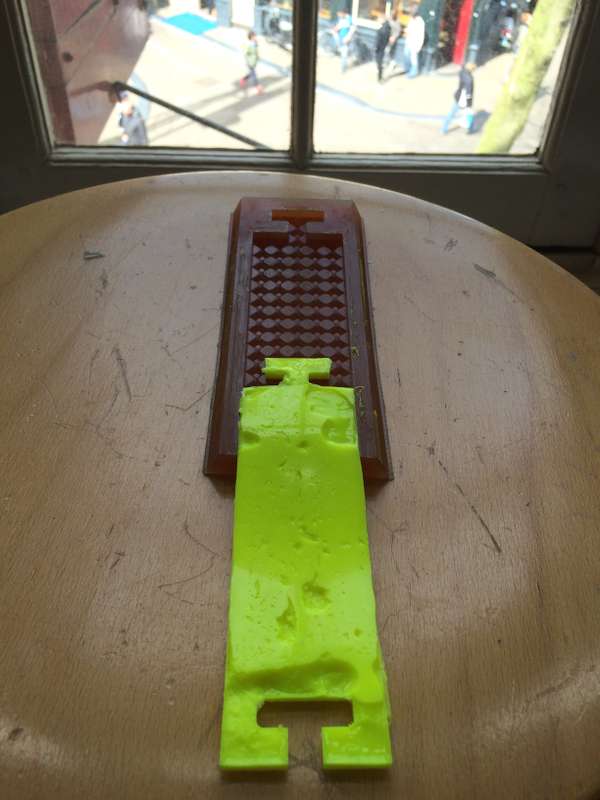
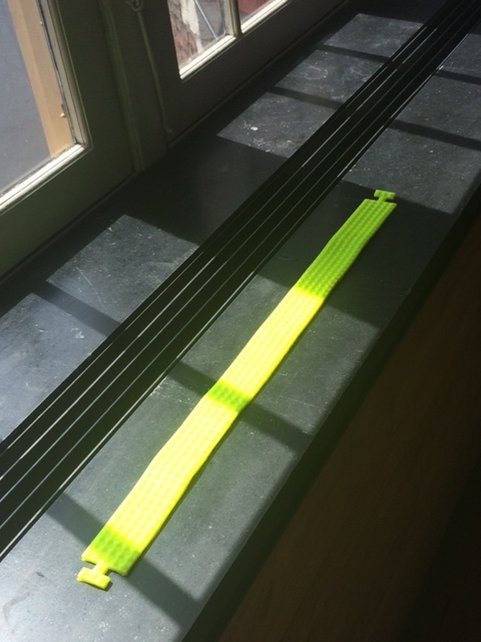
Apr 15 / The effect of the two silicone parts cast together is super nice. You can hardly see where they are joint together, but if you hold it to the light, the T-shape joint inside becomes visible:
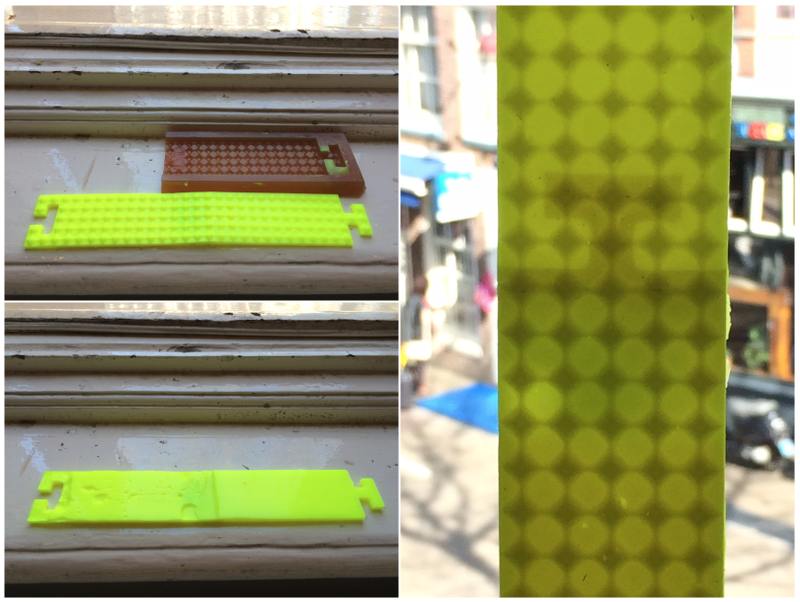
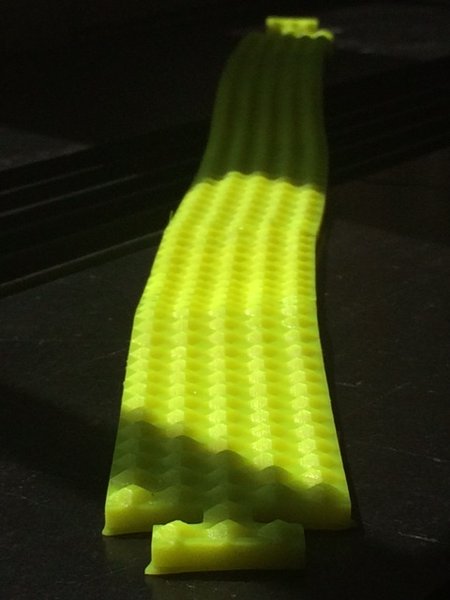
The joint is very strong. Pulling and stretching the silicone by hand with a lot of force makes it clear to me that it will definitely hold the mirror and the plywood. Especially the new cast is firm, with an equal thickness throughout. Fast casting is essential. See the difference below. Now, about 12 more casts and then casting the ends together, to reach the final size to fit around the mirror.
May 15 / After 6 casts I'm calling it a day, I have to concentrate on catching up on other assignments and my final project. I've really fallen in love with molding and casting though and will design a new mold for flexible silicone, to use in my final project.
 ..................................................................................................................................................................................
Resources