
Assignment
"design, make, and document a press-fit construction kit".
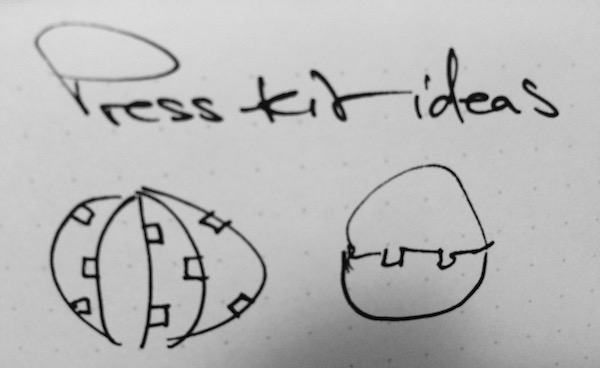
A press-fit construction kit is a set of parts that can be 'pressed' to fit together at the joints, so that there is no need for glue, bolts etcetera. Specifically, for this assignment we should come up with cardboard press-fit parts that could make more than one thing. I decided - again - to try and make a sturdy sphere that I could use to prototype my final project with. The first doodle I made during class was the one below, although I soon realised that the joints I drew here wouldn't be of much use because the parts making up a sphere would never be perpendicular. The day after class I started looking into making spheres from flat surfaces, and quickly stumbled upon the Archimedean and Platonic solids. The difference between the two is that Platonic solids (Plato used them to support his theory of 4 elements) entirely consist of the same parts, while the Archemedean solids consist of various kinds of parts.
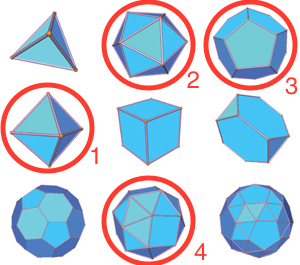
I decided that I'd try to make a press-fit construction kit for a set of "matruschka" balls - balls in various sizes that fit into one another. For those, I chose four shapes that resembled round balls and that could all be made up from the same, limited set of parts:
Deciding on the joint
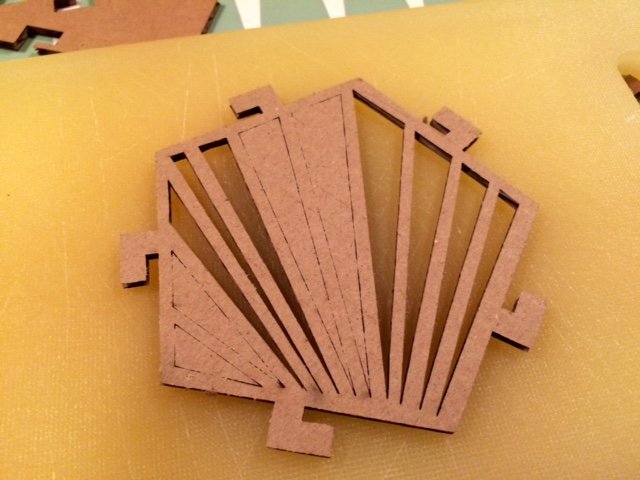
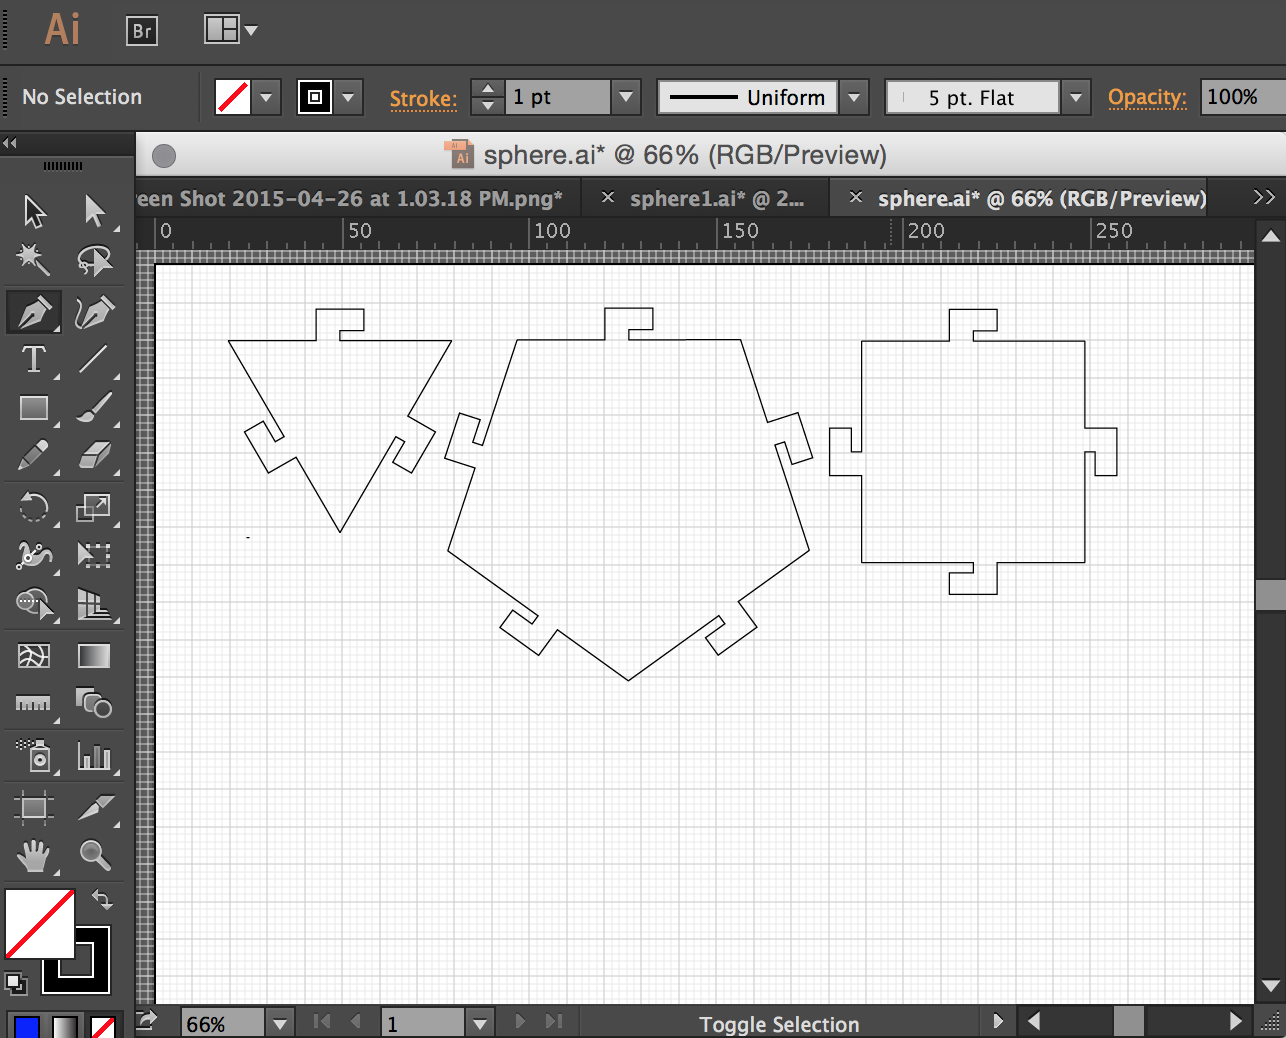
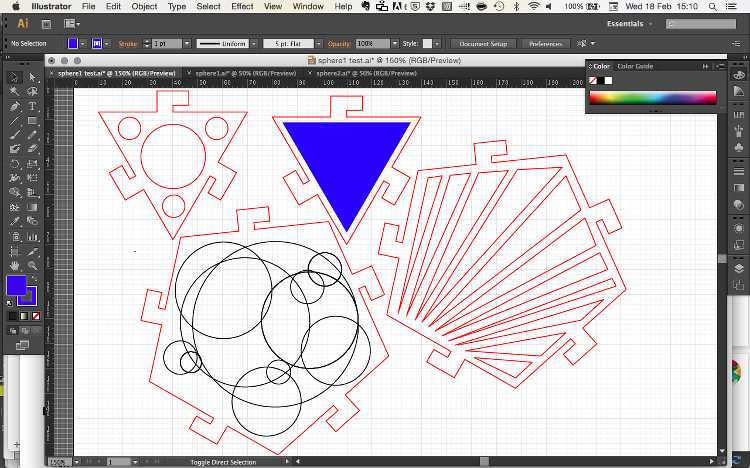
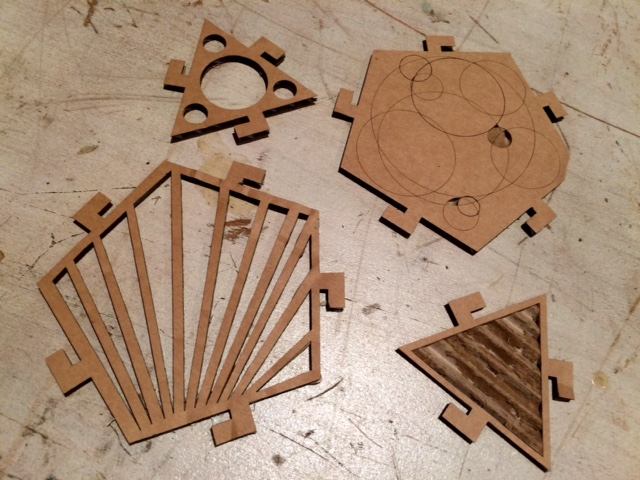
There are many already constructed Archimedean solids to be found online, in many materials and with many different joints. I chose an adaptation of a very minimal joint that basically just consists of two hooks that hold eachother. In Illustrator I drew the basic shapes my spheres would consist of.
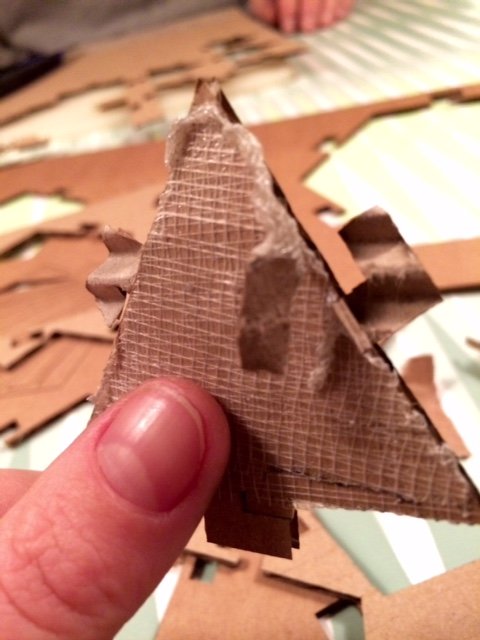
After that I prepared a test set for my first lasercutter experience, to see whether the joints would fit. I also wanted to see what effect different engravings over eachother would have, and whether I could engrave in such a way that only the top layer of the cardboard would come off. Also, I wanted to test how strong or flexible the card board will remain if I laser holes and patterns in it.
..................................................................................................................................................................................Laser cutting
For my first tests I used the BRM Chinese laser cutter that my department at Amsterdam Polytechnic has. It's a lot cheaper than the European machines, but it comes with custom Chinese interaction-designed software that doesn't feel very intuitive.
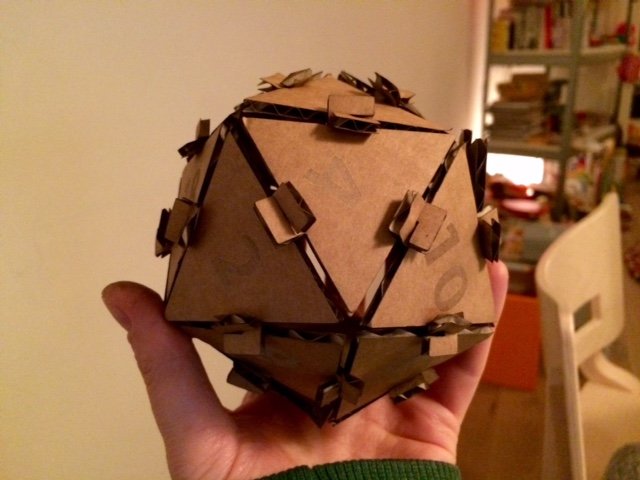
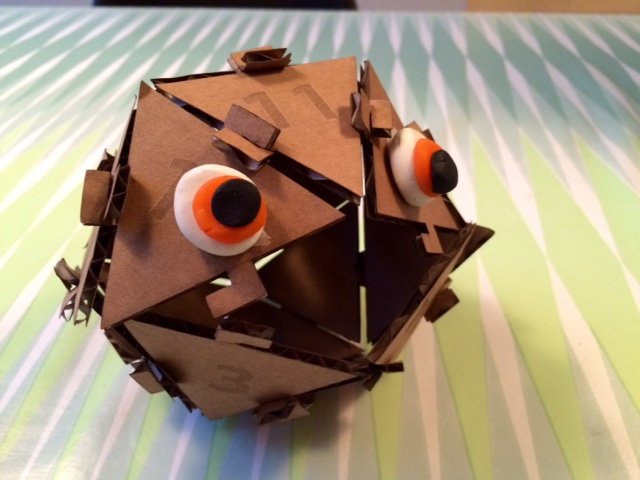
The joints turned out to fit very well using just material thickness as the width between the shape and the 'hook'. Oftentimes an offset and a chamfered edge is advisable, but I guess because the cardboard is slightly flexible and because of the way the hooks silde into each other, here they are not necessary. Maybe I'll change my mind after some intensive use :). I didn't pay enough attention to the amount of pieces I had to cut to construct the first ball, so it was incomplete and we assigned it a different function.
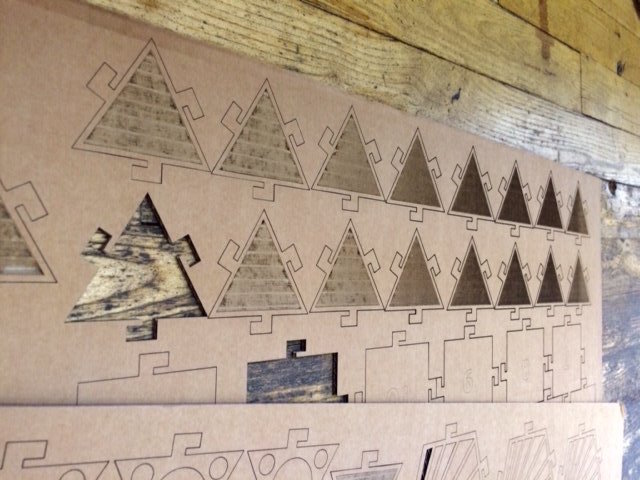
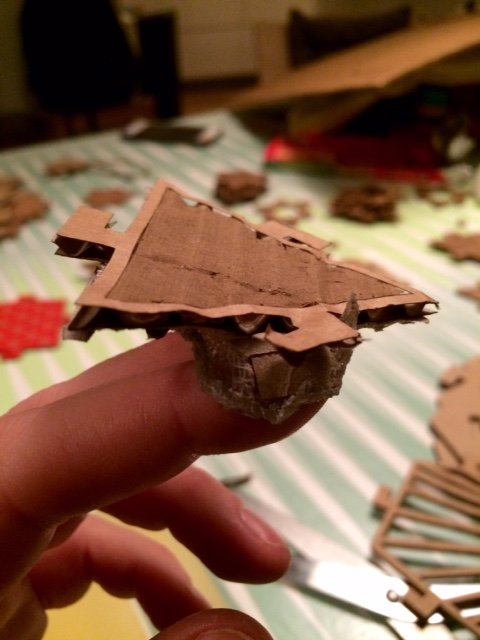
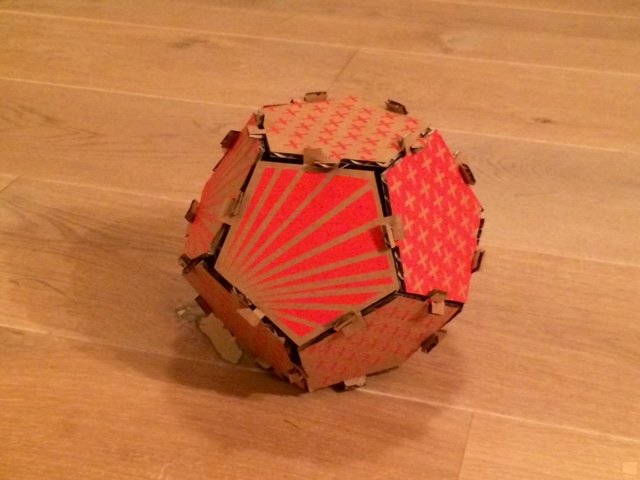
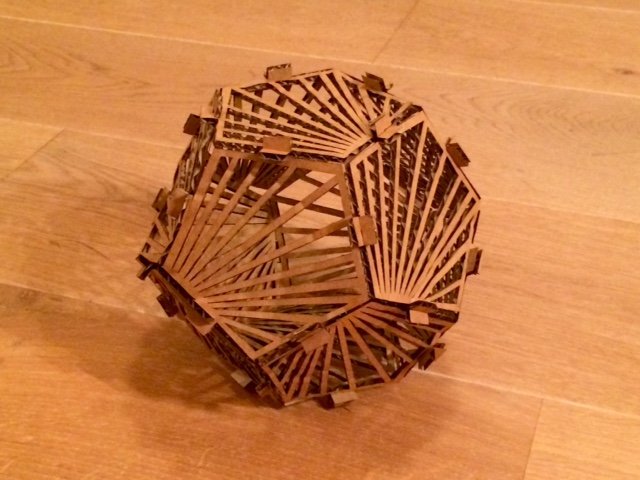
Back at the lab today I ran the engraving and pattern tests. The pieces of board in which I lasered many holes and a dense pattern were still fairly strong, with added flexibility, so I decided to use them for my spheres. As far as the engraving goes, I still had to manually scrape bits of the top layer off to achieve the effect you see below here.
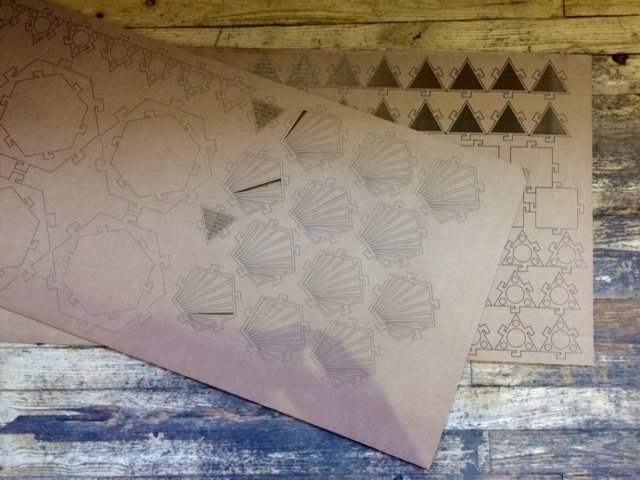
In Illustrator I then created the files for all the parts I would need to make the octahedron, icosahedron, dodecahedron and the snub cube. To fill up the cardboard I also printed extra hextagons with which I could make an additional shape if there is time left this week. Please find the cut files 1 and 2 under 'resources' on the bottom of this page.
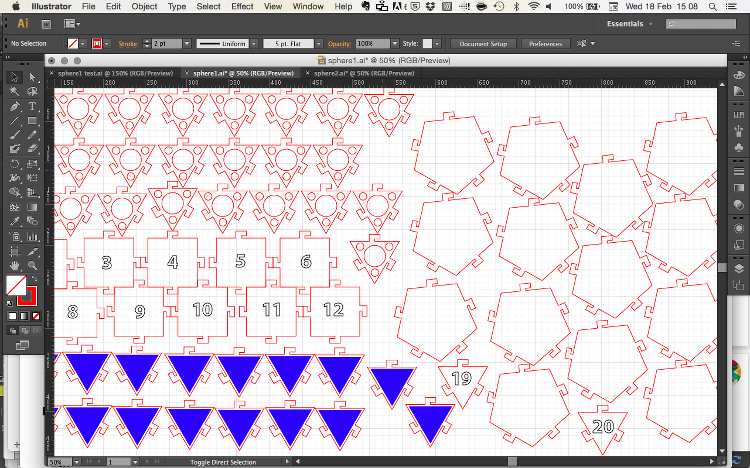
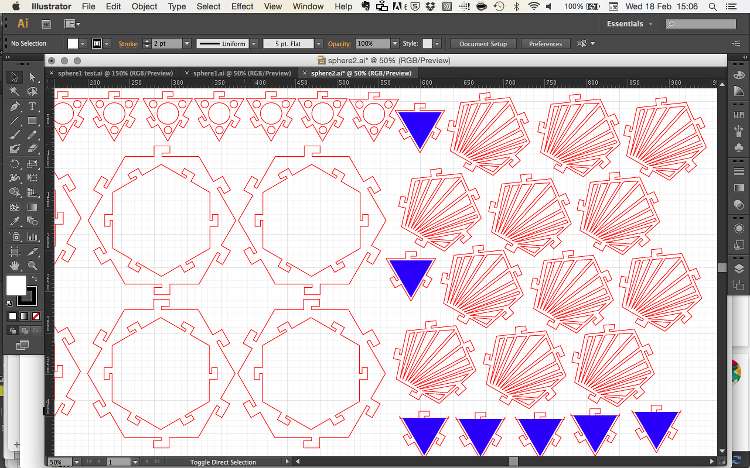
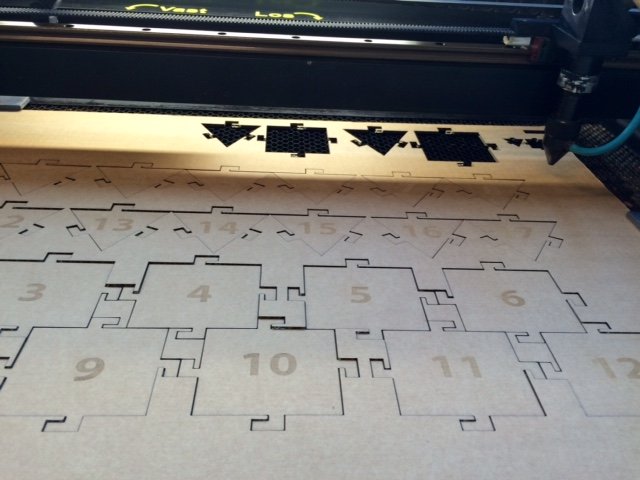
I noticed that the cardboard I bought wasn't too straight, so I used double sided tape to stick it to the bottom plate of the laser. Still however there were huge differences in cut depth and engraving depth. The latter produced a really nice gradient in the parts which I was happy with, but the shallow cuts promised me a lot of work cutting the parts out. The second piece of cardboard I fixed with more tape and adjusted the laser speed. They were cut out, but the tape I used was too strong; some pieces got destroyed when I tried to remove it.
Vinyl cutting
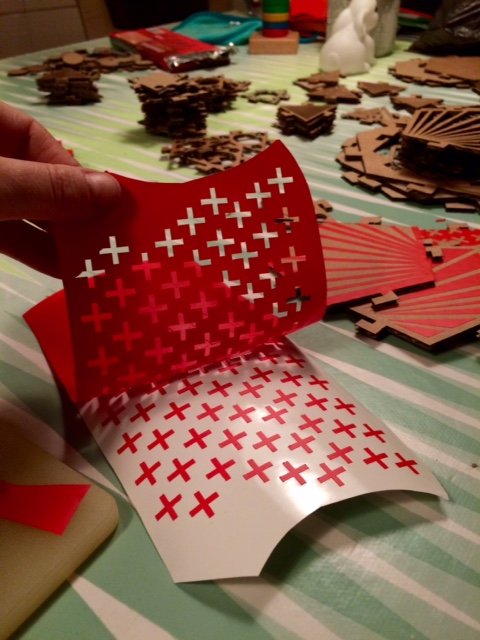
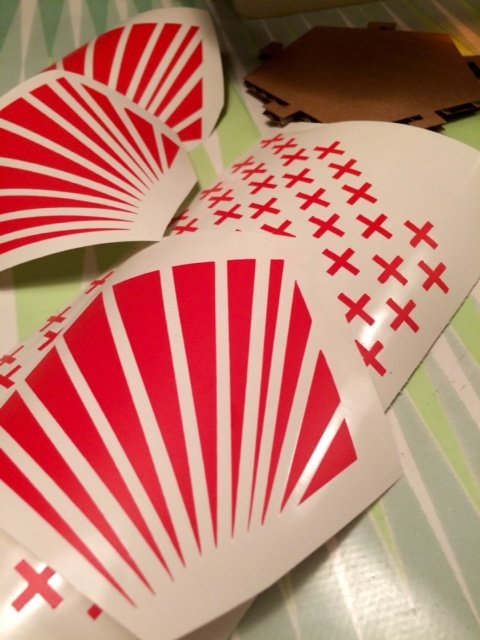
Another thing I wanted to try in this week was vinyl cutting. I decided to make a simple pattern of crosses (text-based plus-signs actually) and also use the shapes that I cut from the cardboard pieces to decorate the construction kit with. I used a matte red color vinyl sheet and started cutting the crosses, which I quickly found were too small for the knife to handle.
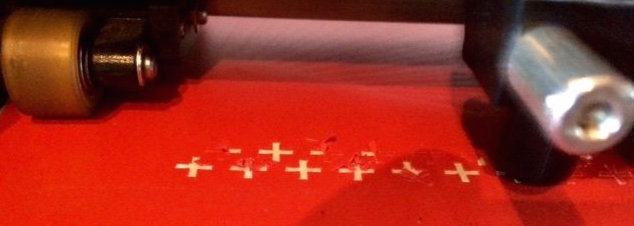
Enlarging them to 72pt did work well, and so did the shapes I cut from the cardboard, which obviously already had the perfect size. Once I started to remove the upper layer of the vinyl, I realized that I could use both the 'positive' and the 'negative' image to decorate the press fit kit. A nice quality of a vinyl cutting that I might try to use as a conscious strategy in future :) Please find the cut files under 'resources' below. I had to design the file anew since I lost the USB stick it was on, but that was a quick enough job.
 ..................................................................................................................................................................................
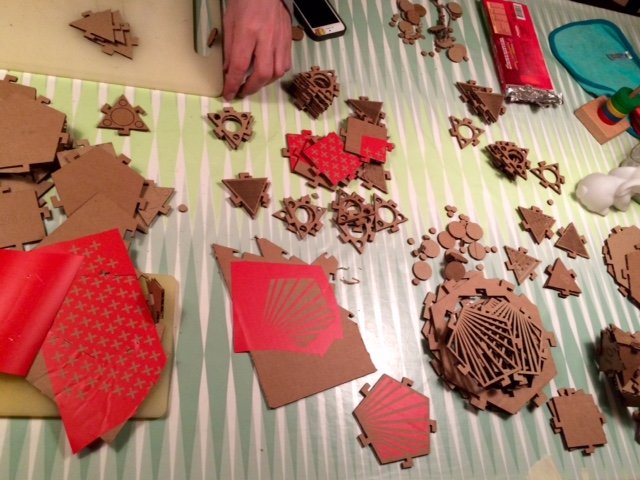
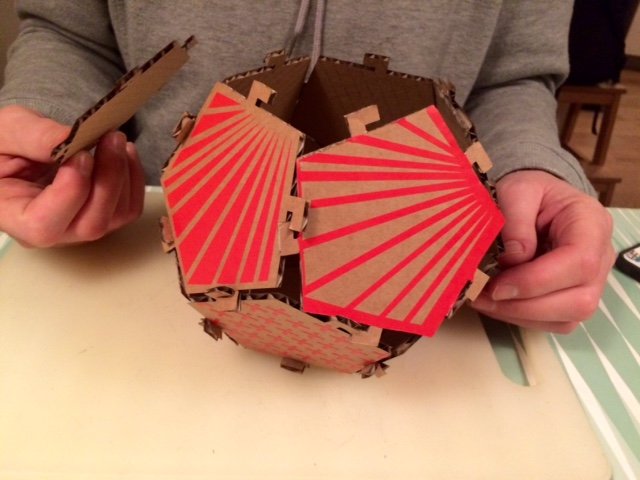
Assembling
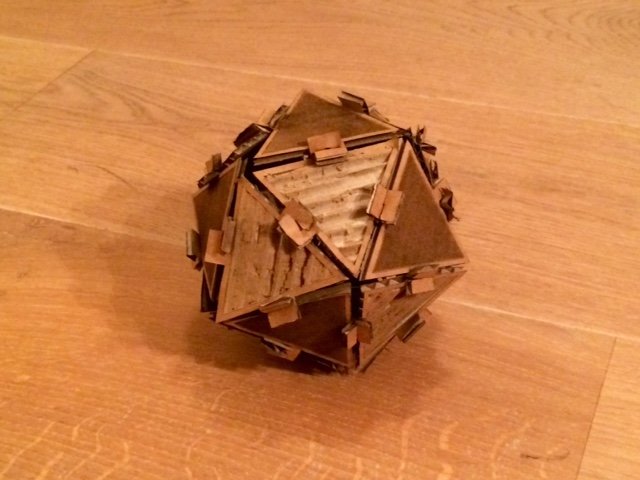
I spent a looooong night with my boyfriend cutting out the shallow parts and assembling all the objects. I learned that the most static, stiff shapes were hardest to assemble (especially the last piece!!!), which was tough on the joints. They were also the quickest to fall apart when rolling around. The see-though spheres look far more fragile but are toughest in reality!
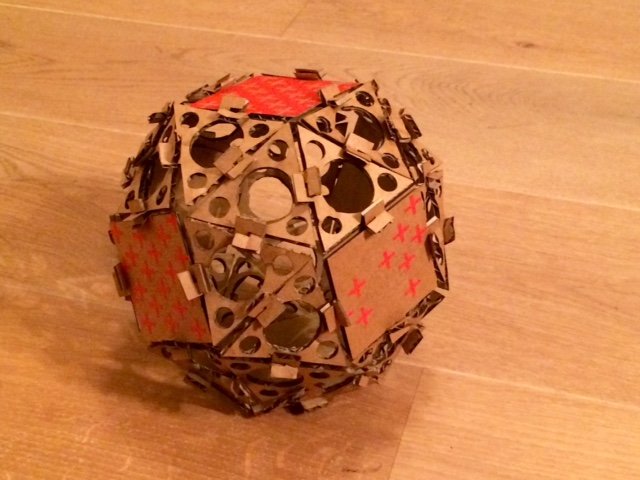
The whole family;
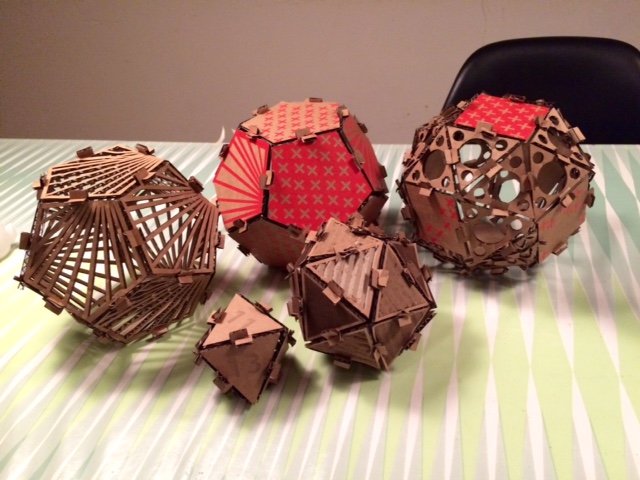
The three smallest spheres nested;
 ..................................................................................................................................................................................
Resources