3D Printing and Scanning
This weeks class of Fab Academy 2015 was about 3D scanning and printing. Our assignment was to 1. Scan and print and object. 2. Design and print and object not possible with subtractive techniques
To quote Prof Neil Gershenfeld:
The 3D printer is like a Microwave oven. The Microwave oven is useful in the kitchen, but it doesn’t replace the Kitchen.
I’ve done quite a bit of scanning and printing in Industrial Design including teaching a course on 3D for Fashion Design at the University of Venice and 3D for Industrial Design at the University of Rome. My primary tools are generally DAVID - 3D Scanner, Skanect, MeshLab, and Rhinoceros. For this project I will be pushing my limits by not using these Applications.
Designing a Non Subtractive SHOE Model
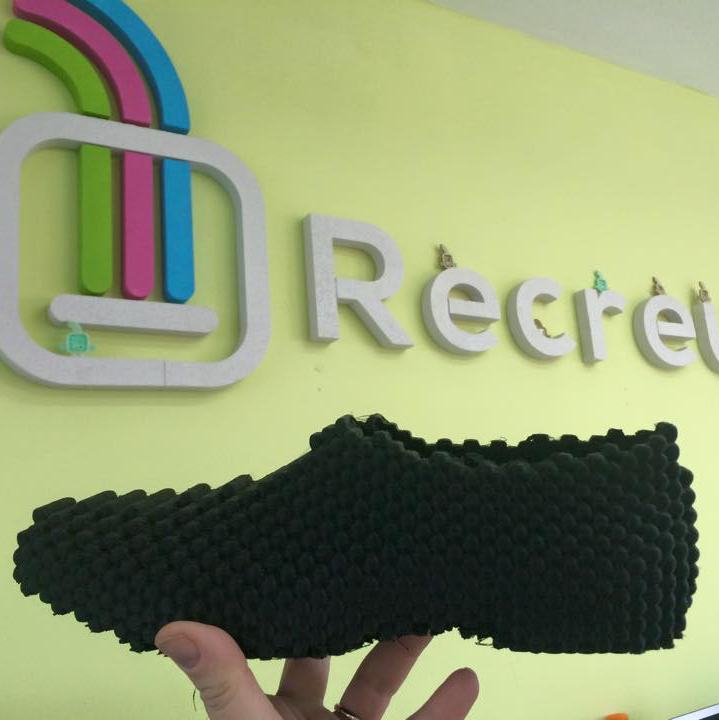
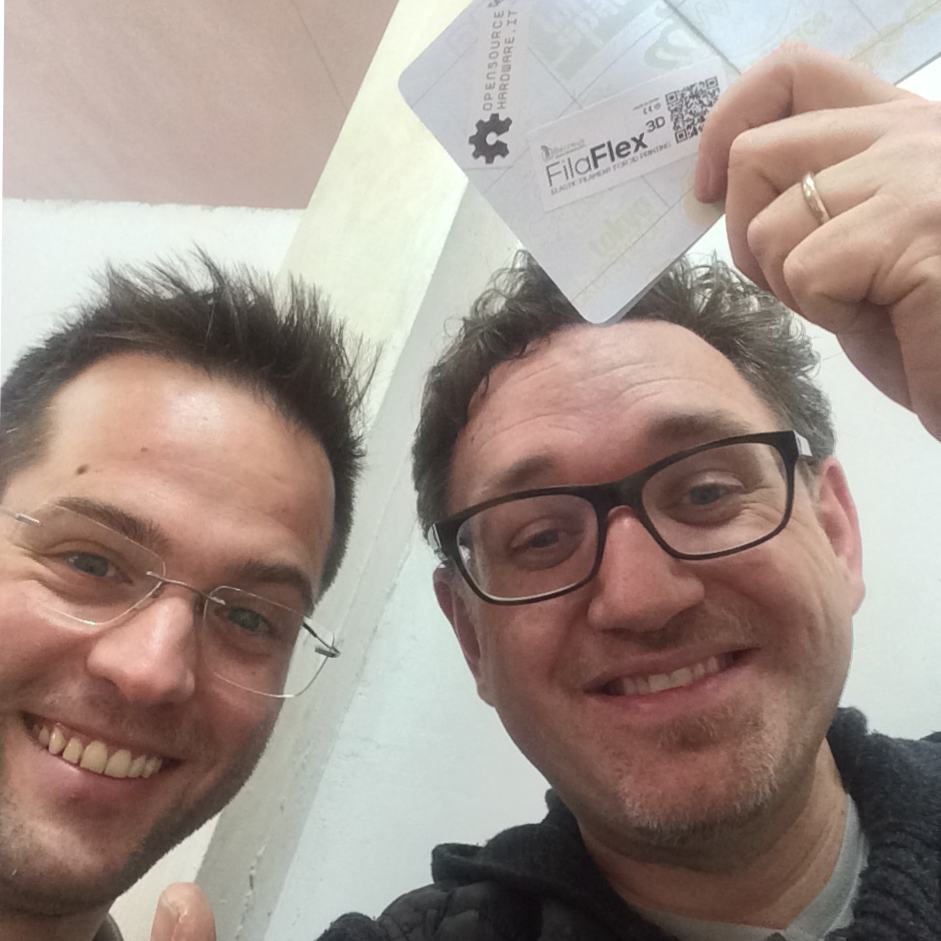
I had a great opportunity to travel to Alicante at the Recreus HQ facility where they create a flexible TPE filament called Fila Flex. Our homework was to create a model that cannot be created in subtractive processes. I choose to make a shoe. Ignazio has created shoes in flexible materials before, but I wanted to create a shoe with a multiple variable infill sole.
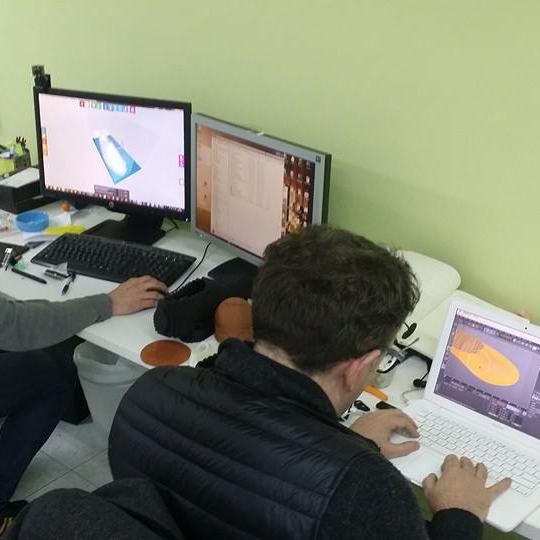
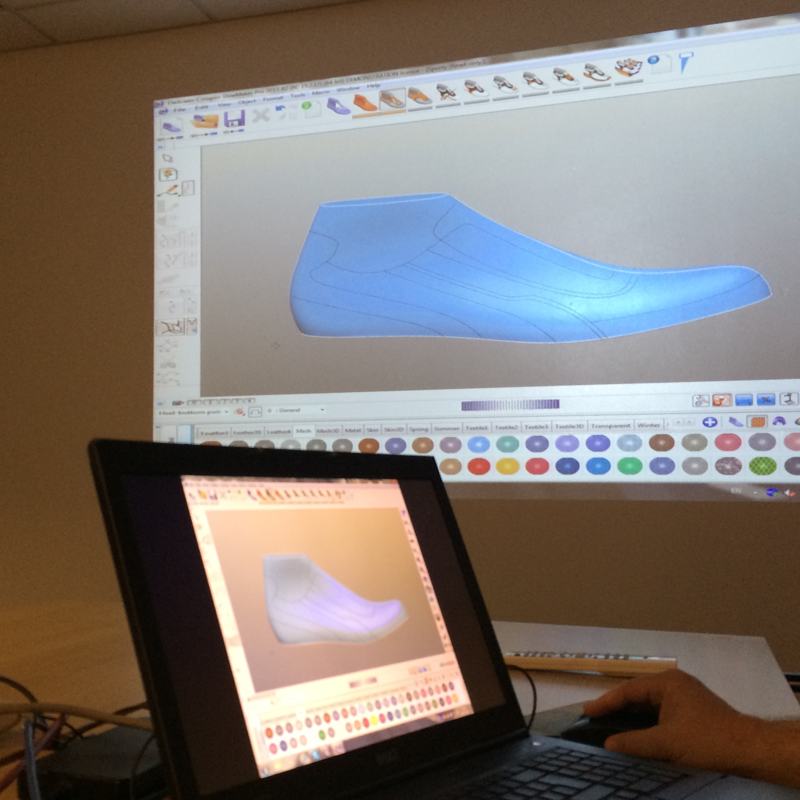
I used a specialized piece of software called Delcam CRISPIN as it is uniquely created and for making shoes. They were recently acquired by Autodesk and I am hoping that I can convince Autodesk to create a shoe program in the 123D series of programs. I teach innovation for footwear at SLEM and had access to the program there. I started with a 3-D scan of my foot and used it in their last maker software to create a last based upon my foot; this required taking an existing last and adapting it to my foot. The Crispin software is uniquely capable of adjusting a nurb based shoe model to a 3D scan. With this basic model for a shoe created I imported the STL it to Cinema 4D to use some of the techniques that I learned while doing the scan and print project.

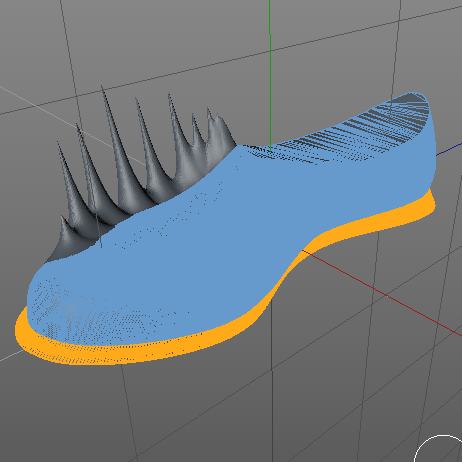
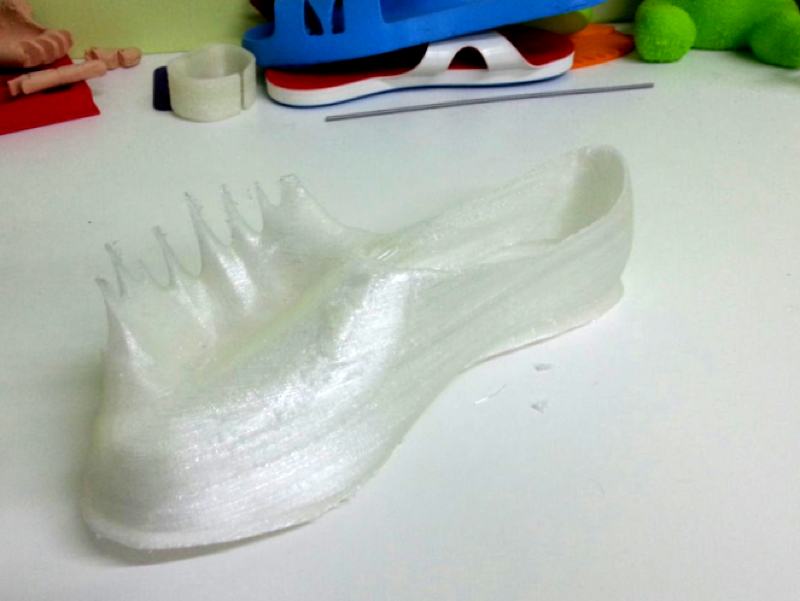
First I extruded the walls to create volume. The amount of space and volume directly affects the stretching, this and the softness of the final print, which I will discuss in a minute when I show you infill. Next, I extruded and enlarged the bottom to create a shoe sole. The bottom edge needs curved under. Usually I would use a Loft Extrusion in this circumstance, but in keeping with the idea of using Mesh sculpting tools I took the edge off with the softening brush.
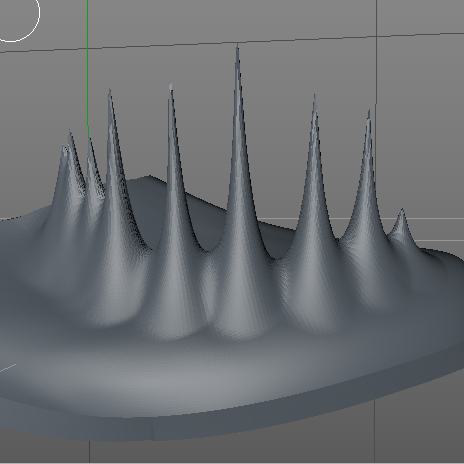
I wanted to add some ridges to make the shoe look dinosaur-like, when Shoe Forecaster guru Nicoline van Enter gave me some great direction. A single exaggerated ridge created with a Pull brush with a needle falloff.
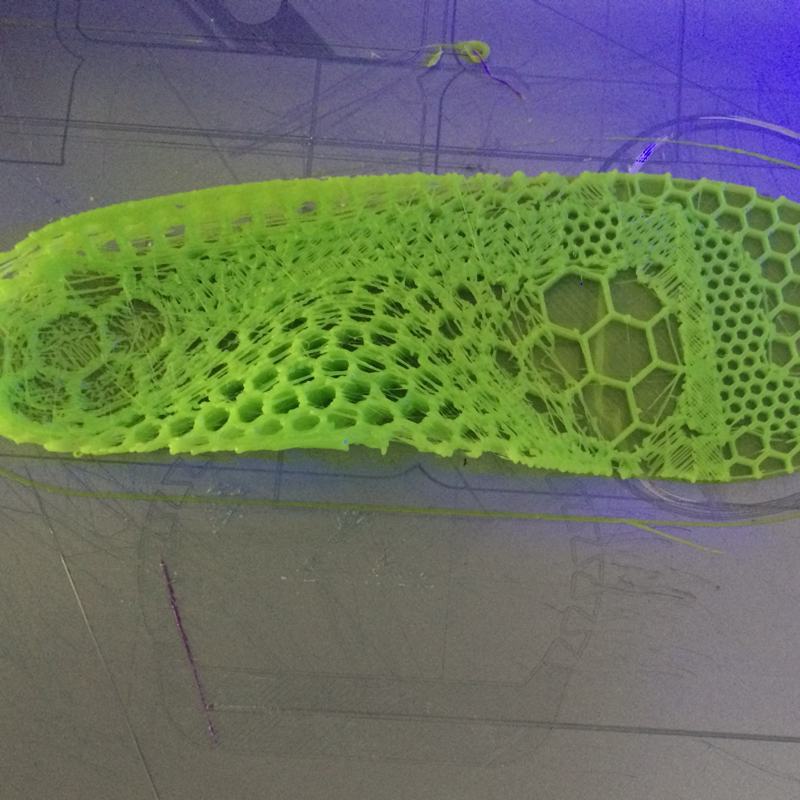
Slicing
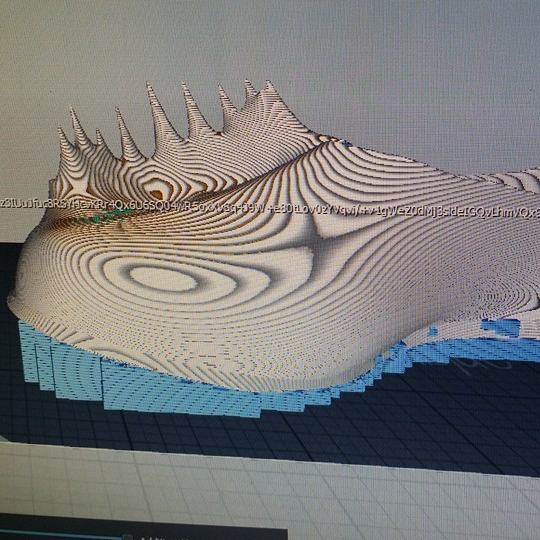
The biggest difficulty in printing with Fila Flex is finding the right infill. TPE filaments are flexible and the secret to making something amazing is in the infill. The infill determines flexibilty of the lateral and dorsal sides and the rigidity of the sole (ventral) side of the shoe. Ignazio of Recreus was really awesome and let me design a series of different insoles using different infills. CraftWare makes a super soft spiral infill. Cura does rectilinear fairly well and Slic3r has a plethora of options. Ignazio also pointed me to the Gyrobot tutorial for creating a multiple infill models with Slicer. I designed four different styles of infills and we tried them on multiple printers. Each one took a lot of calibration of the first layer via the multiple slicing programs used even though all printers had auto Z calibration. We also had to adjust the filament size to be 1.78mm instead of 1.75mm in order to make sure enough filament was being extruded. Once we got going it went ok, but take a look at my printer calibration files for more input.
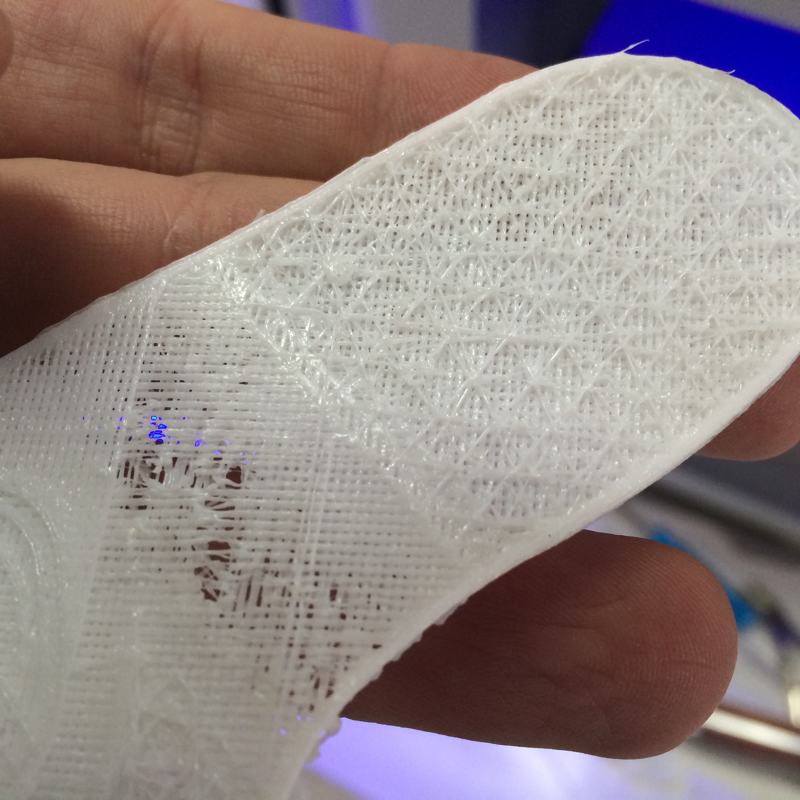
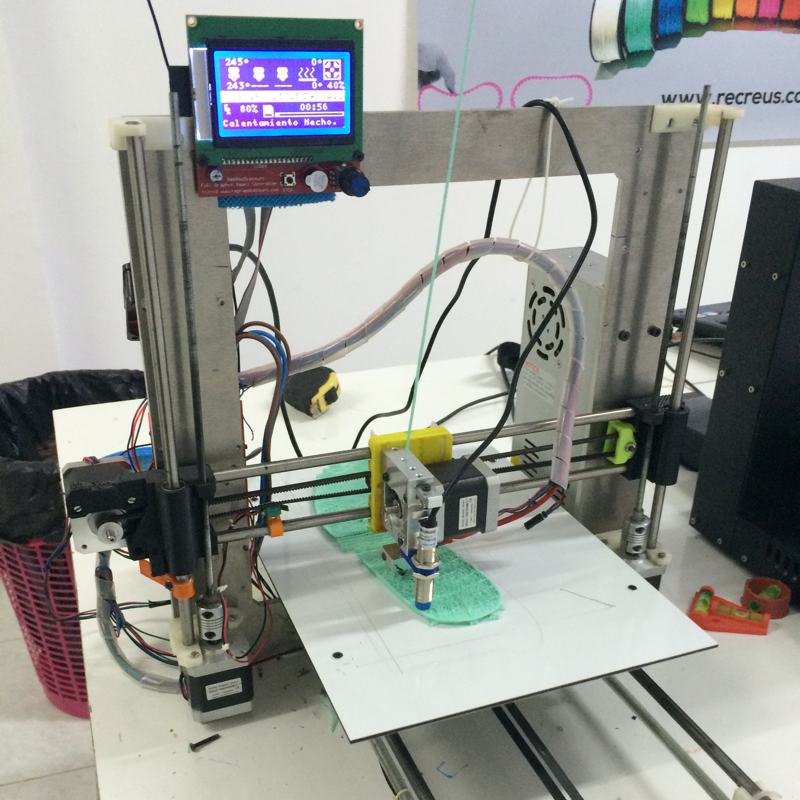
Printing
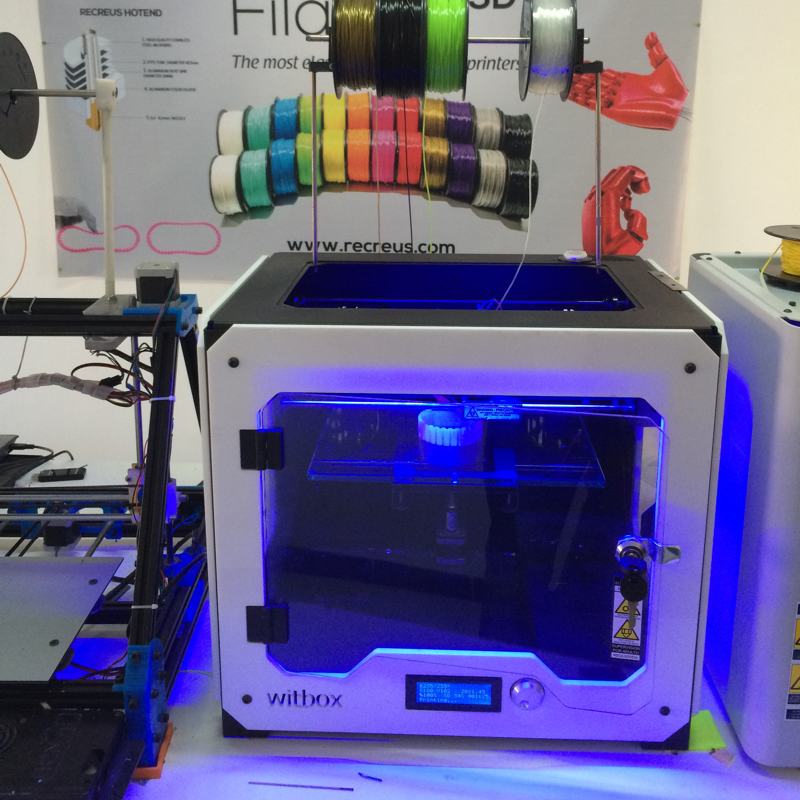
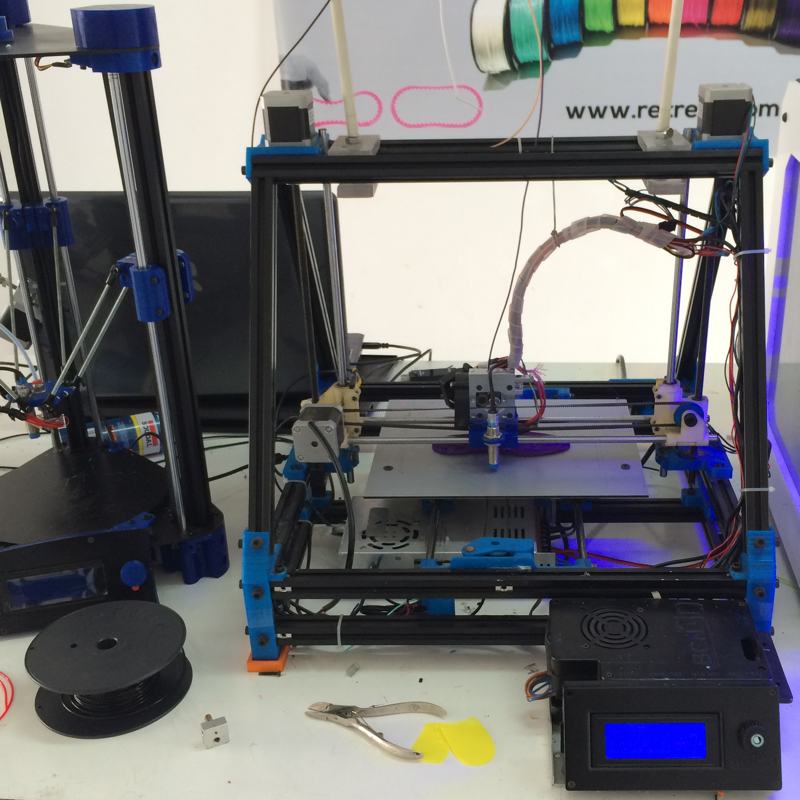
I was at Recreus to learn how to print TPE Fila Flex and Ignazio had all kinds of printers to print on. We ran samples on a Lewihe Sneaker, a heavily modified Witbox , a Prusa i3, a MendelMax and a DeltaMaker. We had three successes and fifteen failures. TPE is not easy, but with a little practice adjusting the tension on the Direct drive mechanism you’ll be printing reliably.
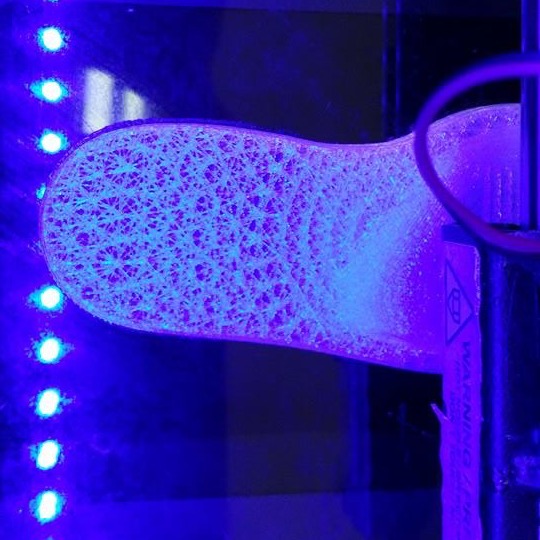
The Shoe
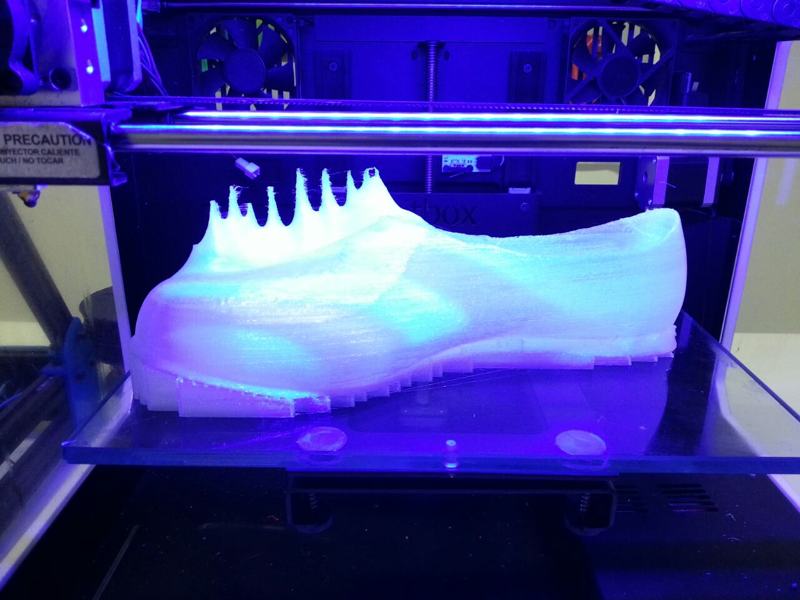
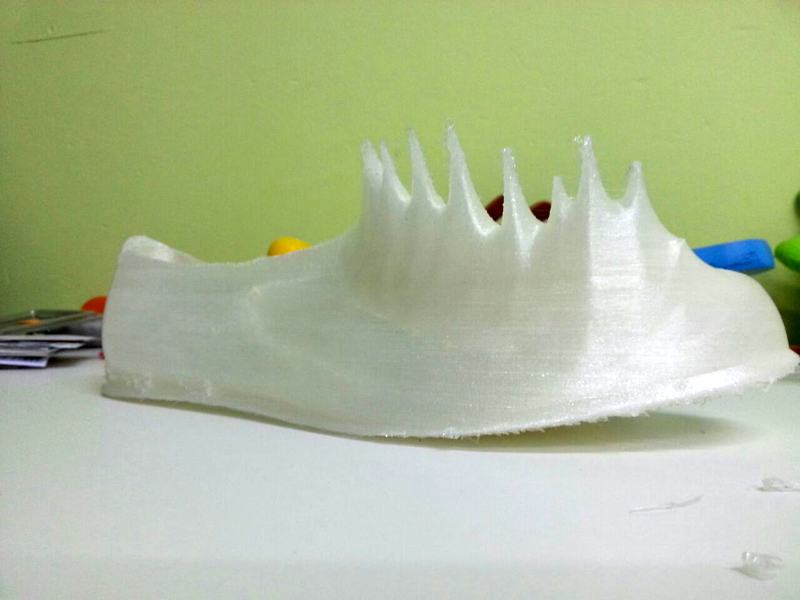
With the test prints run we moved on to printing the final shoe. I couldn’t use the multiple infill sole I designed because the infill required for the lateral and dorsal walls is created with Craftware and the sole with Slic3r. This is going into the the failure category, but it has revealed that a new slicer software is needed to make truly 3D printable shoes. Thankfully the Creative Director of SLEM is already seeking funds to make this happen. Craftware is great at creating an easily removable support structure for the under sole toe spring, heel spring and arch lift, and the internal toe support. It took all night (17 hours) to print, but the final product is visually great, although this iteration of the shoe is a failure due to the problems in the Engineering aspects of the shoe.
3D Scanning and Printing
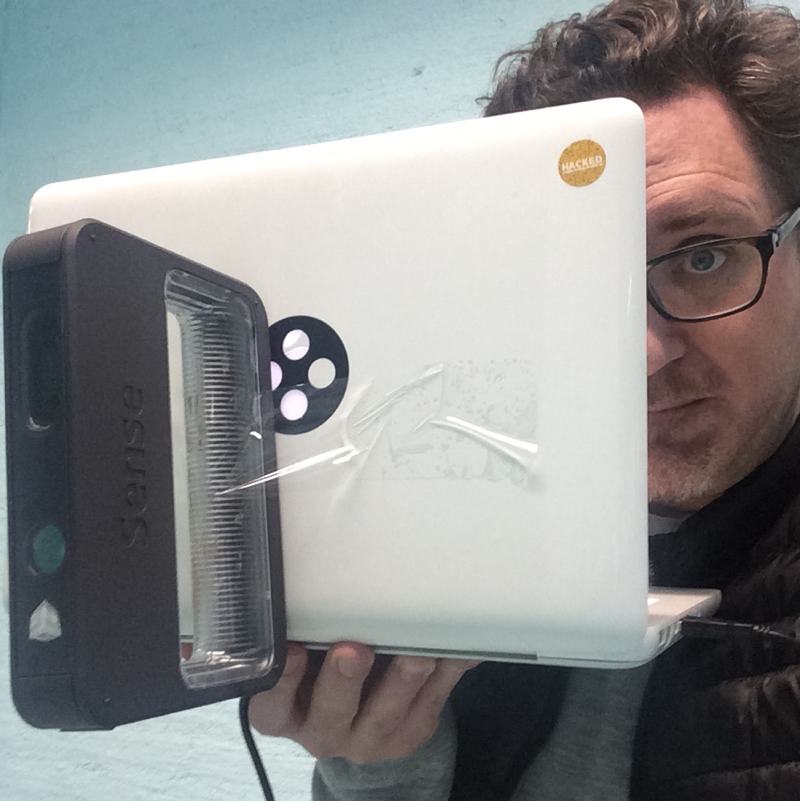
I’ve done a fair share of scanning and am well versed in DAVID - 3D Scanner, Skanect, ReconstructMevia Line Laser, Structured Light, Kinect and Asus scanning. All of these give High to Medium control over the scan. For a bit of challenge I picked up a Sense and used it’s native software as it is popular but known for it’s lack of control.
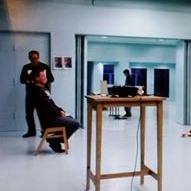
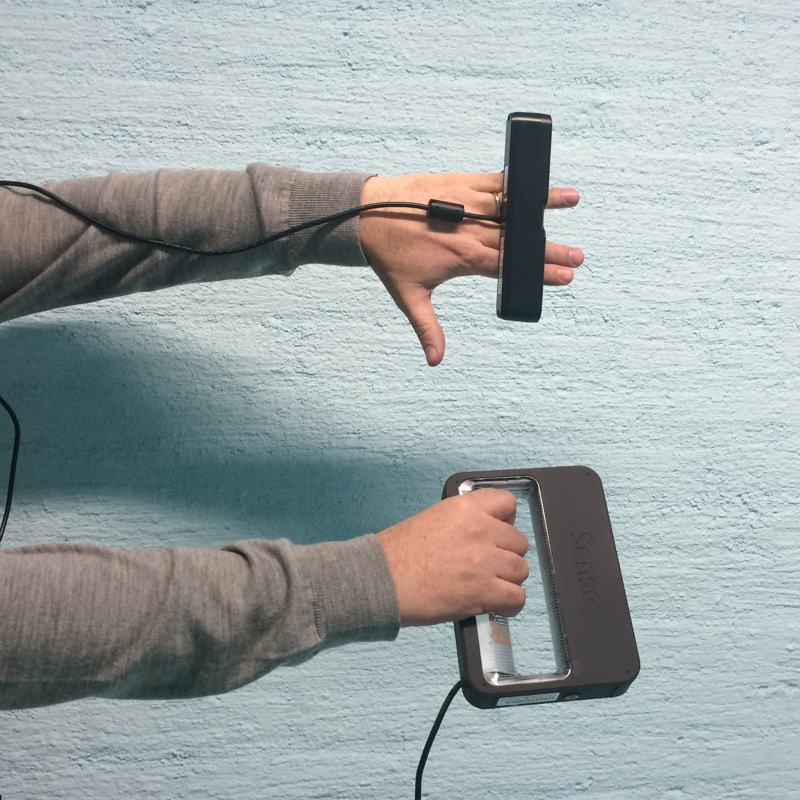
The Chair of the board of my University was celebrating his 50th birthday so I planned to scan and print him as a gift. My first few attempts were complete failures in that the camera completely lost track of where it was. I’ve experienced this with the Kinect before. Radial pitch rotation is extremely difficult for the computer to calculate. With the Kinect the secret is to make the Live Long and Prosper (RIP Leonard Nimoy) Hand sign and pick up the Kinect between your fingers. This works because when you hold your hand in a fist your arm naturally wants to radially pitch. Hold your hand out flat and your arm naturally stabilizes. There is no great way hold the Sense with a flat hand but Ben Heck’s Video on scanning with the Sense has a great tip, Tape the Sense to your computer screen.
Update: My friends at SLEM also recommend tapeing a laser pointer to the top of the sense and keep it centered on the object being scanned.
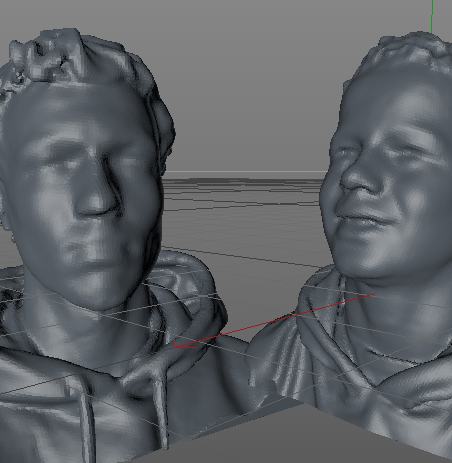
I scanned the rest of Carl’s family as well because they loved it so much. This was the very interesting part of scanning as it’s easy to scan one thing, but scanning several with similar quality is hard. With the tape trick it is so far impossible (but I will try again with the afore mentioned laser trick.) The STL generated by the Sense software fails to open in Cinema 4D, but a quick open and save in Meshlab fixes everything.
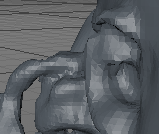
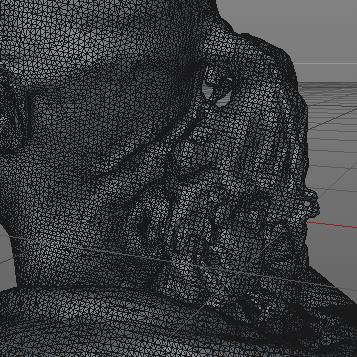
I didn’t have to stitch the shells manually but the hair, ears and chins needed some serious work. I chose to go with Cinema 4D as they added sculpting features in R15 that I have not yet tried. Repairing the holes in the ears was a pain and required hours of work. The sculpting brushes did make it easy to tame wild hair. Also, The camera didn’t get a good view of the under chins, but the smoothing brush set on 20% pressure did wonders to calm the vertex mess left over by the scans. I then added a light pull to redefine the chin. Next I rotated the scan so that the person was looking up at the spectator. This is a little sculptor trick that also helps in 3D printing so that we don’t have to add support material under the chin.
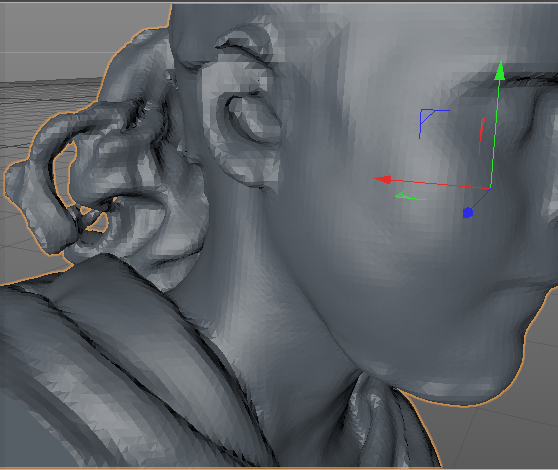

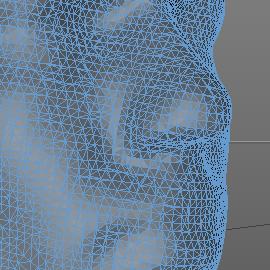
There wasn’t a lot of time for clean up, so I wanted to make sure that the structure was self supporting, this meant a little curve under the nose and under the chin. Hair and ears needed to support themselves. This meant connecting earlobes and sculpting hair. Once I figured out how to work the sculpting brushes well the workflow was fairly simple to apply to all six family members. The difficulty was in the scan quality differences from Sense. There appear to be two diffirent quality levels that seem to be related to the distance of the center of scan in the moment that it activates. After five successful scans it seems that more practice is needed.
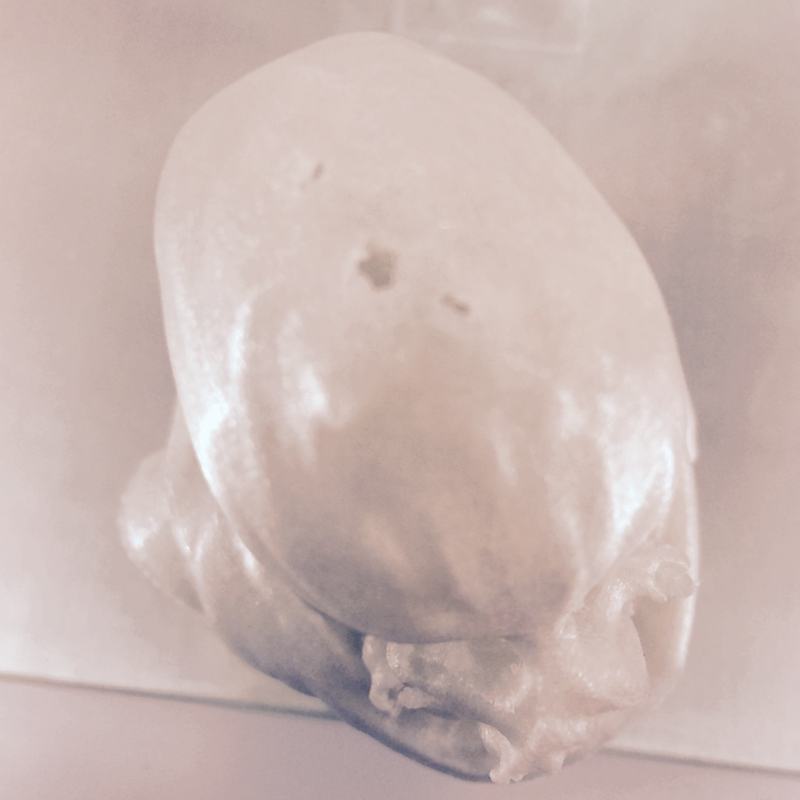
I started off by running a test print of Carl and wanted to ensure that the techniques I used were going to be printable. The chin certainly needed some adjustion but with a little bit of work I came up with a printable model. I went back and applied this to the other five models, but I probably should have worked it out before sculpting all of the other models. The next step was to add a sculptural base to the scan and run a sample to make sure that the base was centered. This turned out to be very difficult as not having an exact center to the base led to the model tipping over during the printing process. It took five tries in order to get this to come out correctly. However once the center of balance was discovered it was easily applied to the other five models.
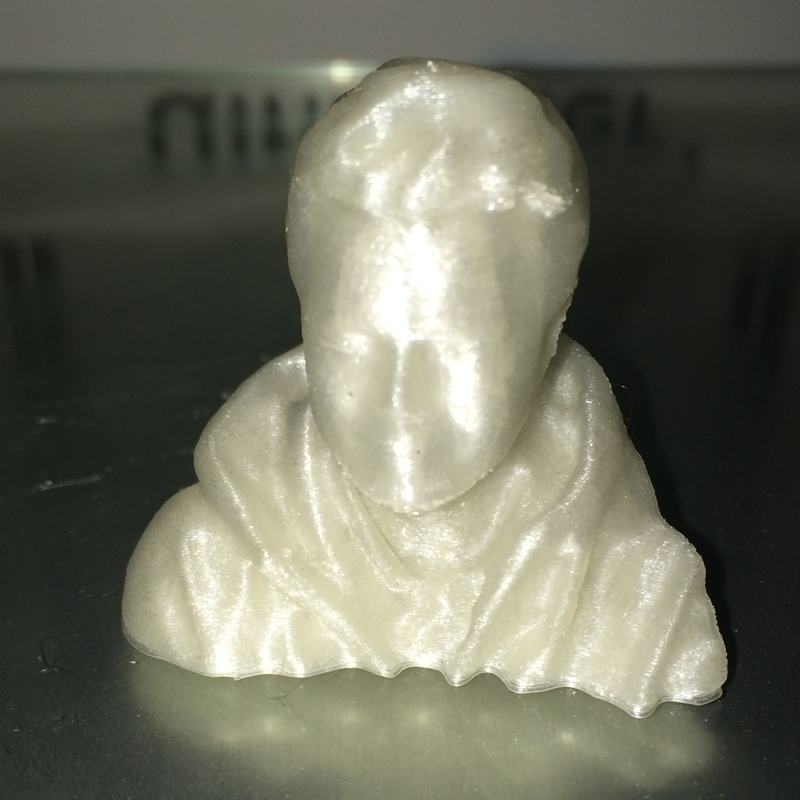
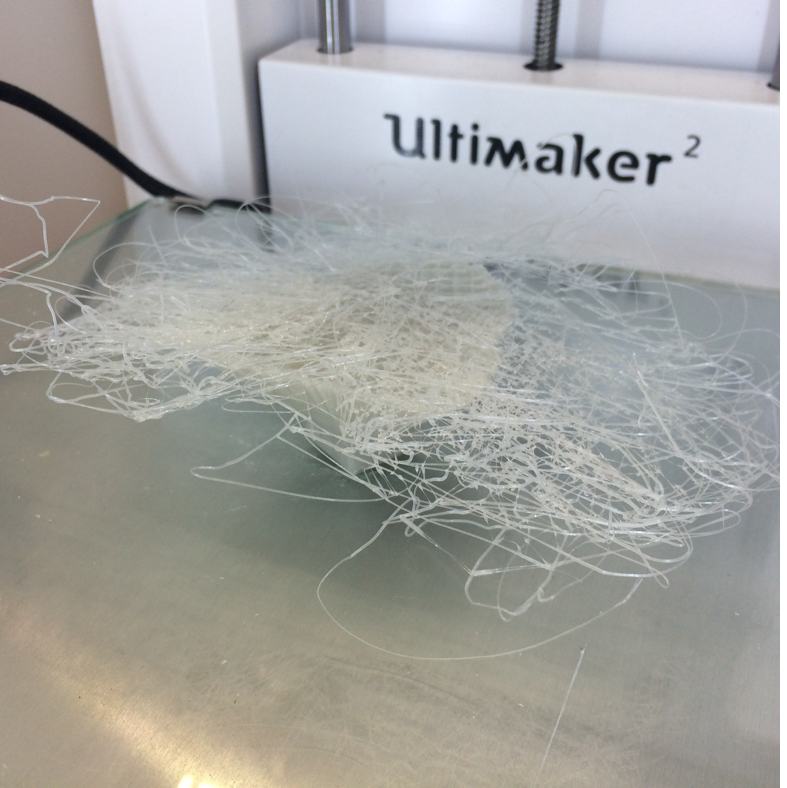
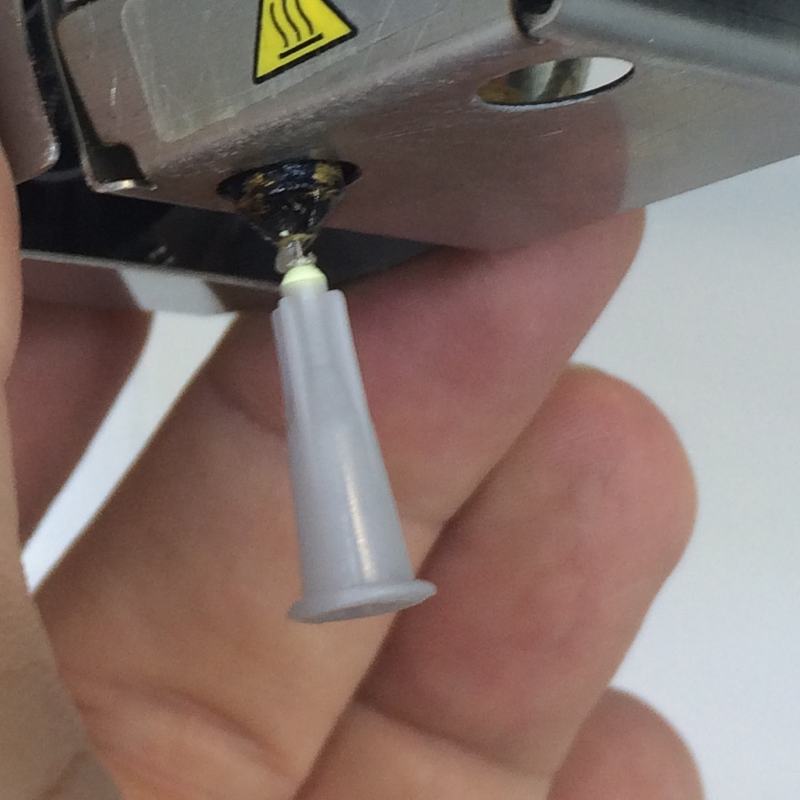
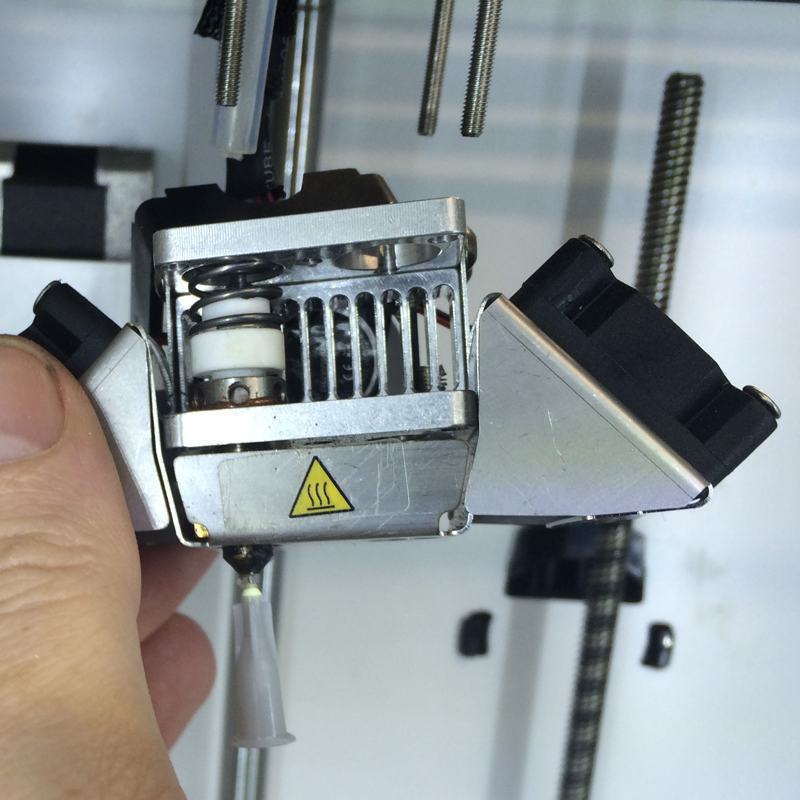
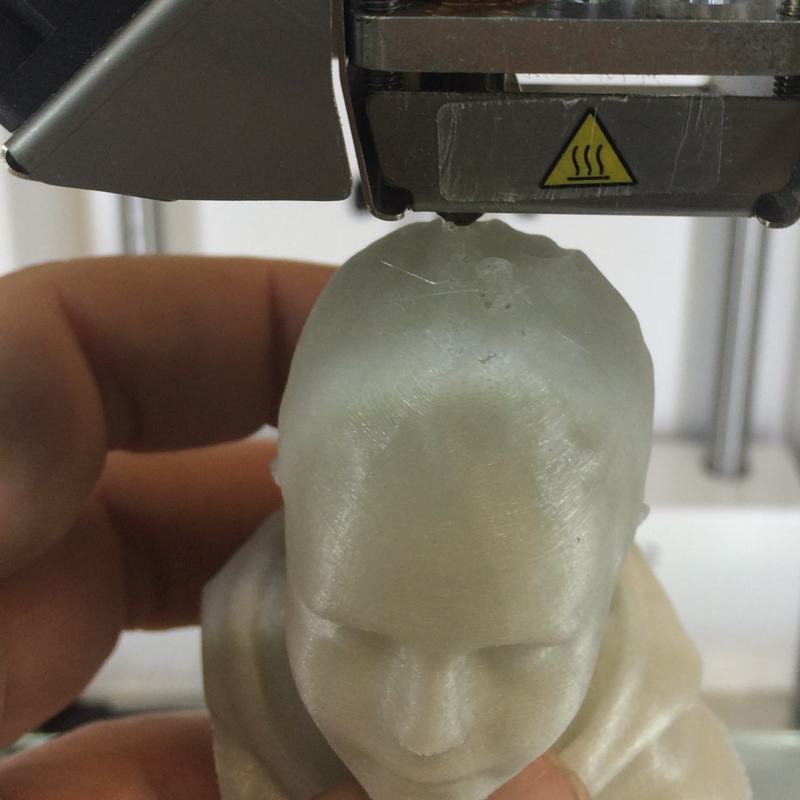
All those six models required approximately 32 hours of printing time. I had two Ultimakers at my disposal. One printer worked like a charm, whereas the other Ultimaker had problems clogging. After disassembling the print head, I found a trick on the Internet involving a .4mm syringe inserted into the print head while extruding. This finally unblocked the print head. The hard part was trying to describe this to the pharmacist who did not speak English as to why I needed to say .4 mm syringe. She laughed pretty hard.

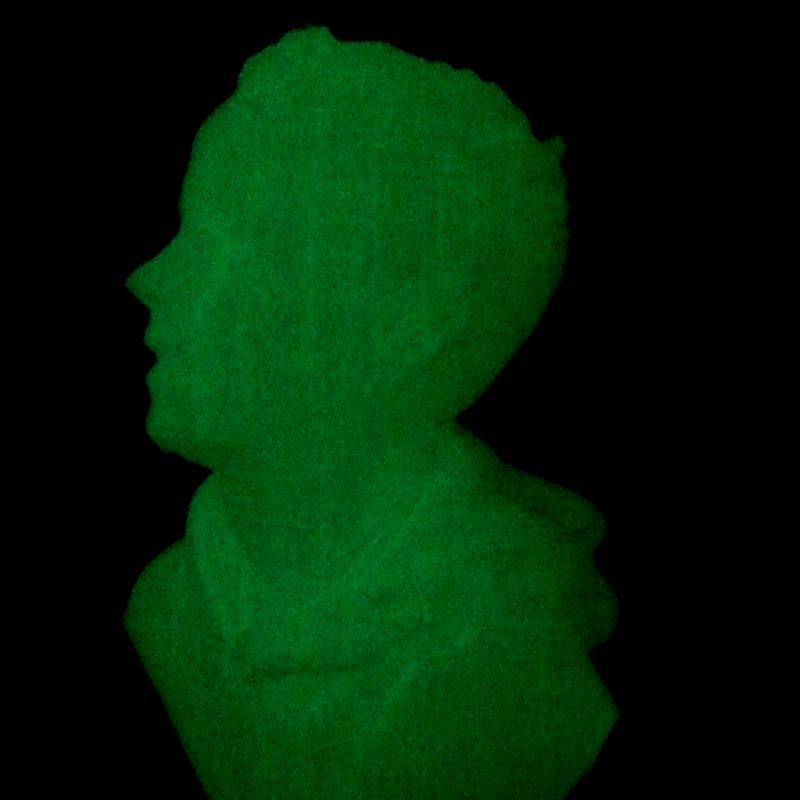
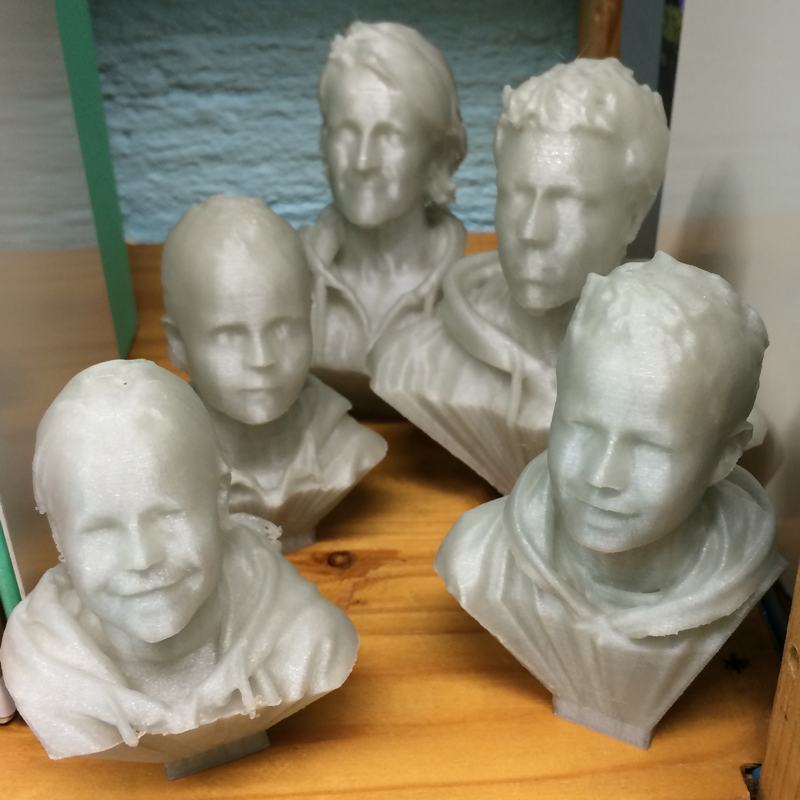
In order to make these prints look special I used a glow-in-the-dark semi transparent filament from forma Futura. A surprise detail was the fact that the infill shows through ever so slightly and this creates a vertical striping.

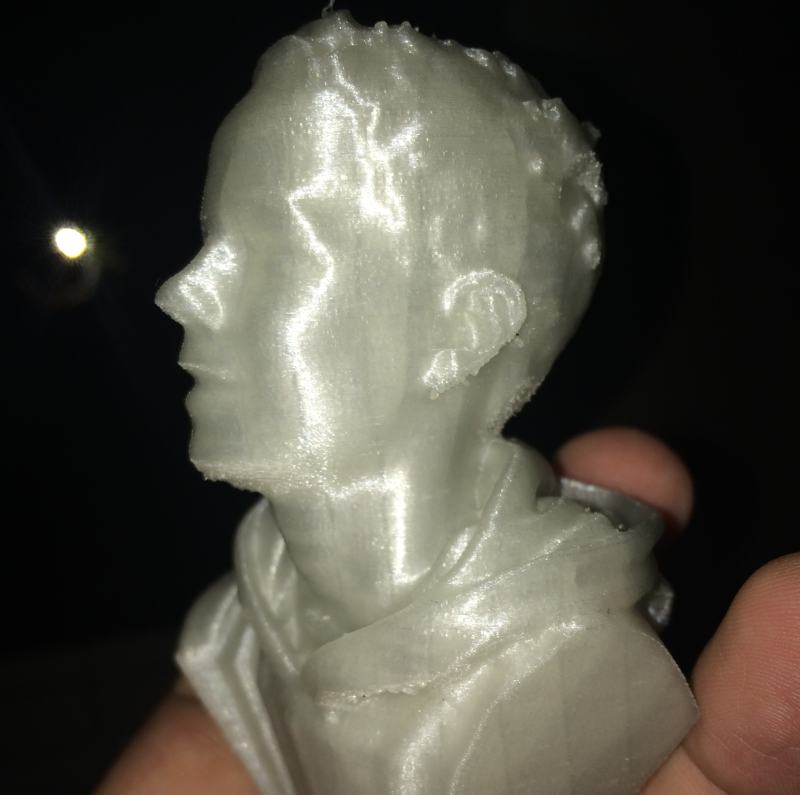
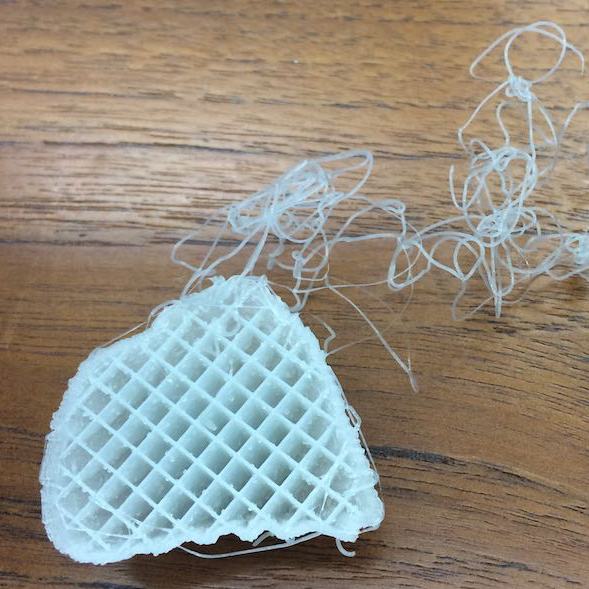
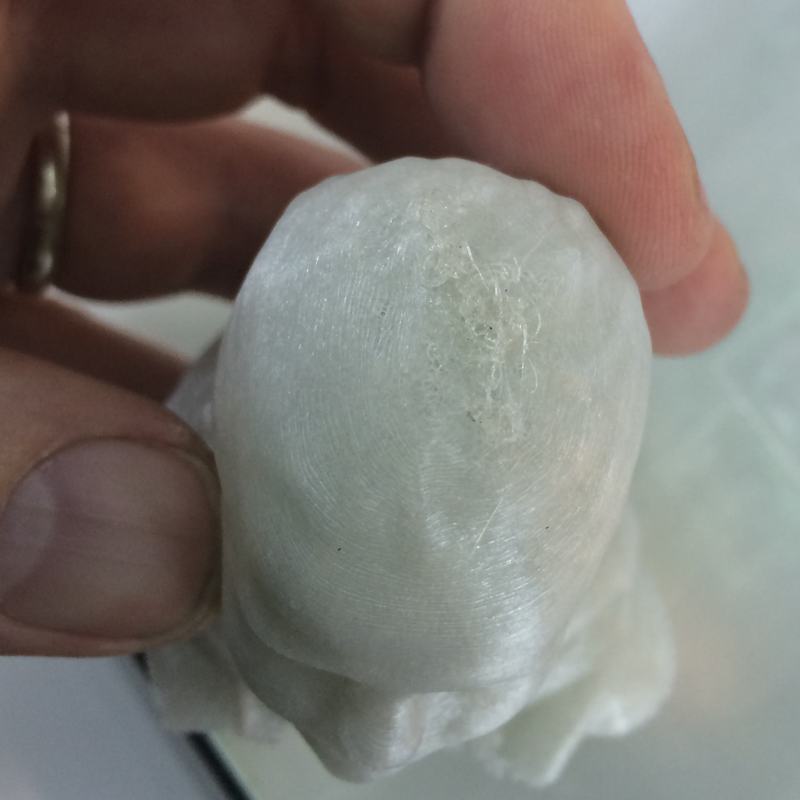
There were also a lot of problems with the Ultimakers leaving holes in the final layers. I've run into this before. The secret is to slow down on the last layers to not ruin a seven hour print. On the one I did mess up I infilled manually and repaired the look with a hot head. Not the cleanest fix but better than a hole.
It took a lot of work the end result was quite unique. Carl and his family were very excited to have a complete series of their family. I learned a lot about consistency in printing and scanning. Its not as simple as it seems and can be very difficult at times.
Conclusions
Both projects were failures. The Sense Scanner is decent when producing single objects but for a range of objects it’s difficult to ensure a similar quality over each scan. Skanect or ReconstructMe is definitely preferable in terms of reliability. The new mesh sculpting features in Cinema 4D are great, they are definitely a great tool. I usually prefer nurb or T-Spline modeling, but for scanning and mesh manipulation this is excellent. TPE Fila Flex has changed the rules for FDM printing and that has me very interested in FDM again for the first time in long time. (I’ve been into SLS printing with Shapeways for the last 5 years. troykyo on Shapeways.) The Shoes are aesthetically pleasing but need help on an engineering front. That makes them a failure for now but as soon as I finish Fab Academy I will write my own shoe slicer.
You can find all my source files here: Printing & Scanning.