Homage to Aeronautic Engineering; or How to Justify Making a Paper Plane
This week’s lecture was definitely one of the most insightful ones to me. As the word ‘composite’ is, for the collective imaginary, pretty much nothing but a nebulous term sporadically used in all the “How it's made?” shows across the world, I found Neil’s explanations on the material properties unlocked by the combination of various resins/unifying agents and fibers especially interesting. Yet, even if one can use composites to build cars, planes, boats and bikes alike, I found it quite difficult to come with a workable project – they might use composites to build jumbo jets, but let’s just say that I am pretty far from there. It is in that context that I decided offer my own little (quirky) homage to composites’ legacy in the field of aerodynamics and made my own little ‘paper’ plane made out of composites.
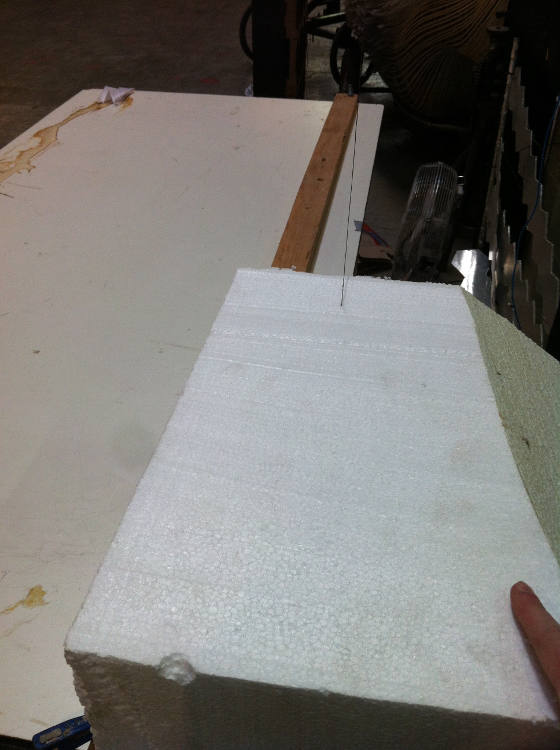
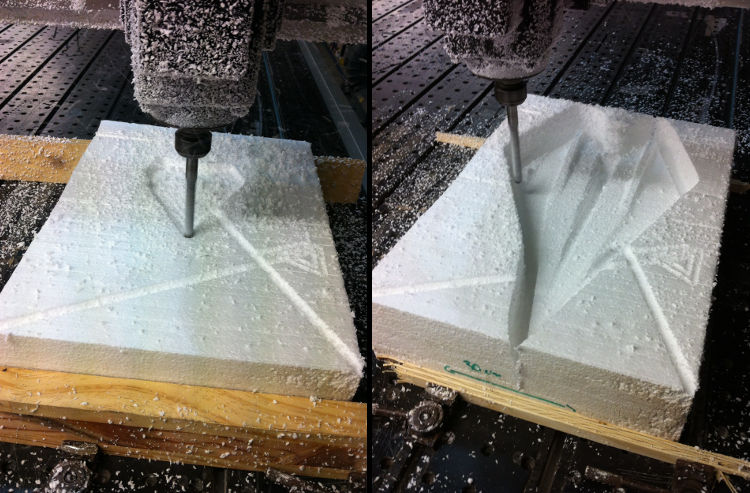
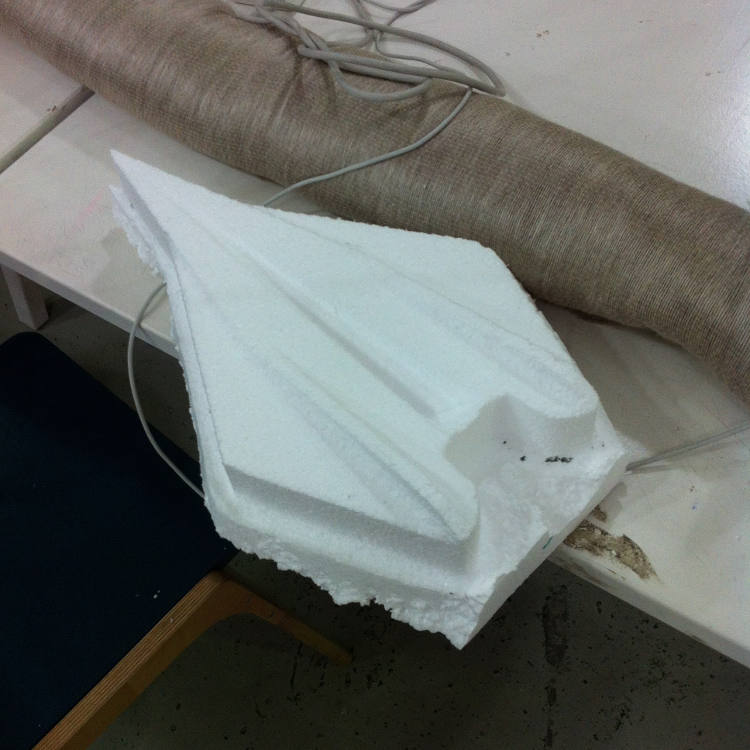
I therefore went to the darkest, wildest parts of the web to find all these bizarre websites for paper plane aficionados, to finally stumble upon this model, the Spirit Dragon, by Paper Art Land. I then built a first prototype using very sophisticated A4 pieces of paper to make sure that it had satisfying flying capacities and that it could be built with a single-sided mold. After few rigorous tests (I might have hit some visitor in the face with it), I took the plane’s measurements and design a similar piece using the same proportions on Rhino. I then helped Ferdi to bring together a homemade hot wire cutter with some old guitar string and a voltage-generator, and cut a piece of foam fitting my piece’s size. I could finally translate my Rhino mesh into commands for the Precix 11100 using RhinoCAM, and milled the appropriate mold for it in the piece of foam.
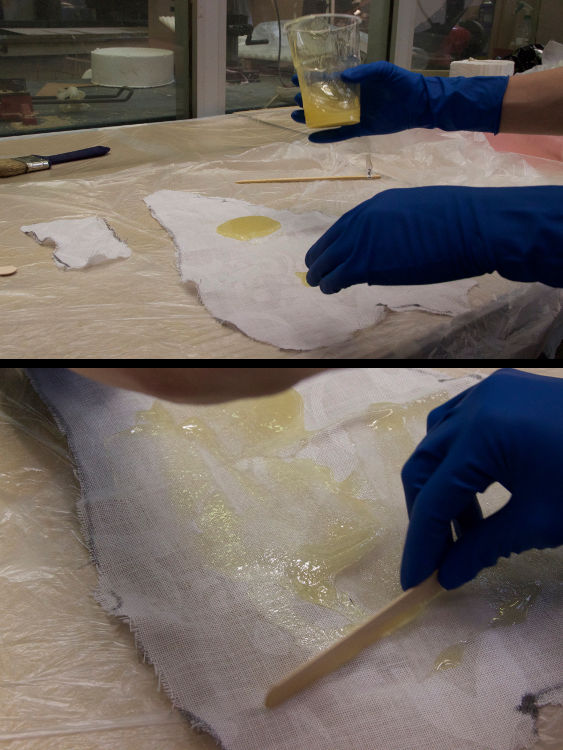
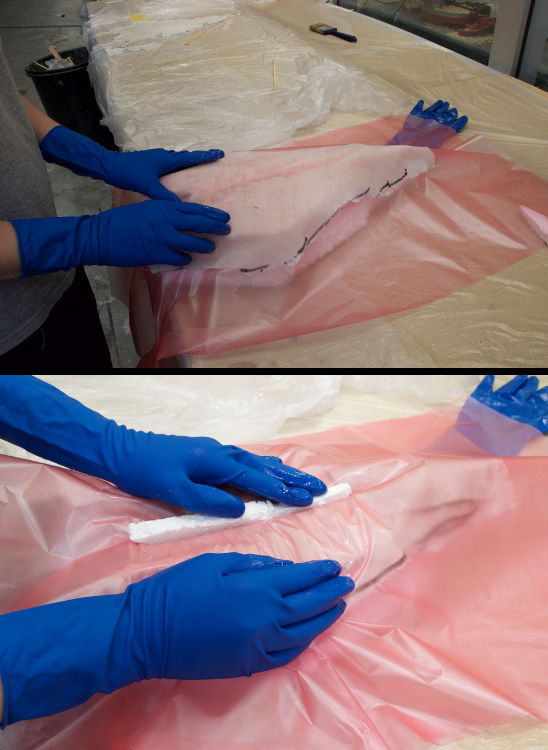
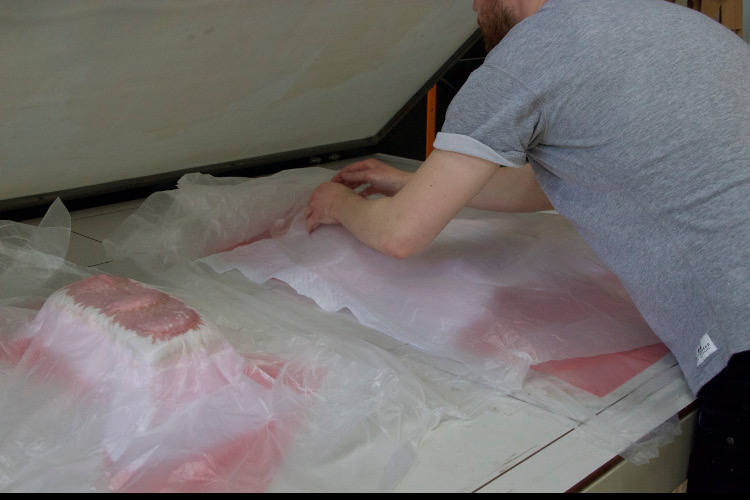
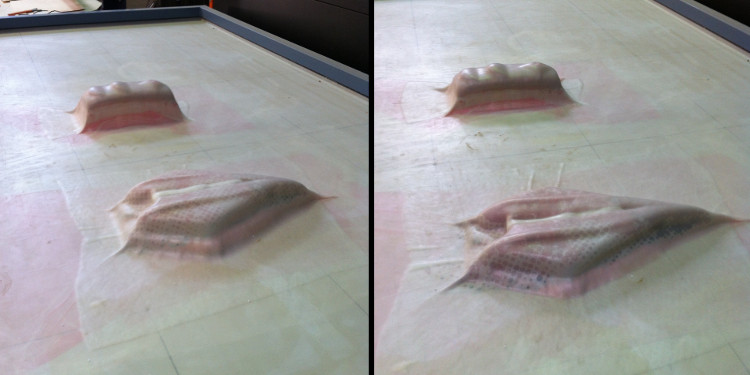
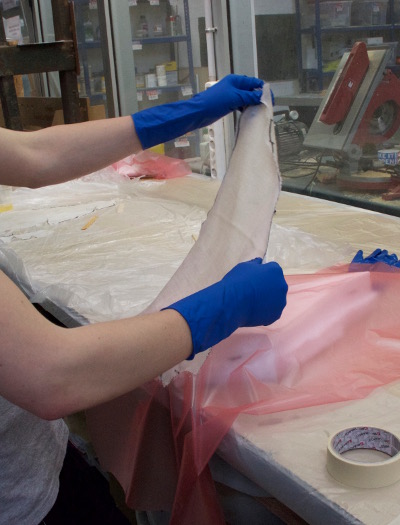
The actual ‘composites’ part went quite well (mostly because Francesca took the time the explain me how to do it). For the fiber part, I took some old tablecloth and some industrial resin to bring the whole thing together. I (very approximately) cut two pieces of cloth in the shape of the plane – I was afraid that having more layers would render the plane too heavy – as well as a third one only for the front part of it, just to add some weight. I then mixed the resin, covered the pieces of cloth with it, put a first layer of plastic sheet around my mold, added the three layers on top, put another layer of plastic sheet, threw in a layer of breathing textile, wrapped the whole thing into a plastic bag and finally inserted the whole thing under the industrial vacuum bag.
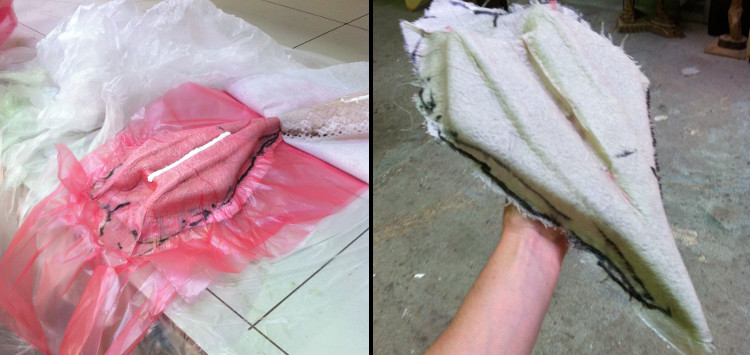
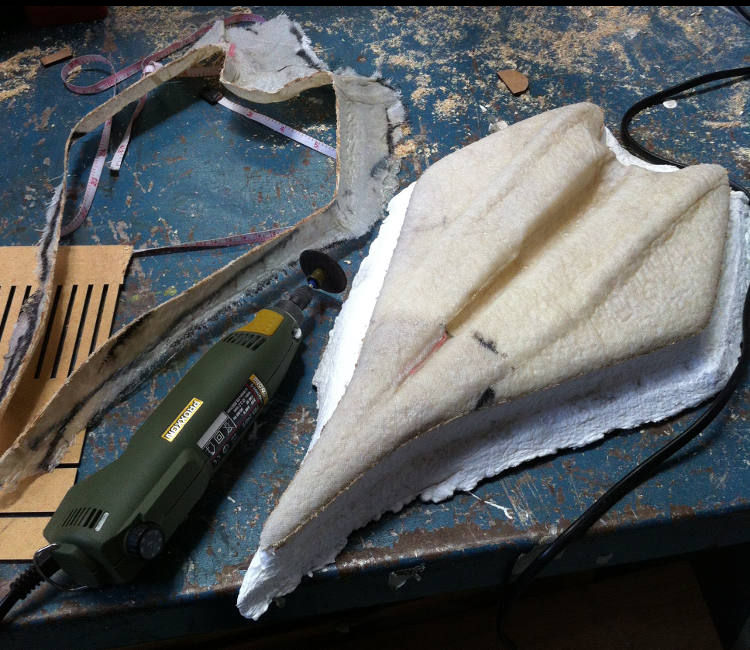
Six hours later, the plane came out surprisingly well, and I simply had to cut the excesses of cloth around the mold with a mechanical saw. Saying that the final result flies would be a bit of a bold statement though. The third layer of cloth that I added to the front part to increase its flying properties actually made things worst, as the plane simply starts flipping over and over as soon as it is thrown. I might try to add some modelling clay in the back of the plane to make it more stable (i.e. to make it fly rather than simply crash), but, in the meantime, here is a great demonstration of my plane’s aerobatic capabilities:
Aerobatics - Inside Loop from Theo L. Richer on Vimeo.
And as if this wasn't humiliating enough, here is the second attempt from a three-stories tall standpoint (in slow-motion):
Falling is the First Step to Flying from Theo L. Richer on Vimeo.
See below for all the details/for each step.
- Week: 12
- Subject: Composites
- Tools: Rhino, RhinoCAM, Precix 11100, industrial vacuum
- Objective: Design and make a 3D mold (~ft2), and produce a fiber composite part in it
- Files: Click here