Make Something Big, to Carry Other Big Things
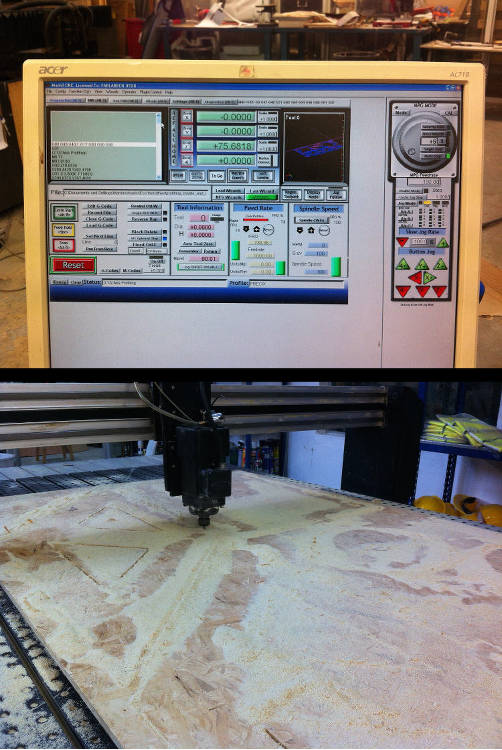
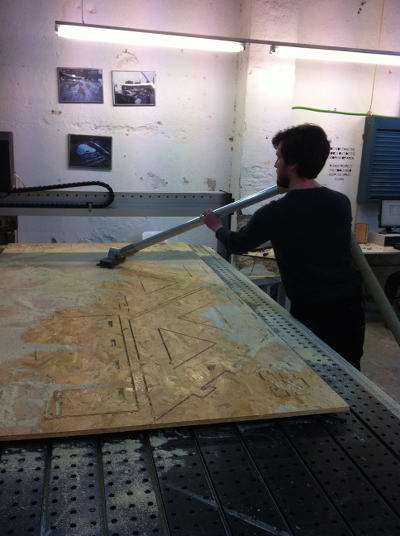
After two weeks of working at a micro scale with electronics, this week’s assignment – Fab Academy’s now well known “make something big” – arrived as a quite refreshing change. As stipulated by this assignment’s official name – computer-controlled machining – this week is dedicated to large-scale milling/drilling machines such Shopbot and Precix.
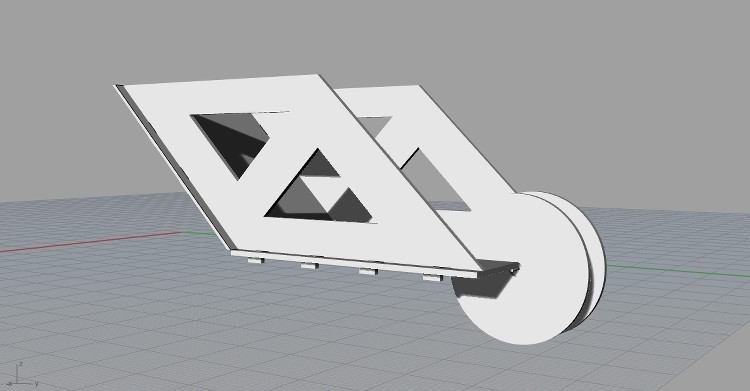
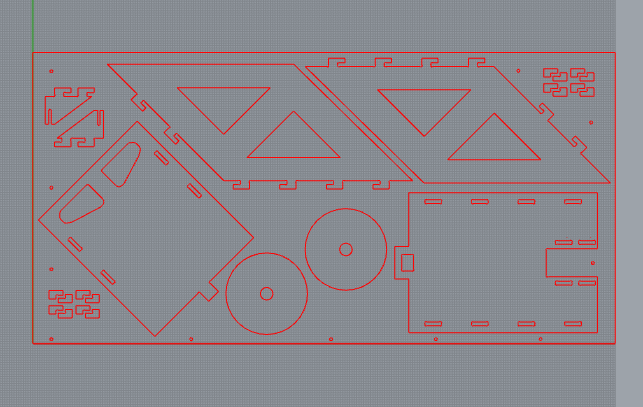
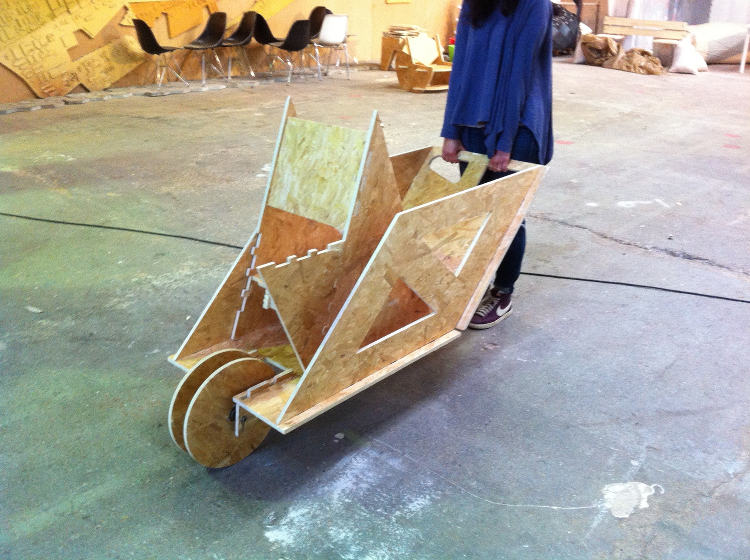
For this week, I decided to exploit the specificity of this technics and imagined a design that could be assembled without any additional tool, i.e. only with joints already included in the milling of the board. After hearing some people wondering how they will be able to bring their “make something big” project back home, I took this rhetorical question as a challenge and drew a wheelbarrow that could be easily assembled. To develop my design, I review the differences among the various types of wheelbarrows (the Chinese wheelbarrows, the European wheelbarrow… I have way too many wheelbarrow-related websites in my browser’s bookmarks now) but ended up opting for a fairly classical design – for the others could be made at a satisfying size with the 2500 by 1250 mm OSB board (even though I did have a strong soft spot for the Chinese wheelbarrow
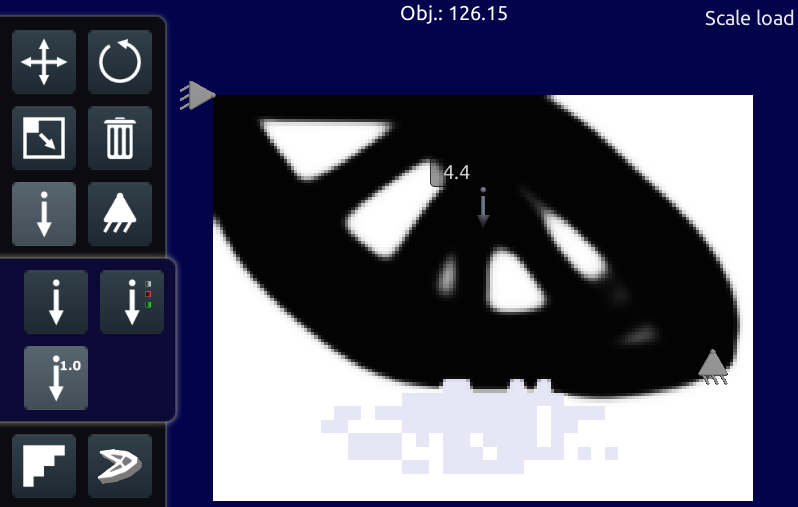
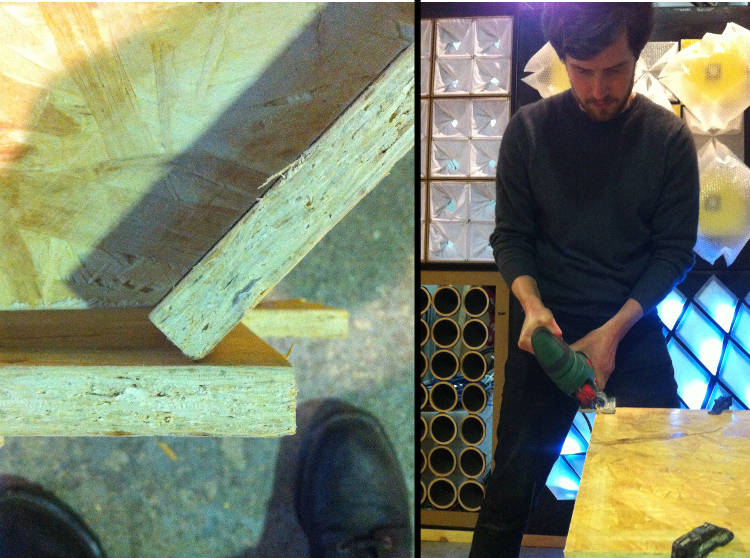
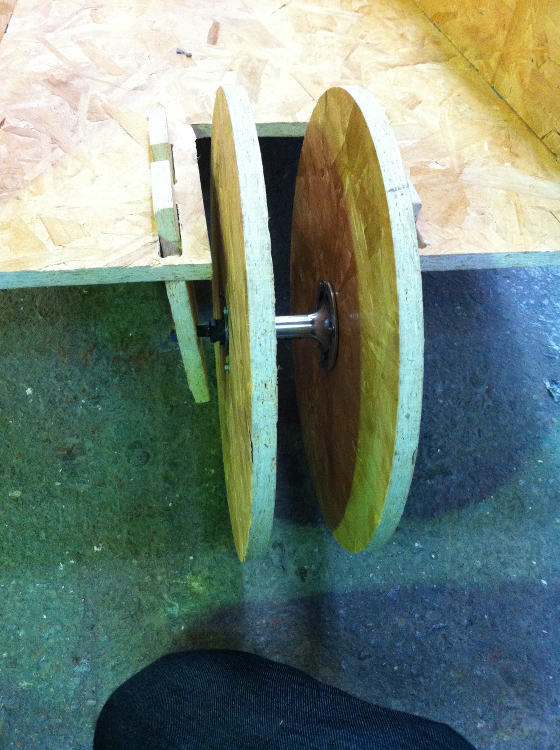
While I didn’t want to use any other additional piece/tool, I had to give up a bit and bought a second-hand wheel hub from a bike shop (as the clerk offered it to me in exchange of 6 beers, it was hard to say no to such a bargain), which allowed me to simplify drastically the overall design of my piece. The milling went smoothly. Within the g-code script generated by RhinoCAM, there were some absurdities that couldn’t be explained – the mill going all the way down into the board, to then do the same thing gradually, and very slowly, in the newly formed whole – but they could easily be rewritten by hand in the .txt document directly, which made me realized how surprisingly straightforward a g-code script is – in the future, if I do happen to have a very simple design in mind, I might attempt at writing some parts of the script by hand.
In the end, the whole workflow went quite well. I made a fair amount of mistakes – my first joints were too short to support the whole structure, I had poorly evaluated the volume of an angled piece and had to cut it at a 45-degree angle, &c. – but managed to correct them with subsequent drafts and/or while assembling the piece. I could finally achieve the objective that I set for myself – building something that was strong enough to carry somebody (ok, I might have cheated a bit by making my test with Josefina, Fab Lab Barcelona’s lightest member, but, hey, a person is a person). Here’s the proof, supported by my euphoric expression of success (and fear that the whole thing could break at any moment):
Make a big Wheelbarrow - Test from Theo L. Richer on Vimeo.
See below for all the details/for each step.
- Week: 08
- Subject: Computer-Controlled Machining
- Tools: Rhino, RhinoCAM, Precix 11100
- Objective: Make Something Big
- Files: Click here