"make something big"
Somehow I got totally stuck with this assignment. I have lots of ideas, but nothing that I managed to work out. It is quite interesting to experience. I am thinking about all kinds of possibilities. However, integrating everything I've learned last week and at the same time developing an idea from thought to finished product in one (mental) go, is too much. So in a sense, a good learning experience to run into all these obstacles that are keeping me from moving forward now.
And I know what needs to be done: just get on with it, small steps.
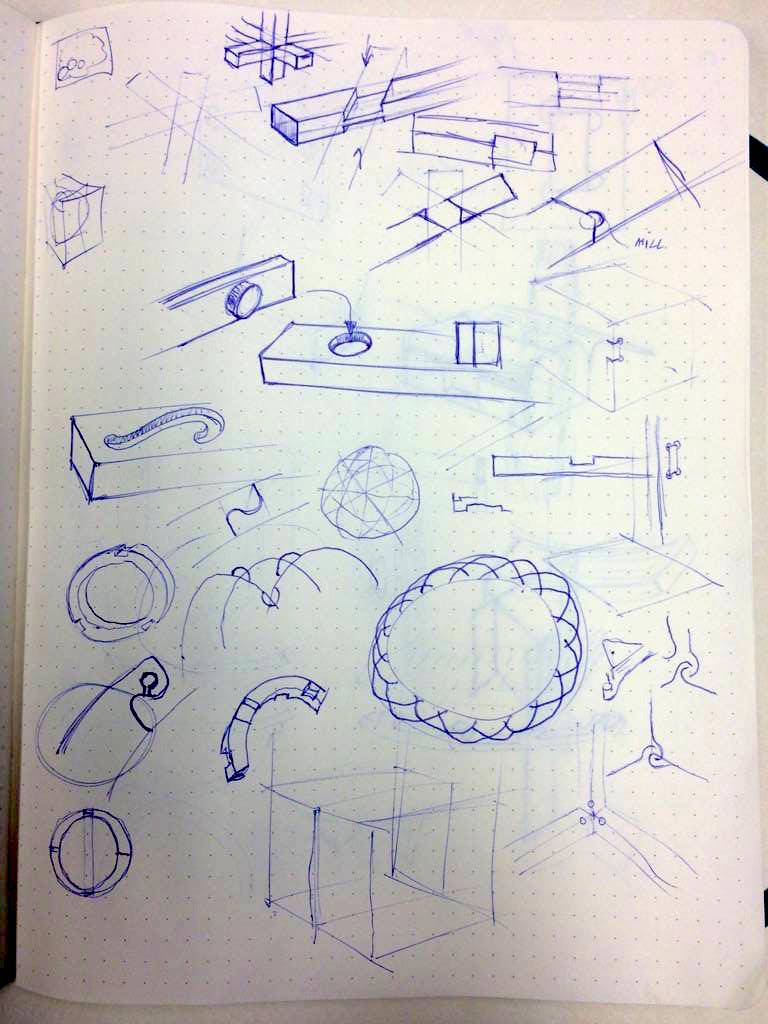
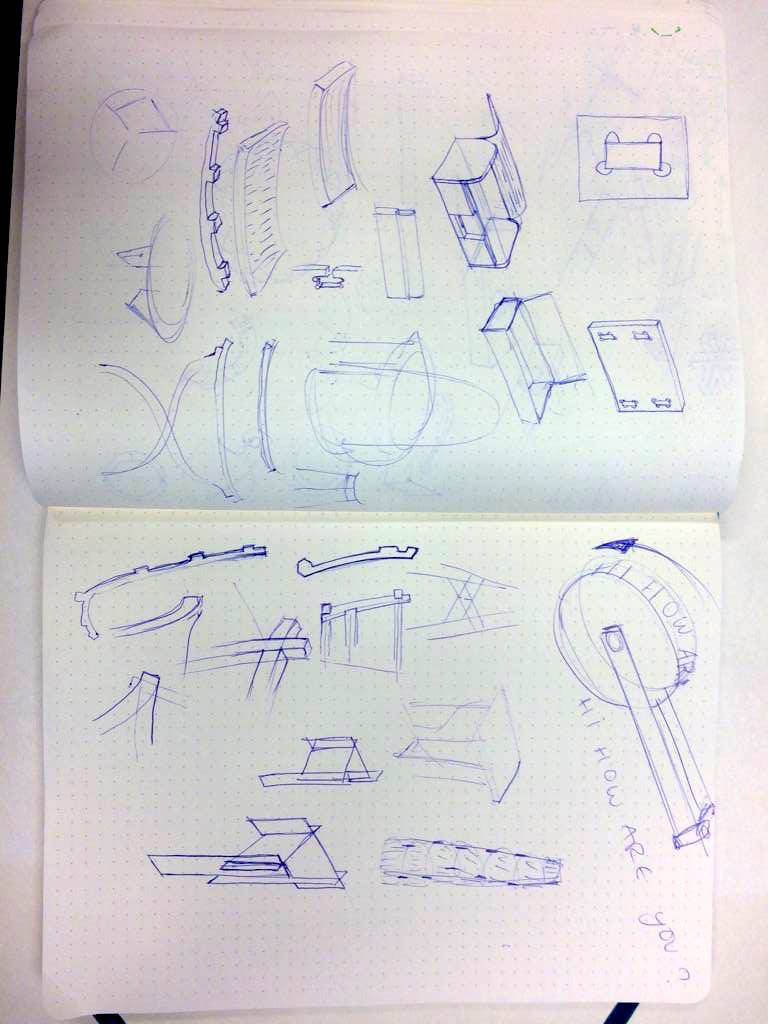
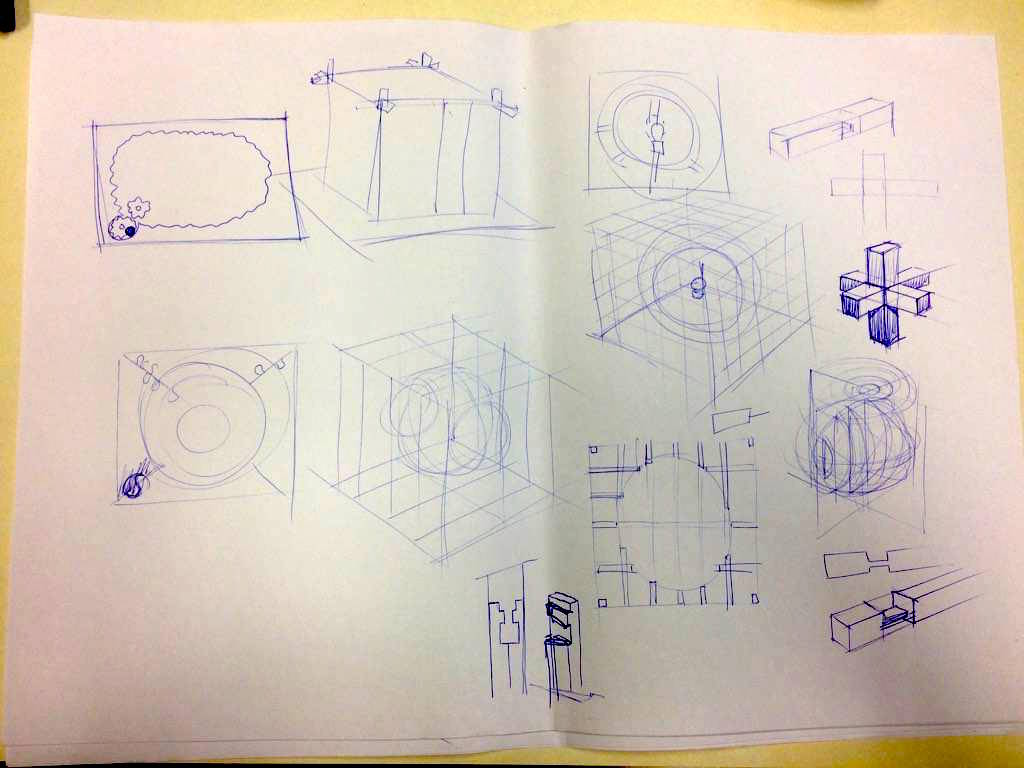
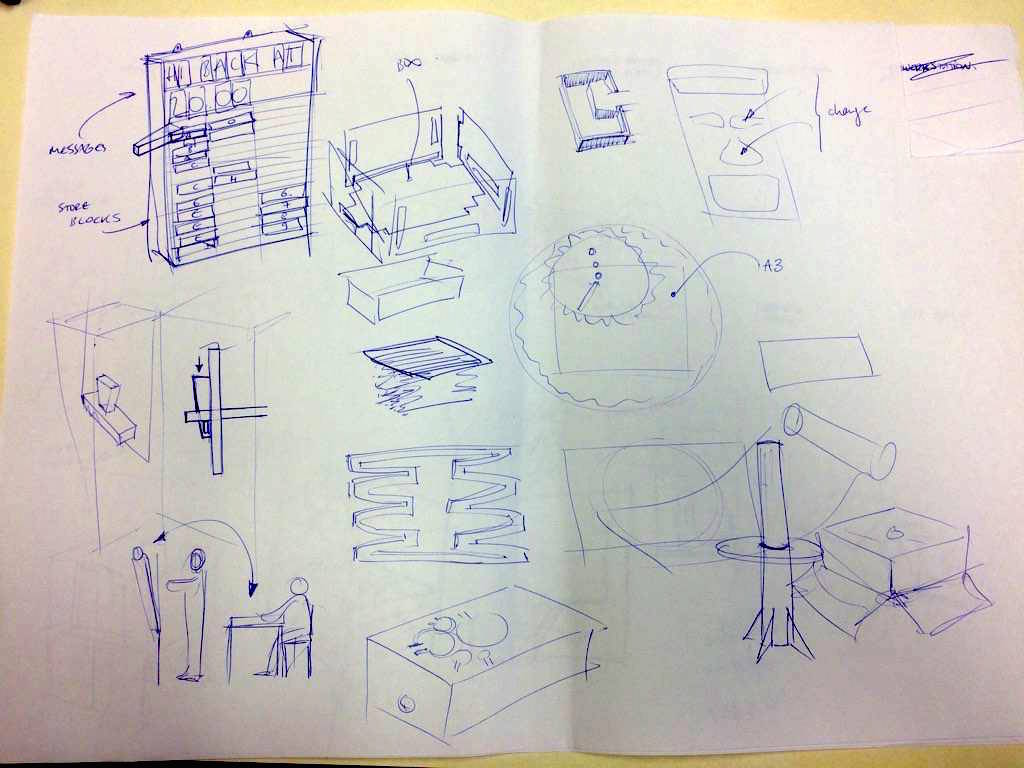
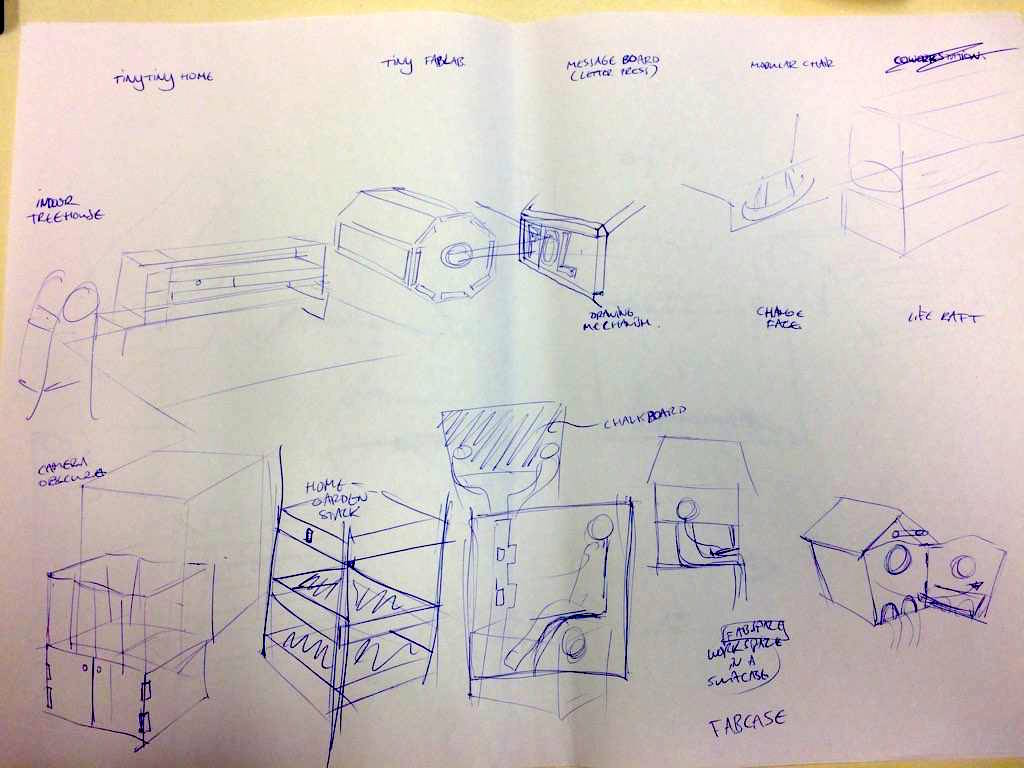
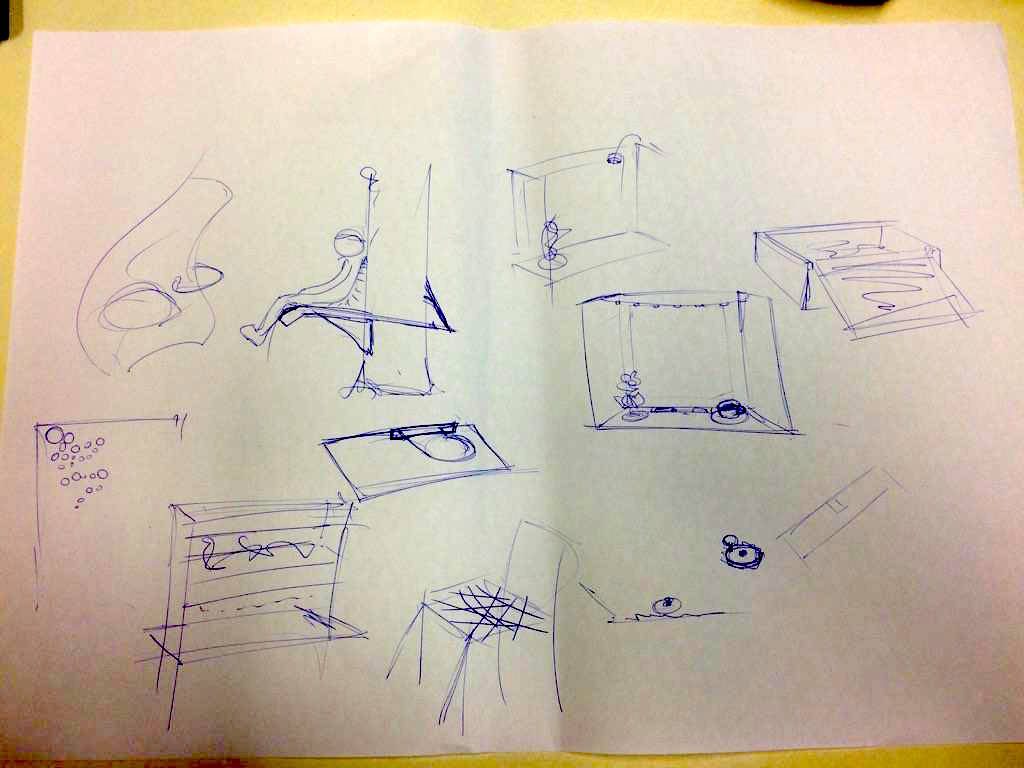
Here are some of my ideas:
Somehow, working on another assignment helped me to get unstuck on this one. I think what happened is that having something else to work on, took the pressure off of having to come up with something for this assignment.
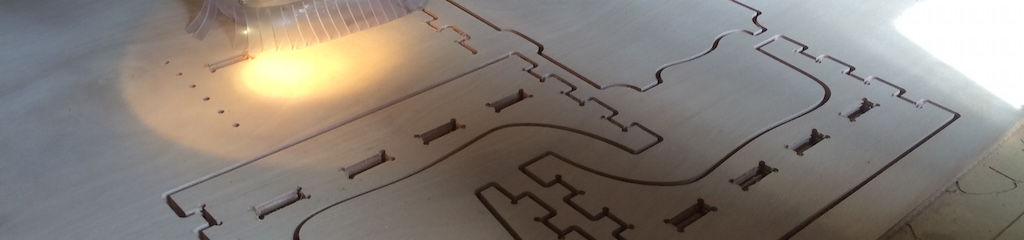
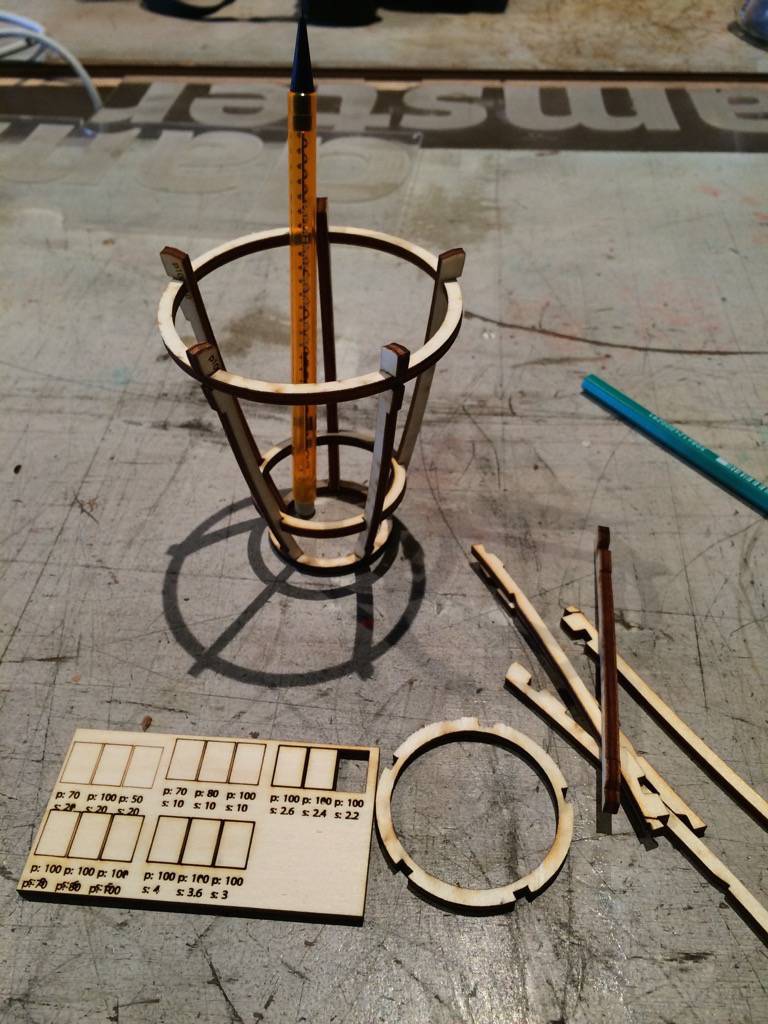
The idea that stuck in my head is making something that can hold itself in place without additional parts. In this case, I was thinking about fixing a part in place by applying three forces onto it: two on either end in one direction, and another between those in opposite direction.
I'd like to make something elegant that looks fragile, but is actually quite strong. The idea I have is to use three rings to fix standing ribs in place to form the skeleton of a bucket, a lamp or table.
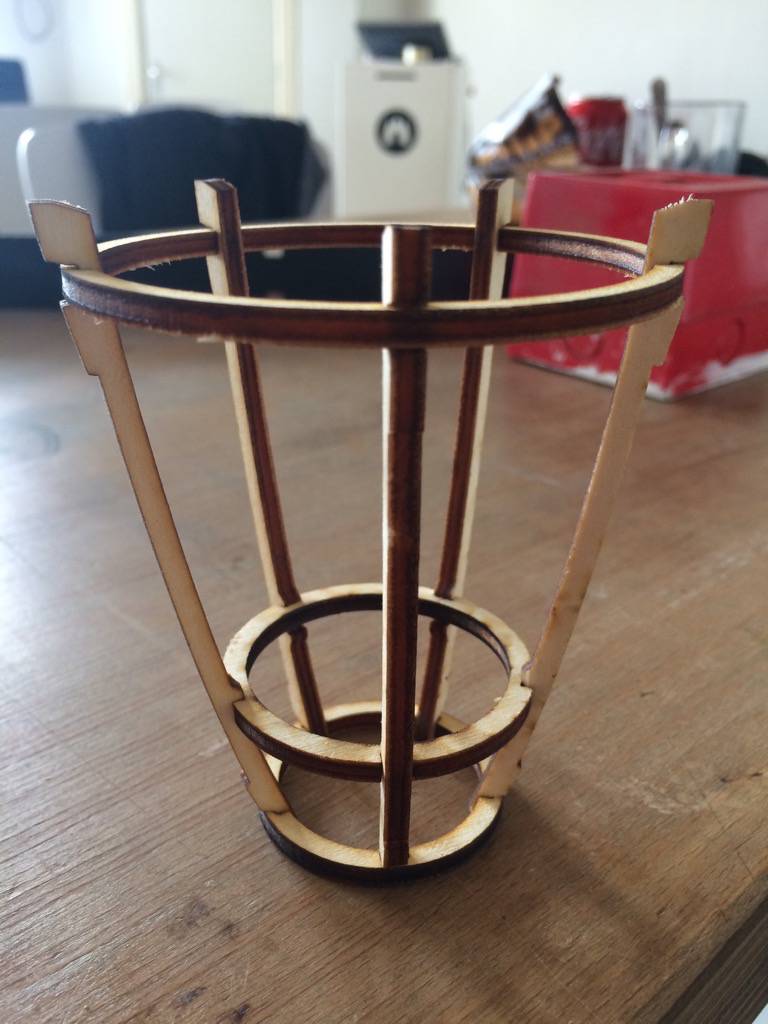
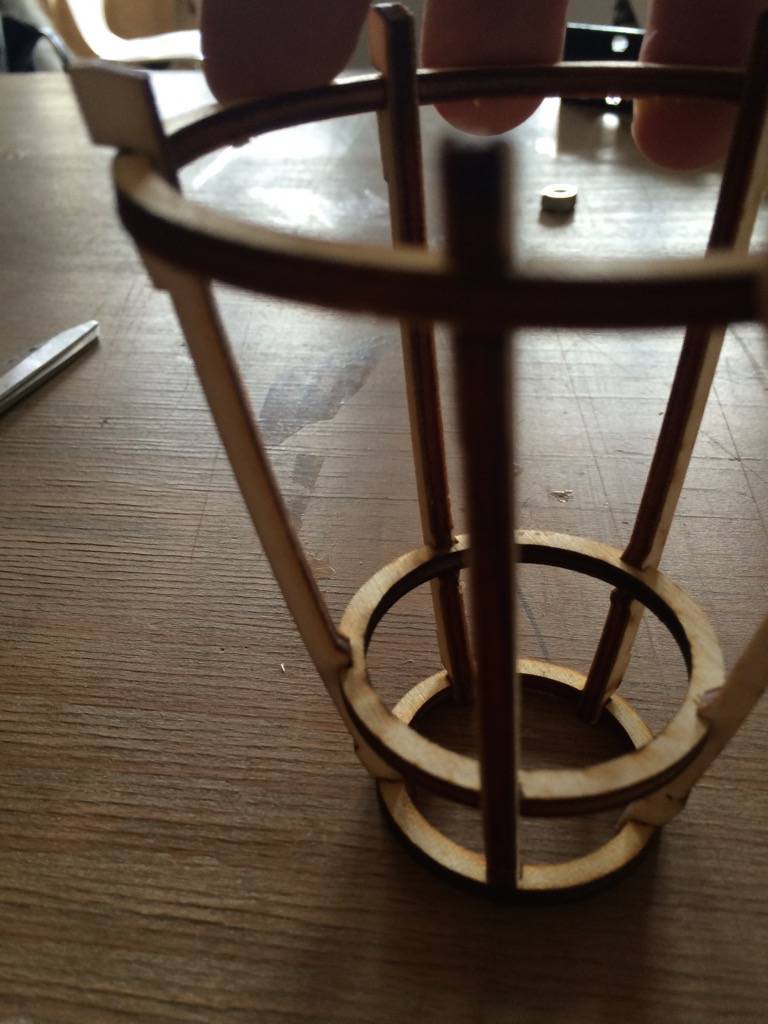

I was planning to turn this design into a larger object for plants or a chair. However, after discussing with Ruud from the Fablab at de Waag I decided to leave this project for a later date.
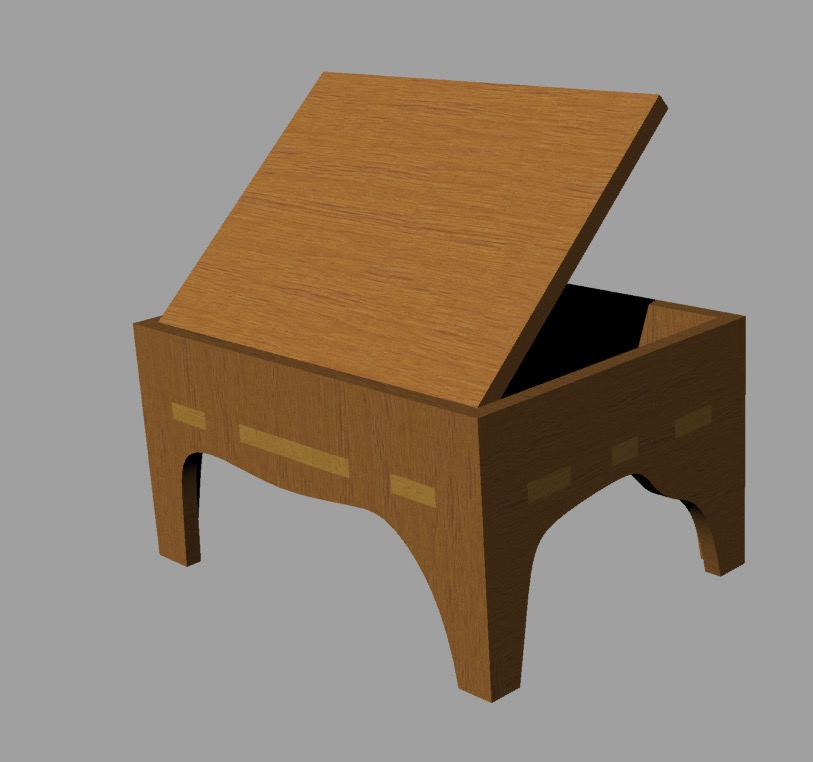
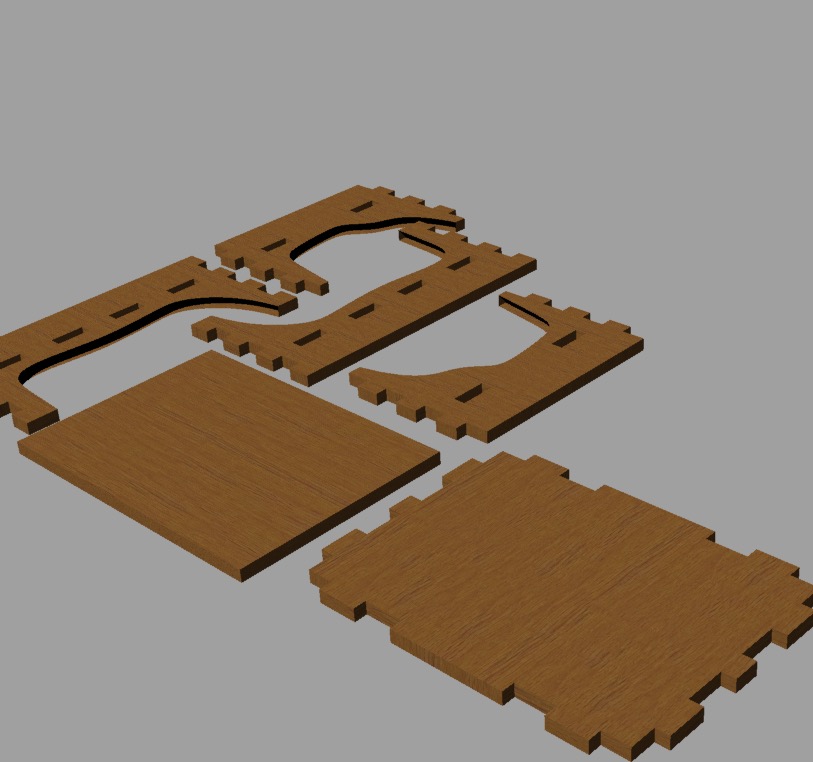
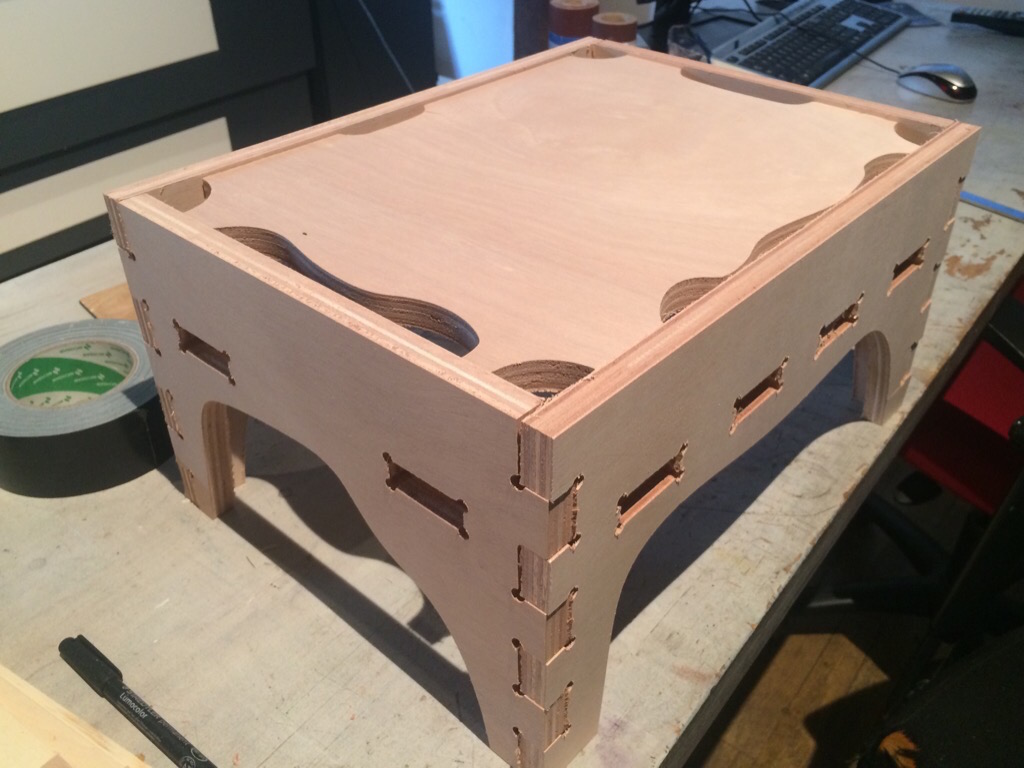
I decided to make a small table for my nephew that he can use to make drawings on. I made a design with a top that can be removed to reveal a storage space for paper and pencils. It is 300 x 400 x 250 mm in size. Here is a render and a 3D view of the design:
I could decorate the table with graphics, letters and numbers. I created Illustrator files that I can use with the lasercutter to engrave onto the surfaces of the drawing table.

0.001pt and a solid color, like 100% red. Lines and fills should have different colors, so you can set different settings for the lasercutter.
Also after the Fab Academy, I am also planning to mill a pocket in the top surface of the table and then cut a spirograph-inspired shape from acrylic on the lasercutter. The pocket will be large enough to hold an A4-sized paper sheet. Other shapes might be geomatric shapes or countries.