week_05 3D scanning and printing
Tasks
- design and 3D print an object
- 3D scan an object (and optionally print it)
Files
- download the rhino5 file of the scan
- download the .stl file of the valve
3D printing
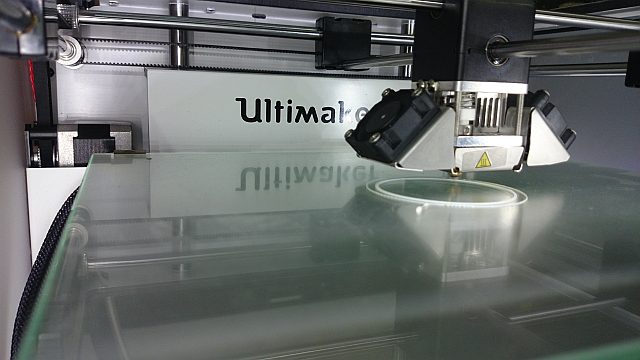
machine: Ultimaker | Ultimaker²
max. volume: 230 mm x 225 mm x 205 mm
location: FabLab Barcelona
how to:
- design an object, in this case the water-outlet for my final project
- make sure it is "watertight", meaning it is a closed surface
- export it as a .stl file
- download the program to generate the g-code for the printer (for the ultimaker it is called cura)
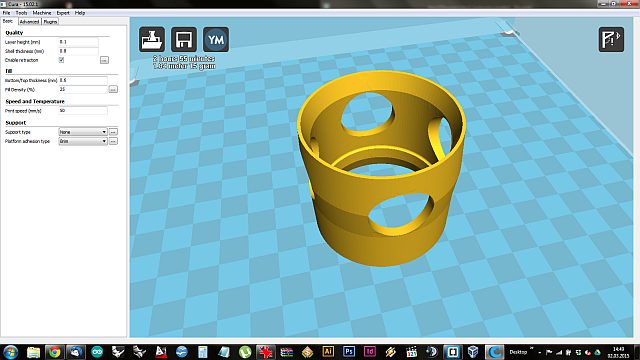
- here it is possible to set all the required parametres like wall-thickness, layer thickness etc.
- also the support can be set for overhanging parts of the structure

- if, like in this case, the object has only a thin ring touching the plate, it might be not sticky enough and the print might fail because the object is pulled off the plate
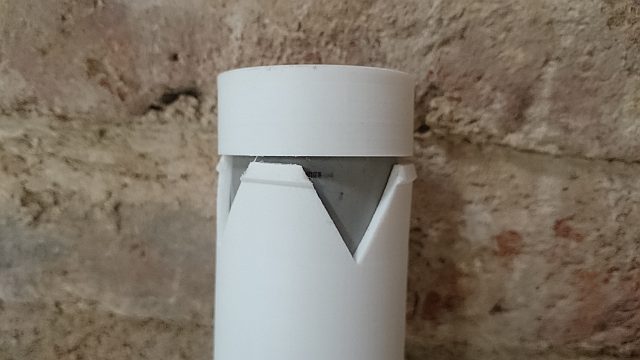
- initially i wanted to change the perforation to trinagles to avoid the overhang. since it is a prototype round perforations are better to see how the ultimaker deals with overhangs of this type. it turned out to be not perfect but sufficient for the role it plays in the final project.

- in this case the "platform adhesion type - brim" was chosen for the second try to give the object more stability
- applying hairspray or a special adhesive spray to the heated bed before starting adds to the success of the print
- the brim can be easily removed from the finished object
3D scanning
there are many different ways of scanning an object:
- milk scan: put an object into a container and take ortho-fotos pouring milk into the container. convert the photos into black/white photos, each of them representing a layer of the model. the more photos of layers the more precise the model. (for small objects)
- scanning with the kinect: use the kinect to scan big objects or persons
- modela: the modela can be transformed into a scanner by changing the head. very precise but takes a long time because it checks a lot of positions.
- free tools: like 123D catch or recap 360 from autodesk. simple to use, free and convenient. just take pictures of the object from various angles and use the app or programme to generate a 3D model. very nice because the processing is done in the cloud.
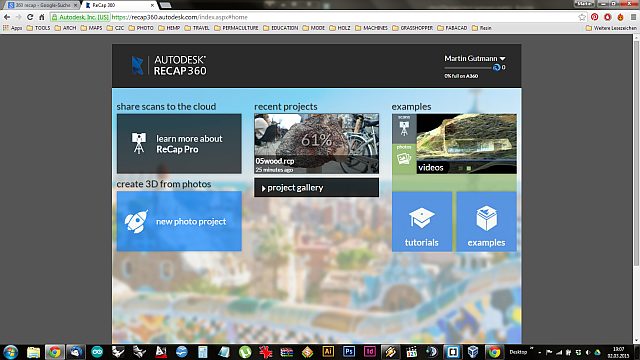
- with the photos there's also a lot of the surroundings integrated in the model, especially in 123D catch, one of the reasons why i switched to 360 recap which has the "smart crop" function, excluding the surroundings of the object.
- simply take up to fifty pictures of the object from different angles and distances. make sure there's good light but no reflections on the object itself
- upload the pictures to the recap 360 website and wait for the processing.
- download the model, play with it, print it etc.
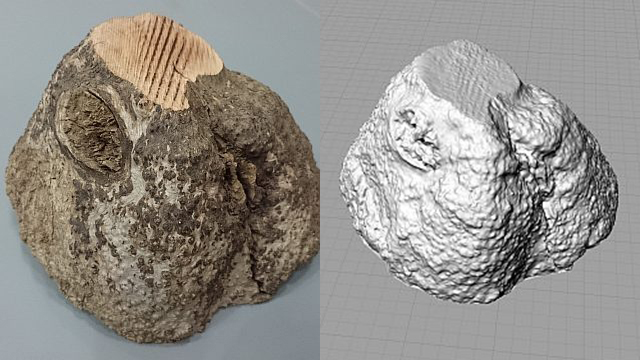
- the object i've chosen for scanning is a piece of root from around the Green Fablab
- in this case i don't want to print the object but the scan is a preparation for a milling experiment with a kuka robot
UPDATE
with the right meassurements of the pipes i turned to redesigning and adapting the valve (brown). also the fissure that will hold the silicone ring (green) has changed the shape and the whole valve is longer now so the shutter pipe (blue) is stabilized.
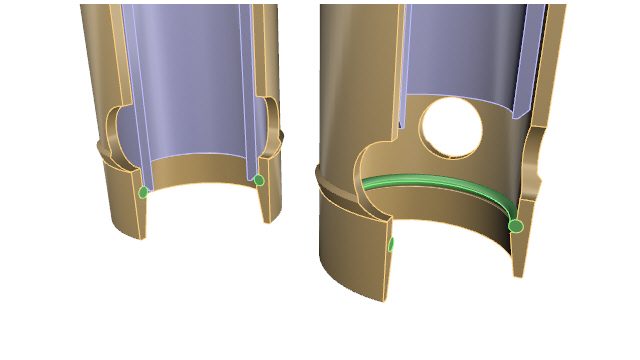
the first print didn't work out very well. first of all the offset of the inner diameter was only half a mm, that made the pipe just fit in but with force. that force broke the valve, it seems ABS is not the right material and also the shape of the perforation leaves it with weak points.