15week//
//First Development of my Final Project
This week I was working on put in order my ideas making a version 1.0 to understand what I need to make for my Final Project Development.
This video explain what I've made with my version 1.0.
This week I was working on put in order my ideas making a version 1.0 to understand what I need to make for my Final Project Development.
This video explain what I've made with my version 1.0.
Bcom v 1.0 with Raspberry//
• INTRO//
To this point of Fab Academy I feel happy about how much I’ve learnt in this period. Looking back I think I came at Fab Academy as video designer. That's what I am. My first idea for my Final Project was to make a video scenography on Digital Fabrication tecniches. But thanks to this learning period: intense, hard and sometimes frustrating; I feel that I have been able to jump and think differently.
I start to connect one idea to another, one technical to another, one system to another, one electronics to another, one operate system to another and... at one point took all sense:
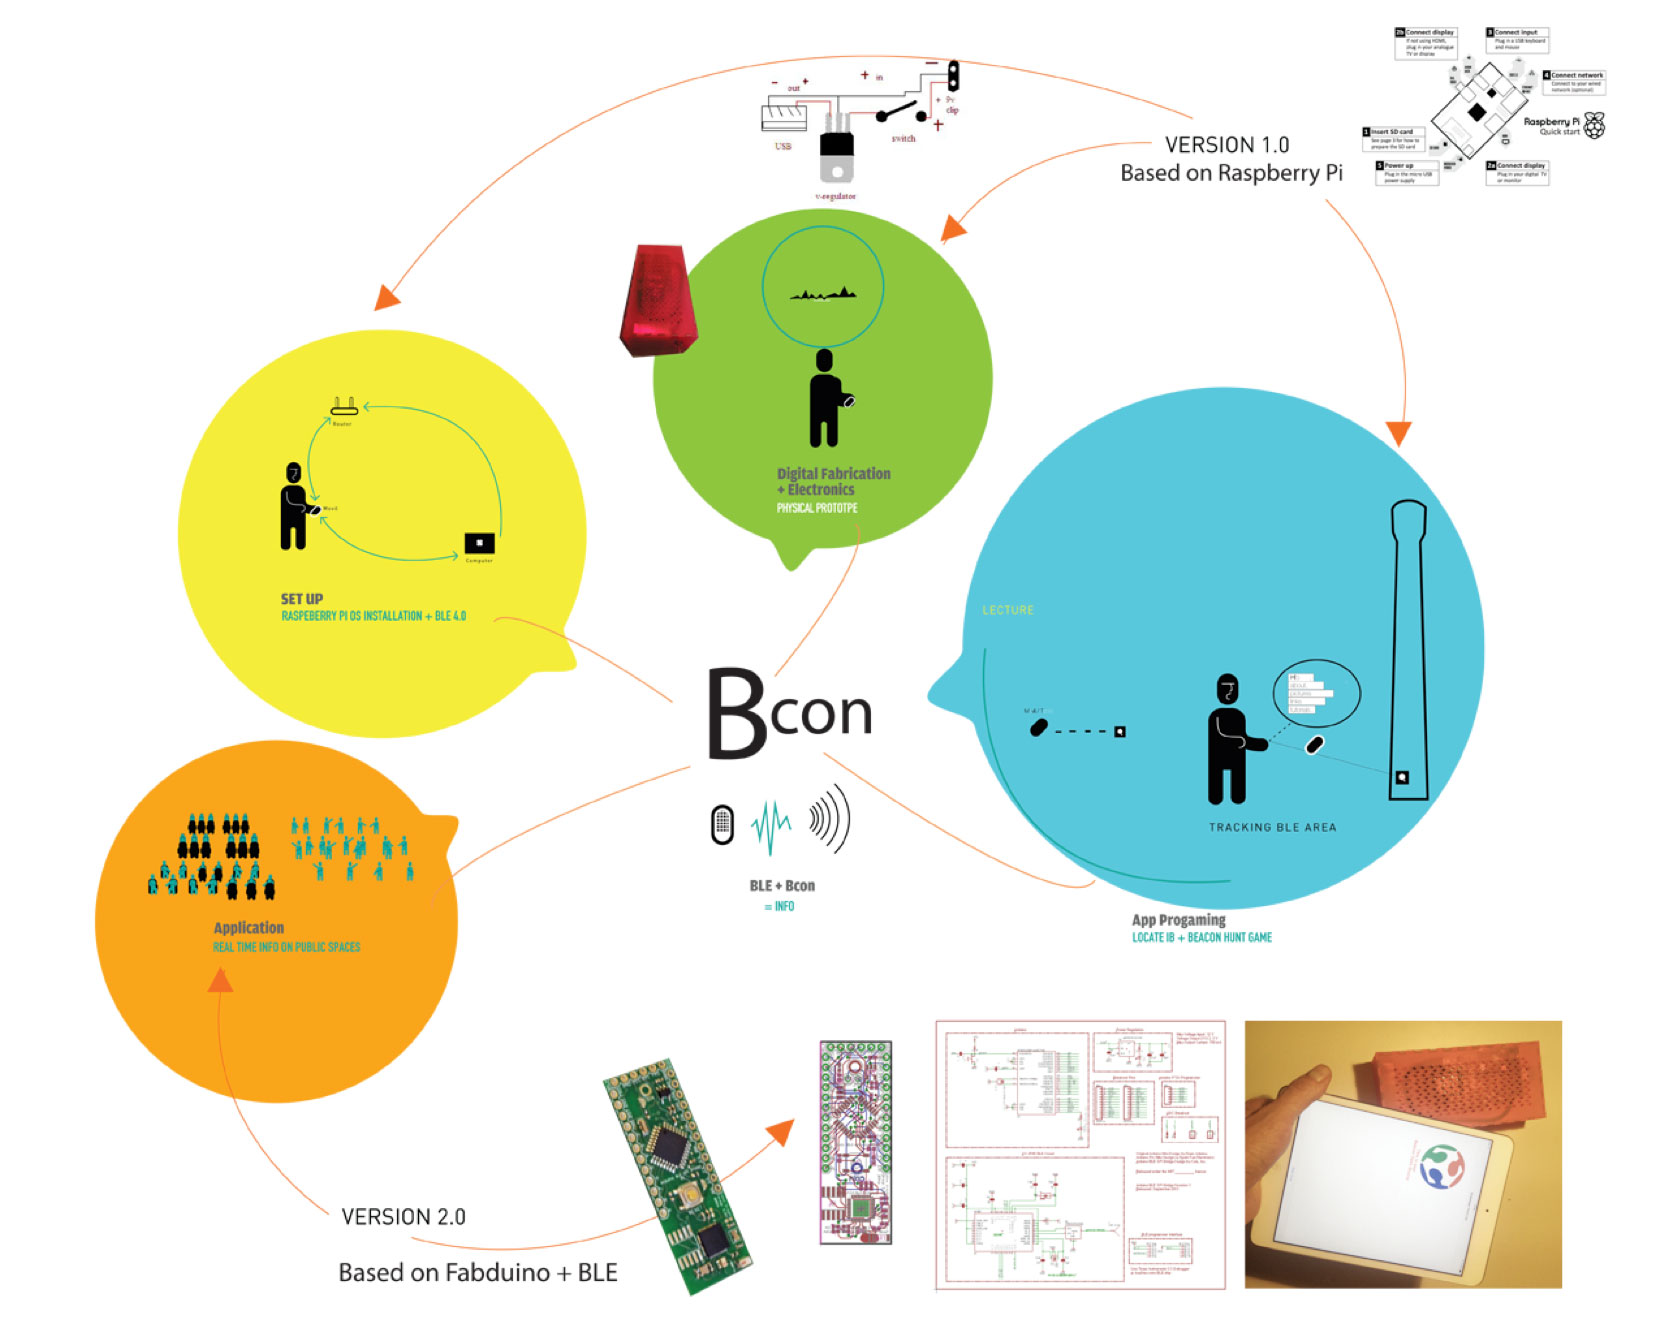
I want to make a BEACON Smart Object.
• Research:
I start with my research:
- GPS// outdoor BEACON// indoor
- Geolocalitation
- Wifi// connection, battery Bluetooth 4.0 (low energy)!
When I studied and understood all the information what in this period is going on about BEACONS and I've putted all my ideas on order and I've started to design, fabricate and programing with a Raspberry Pi this first prototype of my Bcom to enjoy the process to discover new problems and solvering till arrive what I want to make.
- Use Bluetooth 4.0 to send info without internet connection: more powerful, no interferences, no
dependence of a roaming and low battery use.
Now that my version 1.0 base on Raspberry works I'm ready to start to make one board with BLE112 add a conexion to Barduino, makes a Barduino and... I'm thinking to add a SD card reader to send more information by Bluetooth (in case this info can be on the Barduino flash).
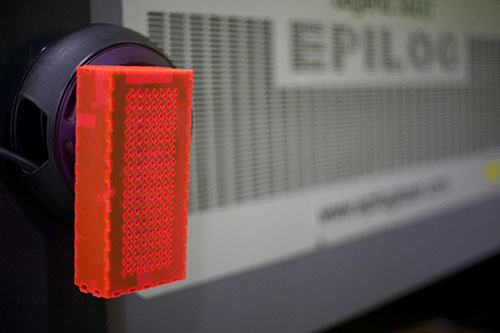
- I’ve designed on 2D a box container, joynery system (no using screws, no glues), to put inside the electronic pieces. I made some holes on the TOP to make hot air go outside the machine, you can use this holes to hang the smart object in anyplace you want and if don't want hang you can leave on a plane surface.
-sending the file to the Epilog Machine to cut the metacrilat in laser cut.
- What are the power requirements to make a autonomy battery for Raspberry?
The Raspberry is powered by 5v micro USB. Exactly how much current (mA) the Raspberry Pi requires is dependent on what you hook up to it.
I have found that purchasing a 1.2A (1200mA) power supply from a reputable retailer will provide you with ample power to run your Raspberry Pi.
Typically, the model B uses between 700-1000mA depending on what peripherals are connected, and the model A can use as little as 500mA with no peripherals attached. The maximum power the Raspberry Pi can use is 1 Amp. If you need to connect a USB device that will take the power requirements of the Raspberry Pi above 1 Amp then you must connect it to an externally powered USB hub.
The power requirements of the Raspberry Pi increase as you make use of the various interfaces on the Raspberry Pi. The GPIO pins can draw 50mA safely (that is 50mA distributed across all the pins! An individual GPIO pin can only safely draw 16mA), the HDMI port uses 50mA, the camera module requires 250mA, and keyboards and mice can take as little as 100mA or over 1000mA! Check the power rating of the devices you plan to connect to the Pi and purchase a power supply accordingly. If you’re not sure, buy a powered HUB.
- Programing OS on the card: Raspberian system + Bluetooth 4.0
- I’ve programing the Raspberry as a BEACON.
- Conection the Raspberry to a external monitor by HDMI and a external keyboard and external mouse.
- Once everything is conecting I programa the Bleutoth 4.0 too.
- And I conect to a internet router to take the IP.
- And now I’m conecting my Raspberry to APP Beacon.
-Putting this Bkom Smart Object close to the machines at Fab Lab to get some information about: how to use, links, access to booking system, wiki to check materials, speed...
-I've learned after made this first prototype is that I'm ready to start to make my own board to send info through Bluetooth 4.0!