C o n t a c t F a c e b o o k S k y p e I n s t a g r a m P i n t e r e s t H o m e
04. Electronics production
Make a FabISP in-circuit programmer
In producing our own Fab ISP boards, we needed to first mill then board, solder the necessary components and then finally program it.
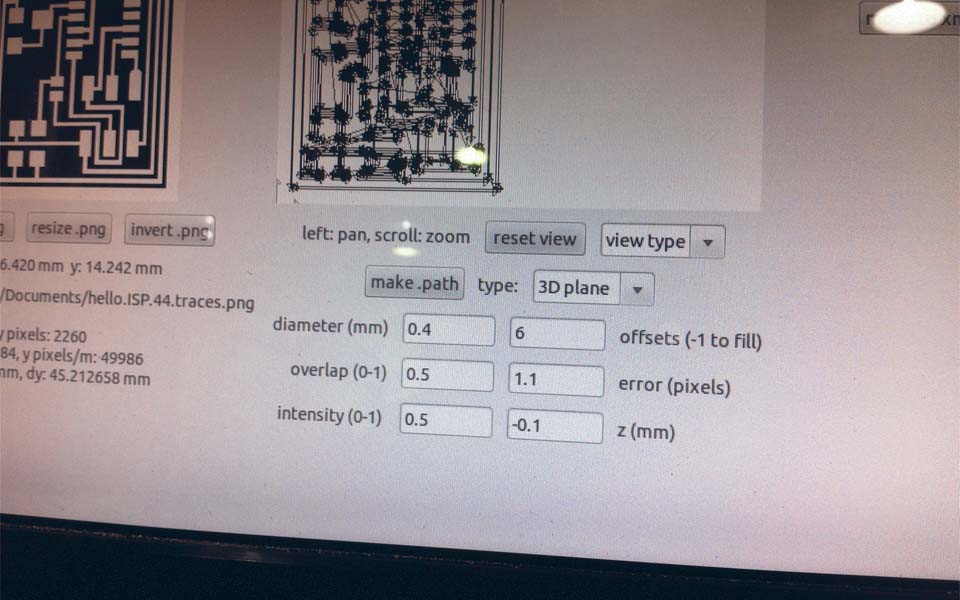
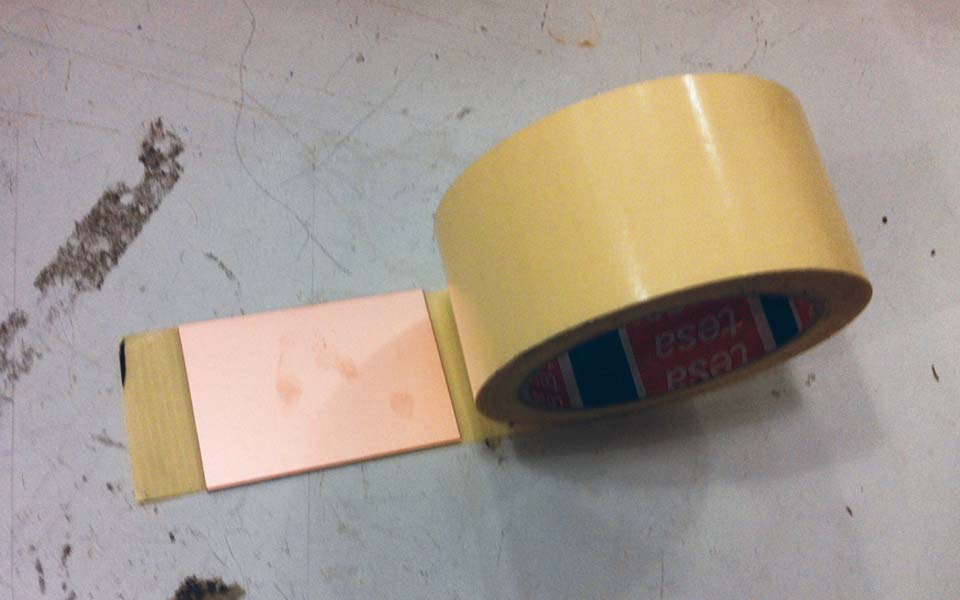
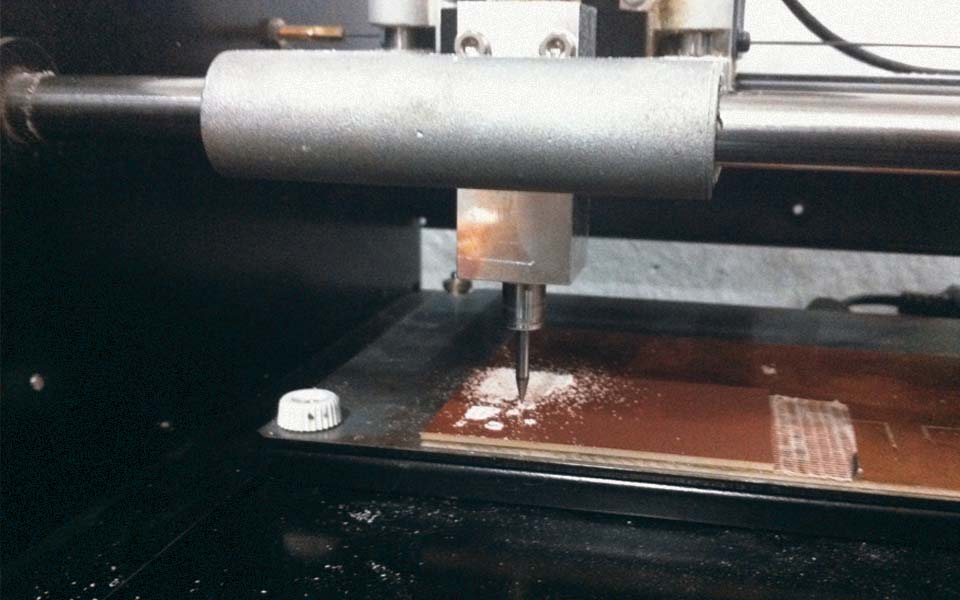
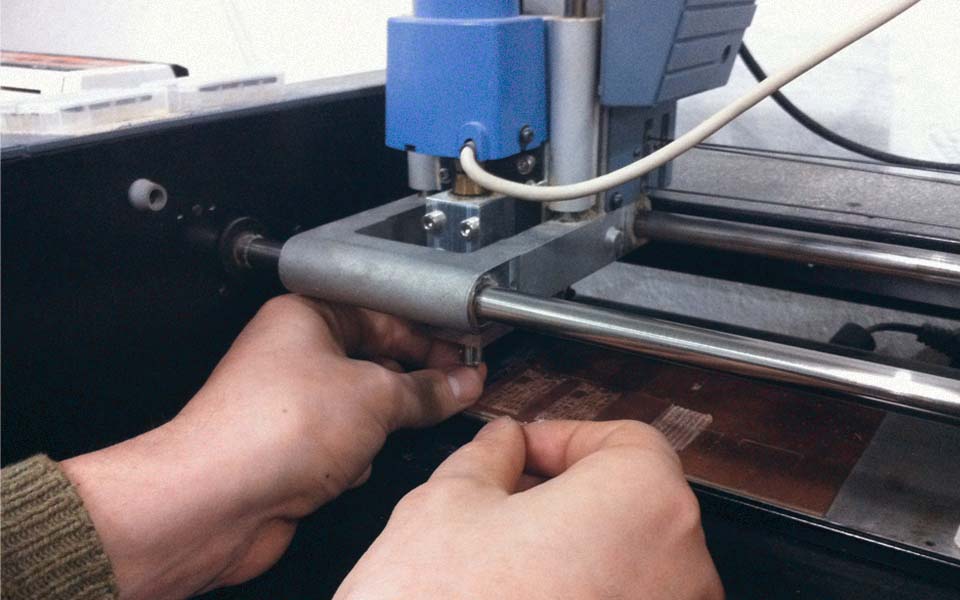
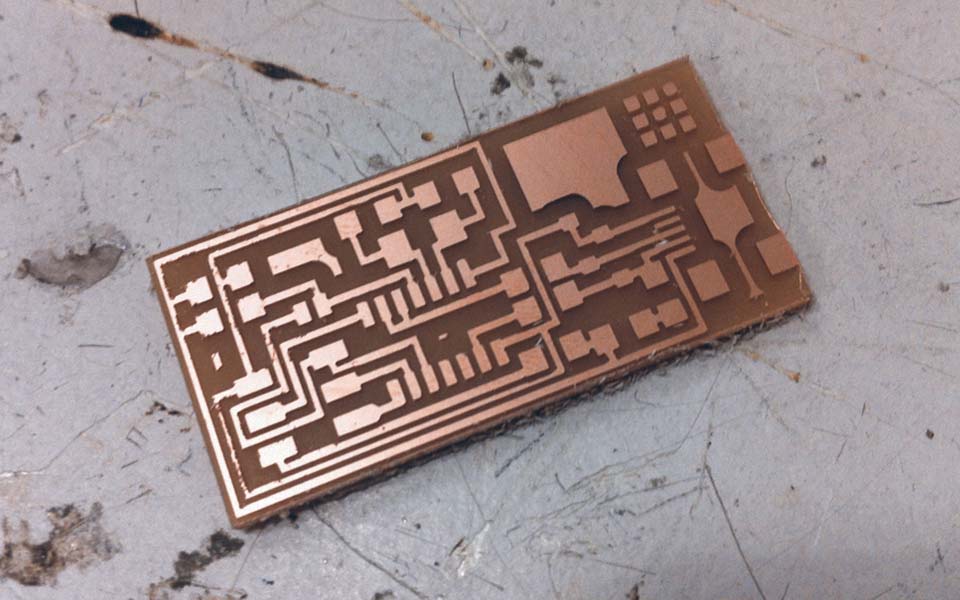
To mill the board, a clean copper plate was adhered to the modela base using double sided tape. The default position was set to the bottom-left corner (0,0) using the "View Button". The appropriate schematic Eagle files for the USBtinyISP was then uploaded into the Fab Modules in preparation to be send to the milling machine. The trace file was selected first to be milled by a 1/64 bit with an offset of 6. The cutting file was sent afterwards using a 1/32 bit with an offset of 6.
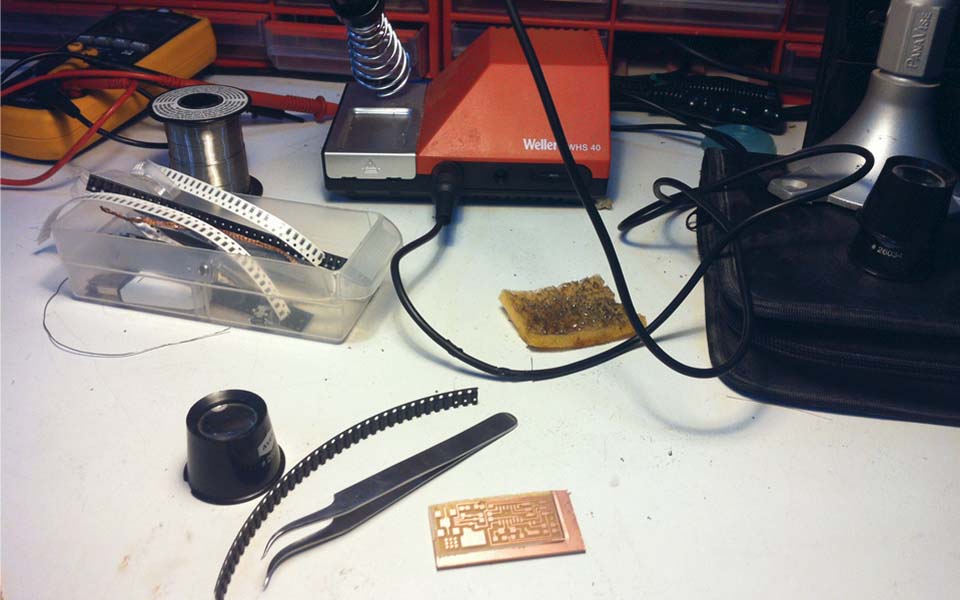
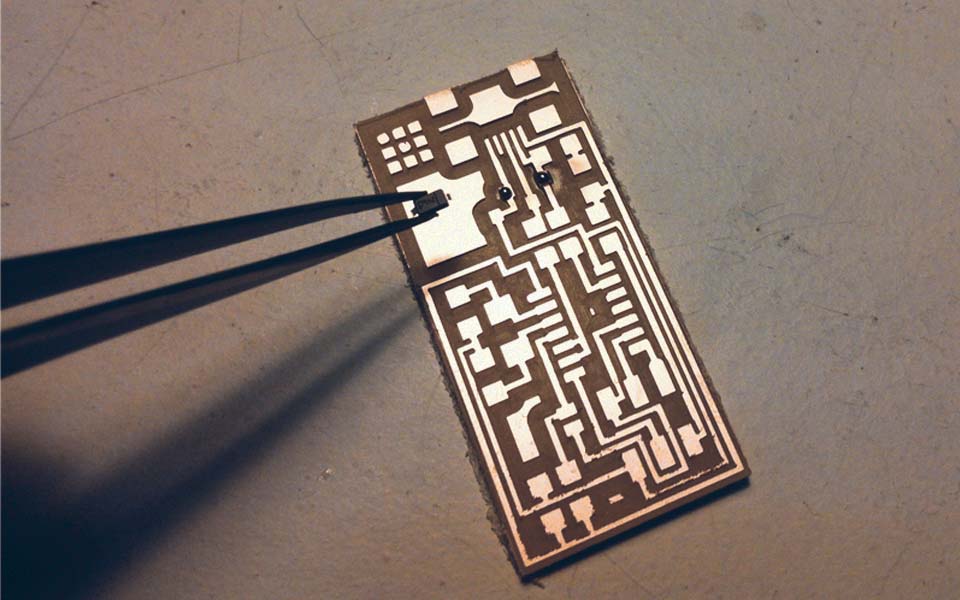
The next step was to solder the board, and with little experience soldering, I decided to practice on a scrap board to get a sense of the technique. I started soldering inside parts first and then components with the most connections to the board, since they were the most difficult.
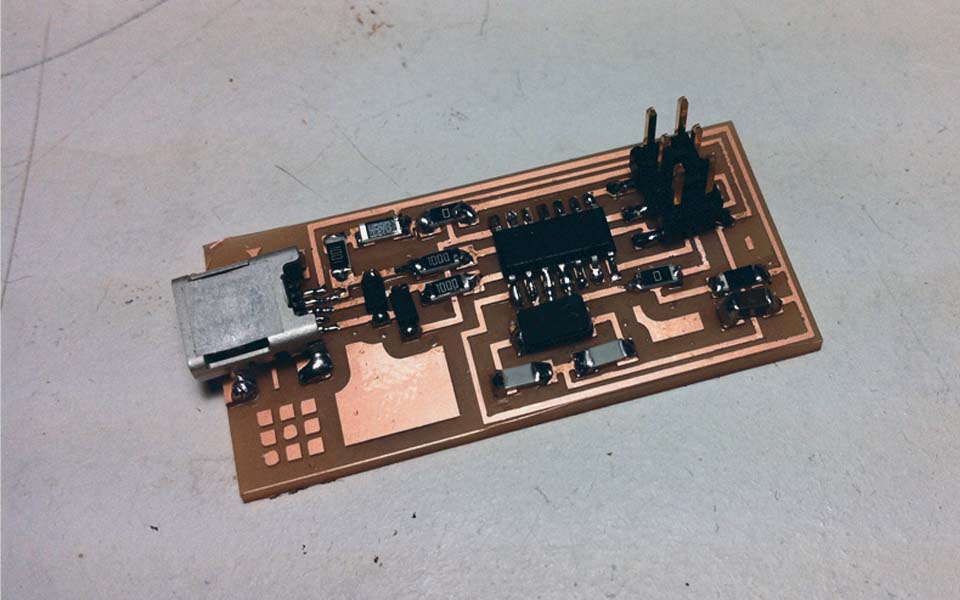
The smoke test was then done by connecting the board to the multimeter to make sure there were no circuit shorts. Once it has passed, the circuit is ready to be programmed. To begin with programming, Crosspack AVR and XCode were both downloaded and installed. Then the firmware was then downloaded and unzipped onto the desktop.
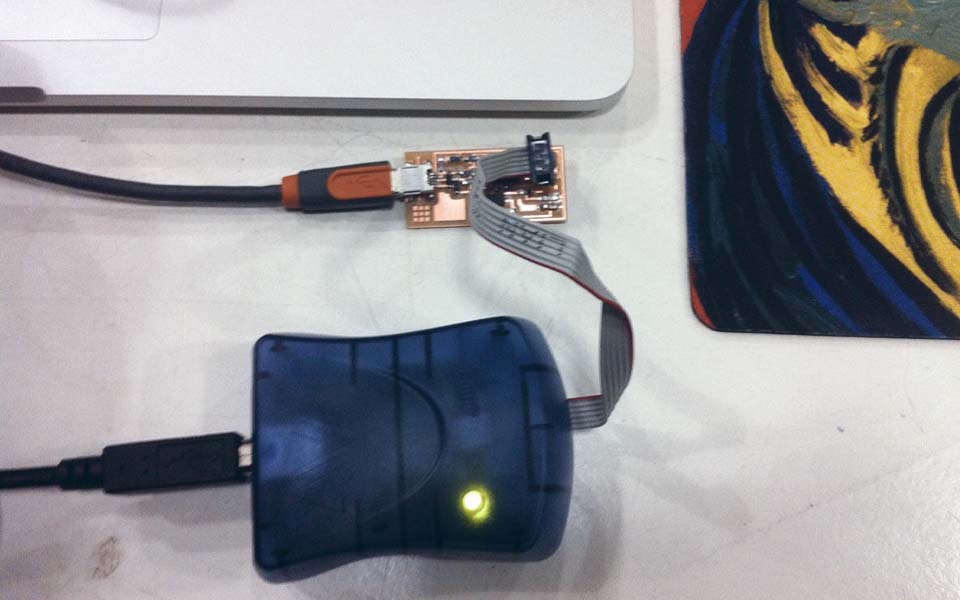
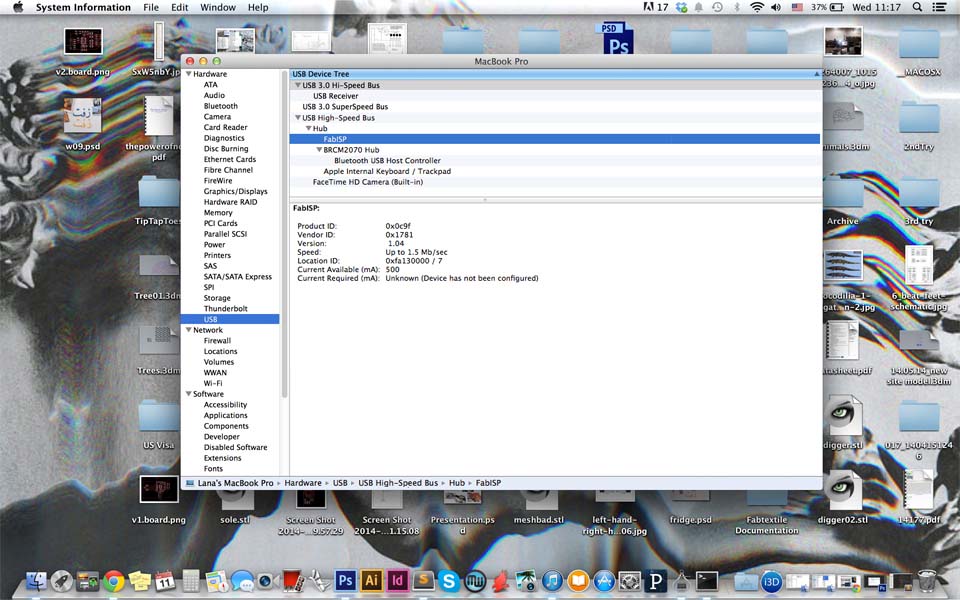
The FabISP was powered and connected to the USBtiny and made sure that the Makefile reflected that. Then, the FabISP was programmed in the terminal using the following commands /make clean /make hex /sudo make fuse /sudo make program. Finally, after the third attempt, the bridge resistors were removed and the computer recognized the FabISP as a USB.
After milling, stuffing, and programming three times until the last one finally worked, I learned a few tips that could save time. Do a visual inspection of the board once it has been stuffed and reflow any cold joints. Then check all the connections on the board with a multimeter to check the power and ground are not connected and that there is no short on the power line. Soldering issues are a common problem why circuits fail and was the reason why my board failed twice.