Assignment: make a machine
Requirements:
— machine made using [m]MTM
— two weeks
— document the group project and your individual contribution
keywords in (red) repeat along the documentation to highlight the processes in which I've been involved
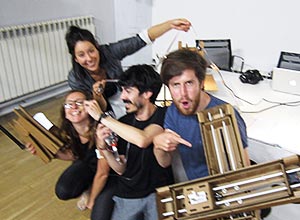
Team:
— Théo Lepage-Richer
— Francesca Perona
— Gabriella Gardosi
— Daniel Armengol Altayó
Idea (brainstorming): CNC system made of two axis for dropping drops in order to make a
(a) marbling machine
(b) water printer
Some references for (b): (research)
— Chinese calligraphy using water
— Water calligraphy device (similar to SKRYF)
— Waterfall, water curtain or Rain Room
— Also from Random International, the Temporary Graffiti or the Temporary Printing Machine
— A concept for a water printer on a facade
— 400 water drops arranged on hydrophobic surface
Both ideas, (a) & (b) work with the same system, but we decide to focus on the water printer because the marbling machine is more complex and requires time to experiment with the technique. MVP philosophy. Even with the water printer in mind, we reduce the features of the machine at its minimum, in order to increase our chances to finish the assignment in time. If there is some spare time at the end, we can try to implement more features (planning).
Francesca starts by analysing the file with the design of the frame and the stage, in order to modify the thickness of the cardboard we are gonna use. The file is in Rhino/Grasshopper and should be parametric, but it isn't.
Theo modifies the file manually, and he builds the two stages that we need for our machine.
Meanwhile, I look for solutions on how to drop droplets. Ferdi give us the idea to search for (peristaltic pump) on thingiverse, and we found this one. I print it using ABS on the Ultimaker, the first time that I use this machine. I need to send the file three times because of some problems related to make that the first layer sticks properly to the bed of the printer. Solved just by playing with the speeds of the machine.
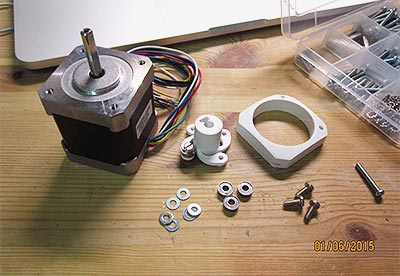
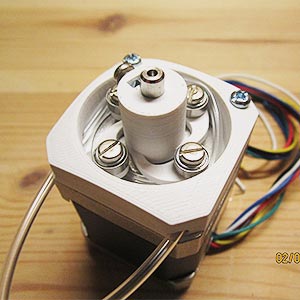
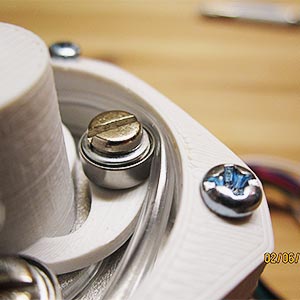
We need four bearings for the pump that we don't have at the fab lab, so I ordered some and also a solenoid valve, as a plan B. We receive the bearings out of time and we had to find out another solution to drop droplets. Here some images when the bearings arrived, with all the pieces together and the assembled pump. Because this was out of time, I didn't have time to try if it really works.
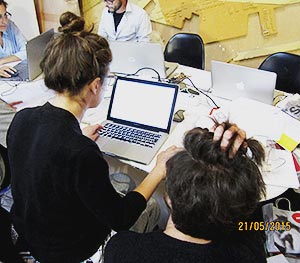
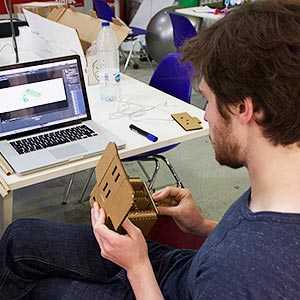
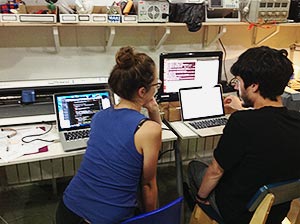
With Fra, we follow the instructions from [m]MTM and the only tutorial for this assignment in the fab academy archive, and we try to (figure out how the Gestalt Node works). We download python, FTDI drivers, the gestalt library from Ilan Moyer, pygestalt from Nadya's Github, pyserial and wxPython, to finally install wxGestalt, a GUI for Gestalt. After trying all of that, we make it work by using FTDI drivers + python + pyserial + Nadya's examples (the wxGestalt doesn't work). We can recognise the boards (nodes) and the boards can recognise the steppers.
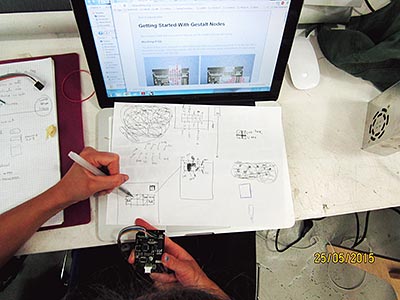
Next step is to send the movements we want to the machine. I used (gcodetools from Inkscape) to generate some g-code quickly to analyse its structure (image below). Because we want to use the Nadya's python example, we need to "clean" the g-code in order to get only an array of coordinates. Ferdi shows us some tricks in Sublime Text to clean the g-code without programming anything.
Gabriella is working on a custom stepper driver board. I am very interested about this because it also has relation to my final project, but we need to put on a side and focus to work using Gestalt Nodes for this assignment.
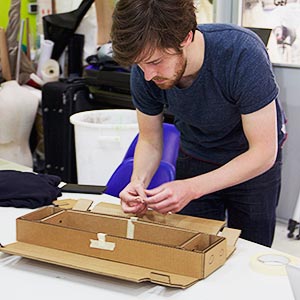
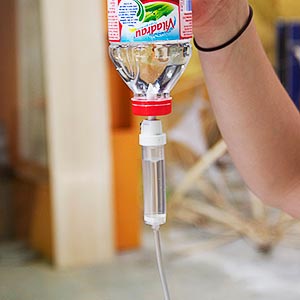
Because we didn't had yet the bearings to assemble the peristaltic pump, we decided to find another solution. A dropper would be the perfect alternative, the kind of dropper that you can see in the hospitals to dispense the serum to the patients. We can adjust manually the frequency of drops. Theo is the responsible to design and 3D print a support to fix the extreme of the dropper to the machine.

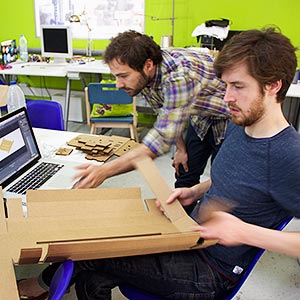
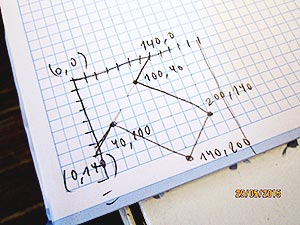
Theo also designs and laser cuts a structure to hold the two axis. Gabriella creates a program using Processing to draw points on the screen and to send the position of these points as coordinates to a text file. Francesca prepares the python file to be able to read the coordinates from an external text file. I search for an easy way to (calculate the time between drops), I found an online tool designed to calculate the bpm of a song, which we didn't used at the end.
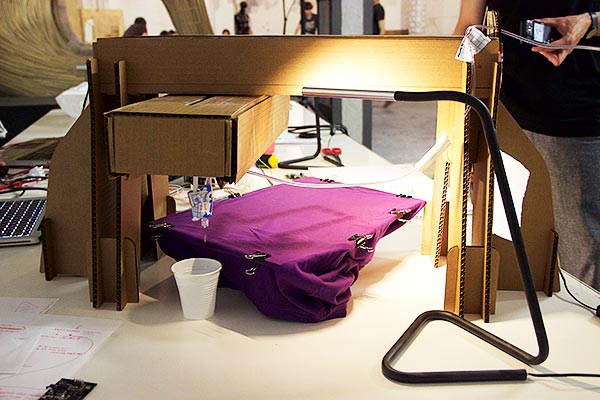
We are ready for the (final setup).
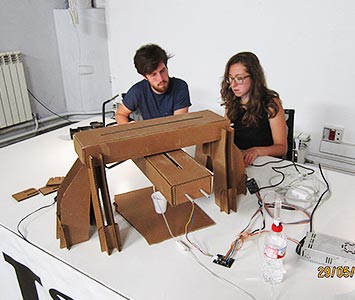
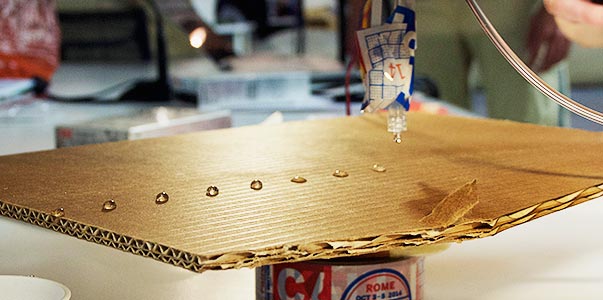
We turn the machine on the first time, using a cardboard as a canvas. Unexpectedly, the cardboard doesn't absorbs the drops of water, so we put the cardboard a little bit higher, enough close to the dropper to receive the drops smoothly and as a result we get a surface filled with little blobs of water that look like small crystal pearls, beautiful!
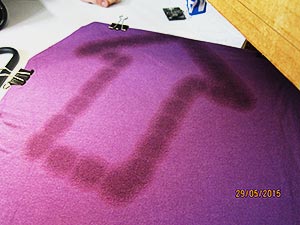
The initial idea for the water printer was to print over a fabric that changes its colour with water. When the water dries, the fabric retrieves its colour. We told to the machine to draw an arrow, and the machine makes it.
Thanks to Théo, Francesca and Gabriella to make it possible!