Assignment (1/2): design a 3D mold, machine it, ...
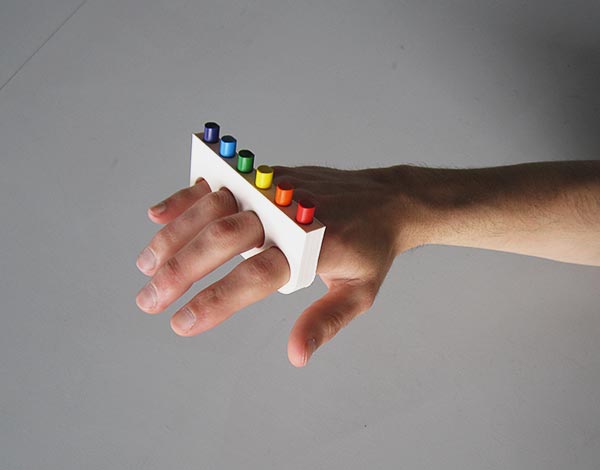
For this assignment I want to keep pushing an idea I started working few years ago, during a 3D printing workshop held at Fab Lab Barcelona. Brass knuckles which paints rainbows. This is the prototype I made during the workshop, a 3D printed piece and some crayons.
I would like to improve the design to make it more aesthetic. On one side, the brass knuckle part, I would like to create an organic shape with metal finishing. This could be done creating a shape by hand, with clay for example, and creating a mold from it to cast metal or other material with metal finishing.
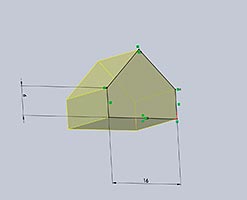
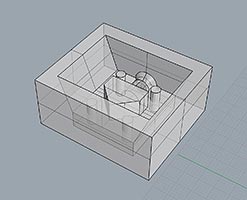
On the other side, for the crayons, I would like to create one single geometric piece which contains the different colours. This one is perfect for the assignment. I started using Solidworks for the volumetric design of this piece since the parametric features of the software allow me to play with different sizes easily in order to find the more appropriate shape and proportion.
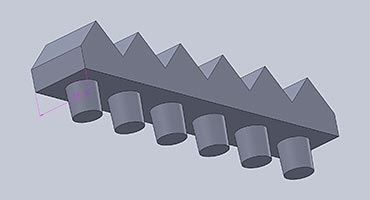
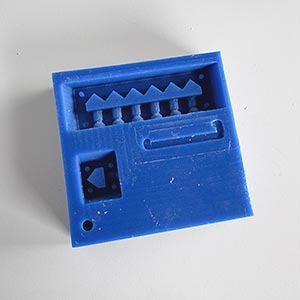
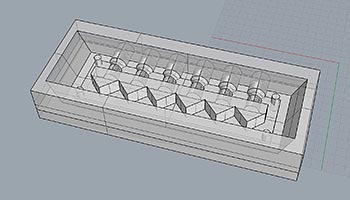
I finished the 3D design of the mold with Rhino.
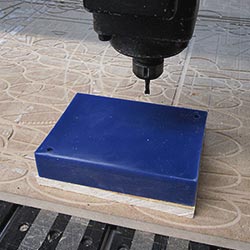
Time to send it to the milling machine, but my block of wax is not completly flat to fix it properly at the machine, so we decided to mill both surfaces with the Precix to make it completly flat as fast as possible, and then put it back on the Roland SRM-20.
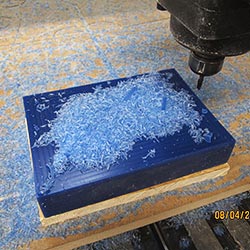
You can recycle the wax by melting it. This is the reason why we try to keep the shavings during the milling.
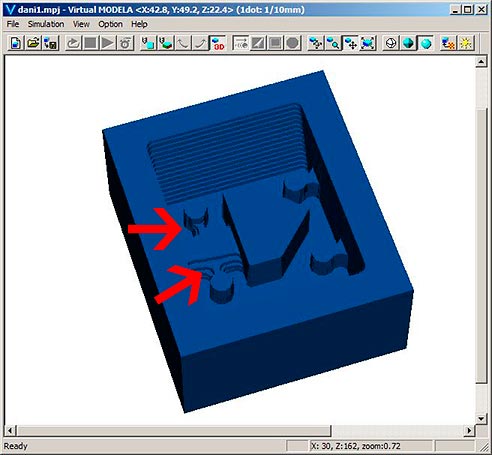
Passed the first setback, we open the file in the Virtual Modela software and we realize that the design is too tight for the mill bit we have to use to do the first process.
After correcting the design, I can finally start the milling.
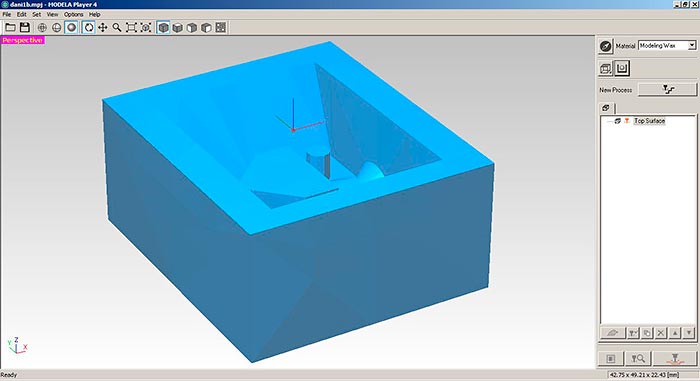
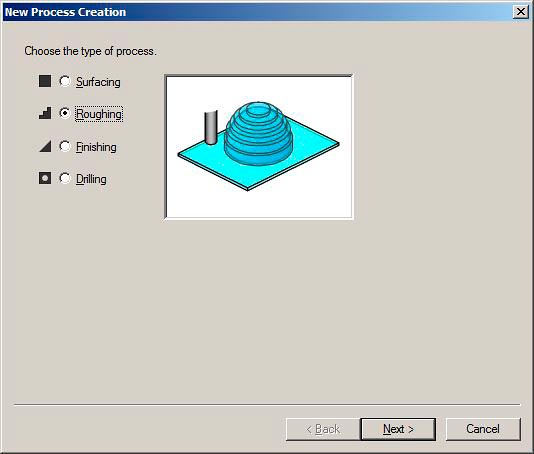
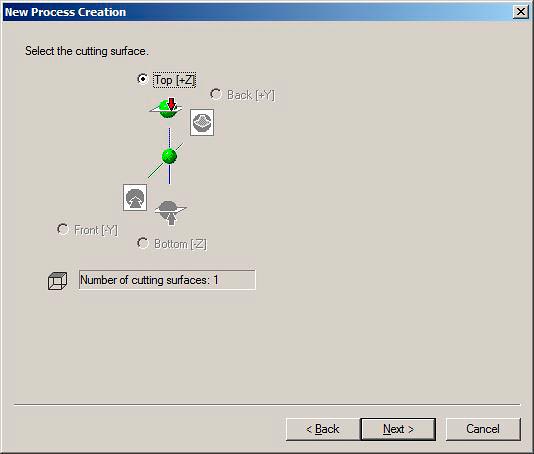
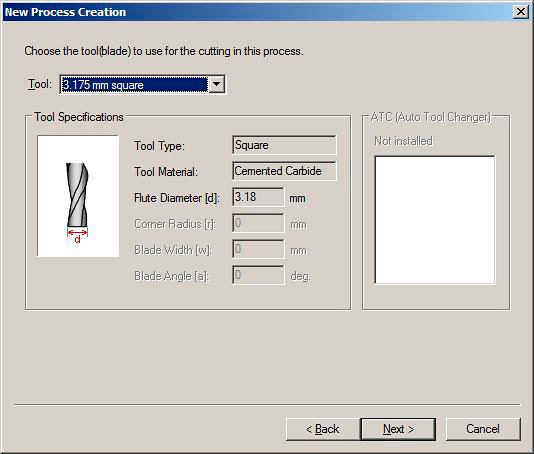
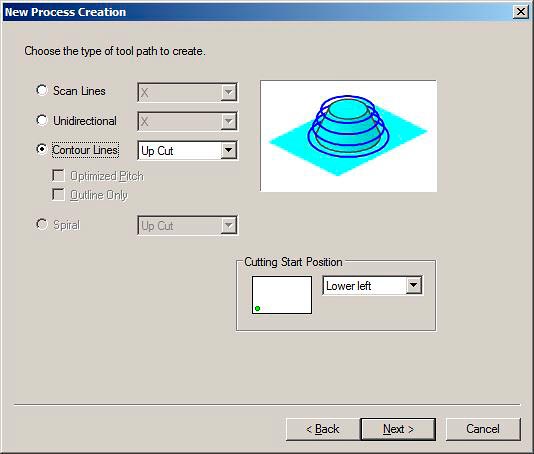
Next, how to use the Virtual Modela software step by step with screenshots.
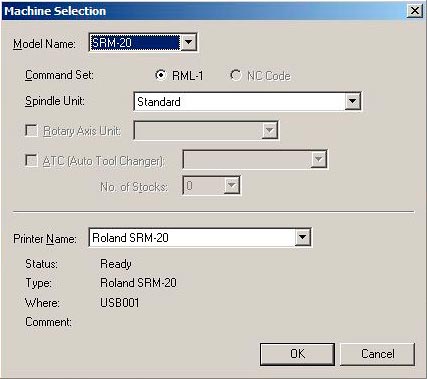
Check the "Machine Selection" menu.
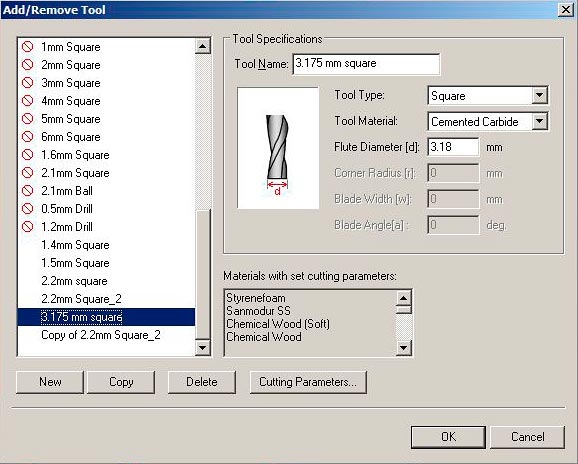
Add the tool you are going to use.
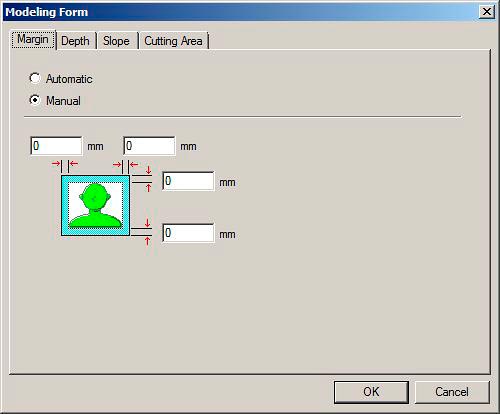
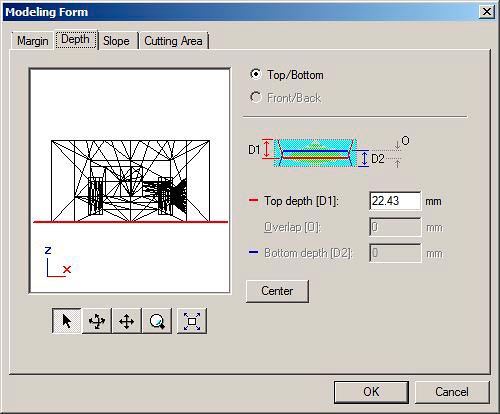
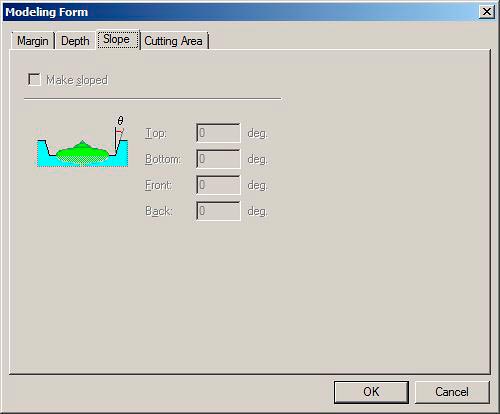
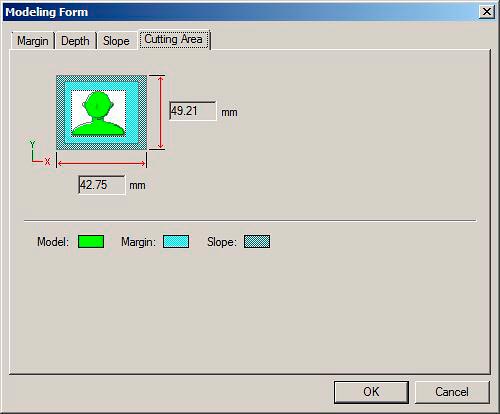
Check also the four tabs inside the "Modeling Form".
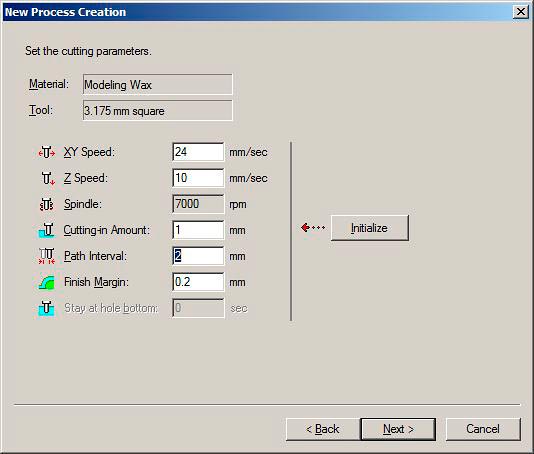
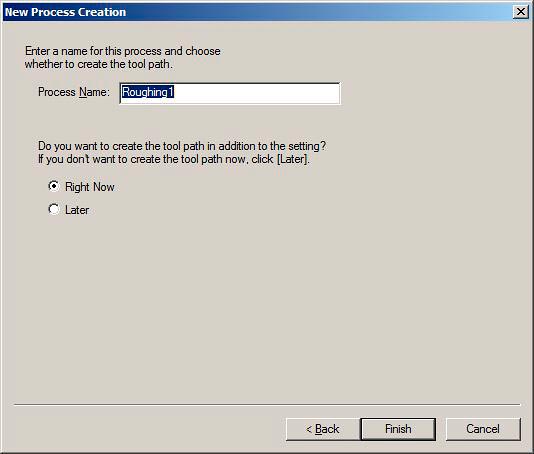
Inside "New Process Creation" you set up the "Roughing" and "Finishing" processes. Here you select the tool and some important features like "Cutting-in Amount", "Path Interval" and "Finish Margin".

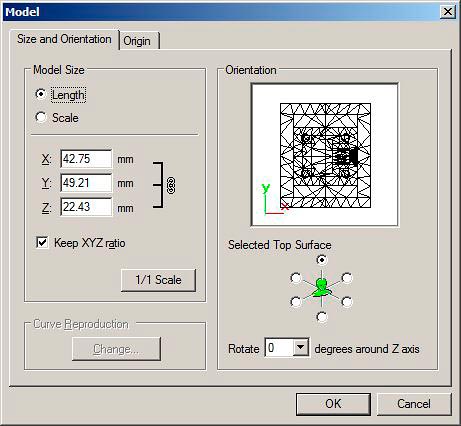
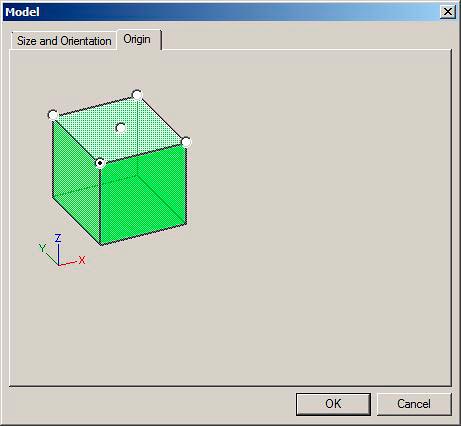
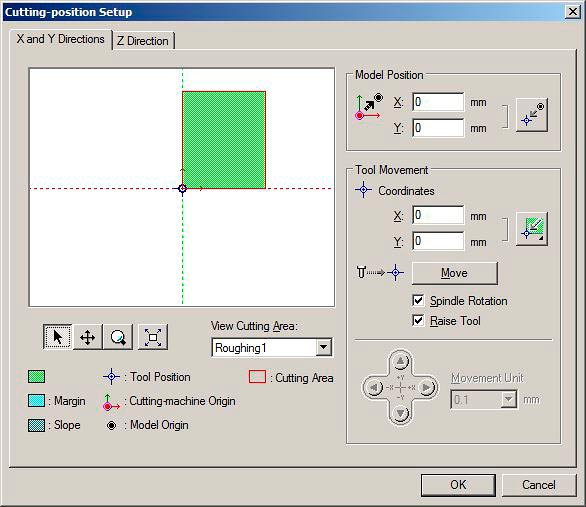
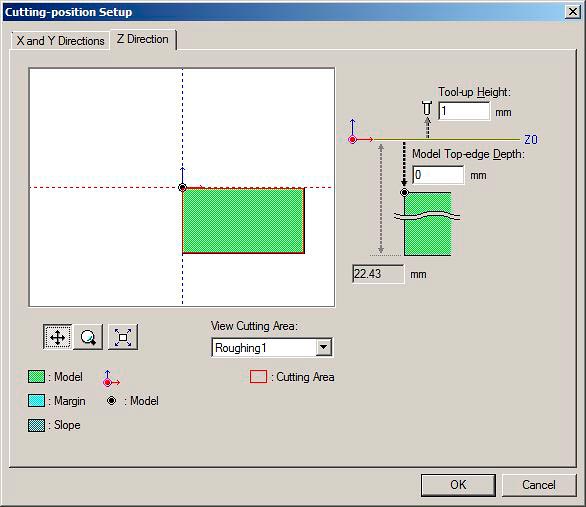
Two more menus to check, "Model" and "Cutting-position Setup". Important the "Origin" tab inside "Model", I missed this the first time.
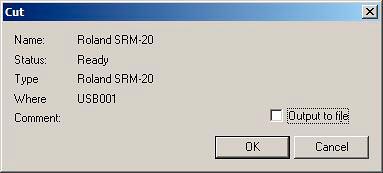
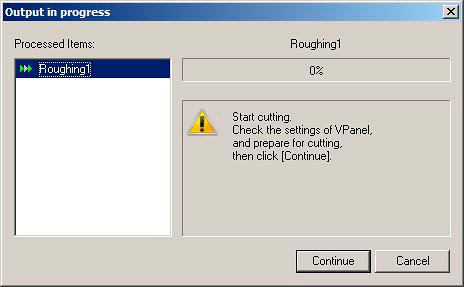
Ready to "Cut"!
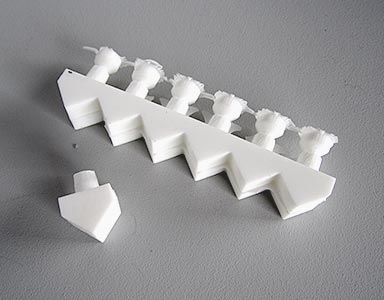
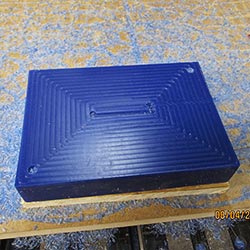
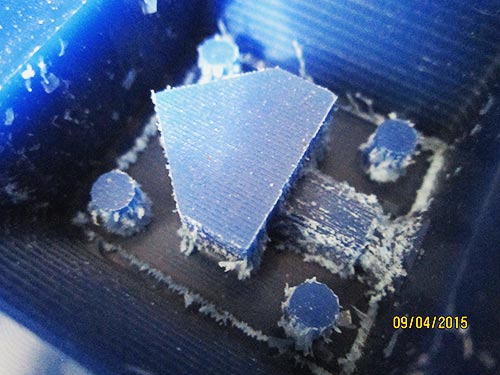
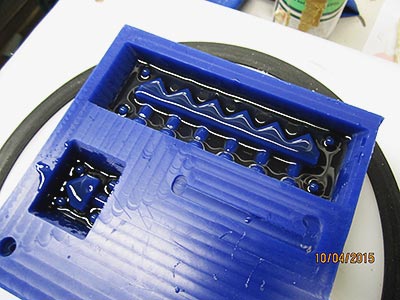
I used a custom made mill bit, with a longer cut, which I suppose that because it's not perfect, it generates this hairy finishing in my piece. I did the finishing process two times just in case that this clean a little bit my piece but no difference at all. I checked that reducing the speed of the milling (setting the speed of the machine at 10% or less) "cleans" the piece, but it didn't worth the time. I used a cutter and the pressure air gun to clean the wax and remove as much hair as I can.
Assignment (2/2): ... and cast parts from it
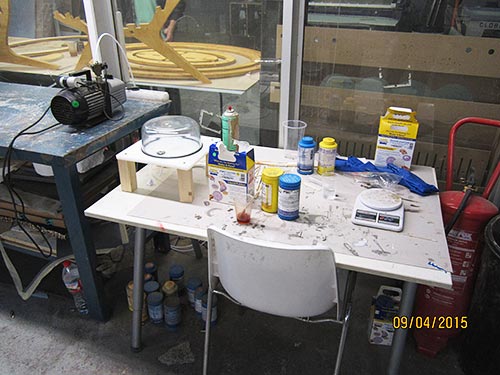
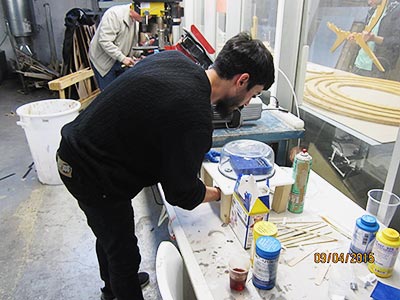
The workplace.
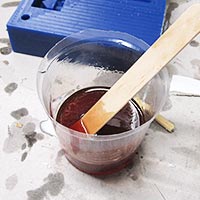
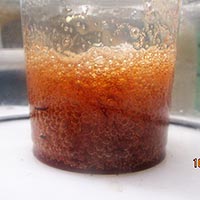
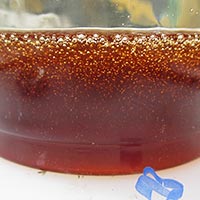
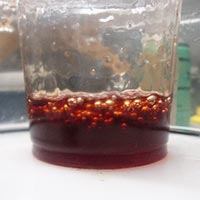
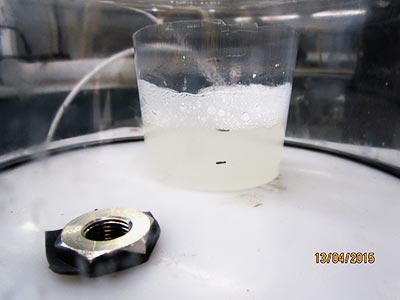
To create the actual mold, I used urethane rubber, Smooth-on PMC 121/30. The product is divided in two chemicals that you have to mix in equal proportions. To calculate the exact quantity of material you gonna need, fill your mold with water, pour the water from the mold to the container you gonna use for the mixing and then just make a mark on the container. I used a transparent plastic glass. Once mixed, I used the DIY pressure chamber to suck all the bubbles. You can see the process of degassing below.
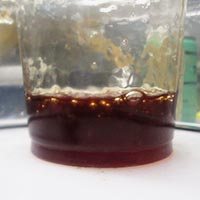
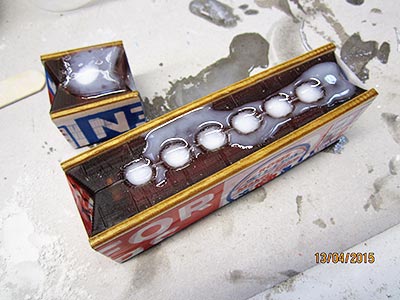
Another trick to avoid bubbles in your mold is to spread a thin layer of material all over the piece, and with the help of a stick, be sure that the material is filling all the corners.
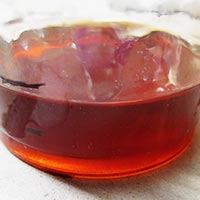
Pour the rest of the material and put it inside the pressure chamber. The urethane rubber need around 12-16 hours to dry, so I have to wait till next day to make the other half of my mold.
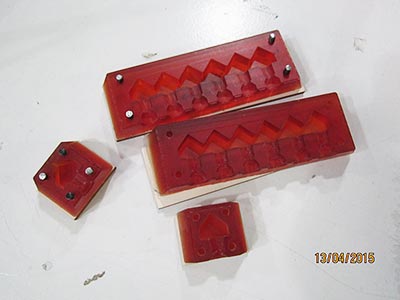
Once done, I cut some screws to fit both sides of the mold. I cut also a pieces of wood to give more strength since the rubber is very flexible. Apply some demolding spray, wrap it all together and it's ready to cast the silicone. At that moment I preferred to cast silicone to see fast how it feels the size of the piece, and later, using the same mold I can try to cast melted crayons.

Mix the two chemicals for the silicone first, repeat the same steps as before with the resine.
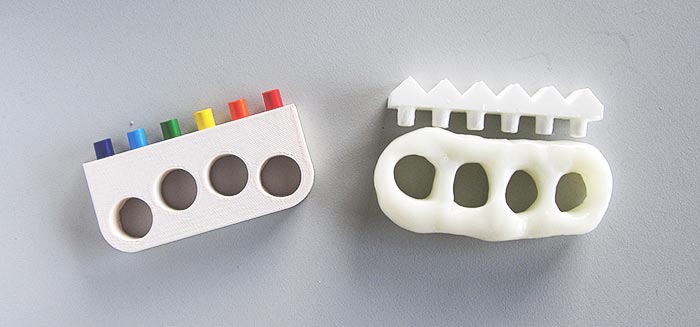
I made two molds, one small, one big. The big one was really easy to fill with the silicone. The small one, due it only has one hole, was more difficult but doable. The silicone needs one hour to dry.
Below a visual recap.