Assignment (1/2): 3D scan an object
I begin the assignment exploring photogrammetry technique through two softwares: 123D Catch and Recap 360, both online and from Autodesk. Before start taking photos I wanted to test the apps with some photos from an old project, that capture a 360 degrees image of myself in 12 steps. This is the footage that I uploaded.

And here the results obtained in 123D Catch (the first two images) and Recap 360 (the last one).
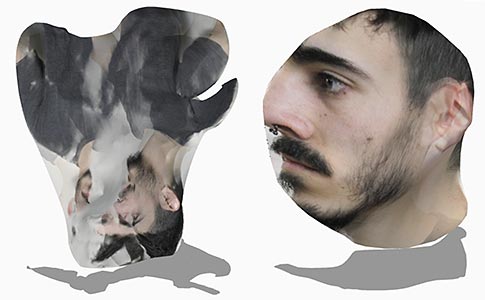
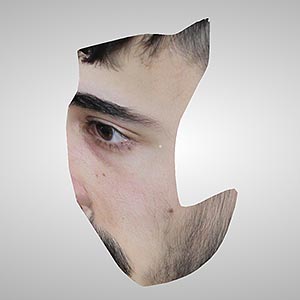
It was not a surprise to see how the apps don't process the images well, because I talked with our instructors about how the apps work, before try them, and they give me some hints. When the software tries to merge all the images together to create the 3D model, it uses the background as points of reference. My images have a completely neutral background, so the app gets confused.
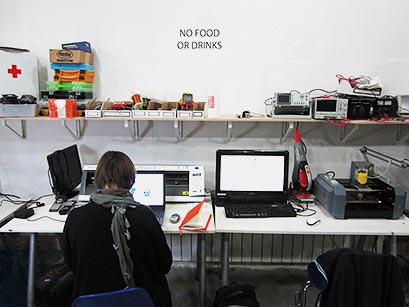
Knowing that, I decide to try to scan a corner of our work space. This time I take a lot of photos and I include inside the scene a person who is working, moving between photo and photo, just to see what happen.
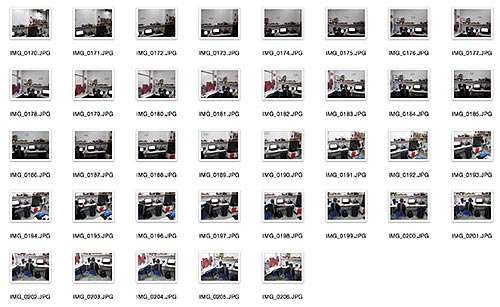
Below, the results. First image, 123D Catch. I created an animated gif to show the depth of the scan. You can also see an extrange form near the computer screen, this is the person moving. Second, Recap 360. A close up to see that the results have a lot of imperfections. Both apps have similar results. Maybe taking photos from different angles will help (I took all the photos from the same point, just changing the framing).
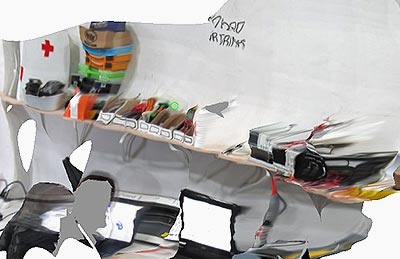
Photogrammetry needs complex shapes and textures, background and/or object to scan, in order to generate a good 3D model.
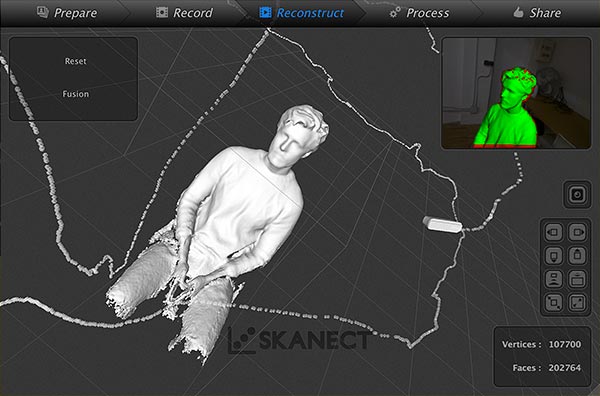
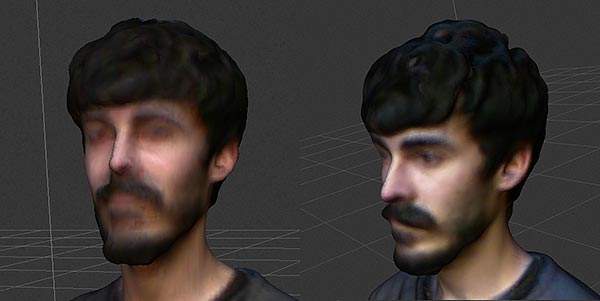
Moving to another technique, I wanted to try the Kinect. I used Skanect as software and the Kinect 360. I joined forces with Théo to scan each other, because you need to move around the subject/object you want to scan. I scanned Théo...
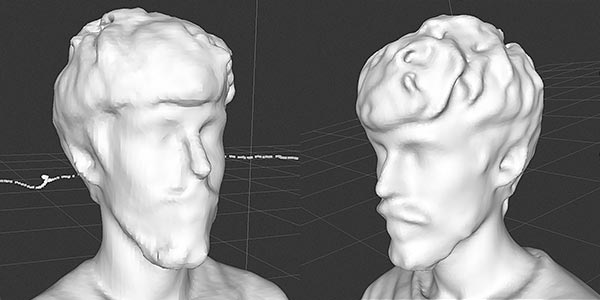
...and Théo scanned me, twice. Yeah, the first one I was talking, opening/closing my eyes... and the result is a blurry capture. Below you can see the comparison between the two scans, with and without texture. Moving parts don't appear on 3D scans.
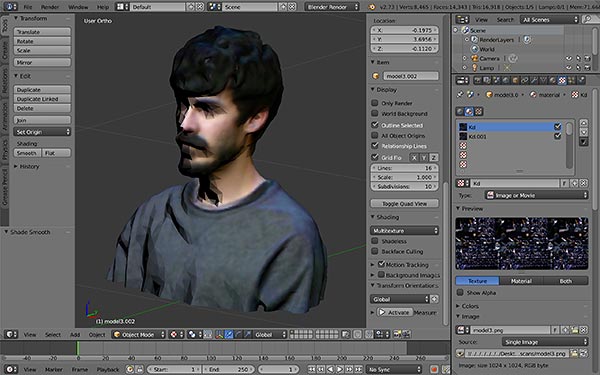
Skanect has an option to create a watertight 3D model, which is perfect to print it after. You can also export the model with the texture. I used Blender to cut the scan at the height of my chest, but I didn't print it, I would like to focus my 3D printing time into something different.
Assignment (2/2): design and 3D print an object that could not be made subtractively
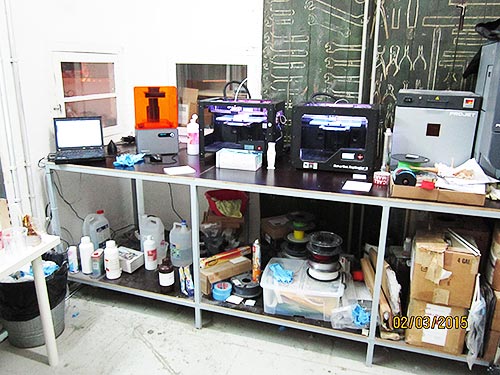
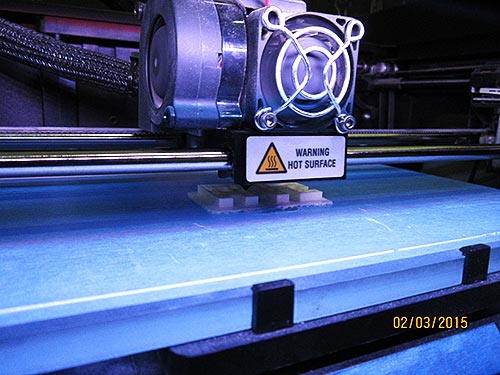
3D printers!!
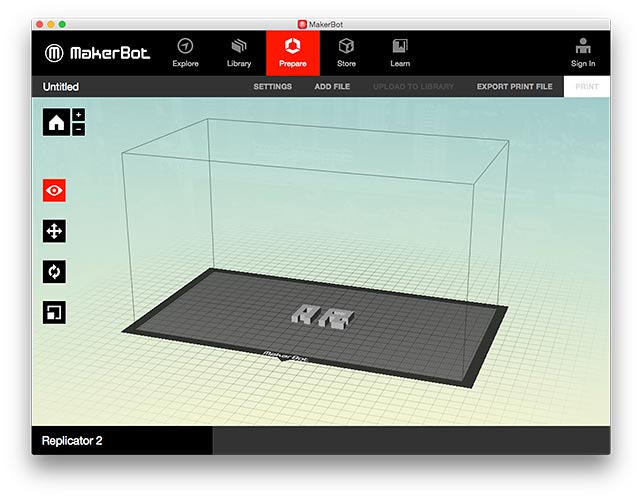
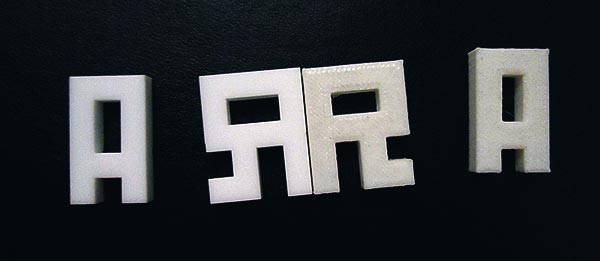
First test, something easy to model, while I am getting ready for printing a complex design. I use the designs I made for the press-fit construction kit, and I print two letters to see in detail the differences between the 3D printing and laser cutting finishings.
Laser cutting on the left, 3D printing on the right. It's difficult to see the differences in the photo, but briefly, the 3D printed letters have more imperfections. The letters didn't fit each other. Not a surprise, a press-fit kit is based on a proper thickness calculation in advance, which I did not.
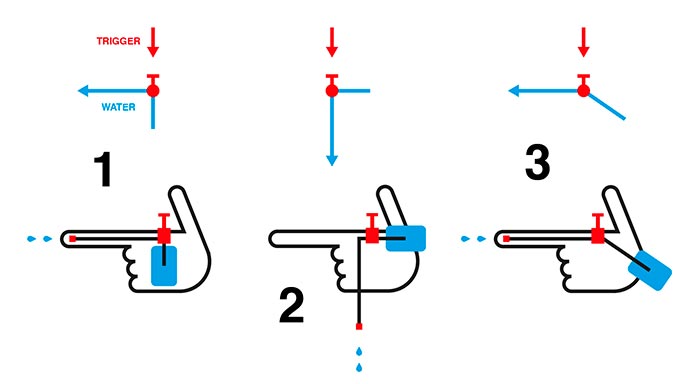
My idea for this assignment is to print an "invisible" water gun. Obviously not completely invisible, but almost invisible if you look the hand from one side. The idea is based on the hand gesture we made when we pretend that we shoot a gun. The two gifs below illustrate the gesture.

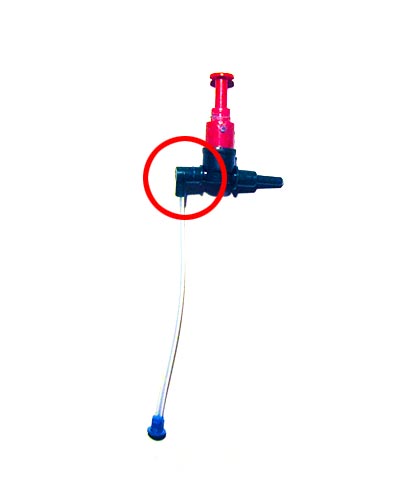
After do a quick research, I realise that if I want to create the water gun from scratch it will take me more than one week to achieve, so I decided to focus just on the pumping mechanism that there is inside the gun. I bought a couple of cheap water guns, and I broke the plastic housing to get the mechanism inside to analyse it.
My first approach is to make a 3D model of the bigger piece of the mechanism to see the behaviour of the 3D printer.
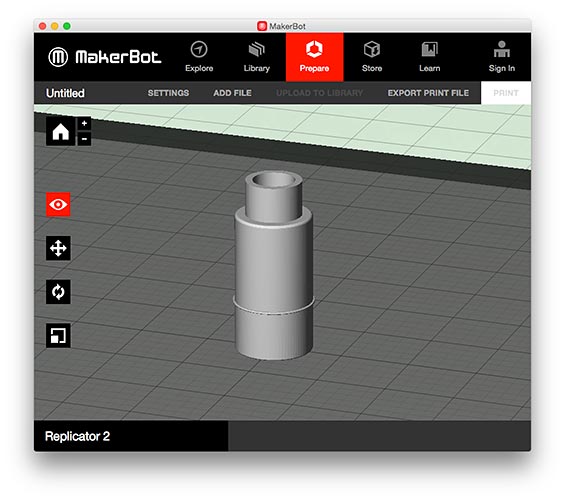

The image below show the 3D printed model in white, beside the original piece.
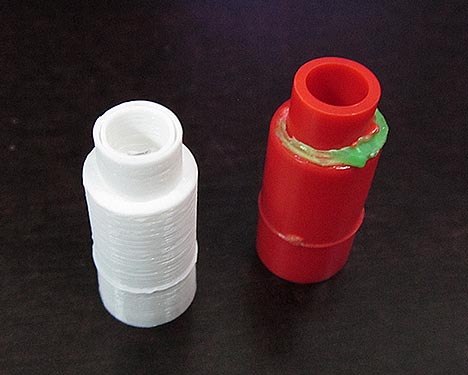
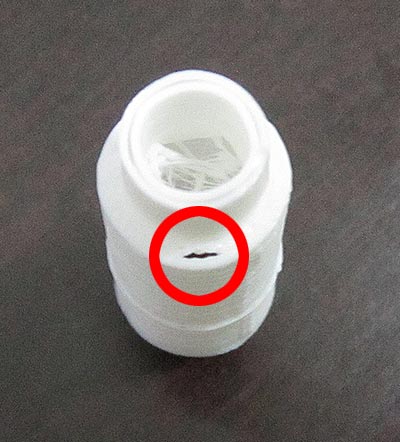
It's incredible the detail obtained (look at the relief in the middle of the cylinder!) but because the model was too thin, the printer put only one layer of material at some parts of the design, making it weak, and creating unexpected holes. I should put also some structure inside the cylinder.
Because the printed piece has to be watertight, I decided to change the strategy to complete the assignment and at the same time to get a working prototype of my idea. Reproduce the actual pumping mechanism with 3D printed pieces do not will work.
The next schema will help me to explain what I would like to do. The first illustration shows the ideal design. The water container is in your palm, you can hold it with your fingers, the trigger is pointing up, to use it with your thumb, and the water goes out in the direction that you are pointing with your index finger. The second illustration shows the original pumping mechanism, over the hand, keeping the trigger at the same position. You can see the different water path. At the third illustration you can see the final result. I just need to modify one piece of the mechanism to reach that.
This is my target.
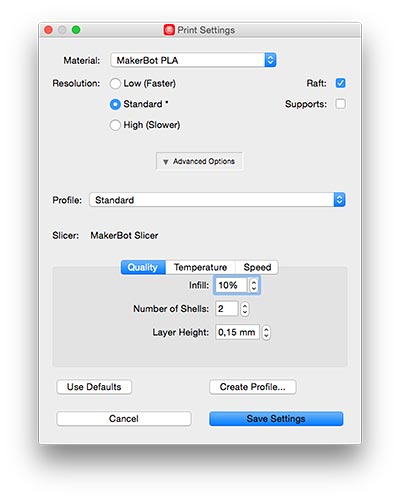
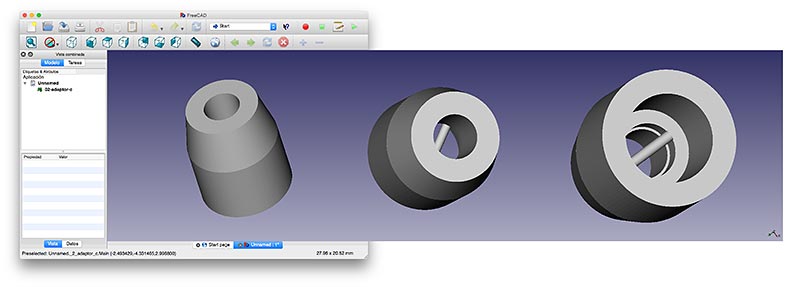
The 3D design tool I used for this assignment was FreeCAD. I have never used it before, and it has been a good experience. If I have to model similar kind of objects I will use it again definitely.
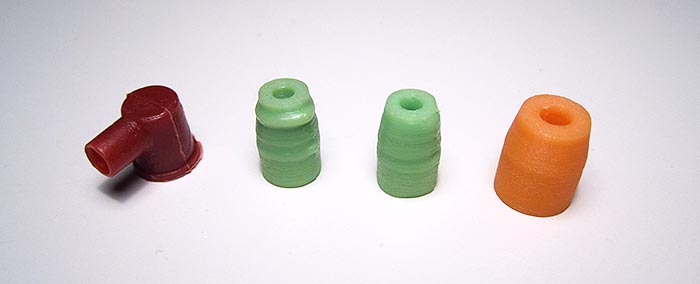
I need three prints to obtain a functional piece. The first is the original, the orange is the functional one. As you can see, the first and second 3D prints look like "melted". I had to reduce the infill.
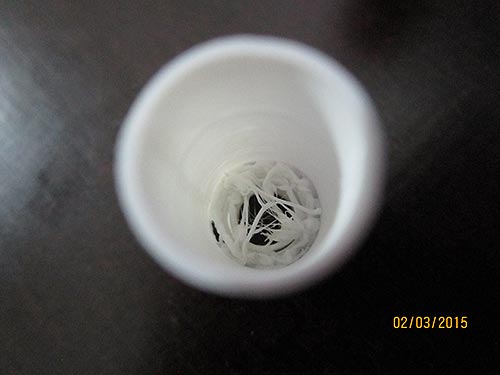
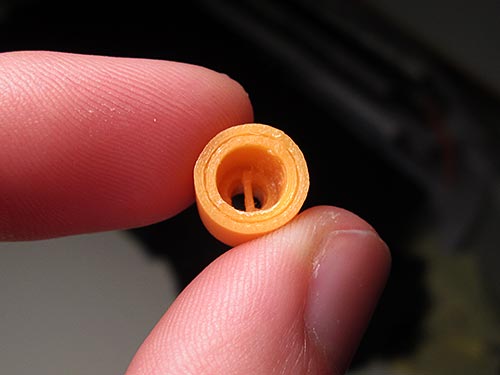
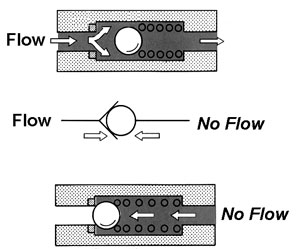
This close up let us see that inside the piece there is "something" across. This "something" is what blocks the valve and let the water go out. Take a look at the schema aside to see how a valve works.
And here there is the pump mechanism extruded.
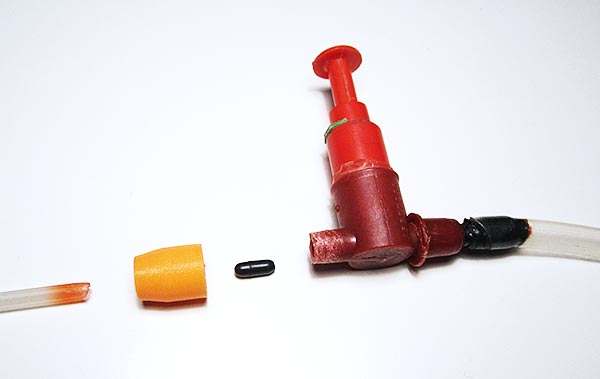
All pieces together, in place…
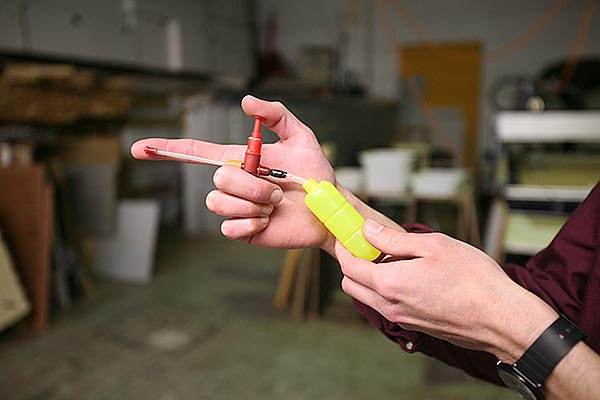
…and the "invisible" water gun is working!
:-)