Project Development
Assignment
complete your final project, tracking your progress:
what tasks have been completed, and what tasks remain?
what has worked? what hasn't?
what questions need to be resolved?
what will happen when?
what have you learned?
documentation during development
demand- vs supply-side time management
spiral development
academy.cba.mit.edu
DESCRIPTION
The final project development has been emerging throughout the whole fab academy since the premise of the project is to be able to explain to a 7 yr old child all the modules that are covered in the academy. The idea is to have a basic overview of a fabrication laboratory processes, practices & materials that we use in the laboratory through a project based learning methodology. Some of the modules will be omitted to be developed with experts in the future.
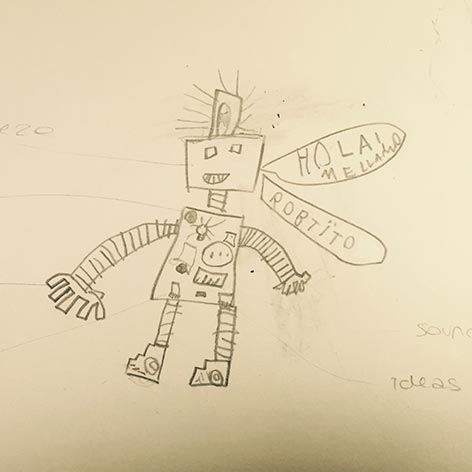
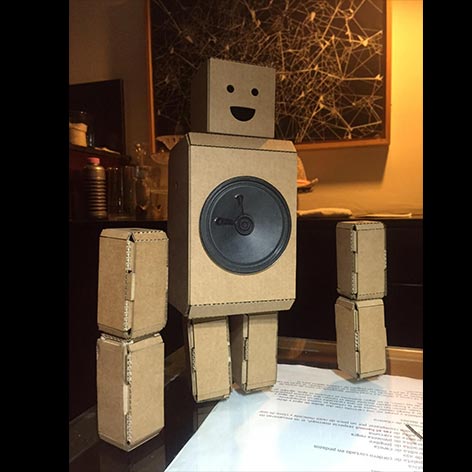
The project emerges from a sketch & a name, Robtito.


These are modules that will be in the playbook. The composite module will be omitted due to the danger of resins to small children.
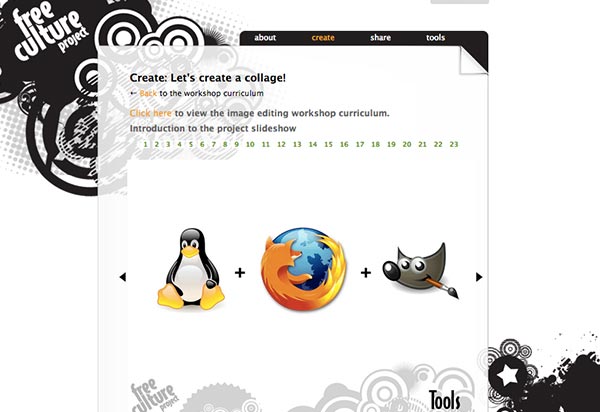
- principles & practices: every child will create a website with webmaker for their robot
- project management: we will learn to make todo lists!
- computer-aided design: we will design with Inkscape or Gimp a logo to be able to use the vinyl cutter to create a sticker to personalize the robot
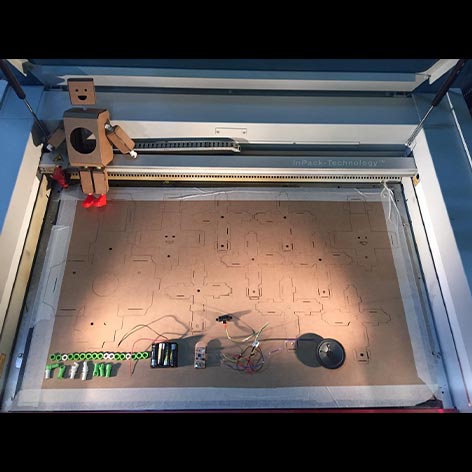
- computer-controlled cutting: the body, arms, legs & head of robtito will be created in the laser cutter!
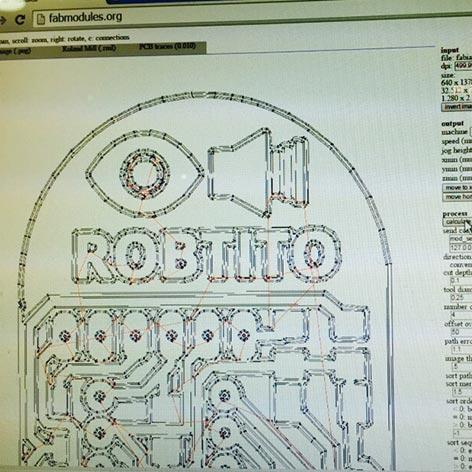
- electronics production: the FAB ISP will be produced in the milling machine in order to be able to program the Barduino board!
- molding & casting for the feet of the robot
- 3D scanning & printing for the robot joints & neck!
- input devices for the robot
- output devices
- networking & communications
- applications & implications
These modules will be added in the future:
- electronics design: study alongside an electronics professor to understand the best way in which this can be taught to a small child
- computer-controlled machining
- embedded programming: with Scratch for Arduino it can be quite simple
- composites: this module will be omitted due to the dangers of resins
- interface & application programming: this module will be added in the future with the use of app inventor or
- mechanical design
- machine design
- project development
- invention, intellectual property, & income
EXPERT MEETINGS
A very important part of the development are the meetings with experts to make sure that the robot is child safe, it's pedagogically viable & can be made into a educational tool.
Edgar an amazing industrial designer explained me about the dangers of pointy corners & small pieces that could poke or choke a small child.
In the future I would love to talk to the following professionals to help Robtito evolve into a better project:
- Jordi Albo an emotional & education robotics expert at Tufts University
- Sara Alvarellos from Makespace Madrid
- David Cuartielles from Arduino Verkstad
- Marina Bers Tufts University
- Chris Rogers Tufts University


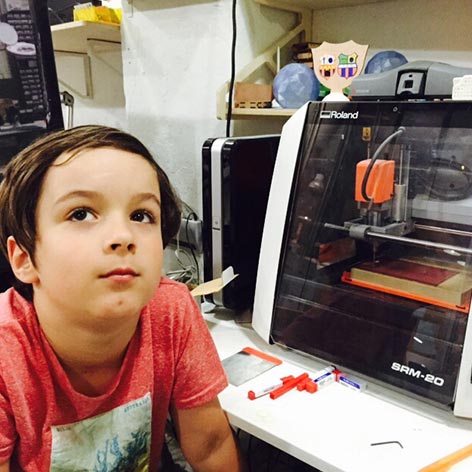
The team: Ian, designer & Mariona, developer of Robtito.


These are the pieces that are ready to be transformed into the robot: BOM or bill of materials! I am still missing the acrylic that will cover the electronics and speaker but will allow for all to be visible. Also the playbook with all the steps & explanations for the mini fab academy modules!
- Cardboard
- PLA (joints, hands, feet & hands.
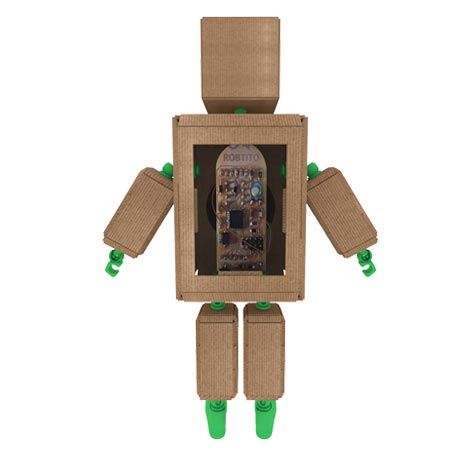
- Methacrylate
- PCB to create circuits (input, output & networking)
- Electronic Components
- Cable
- One Speaker (robot body) Monacor Miniature Flush - Mount Speakers, 8 Ω - SP-23/4RDP
- One Proximity Sensor (robot eyes) Rohs Sharp GP2Y0A21YK

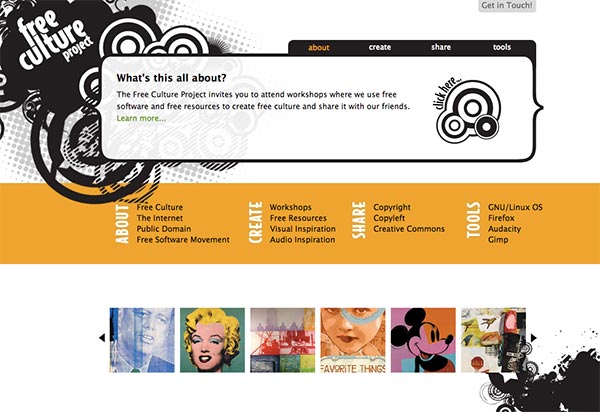
To explain kids about intellectual property, copyrigth, copyleft, creative commons I will refer to my Master Thesis project. The Free Culture Project which was designed for older 12-17 yr old kids but can be a tool to explain though project based learning the basics to 7 yr olds. I have a feeling thought that these topics should & will not be a concern to little ones...
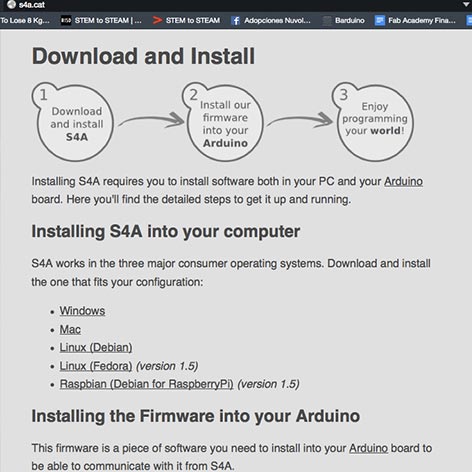
For the programming to be accessible to a child I am super excited to use S4A - Scratch for Arduino since it is from a local team at Citilab. I need to make sure that with the Barduino board it will be possible to program in S4A. Here is a sample that could be very useful.
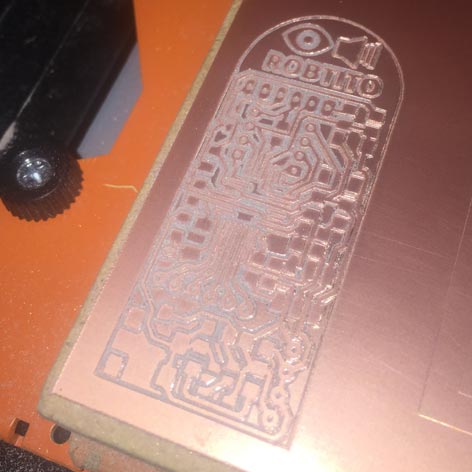
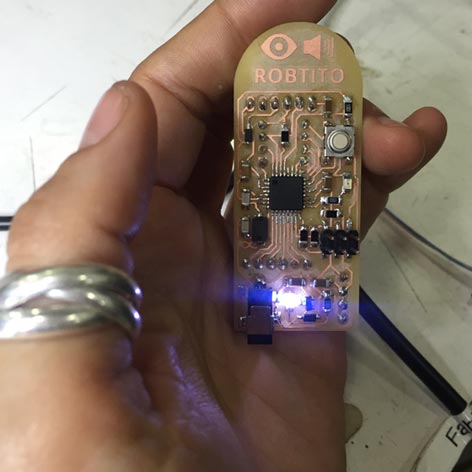
For Robtito to sense objects with the proximity sensor & be able to play music I used Luciano's Barduino board amazingly documented here! We milled the board with Ian who was amazed by the precision of the mills! Here you can download Robtito's Barduino
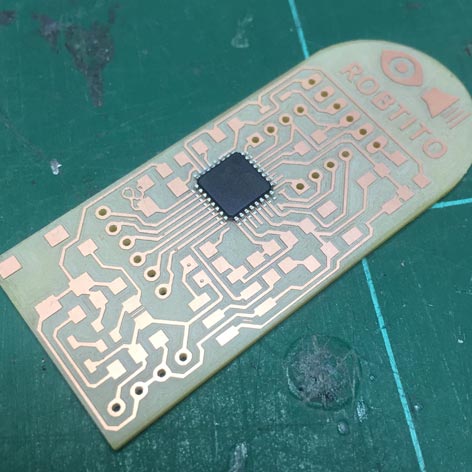
Soldering the ATMega 328 microprocessor took a lot of precision and a lot of flux! The rest of components were pretty easy to solder & actually I am really enjoying a lot soldering by now :)
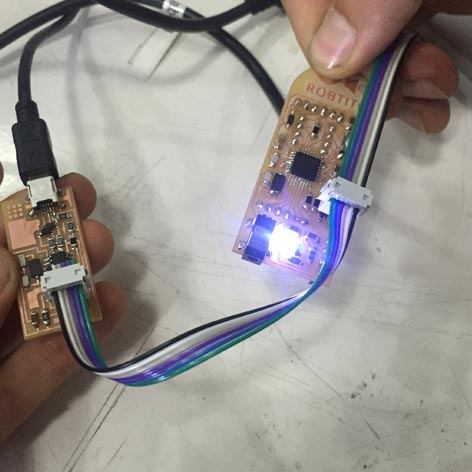
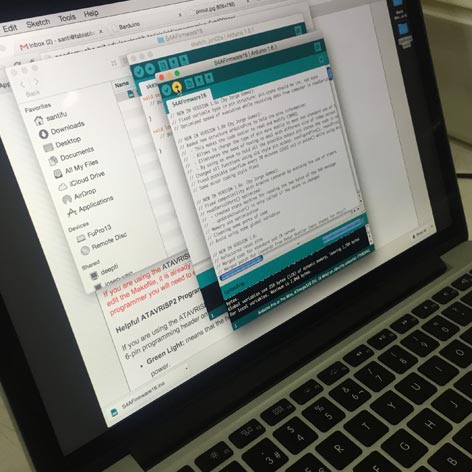
Performed the smoke test by plugin the FTDI cable to the board & my computer USB. YAY!!! The light turned ON to communicate that the USB was giving power to the board. To program the board I used the Valentin fabISP, selected it as the programmer from the tools menu as well as the micro-controller Arduino Pro or Pro Mini (5V, 16MHz) w/ ATMega 328 & run the bootloader. Luckily the Arduino IDE screen read: OK Done!
To be able to use Scratch for Arduino to program the board it is necessary to install the firmware that can be downloaded here. Then run the file in the Arduino IDE & set!
Programming with Scratch is quite fun but finally we made a sketch in Arduino to be able to store the Star Wars song so when the proximity sensor would sense the child the music would start to play & then when the child would get closer then the music would speed up or further away then the music would slow down. The arduino sketch can be downloaded here!
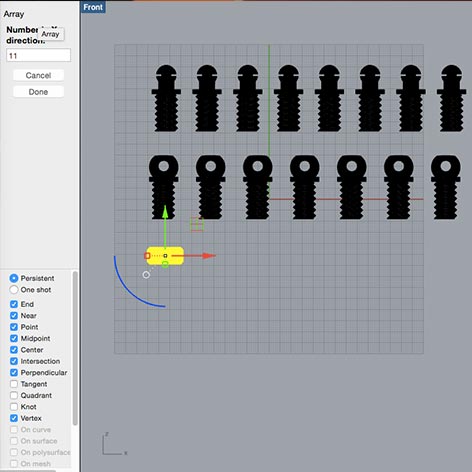
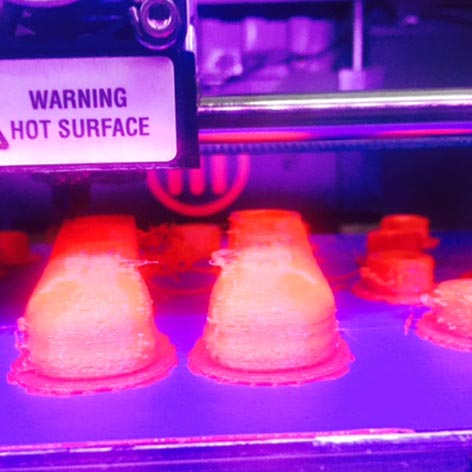
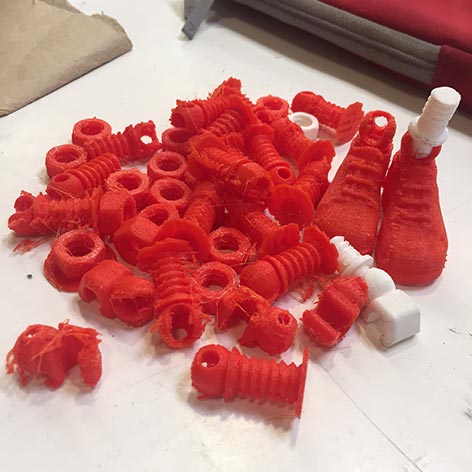
Next step is to create the shoes, joints & hands of the robot and get them ready for 3d printing. The quality of the 3d printing is not that good since the machines need some tuning. The models will need some sanding. Even with the sanding the quality was so poor that we decided to print them again!

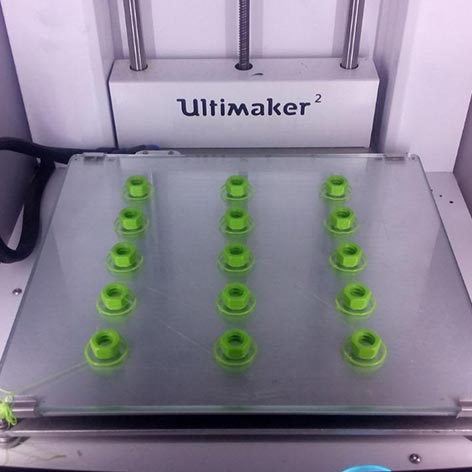
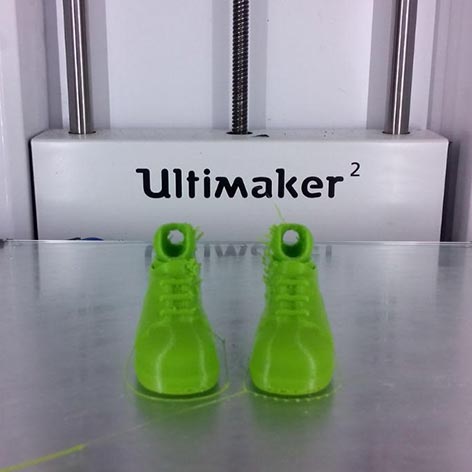
Since we had been in Sitges with Ian to check out the Beach Fab Lab we decided to check with Francisco to see if he could print the pieces in his Ultimaker! We were lucky that he did not have any printing to do & Ian was able to learn about distributed manufacturing. The pieces printed flawlessly in the Ultimaker!
The foldable cardboard robot took many, many tries until the flaps fit together snuggly! The laser cutter files can be downloaded here. The idea is to have a website under the osrobot.org domain name we reserved for the project so all the files and instructions can be accessible to the whole world!
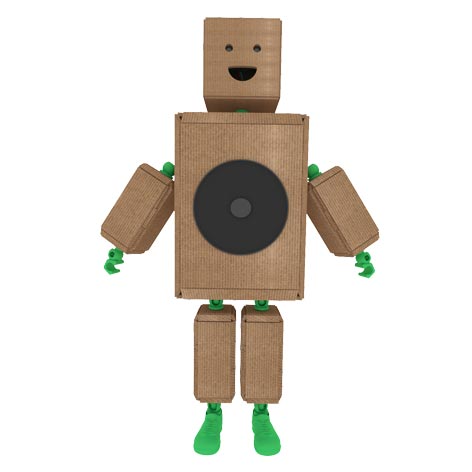
These are the final renders which can be downloaded here
The process of making Robtito was amazing for Ian & for me. This will be a project which will require time to evolve & lots of feedback from experts! It is a little part of a big plan to make accessible the wonders of digital fabrication to 7 yr old children.
Here is the final presentation and video of Robtito's working prototype!