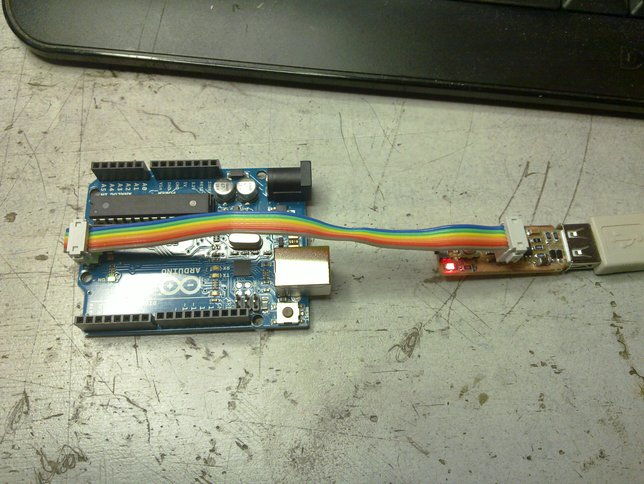
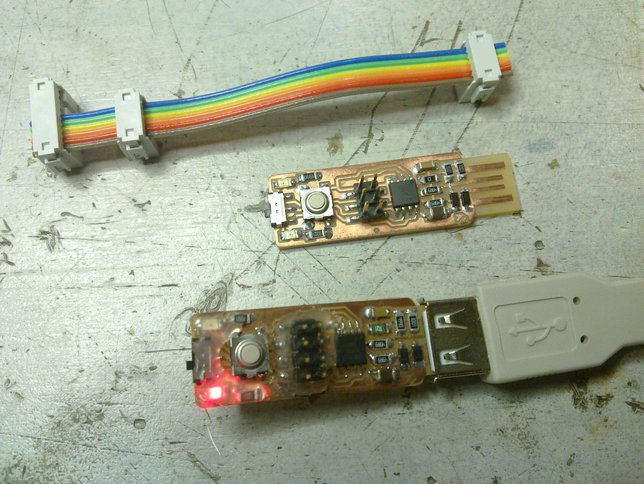
Connecting pin1 to pin1 of the ISP header, pin2 to pin2 and so on...
And so the student becomes the master...
Connecting pin1 to pin1 of the ISP header, pin2 to pin2 and so on...
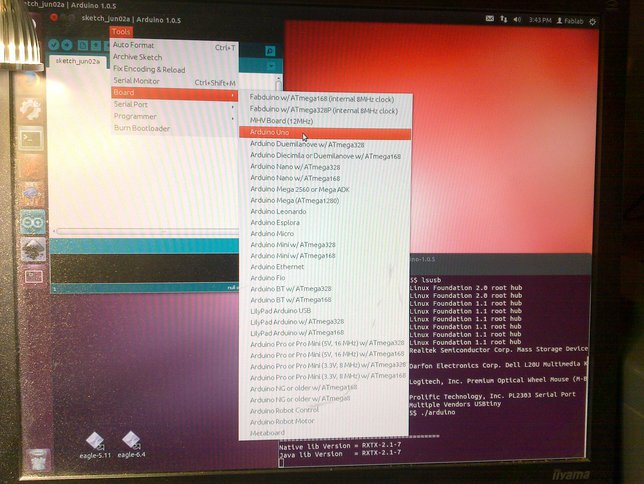
Select the board (under the Tools menu item), an Arduino Uno in this case.

Select the programmer (also under Tools), our new ISP is an USBtinyISP.
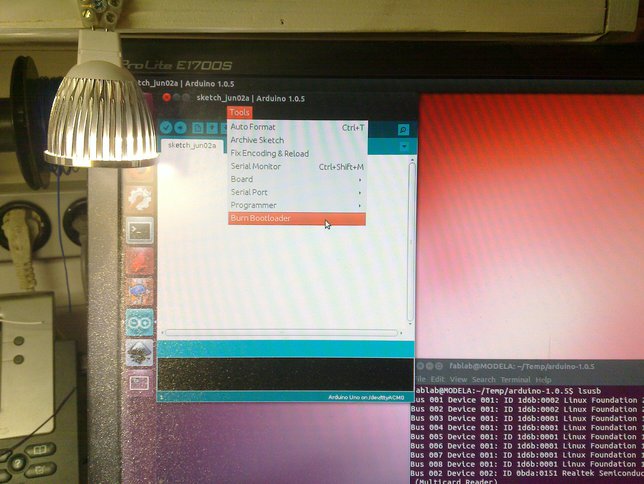
Burn the bootloader (again under Tools).
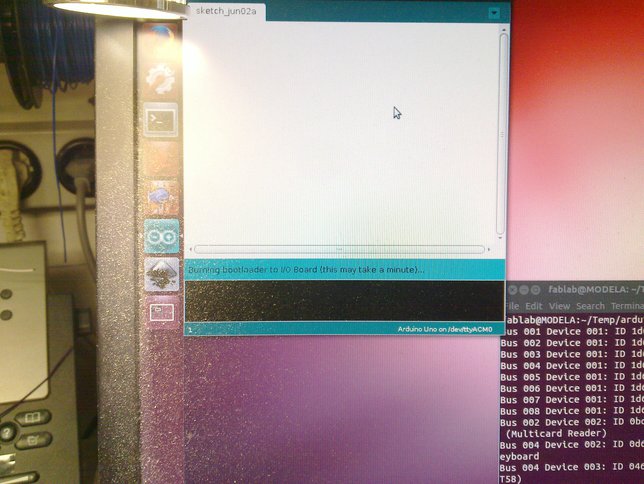
Burning bootloader to I/O Board (this may take a minute)...
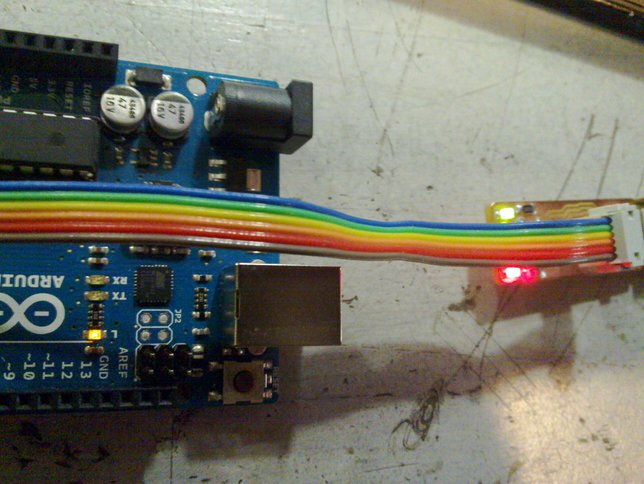
Some leds should blink on both boards.
Note that the Arduino is powered by the FabTiny*ISP, if it had it's own power then the slide-switch on the FabTiny*ISP should be put in the "off" position.
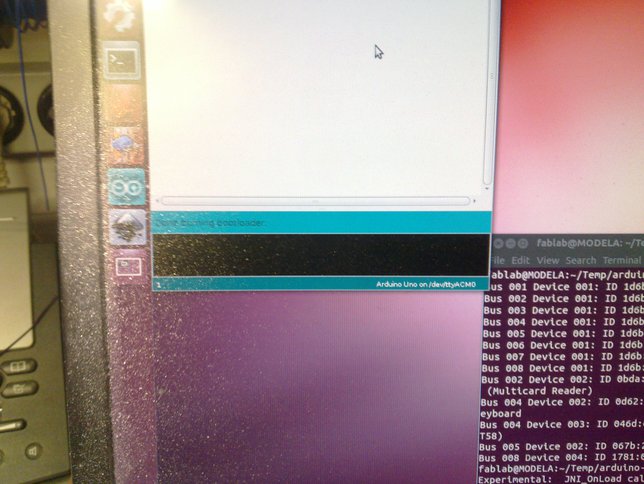
Done burning bootloader.
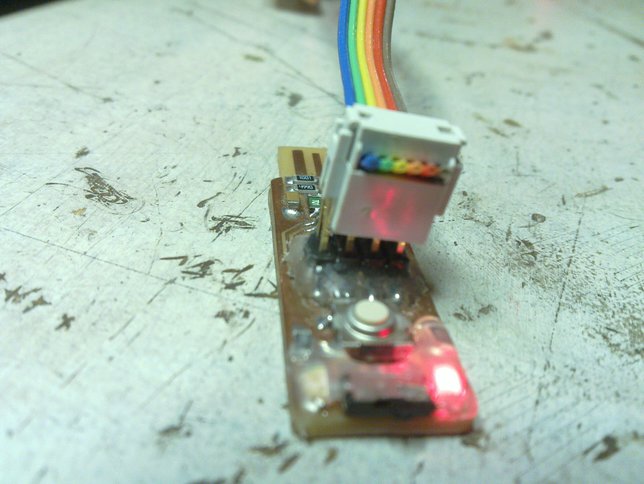
Connecting pin1 to pin1 of the ISP header, pin2 to pin2 and so on...
The FabTinyStar's extra pins are a bit in the way, this works but you can also put a bigger connector on the programming cable.
As we have both sizes in the inventory, too small and too big (for the full FabTinyStar at least). ;)
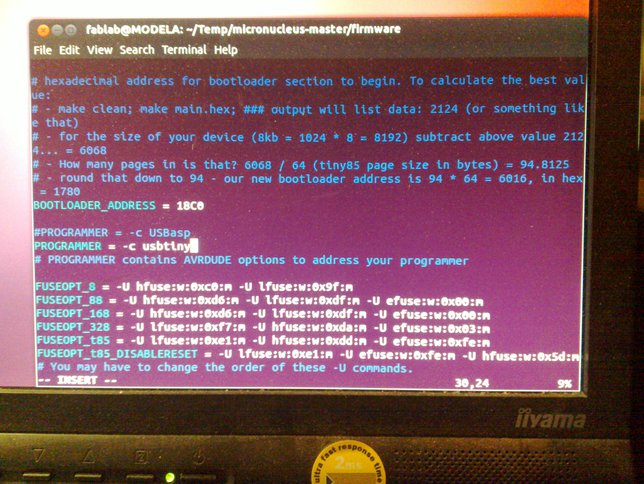
Editing the Makefile to make it use our new programmer "usbtiny", instead of the "USBasp" programmer.
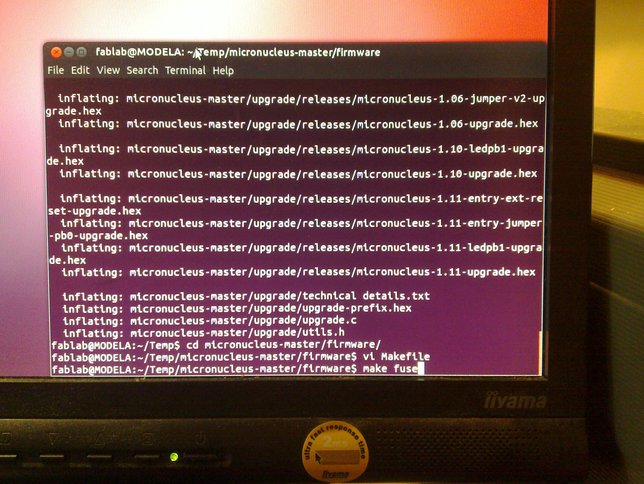
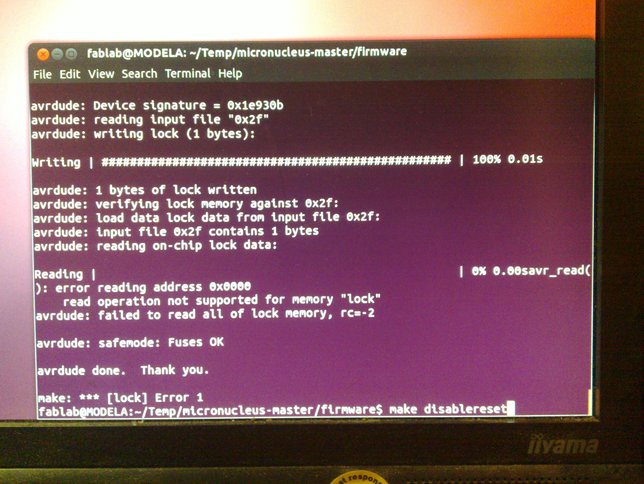
Setting the fuses, with the command: "make fuse".
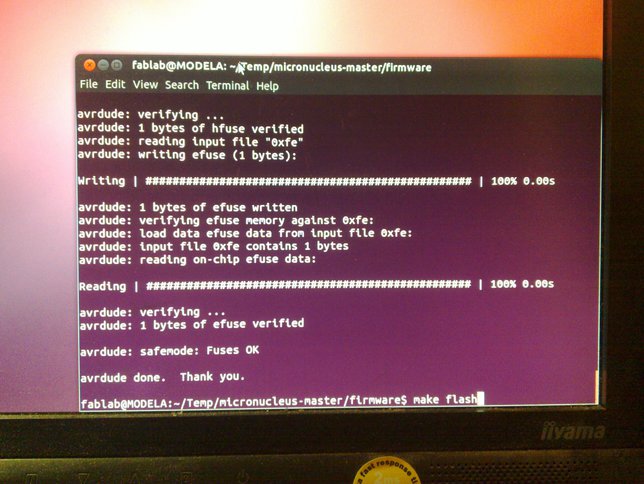
Writing the flash with the micronucleus bootloader: "make flash".
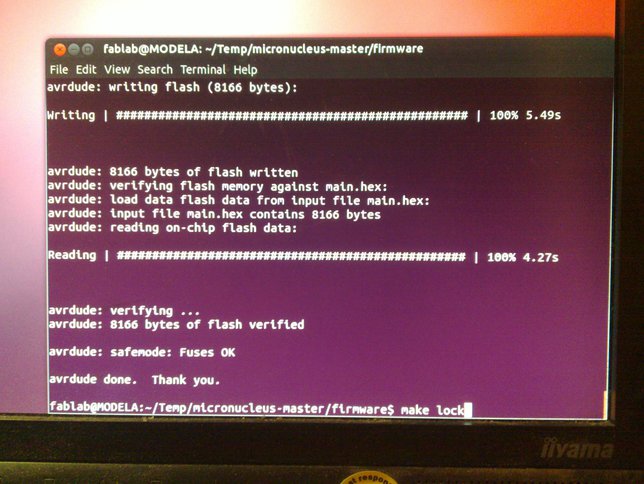
Locking the bootloader's memory with "make lock", unfortunately the ATTiny85 does not have this feature, so there will be an error which can be safely ignored.
In fact you could just skip this step entirely, it is only documented here for completenes' sake.
As a final step you could disable the resetline when you want to use it as an I/O pin. You will no longer be able to program it using ISP but there is a tool included with micronucleus which can now upload new programs through USB instead.
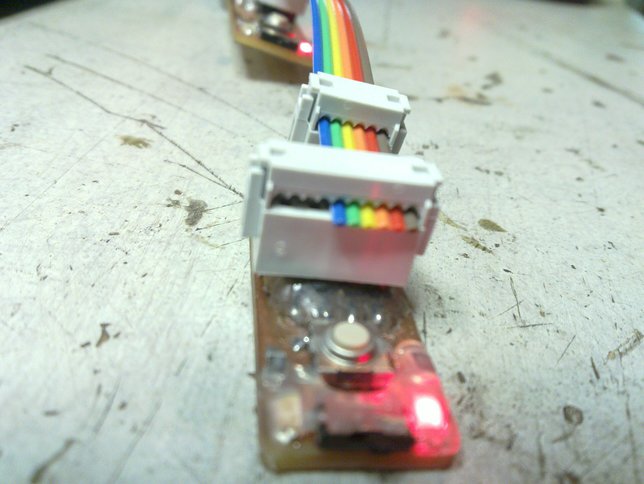
Plugging the patient in to see if the operation was successfull.
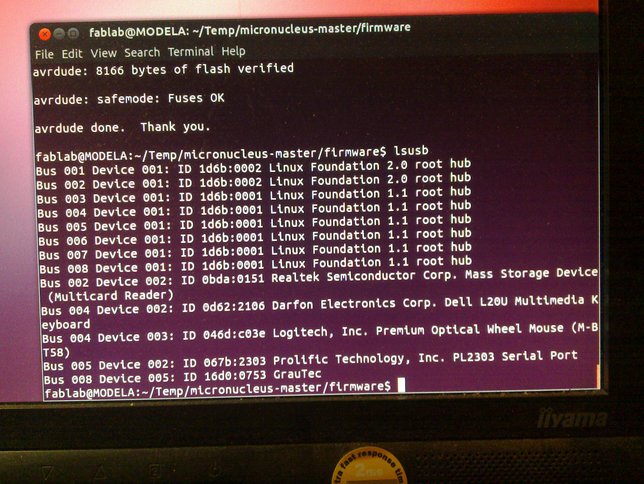
And there it is on the last line: "Bus 008 Device 005: ID 16d0:0753 Grautec" the micronucleus bootloader, ready to accept a new program, like for instance the vusbtiny firmware.