{ Fab Academy 2015 : Koichi Shiraishi }
{ Home } { Final project } { Class } { Fab Academy }
- Week 04: electronics production -
Weekly Assignment
- make the FabISP in-circuit programmer
Install Fab Modules
I installed the “Fab Modules” according to the instruction on "this site."
It is not difficult for me. Moreover, I can operate the “Fab Modules” smoothly.
There are two nice functions in "Fab Modules"
One is it can work on “Terminal,” the other is I can check the history of comands.
Milling circuit
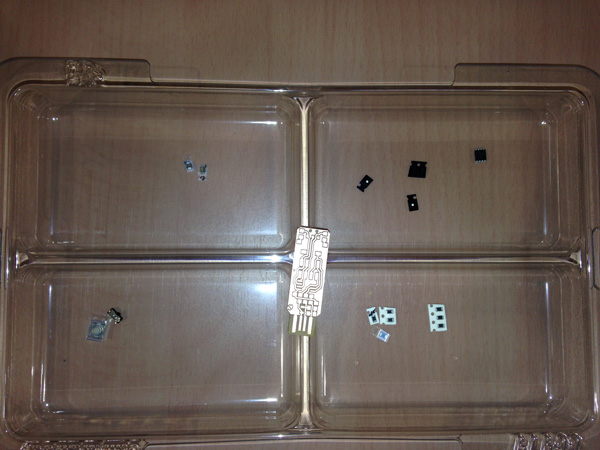
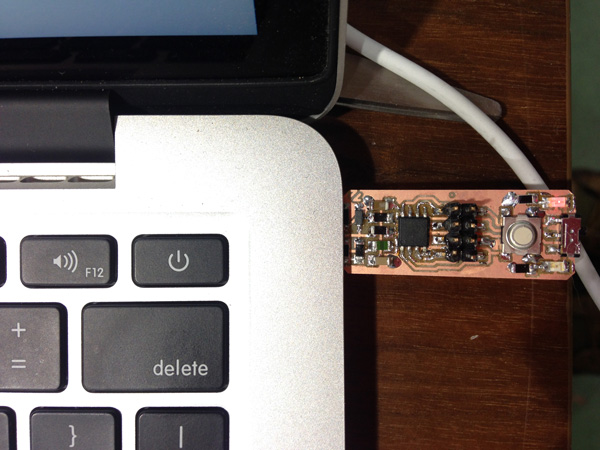
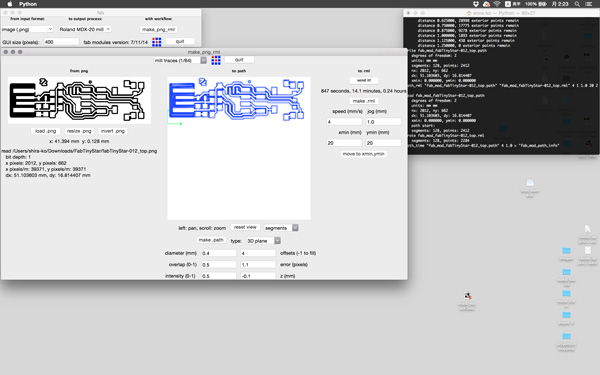
I prefer the “Fab Tiny Star,” which was deveroped in FabLab Amsterdam. It can be directly connected to a USB port.
It was easy to convert a PNG image to the RML using "Fab Modules". I need to rescale the RML data for MDX-40A.
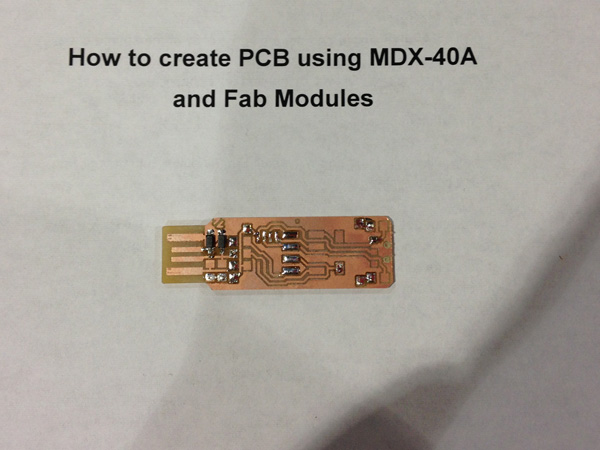
I tried to change it based on ”How to create PCB using MDX-40A and Fab Modules.”
In this document, the author prepared a “Ubuntu” machine, but I can setup on Mac OS X.
1. Fab modules
Configure CUPS
CUPS (Common Unix Printing System) is an open source printing system for UNIX-like OS. I use CUPS for communicating MDX-40A, since it doesn’t support serial USB.
My laptop(OS X Yosemite) is already installed.
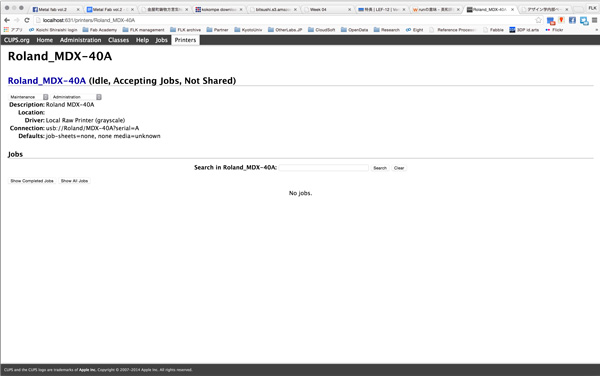
1. Open following address in your Web browser. "http://localhost:631"
If you see a like this page, you should run “cupsctl WebInterface=yes” on “Terminal.”
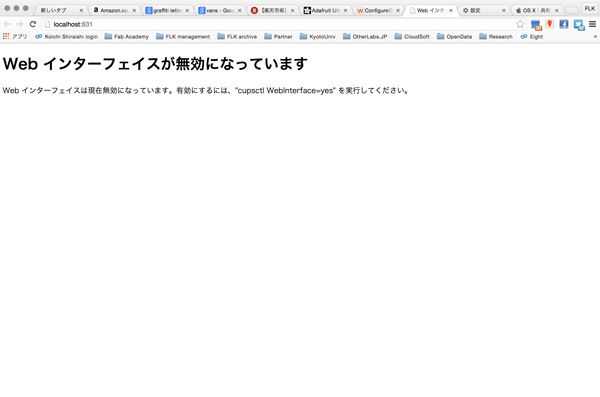
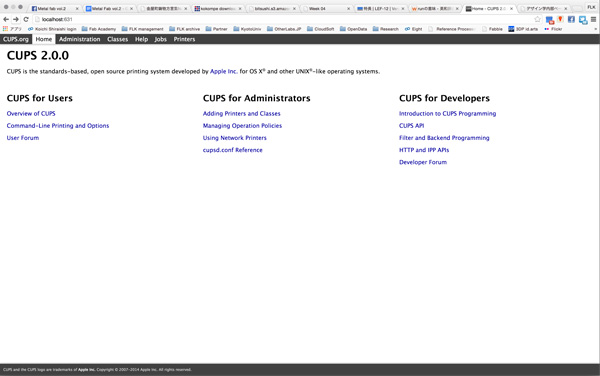
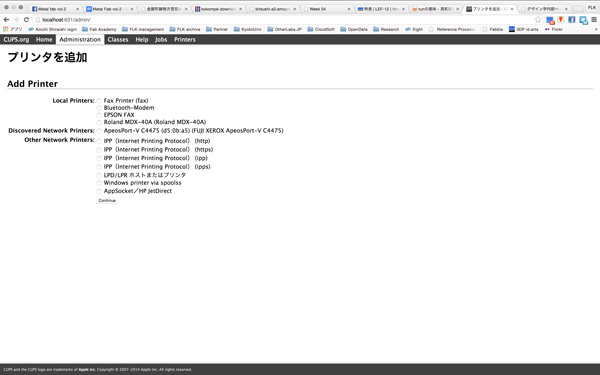
2. Click “Adding Printers and Classes”. If you are prompted to enter your username and password, enter it according to your system information. (it is login information of your account.) And, click “Add Printer”.
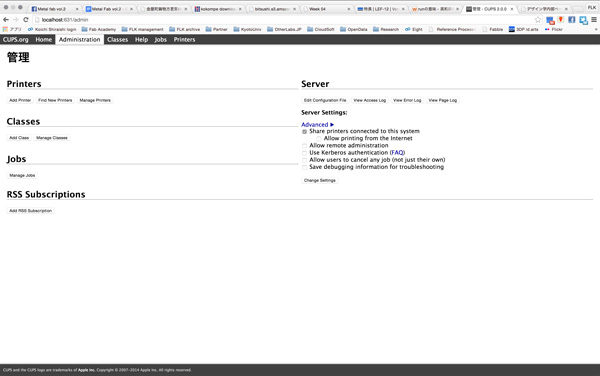
3. Select “Roland Modela MDX-40A” and click “Continue”. And click “Continue” to proceed.
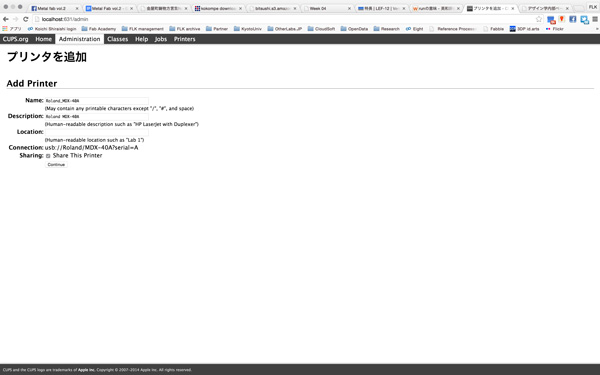
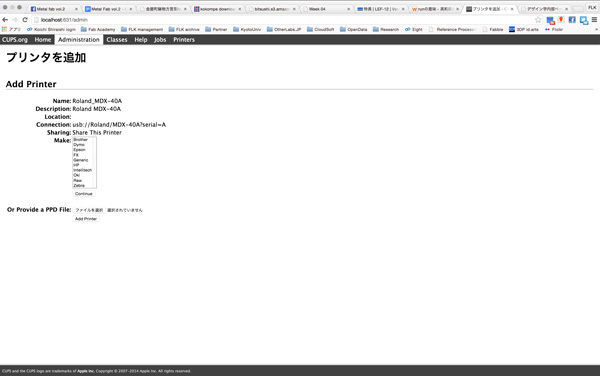
4. Select “Raw” and click “Continue”. Check if “Raw queue” is selected. Click “Continue”. Click “Set Default Options”. You don’t have to change the default values.
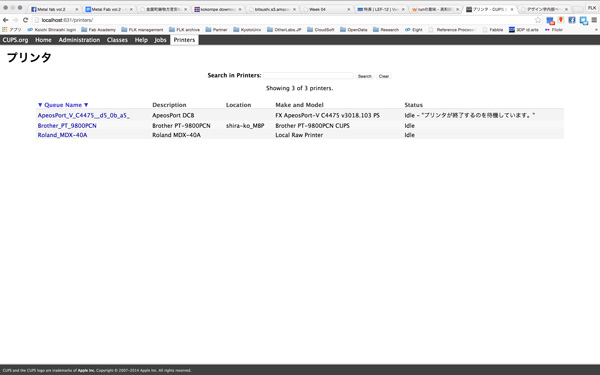
Now you successfully configured CUPS. Added printer is supposed to be named as “Roland_MDX-40A”, and the status should be “Idle”.
Change scale of RML
The RML files we created in the previous section work fine for MDX-15/20. However, we found out that we have to modify the values of X, Y and Z in the RML files, when we use these files with MDX-40A.
For this reason, a Python script is prepared. I copied the text, and saved this named as “scale.py.”
"scale.py"
Open a terminal and change current directory to the folder you put the scale.py script.
Run Python with following command.
$ python scale.py
You will be prompted to input some information.
Input the scale you want (default 2.48): 2.48
RML file to convert ?: input_filename.rml
Output file name?: output_filename.rml
Hit enter, and the dimension will be magnified 2.48 times as large as the original size.
Do the same thing for a RML file of cutting outline. Make sure you have two modified RML files now. You are ready to print them with MDX-40A.
Send RML data to MDX-40A
Attach 1/64” end mill to the spindle and set X,Y,Z origin using VPanel.
Disconnect USB cable of MDX-40A from Windows PC and connect it to Mac.
You can check if your PC is recognizing your MDX-40A with following command.
Open terminal and type “lpstat -s”.
$ lpstat -s
device for Roland_MDX-40A: usb://Roland/MDX-40A?serial=A
Go to the directory where the RML files are located. Use lpr command to send the RML to the printer.
$ lpr -P Roland_MDX-40A milling_data.rml
Usually it takes about 30 minutes or so to finish milling, depending on the complexity of your PCB layout.
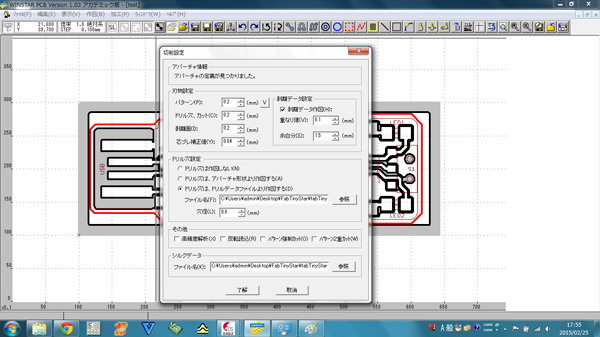
2. WINSTAR PCB
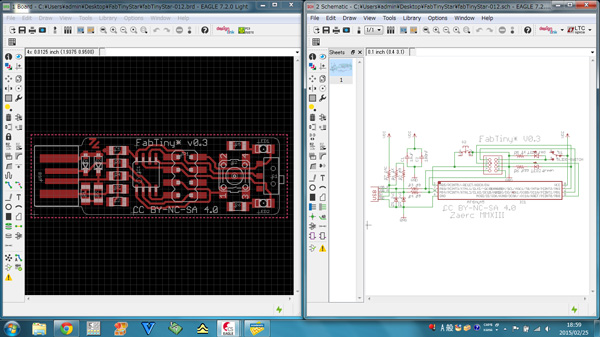
1. Open the BRD and SCH data by EAGLE. Export gerber data.
2. Import gerber data by WINSTAR PCB. Set the mills diameter.
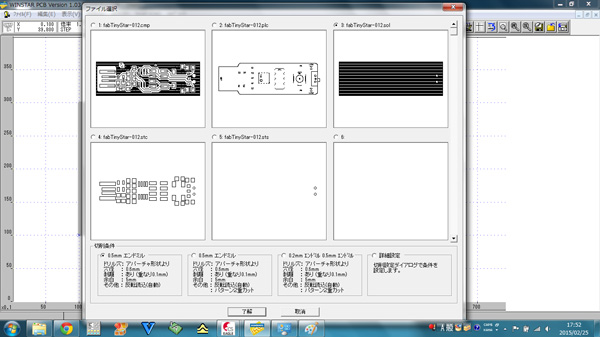
3. Export cam, set numbers.
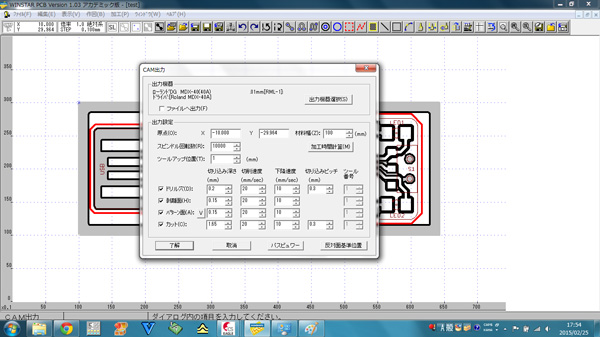
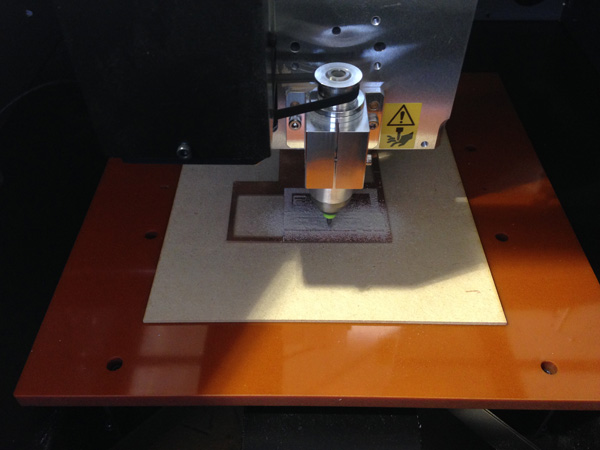
You must set carefully Z axis origin. Fit the point of mill on material surface.
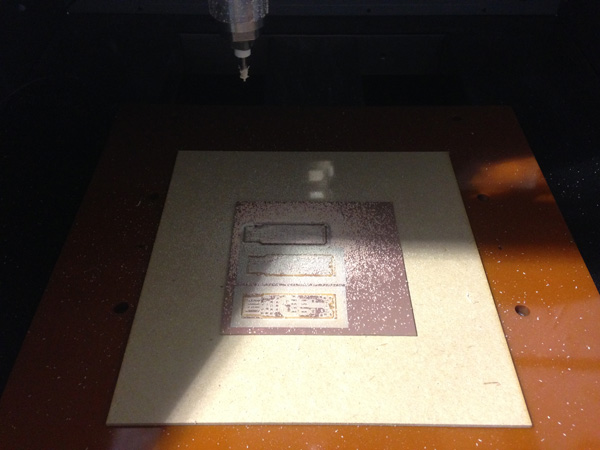
Milling
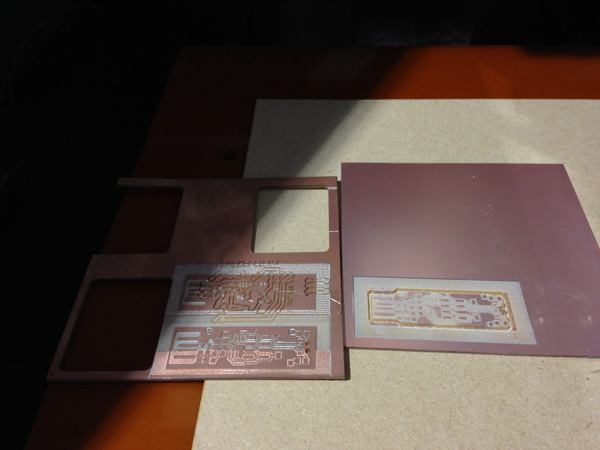
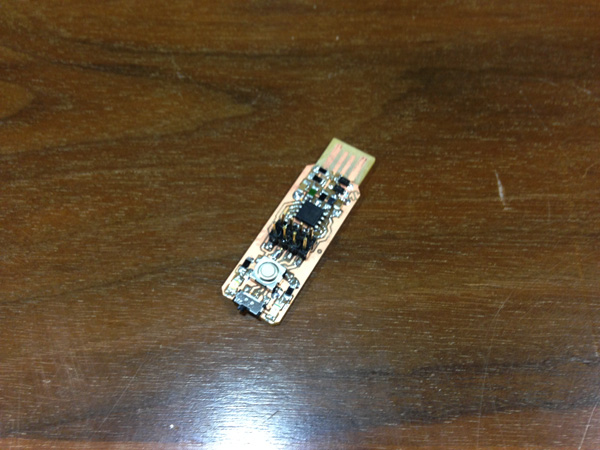
Soldering