COMPOSITE TESTING
Going into this week, I figured out pretty early on that there was probably going to be too much work to fit into a single week, especially because I have a lot of ambition of the things I want to achieve with composite materials.
To innovate in materiality in guitars, and make it easier to fabricate for the average maker, I believe that a composite material will probably be the best way to achieve my goal.For this week I plan to test a composite material for the front and back of my guitar using the press I made for the CNC week. I will need to experiment with as many materials as I can get my hands on to find a composite strong and easy enough to use, but also sound fantastic.
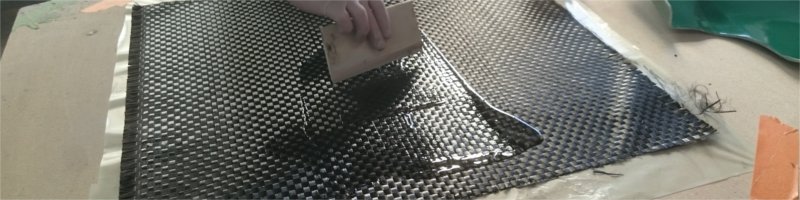
We started with a visit to Carboglass, a carbon fibre shop located on the other side of Wellington. The processes they showed us were infusion and vacuum, both of which were very interesting but a lot of the materials they used were very specific. Making a fibreglass mold would not be easy in any other circumstance. But I did learn a lot about how I might make my composite.

I had a lot of work to do to finish of my torsion box press, which I will not outline on this page, but rather you can read about that here
I had discussions with Wendy previous to this week about the kind of materials I would like to use for my final project. She recommended using hydrostone with a loose material (possibly burlap), and possibly using 2 pieces of matboard with a cloth in between, all laid up with resin. This matboard idea sounds like it could work, assuming that it sounds good.
But to start with we needed to order some bio-resin (which has not arrived as of tuesday, 3 hours before regional review), so I thought I would start with the hydrostone.
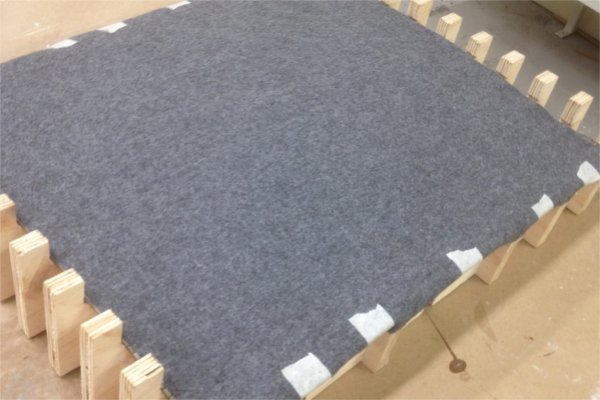
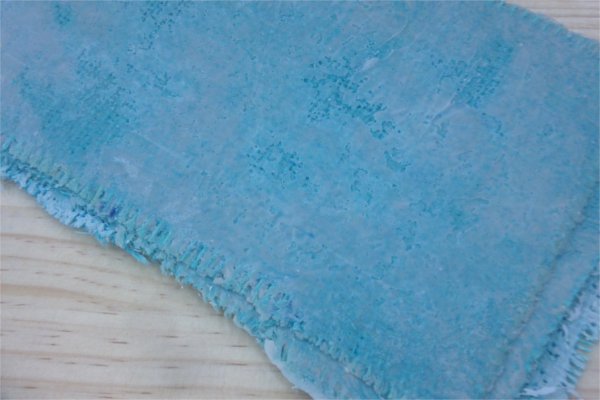
To prepare my press I laid wool fabric over the cardboard skin of the press. This was to help with the pressure of the two part press, but also to reduce the effect of the staples which hold the matboard skin to the torsion box. I then laid sheets of plastic bag over the press to make sure the hydrostone composite did not stick to the press.
Mixing up the hydrostone was very easy, measuring 32 parts of water to 100 of the hydrostone. I made sure to mix thoroughly getting all of the powder into the water. I then used a brush to apply the hydrostone to the burlap. This did not work as well as I hoped as the mixture stuck to the surface of the burlap without getting fully inside. I made sure to coat both sides but next time I will try to use a rubber surface to push the hydrostone inside the material.
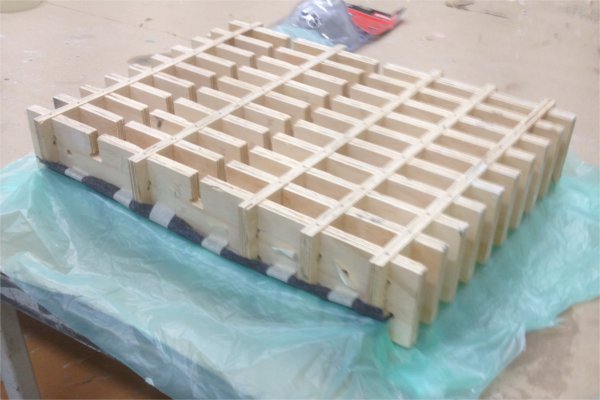
Then it was as simple as putting the wet composite in the press, putting the plastic on top of it, and finally pushing the other half of the press into place.
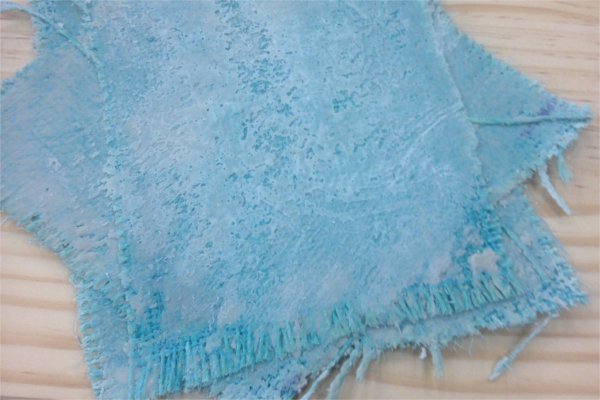
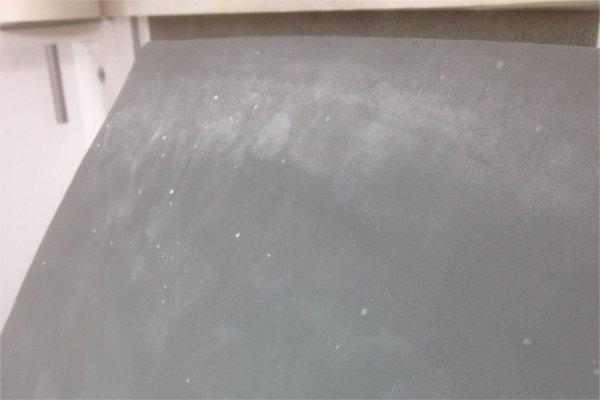
After leaving the hydrostone composite for about an hour, the result was a very firm (although slightly damp) material. However my initial analysis (without any kind of standard testing) is that the burlap dampens the sound a lot more than I expected. Perhaps the next test (before the resin finally arrives) would to be a hydrostone and much less fibrous material composite (perhaps linen?). But at this point I was out of time, any further testing will have to be done next week.
PLAYING WITH BIO-RESIN
This week we finally got our hand on the bio-resin!I immediately made plans to create a composite using matboard and wool fabric. I also used cling wrap instead of a recycling bag and applied with the resin with a rubber scraper instead of a brush.
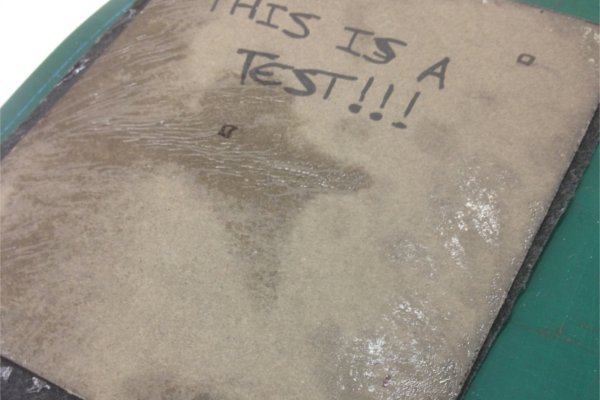
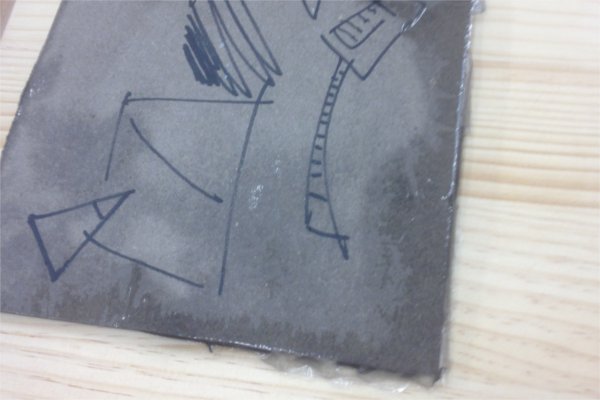
I started by asking around for the material data sheet for the bio-resin. No one had any instructions on how to go about using it, so I looked up the internet. I found out that I needed to mix two parts resin to one part hardener. As is the usual with epoxy resin it was expected that you mix the resin well. I was also interested in whether any surface markings (with pen) would work with the resin being applied.
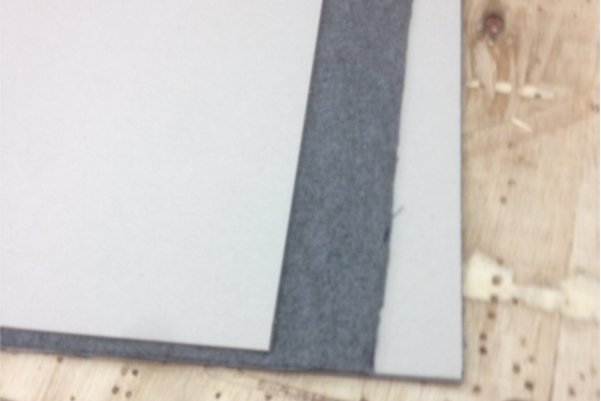
After having mixed the resin well it was time to apply it to the matboard. I layed the cardboard on a handy glass panel that happened to be lying around and tried to work in the resin to the cardboard.
Even pushing the resin into the board with a rubber scraper for a fair amount of time did not make the cardboard completely saturated. When I flipped the matboard over to check how it had soaked through, only the edges were completely soaked. The amount of resin in the matboard is an important part of the composite so it is important I get this part right.
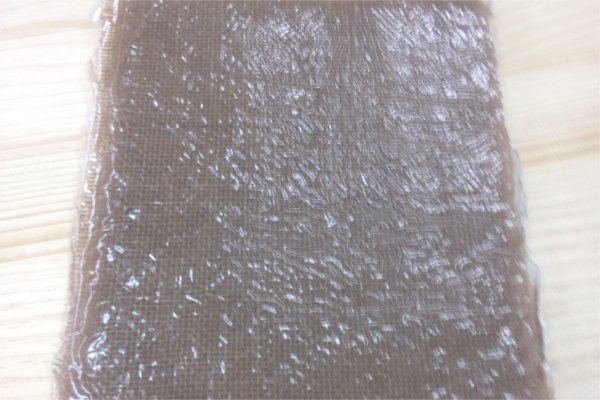
When everything was applied with resin I layed them up in the press on top of a sheet of cling wrap. Last time I did this I used a plastic bag to stop the resin from getting on the press, this time I used cling wrap which did not work as well. It stuck to itself, was hard to apply and when it was on top of the material, trapped air bubbles in with the composite.
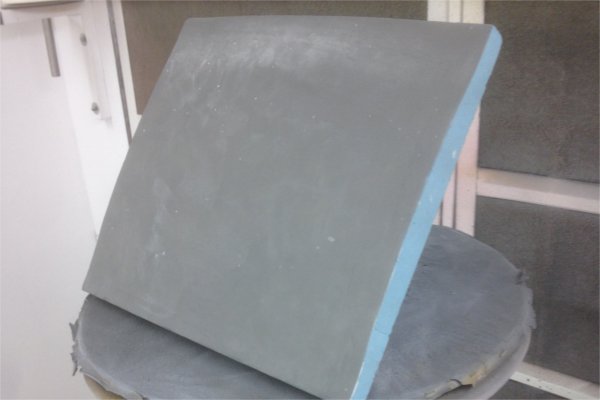
After leaving it to dry for 4 hours I had my composite. The first thing I noticed was that the resin had not properly soaked into the cardboard, leaving patches througout the mixture. However, the composite is very strong and should resonate well, if not with the same character as a timber plane of the same thickness.
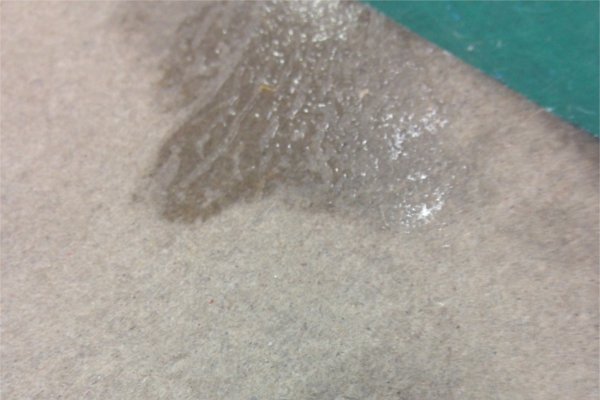

Next time I will try leaving the resin soaked cardboard for a whilebefore applying more resin so that I can be sure it is completely soaked. Another method I might try wouild be to submerge the cardboard in a pool of resin before wiping off the excess.
I gave this a go and while the resulting composites sound good, the process was very messy and way too much resin was applied to the fabric. I had the same issue with the cardboard where the resin didnt evenly soak into it.
MILLING AND TROUBLESHOOTING
The issue was raised during regional review for my composite that the press was created during that week using 3d cnc milling. I decided it would be a good idea to make a mold for my composite so that I could use vacuum bag for my composite material, possibly fixing some of the issues I’ve been having previously. The other aspect to using this process is that my target user might find this process difficult, or even impossible as not every fab lab is equipped with a vacuum chamber. Regardless I will give it a go.
The first step was deciding what material to use as the mold. I couldnt use the press I had already made for the above reason, but also because it might tear the vacuum bag being made out of many pieces of wood. Usually I would create a 3d milled form out of pieces of timber I had stuck together as it isnt that hard to mill and lasts a long time. However I didnt want to spend too much time on the cnc mill, and the longevity of the mold wasnt too important. For these reasons I decided to use a sand based urethane foam (or blue foam).
I had to stick together two pieces of blue foam to make a shape big enough to fill my mold shape. I used Gorilla glue, an expanding glue that reacts with moisture. Because blue foam doesnt have any internal moisture I had to apply some with a wet towel before applying the glue. I also clamped the blue foam together to make sure the expanding glue didnt push the pieces of foam apart.
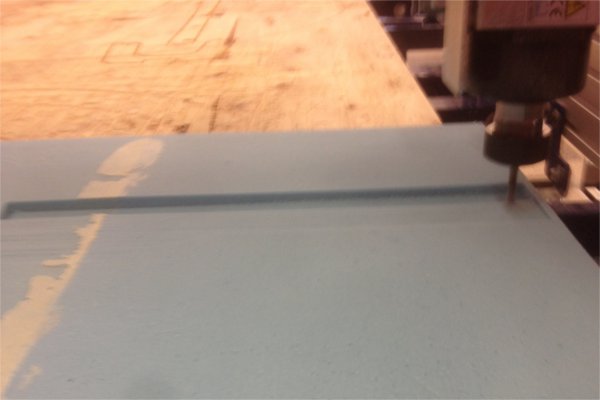
Four hours later it was dry and ready to be cut on the cnc mill. I loaded the block onto the bed using hot glue. I used fairly quick settings on the cnc mill, a feed speed of 80 and a plunge rate of 40. Even then, with a 6mm milling bit, the finishing path was going to take 40 minutes to complete. It ended up taking an hour.
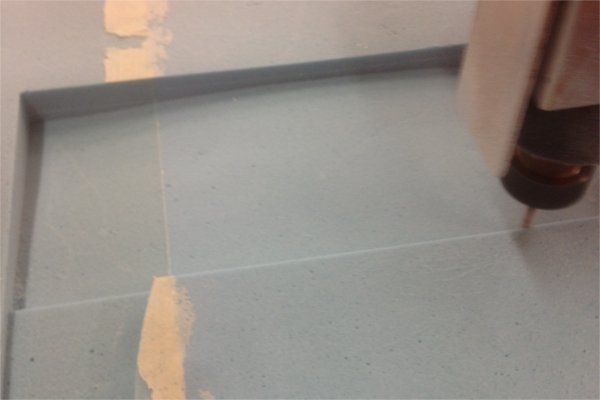
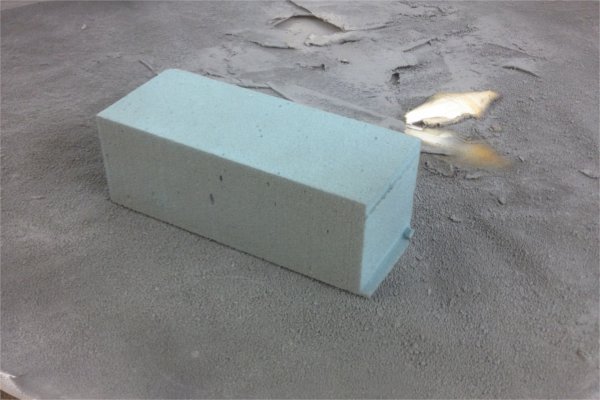
I then cut out the milled block in the workshop, ready for applying a surface treatment (filler) and priming to ensure the composite materials do not stick to the mold.
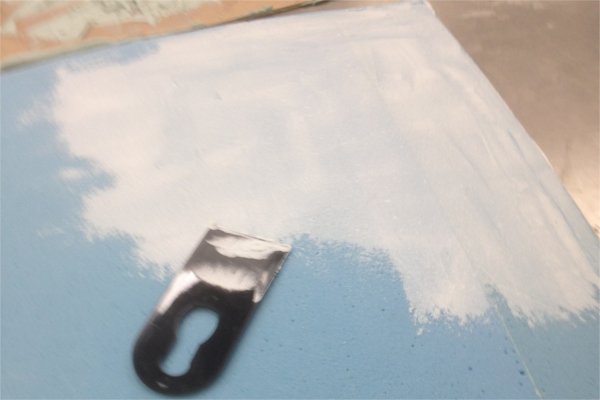
I used polyfiller, an alternative to builders bog that requires no mixing of parts and dries without a chemical reaction. I used the attached scraper to apply a thin layer onto the foam block. In hindsight I might have applied a thicker coat, but for the purpose of a vaccume block it would work.
I sanded back the filler once it had dried with 240 grit sandpaper so the coat was even. I used the scraper to fill any imperfections and repeted the sanding process.
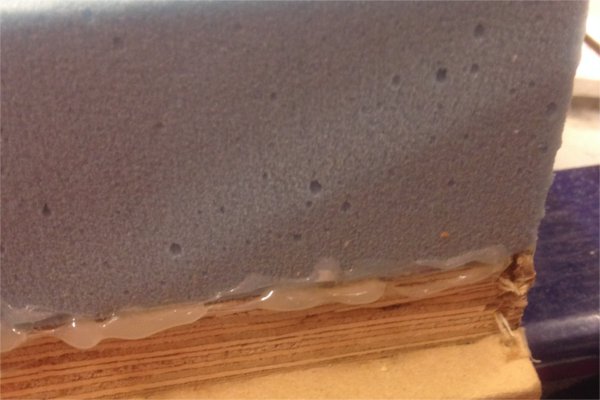
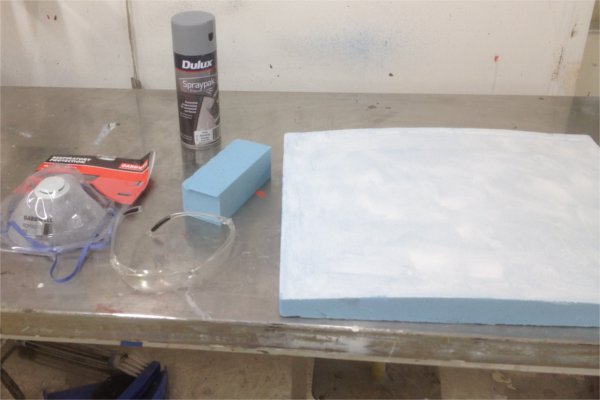
I now needed to prime the block so that nothing would stick to the top surface of the block. I used an enamel based sanding primer I boought from a building supplier called Bunnings. I sprayed a test piece of greenfoam with the primer to see if it would react. It didnt, so I moved onto spraying the block.
I gave it two thick coats before the spray can ran out. The first layer was not great, as paint drips covered the block. I made sure to sand off an imperfections between coats. After the second layer finish was not perfect but it would do for what I wanted to achieve. After the primer had cured for a couple of hours I sanded the surface with 240 grit, followed by 340 grit. It feels smooth to the touch and ready to be used.
USING THE VACUUME BAG
I was finally ready to use my mold and a vaccume bag. The first step was to completely cover my mold in cling wrap which with the help of Jasmin, didnt end up being too much of an issue.
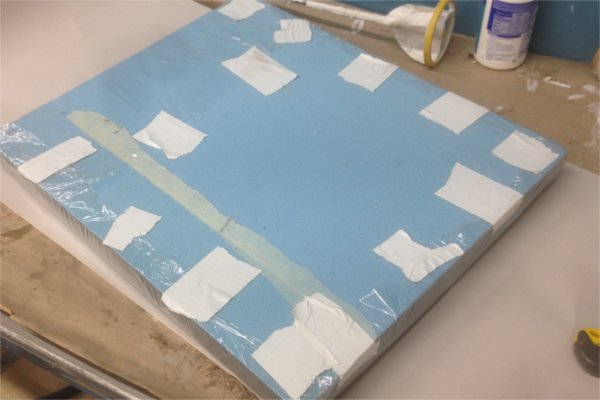

Next came time to lay up the material with resin. the card didnt want to absorb the resin which wasnt usnual. I made sure to attach each layer to the mold with tape so it would hold its shape while I was doing the next layers.
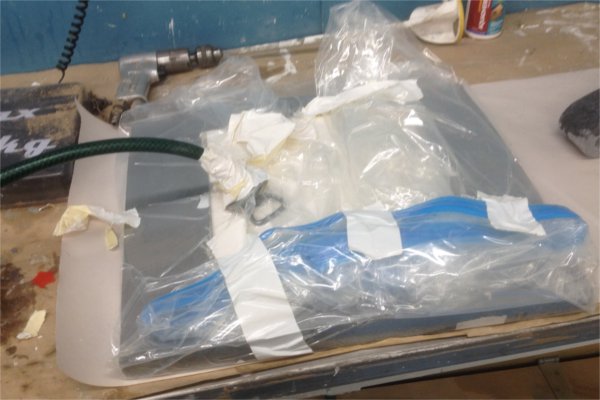
The last step was to put it in the vacuume bag, which is where thigns became complicated. Making sure the bag was sealed was very fiddly and without a second person this process would have been near impossible. After that we attempted to attach the vacuume hose to the bag, which required some air tight sealing tape. Unfortunately we only had a little bit left, so once it was used up we resorted to wrapping everything in duct tape.
Next came time to lay up the material with resin. the card didnt want to absorb the resin which wasnt usnual. I made sure to attach each layer to the mold with tape so it would hold its shape while I was doing the next layers.
Applying the vacuume wasnt hard at all, but once it was fully air free if I turned off the vacuume the air rushed back in. To fix this I just left the vacuume on while the resin composite was drying.

Overall its good that I experimented with this process but I prefer to use the two part press on account of it being much less time consuming and fiddly to use. If I didnt have Jasmins help to use the vacuume bag I would have had a much harder time.
THE FINAL SAMPLES
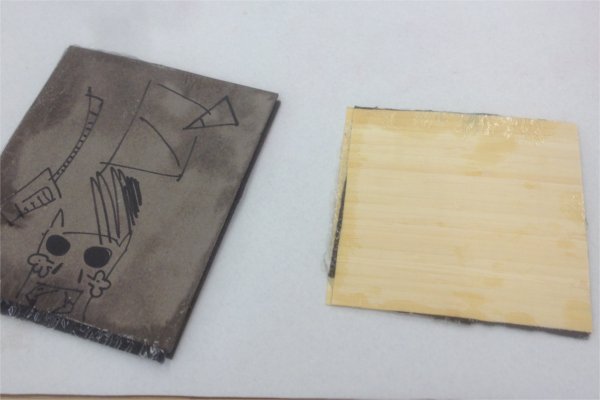
I have finally made it through the last of the samples. Having all of the smaples side by side has made it easy to compare each of their individual sounds. I have narrowed the selection down to two different choices of which I shall compare the benefits and negatives of each material. These are: Price, avaliablility, sound, weight and stiffness.
The two different materials are the origonal 2 mm matboard with boiled wool and a bamboo vaneer with wool fabric.
Sound
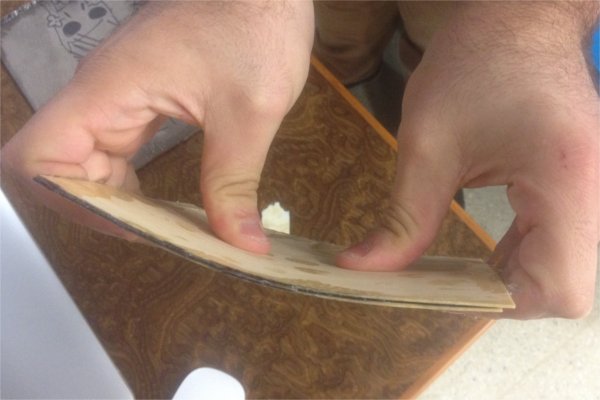
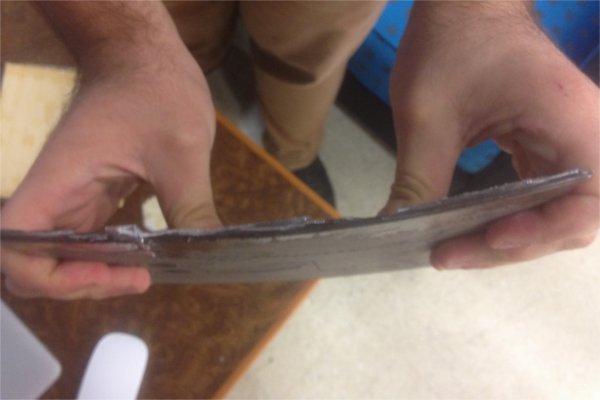
Each of the materials sound good. By holding each piece loosly and tapping on the material with my knuckle, each material produces a clear musical tone.
The Bamboo sample produces a lighter tone while the matboard produces a darker, richer tone. This might be an indication of what the materials will sound like with strings.
Weight
The matboard is heavier, weighing 175 grams for the sample. When broken down the sample weight aproximately 0.00479 grams/mm squared.
The bamboo sample weighs 66 grams, or 0.00261 grams/ mm squared, almost half of the matboard.
Stiffness
Subjectively, the matboard feels stiffer. This may be because the two samples arent the same size, but I think the thickness of the material makes it all the much stronger.
The matboard is stiff in both directions while the bamboos grain makes the bamboo stronger on one direction than the other.
Without finding some way to objectively measure this I have no way of knowing which material (regardless of size) is stronger. I will attmept to measure this and report the results here,
Ease of use
Either way, both of these materials were quite easy to make. I will measure whether there is an issue laser cutting or engraving either of the mateirals.
In terms of finish, the matboard will definately need a thourough sand to get rid of excess resin. I think I could avoid this step with the bamboo if I were more careful in applying the resin.
The matboard has more versitility as it is able to be drawn on an decorated with ease, while the bamboo would look better if it was laser engraved.
Price
To be found out and reported on.