Making Fabio and programming it
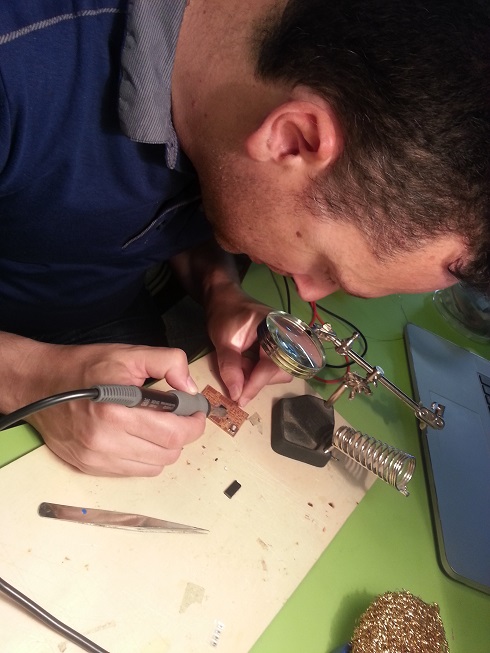
I used the tutorial to create the board and soldered the components
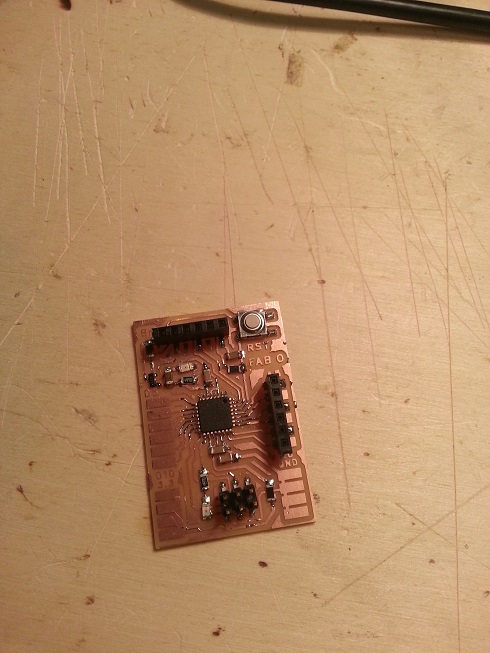

That part was pretty streight forward, but programming it turned out to be realy complicated
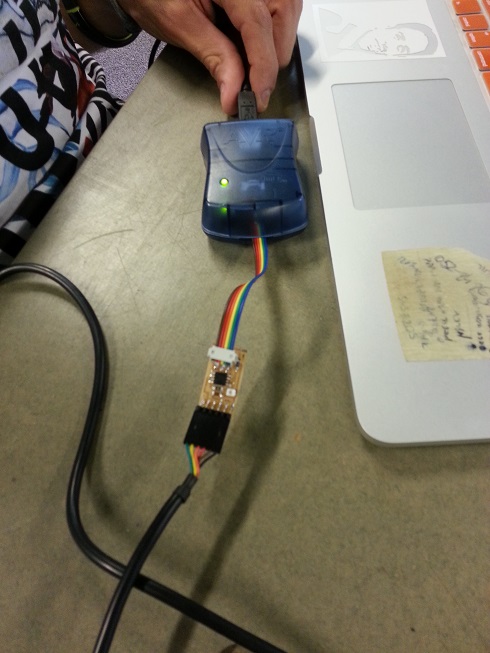
I first tried doing that using the arduino as AVR ISP, that took a while to figure out, secondly when i burnt the bootloader i got an error message that i couldn't solve
"avrdude: stk500_recv(): programmer is not responding".It appears that all of us who tried to programm the fabio got the same problems.
I tried doing the same with the AVRISP2 but had the same result.

Since this is not the first fabduino i tried to make i gave up for now and decided to make one of the input sensors to controll processing.
Making the Phototransistor board and programming it
I milled and soldered the board, and instead of using the c and make files i programmed with the arduino IDE
 Burning the boot loader was the easy part, using the attiny with arduino code wasnt so streight forward as could be expected.
First you need to use a library called SoftwareSerial instead of the regular Serial library wince the attiny cannot use the Serial monitor.
Secondly you need to specify the rx and tx ports and the board i used didnt have a tx usage so that confused me a bit
I finally found a useful tutorial for this here and another one here
I have no idea why the rx and tx pins are 1 and 2 yet but as long as it works i am ok.

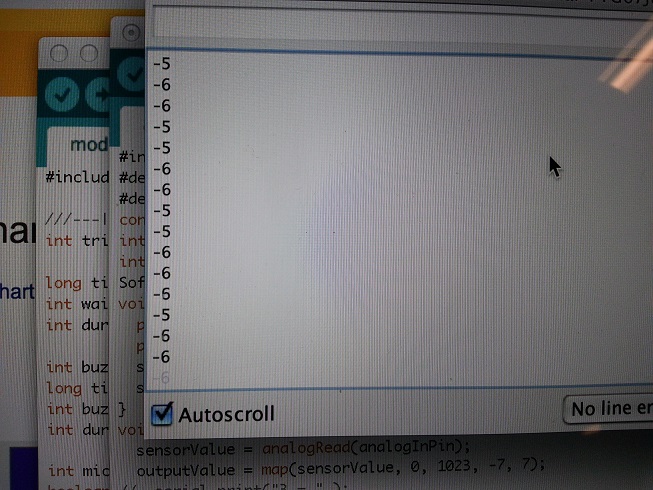
As you can see here the serial screen shows the values comming from the analog input and the ones mapped to 0-255

Here i mapped them to -7 - 7 since the processing sketch i used needed small numbers to control or it wouldn't be visible.
Here is the result of using the sensor with the output in processing, the original sketch is in gray and when i used the sensor i changed the color of the sketch depending on how close my hand was to the sensor
Videos and Processing sketch
You can find many interesting processing examples here
And you can download my code here
I made a video explaining what i did This is the link to it