Design
The model I have decided to cast is a mock-up of the body design for an electric vehicle being worked on in the lab.Materials
Machined Mould Positive
I used machinable wax (Ferris File-A-Wax Green) as my initial mouldmaking material as it provided a relatively hard (Shore D 55) medium for holding fine detail whilst still being able to be machined rapidly by a small machine such as the MDX-40A.Moulded Negative
I used Barnes Pinkysil, a fast-cure mouldmaking silicone rubber to make my secondary mould. This silicone has a very high viscosity of 2500mPa/s and thus I had to factor in a relatively high wastage rate of 25% for resin lost due to adhesion to the mixing cups.Moulded Final Positive
I am using Barnes EasyCast, a fast-cure polyurethane resin to make my final casting.Software
Design
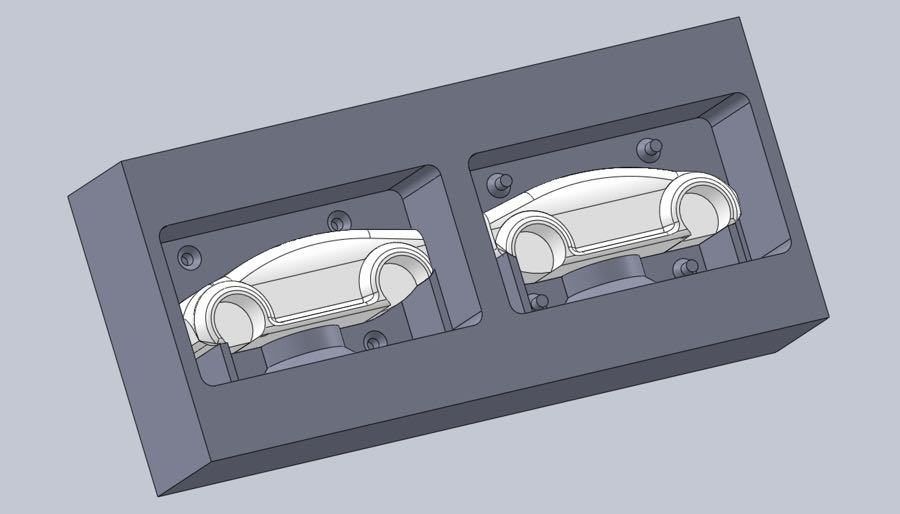 I designed the mould positive as an assembly in Solidworks, keeping the original CAD model of the body intact with all modifications occuring in specific configurations of the parts. It was neccessary in these configurations to scale the design (The bill for resins might get a bit high for a full scale version) and divide the model in half for 2 part casting.
Keeping Parts Separate
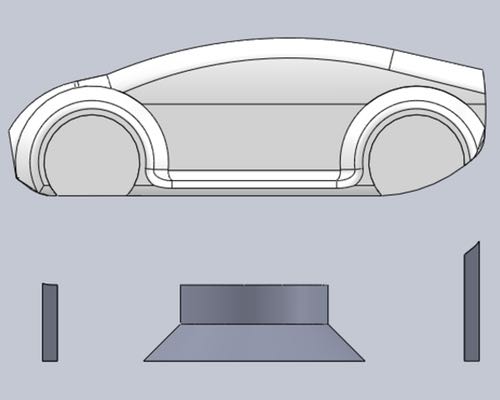 As mentioned above, I tried to save myself a whole bunch of headaches by keeping the various components of the mould separate whilst defining the desired relationships between parts at the assembly level.
Volume Calculation
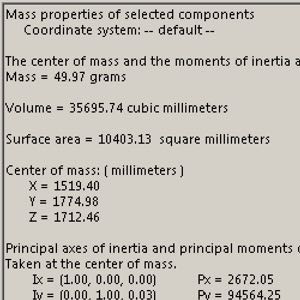 Before casting, I needed to calculate the volume of both the initial cavity and the final mould cavity. As I have created the mould as an assembly, it is easy to retrieve the volume of the individual parts.
| Total Volume of Origin Block | 433,125mm3 |
| Volume of Final Part | 35,695.74mm3 |
| Volume of Vents | 1,946.54mm3 |
| Volume of Inlet | 4,158.08mm3 |
| Volume of Final Block | 28,3511.28mm3 |
| Total Volume of Model | 325,311.65mm3 |
|---|---|
| Total Volume of Initial Cavity | 107,813.35mm3 |
With this I can make a judgement about how much resin to mix for both the silicone mould and the polyurethane final product.
For the silicone, I use the total volume of the initial cavity and add to it my wastage margin of 25% for a total of 134,766.69mm3 or 134.7 millilitres, for convenience I will round up to 140ml. As Pinkysil is a 1:1 mixture, I will require approximately 70ml of each part.
Files
The files are available as a Solidworks assembly for download here.Making the Positive
Machining
As I needed to leave the machine largely unattended, I opted for using a single tool for both the roughing and finishing passes. The total machining time came in at approximately 6 hours using a ⌀3mm ball mill.
I opted for a profile + scan lines on both the X and Y axis to give better surface finish and clean definition around the smaller features of the mould.
Cleaning
Before pouring in the silicone, the wax positive had to be cleaned and prepared, a quick burst of compressed air cleared our all of the remnant wax swarf and a quick rubdown with methylated spirits ensured no contaminants remained on the mould surface.
Making the Negative
Moulding
I filled 2 beakers to the 70ml mark using the part A and part B compunds respectively, once I was ready, I combined the two mixtures into the first beaker and began mixing with a small stirring stick, trying desperately to minimize any air inclusion.
Once thoroughly mixed I very carefully poured the silicone into the machined mould, making sure to avoid pouring directly on top of any holes to prevent trapping air bubbles. Once I had emptied the silicone mixture evenly into the two moulds I began agitating the mix percussively to force any trapped air to rise to the surface.
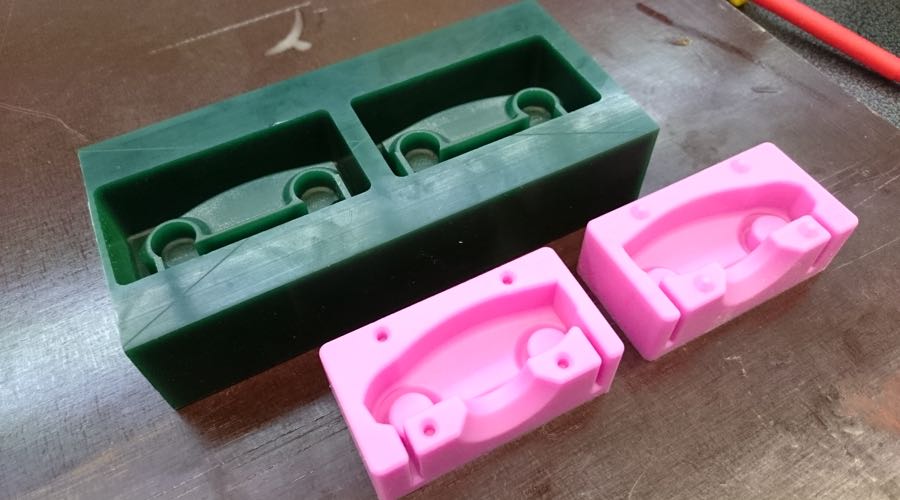
De-Moulding
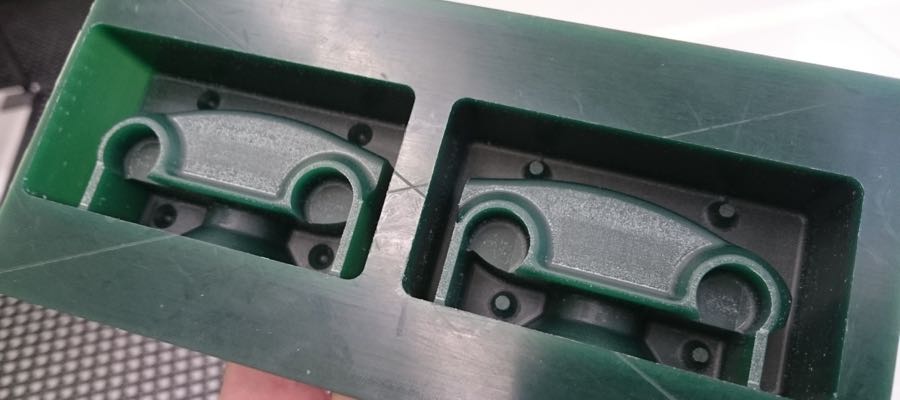
Now came the moment of truth, attempting to extract the mould from the wax block, preferably without damaging the wax original. As you can see, the mould came out perfectly, there were no visible flaws or bubbles except for on the top surface.
It is at this point I needed to flee the FabLab and board a plane to New Zealand to continue at FabLabWgtn!
Making the Final Casting
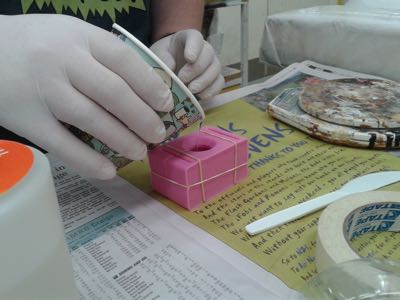
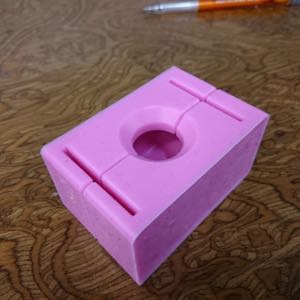
As I have chosen a fast acting polyurethane resin for my final casting, I will have limited time (120 seconds) to get the resin into the mould and any trapped air out.
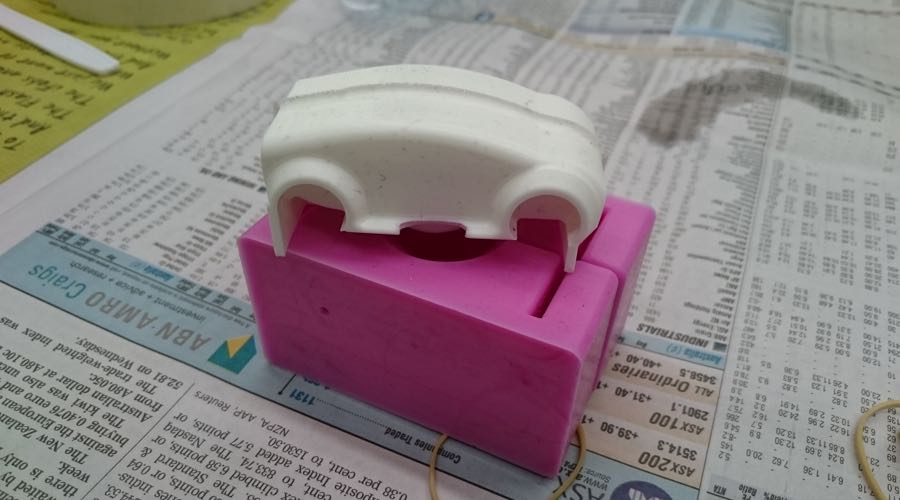
I assembled the mould and secured it place using elastic bands and checked for any issues, unfortunately by this stage the mould had travelled with me the roughly 5,200km to Wellington and had a decent collection of lint attached which will serve to texture my casting (Or perhaps call it an early start on composites?)
Curing
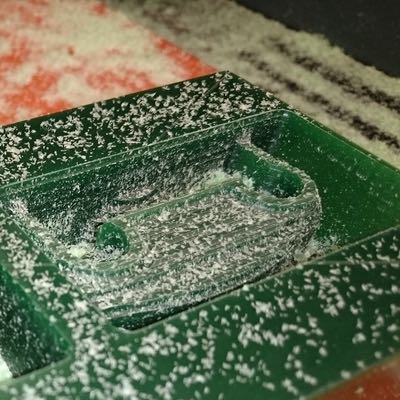
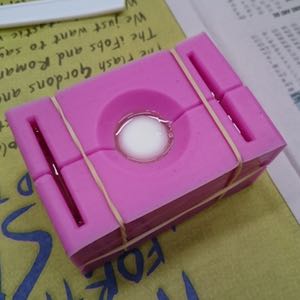 The curing reaction for polyurethane is a relatively strong exothermic one, meaning that the mould contents heated up to approximately 80°C, the reaction also turns the resin from a yellowish clear to a bright opaque white. In this photo you can see that the resin has cured in the larger parts of the mould but not yet in some of the finer features.
Final Result