Week 12
Assignment - Design and make a 3D mold and produce a fiber composite part in it.
This week I was a little unsure on what to do, after doing some Google searches for fibre based parts and looking at past student examples all I could seem to find was either car or motorbike parts from Google or random wave type shapes form past students. I had a good think about what I could do, something that would be able to help with my final project and in the end I thought I could use better and more efficient process of what we have already covered to achieve the same outcome.
I wanted to try and make something useful that I could use, I thought about my Masters project and the types of things I want to achieve. I had seen outer skin type amours for DSLR cameras that I was quite interested in trying to replicate.
I thought I could at least make one side of the camera by using the vacuum form machine in the 3D workshop and using that as my mould and laying my fibre within this to create something that I could use to put on the front face of my camera to protect it and the lens.
After talking to the workshop staff about my idea if I was to put my camera in there it would heat up way to hot and would damage it. This I was very much trying to avoid.
I was wondering how they would make the amour skins and if there were some already pre-existing 3D models online that I could use to 3D print out or CNC machine. I managed to find a few but they were from some older models and wasn't really what I was looking for and also cost quite a bit.
If I had more time for this specific week I would put my camera in the Roland 3D scanner and get a super detailed version of my camera in which I could put into Rhino and then use to make a 3D print and then vacuum form that and not worry about damaging it. Time however was not on my side.
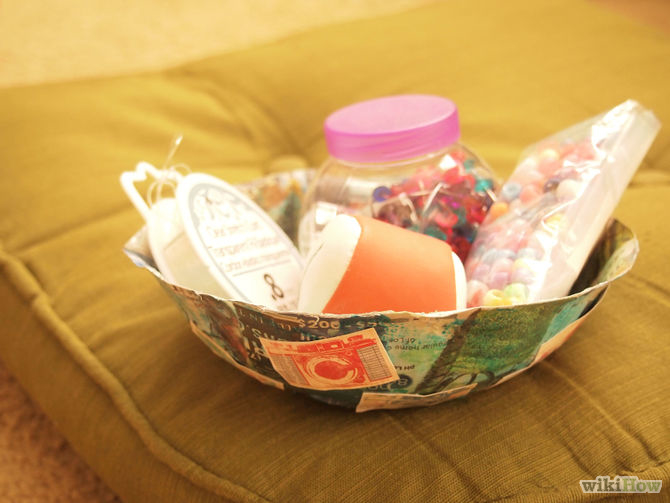
I came to a conclusion after a bit of thinking and decided to make a paper mache bowl for my flat at home, something that was relatively simple and would not be too time cosuming.
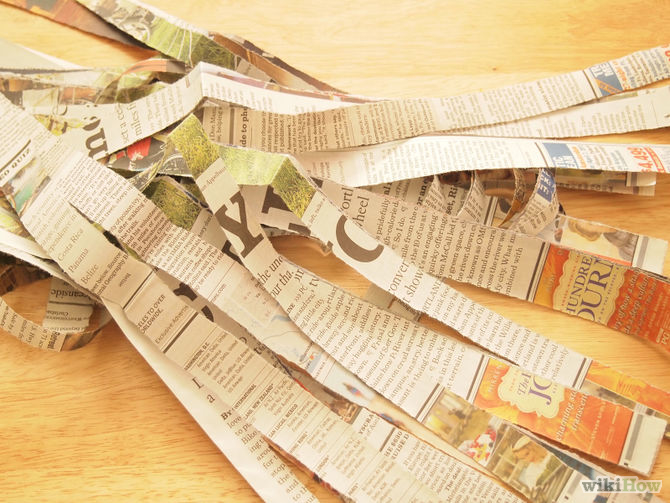
I plan to make the bowl using the MDX-40 and milling out a small bowl using the machineable wax, I will then use this and my mould to lay my paper and resin in. The paper will act as my fibre where I will rip using the grain of the paper to create long pieces and PVA glue as my resin. I have used this process before but not for several years. IŐm more making this bowl for something to put my keys in at the front door when I come home.
So first I made a 3D CAD model on Rhino where I made a very nice little bowl.
I imported the STL file into netfabb to make sure that it was a water tight model and nothing bad was going to happen when I went to mill it out.
I then imported it into SRP player and begin to create my tool paths. I decided to use a 1/8 2 flute square piece for nice fast efficient cutting. I made it so that I had a fast quick cut roughing path and then a finer finishing path.
I used the same machine settings as I did in my moulding and casting week.
I melted up a suitable size wax block to use and hot glued this to the bed and followed a very similar process to my moulding and casting week!
I milled out my wax block and realised that I had turned my wax block the wrong way up on the machine and that it had milled all the way through because the centre on my wax block and the bed size was not flush with the bed. This gave me a big hole in the middle of my wax block. This was the second time that I had milled this object out after Wendy had accidentally broken my other model. I didn't want to spend any more time on it than I already had and Wendy had said to me that I had already demonstrated what was required for this week in terms of the machining and that I could just use this model even thou it wasn't perfect and still use it to mould around.
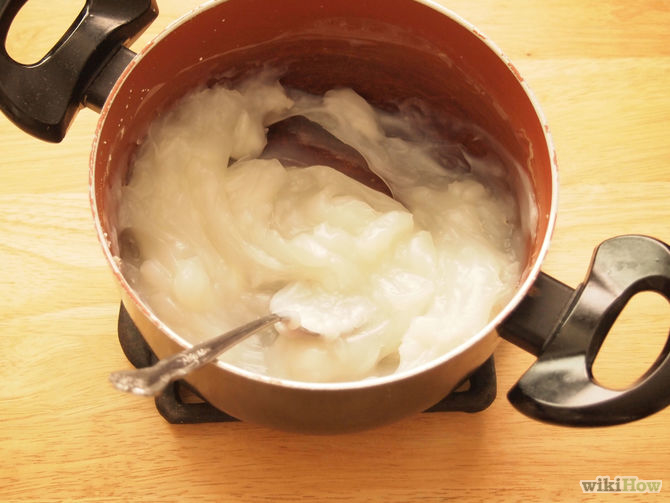
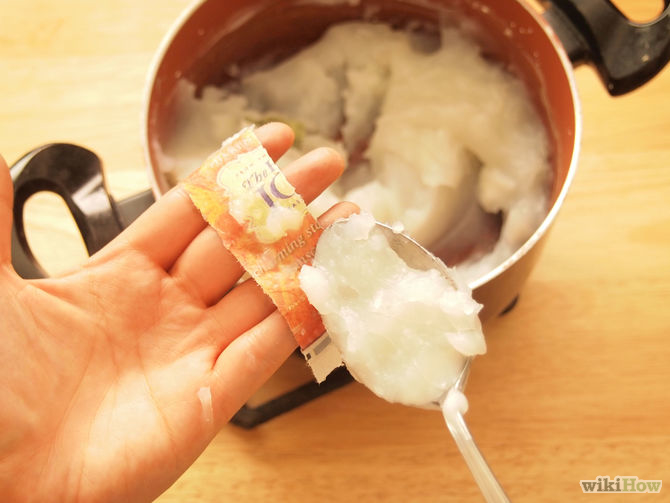
I also changed my mind on using paper and decided to use a thin type material that I would use and as easy to use as paper. We mixed up a little bowl of PVC and warm water and began the process of applying the material to the surface. It worked reasonable well and the fibres bonding together well.
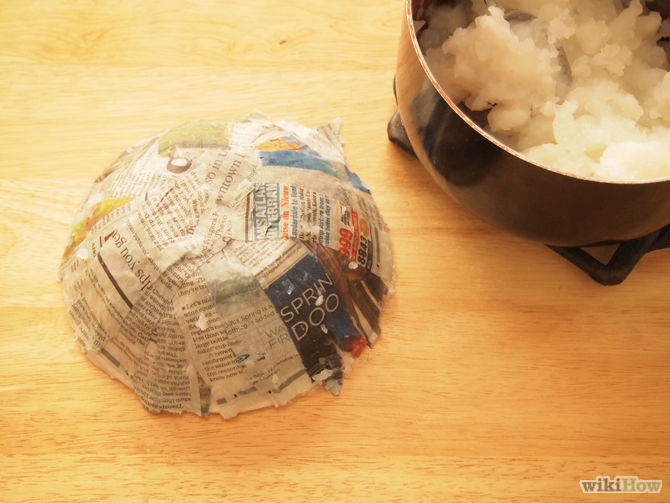
After the model was dry I realised that I had placed the material on both sides of the model and that I would have to break the wax model to get my object out. This didn't bother me in the slightest but for future reference in case I wanted to use the mould more than once I wouldn't do that again.