
Using Sketch Up, ZBrush, and Makerbot machine and software
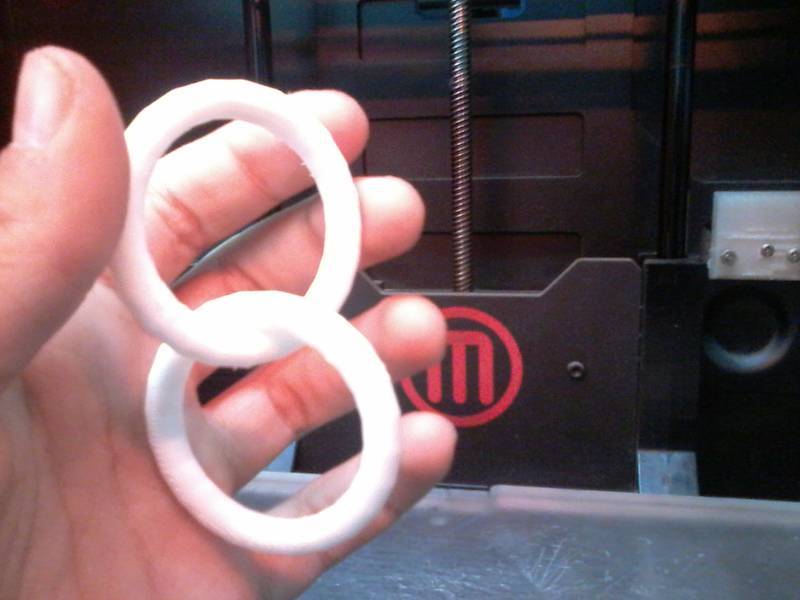
First i thought of a part #1 that can not be manufactured using any machine but the 3D printing machines and another, part #2, that can not be manufactured as smooth and small to emphasize the advantages in 3D printing. In Fab Lab Egypt we have the regular 3D printer, makerbot, with plastic filament.
Process:
1- Design the 3D model and save it as OBJ or STL format
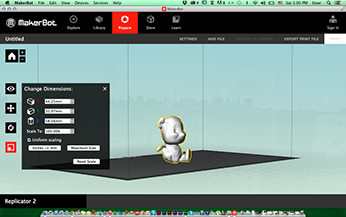
2- Insert it to Makerbot software
3-
Adjust the part on the bed (size, location, filling, support...)
4- Create a printing file
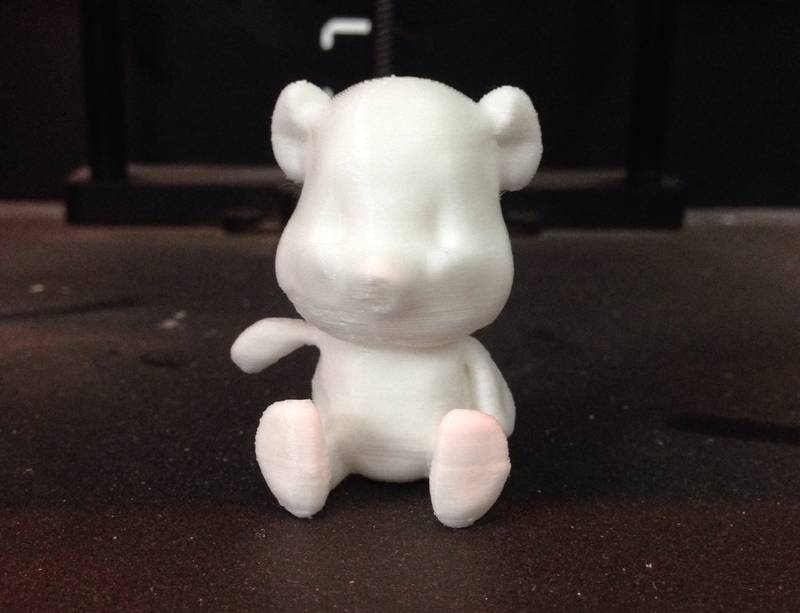
5- Plug in to the Makerbot and start print
NOTES:
While adjusting the part in Makerbot software, make sure it is adjusted to be printed in the most efficient way depending on the shape of the part. For instance, if printing a cone shape, you might need to keep the base of the cone at the bottom to avoid the use of support.
You can change the filling percentage according to how rigid you want your object to be; this way, you can cut out a large amount of filament.
When it's time to take the printed part out of the bed, do it smoothly using a cutter or a thin rigid tool to pull it out easily with damage.
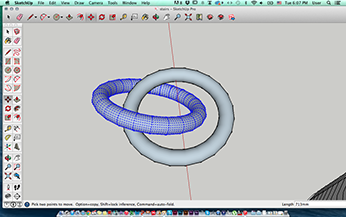
On Sketch Up, I made a wide doughnut shape, copied it once, moved one into the other, then finally saved it as OBJ. I left a space between the two rings to be filled with support while printing; thus, the support will be easily removed and the two rings stay locked; however, unattached.
|
|
|
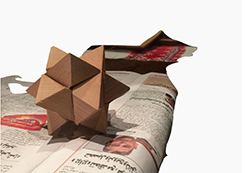
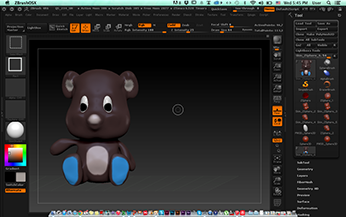
On Zbrush, there is an option to make the software window transparent so you can see through; for instance, you can see an open image window behind the software window. So i used this option to build my 3D model out of an image of 4 sides of a teddy bear. This helped me to visualize the teddy bear and transform the 2D drawing into a 3D model.

 |
 |
 |
Using 123D Catch and a digital camera
Make sure that your hand angle is stable, that the object is well exposed to light from all sides, and that the background is light and textured.
My first attempt did not work because I used a regular digital camera and it did not meet neither the required resolution nor the proper angles. So on the second attempt, I used the phone camera and I downloaded the application of 123D Catch on my phone.
And here it is..
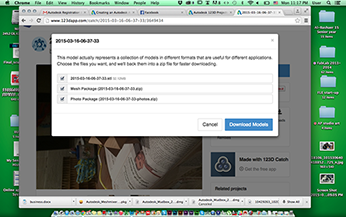
1- Open 123D Catch online on your windows PC, iphone, ipod, or Android (note: it does not work for Apple lap tops)
2- Follow the application steps or download the app on your device.
3- Take shots with your device's camera according to the angle indicator detected at the bottom of the screen.
4- After taking the pictures around the model, leave the application to process the mesh.
5- After it finishes, save your virtual 3D model on your device.
N.B: The 3D model will be automatically saved on your account on 123D Catch, so you can get back to it from any other device.
 mariamwaelgado@gmail.com mariamwaelgado@gmail.com |
 http://mariamwaelgado.wix.com/ http://mariamwaelgado.wix.com/mariam-wael |