Make your own fruits pot out of simple material from kitchen
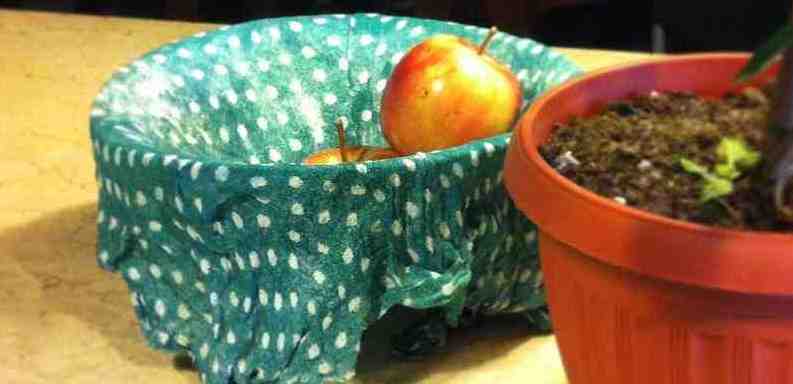
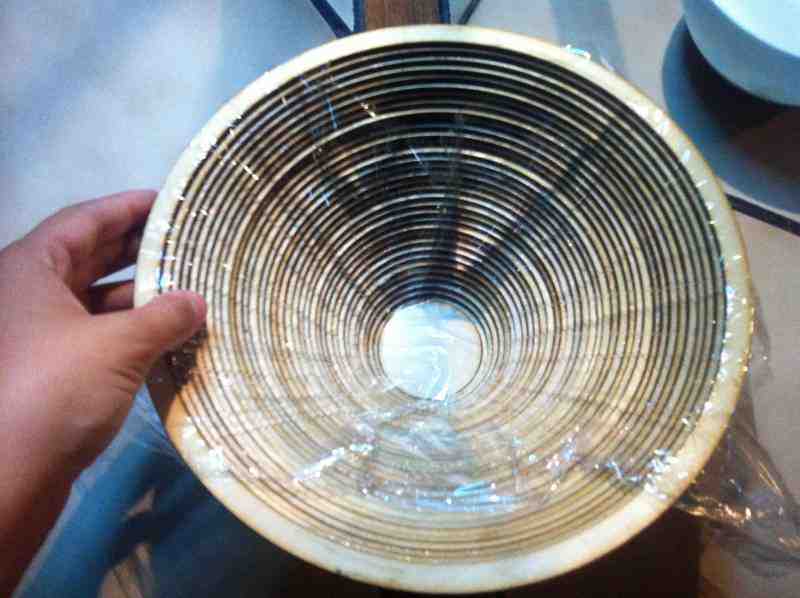
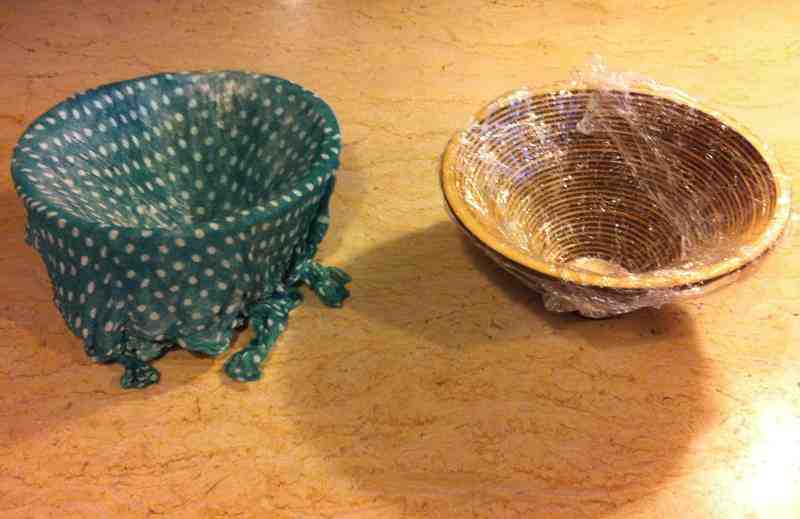
It might look like a floating fragile piece of cloth, but, in reality, it's a hard fruit pot as you can see it the photo below.
It is all made out of kitchen material, corn flour, flour, and water. This might be the longest assignment as in time; the mold took one day and the textile took 3 days to dry.
NOW LET'S BAKE THE CAKE
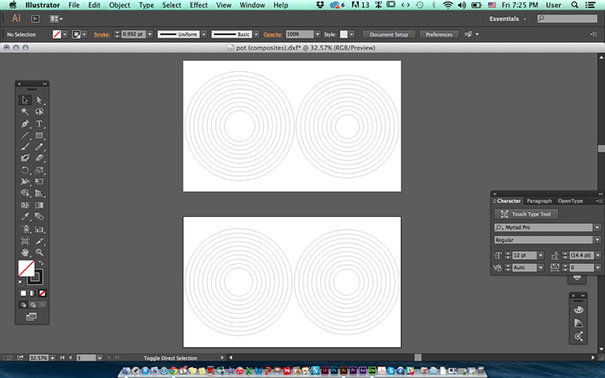
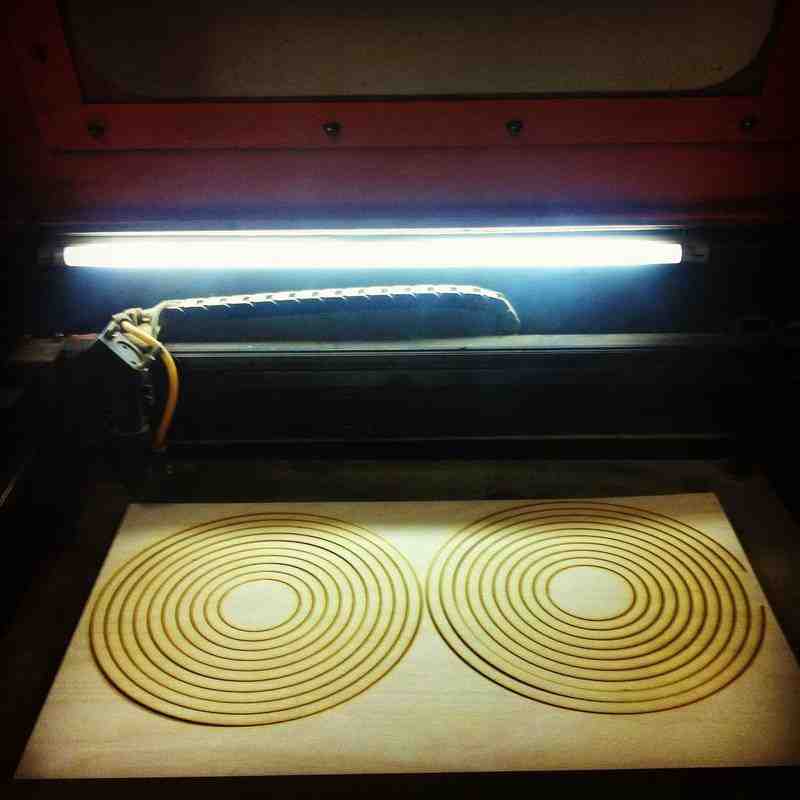
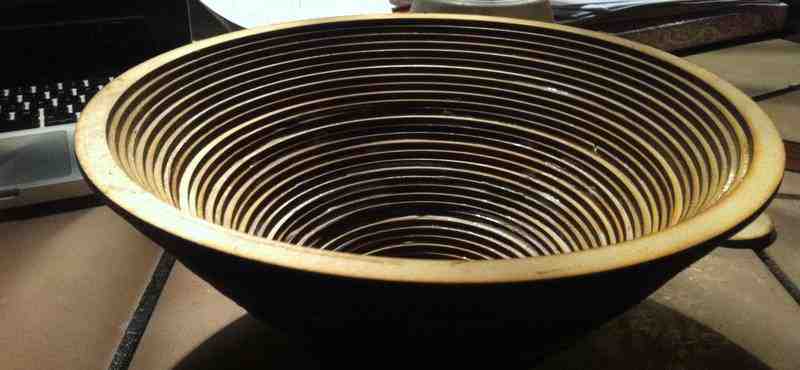
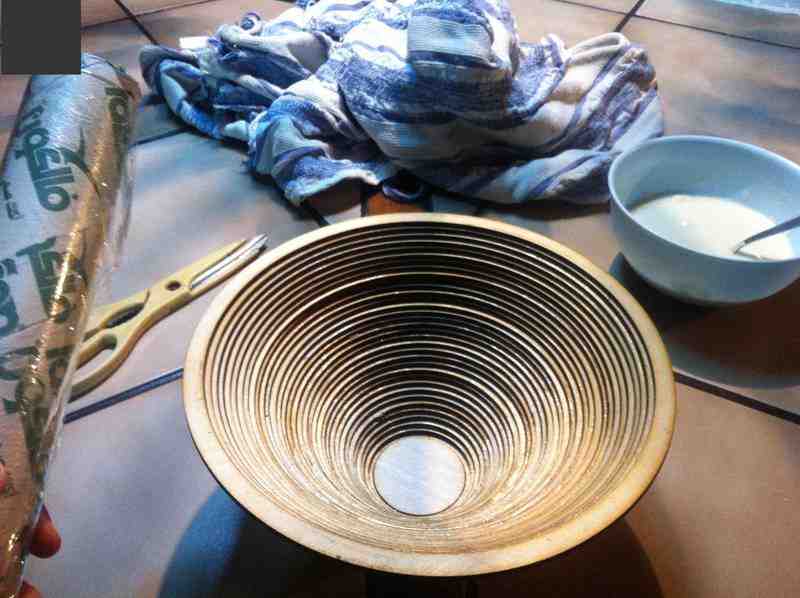
Since i must make my own mold and not just use any mold, I decided to make my own pot out of wooden laser cut sheets.
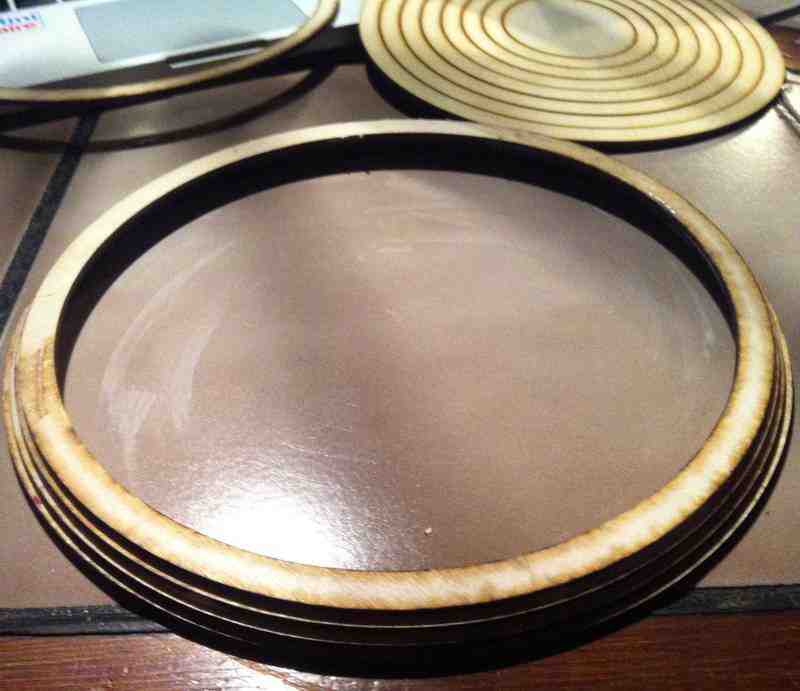
Using illustrator and simple geometric calculations, I designed 2D disks to form a layered 3D pot to use it as a mold for my composites assignment. The disks are cut on 2 sheets of wood. The four sets are different in dimensions and the difference between each set and the other is 1/4.
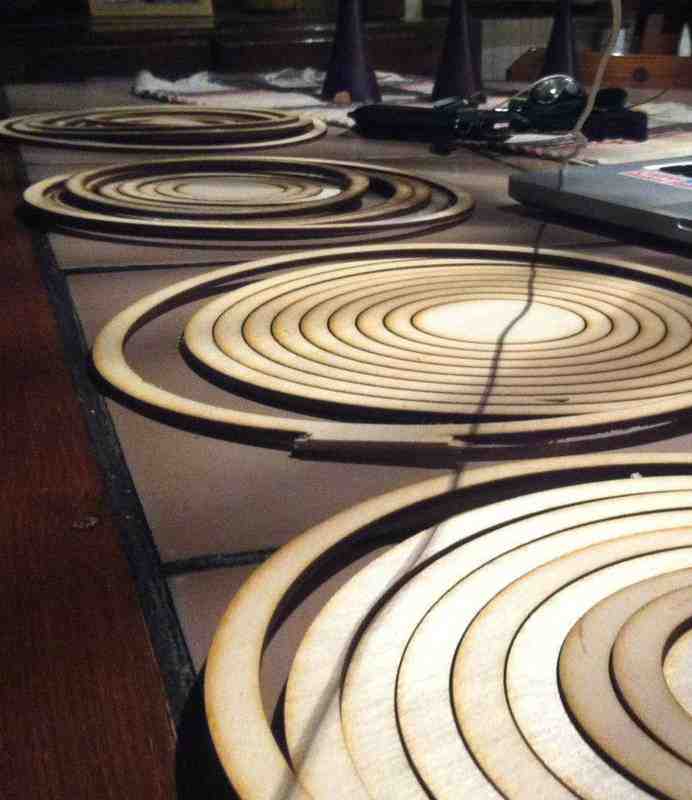
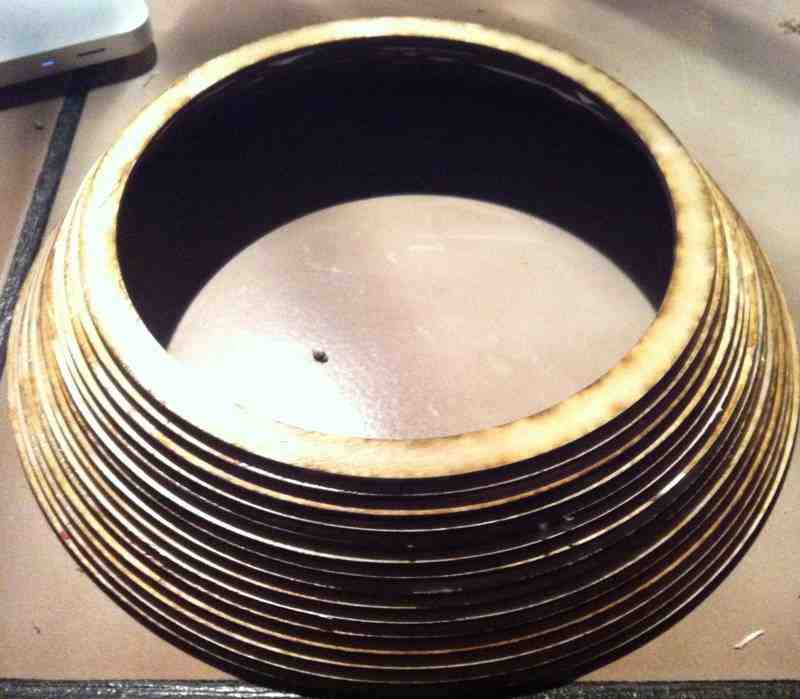
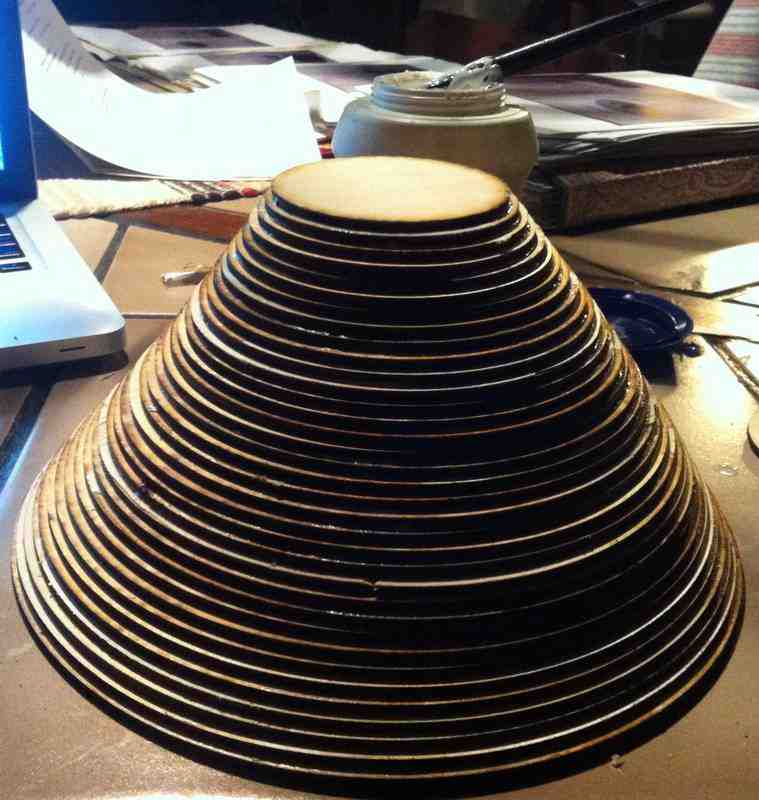
After cutting the disks in four sets, it is now time to glue them together to form the mold using regular white glue. This process took two hours to finish gluing all the disks together.
 |
 |
How is how I put them together?
Start with the largest circle in the largest set and proceed with the next set (the largest circle of the next smaller set...etc)
Make sure that the glue is applied in moderation and that it is spread eaqually to have a strong built stable built. Try to centralize the circles as much as possible to have symmetric shape.
This technique can be used to make endless 3D shapes such as a longer wavey flower pot or a wooden jar.
 |
 |
 |
 |
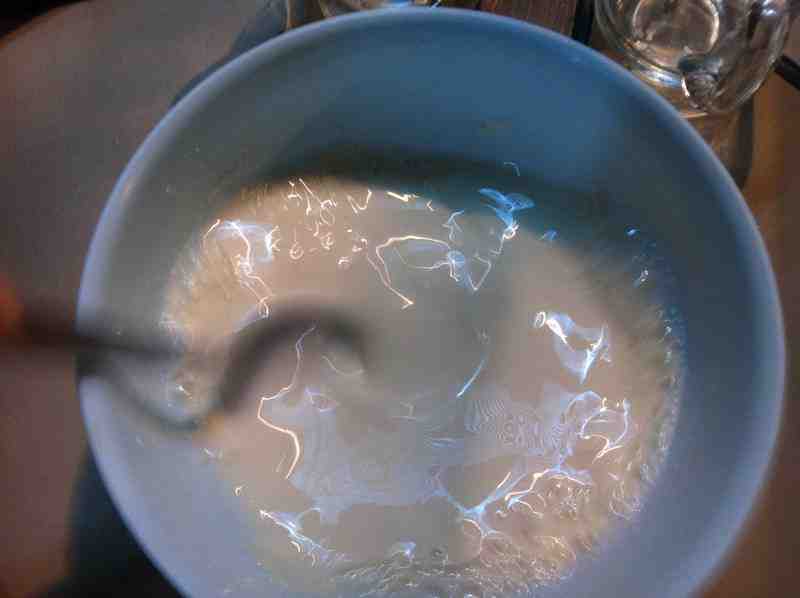
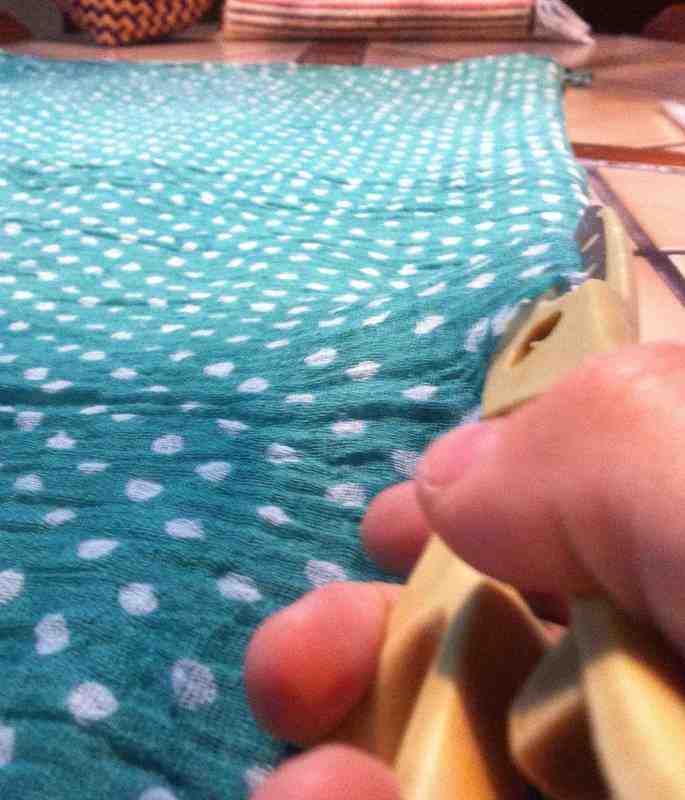
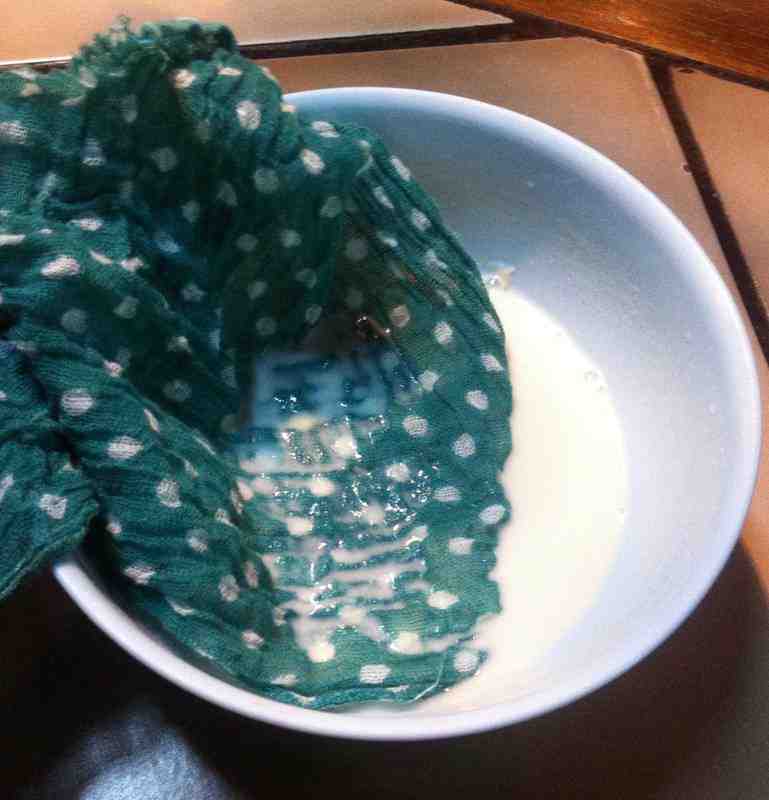
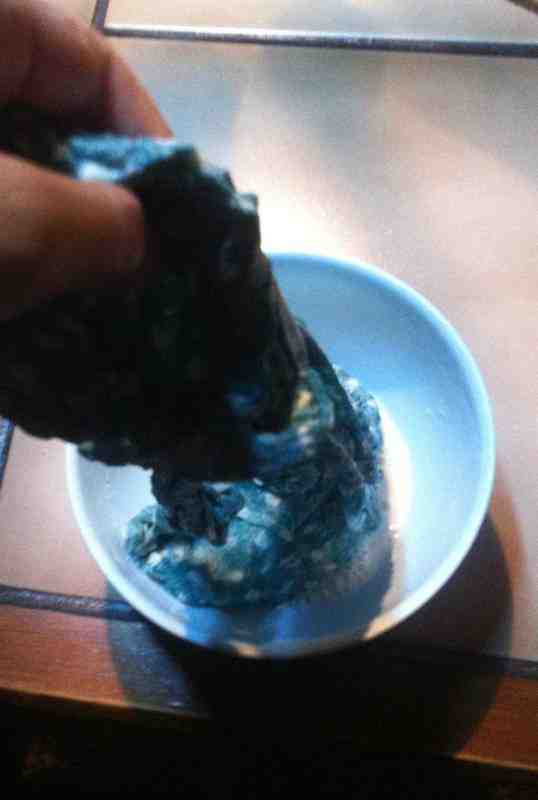
I chose the cron flour solidifying technique because it can be easily acquired, found at home, and not dangerous or toxic and easy to use.
Ingedients:
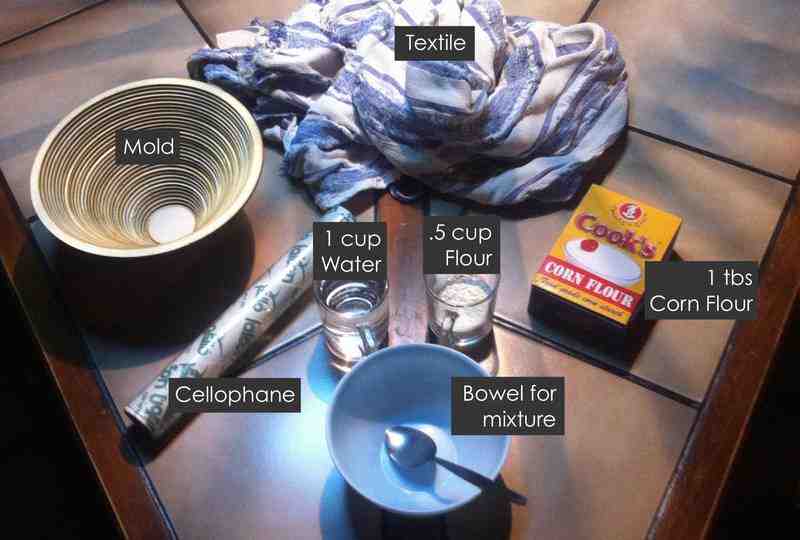
Water - Corn Flour - Flour
STEPS:
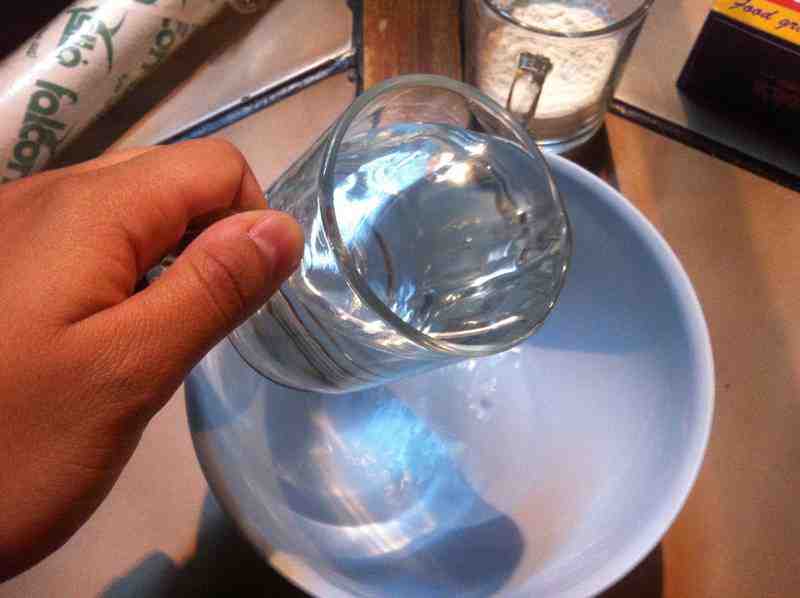 |
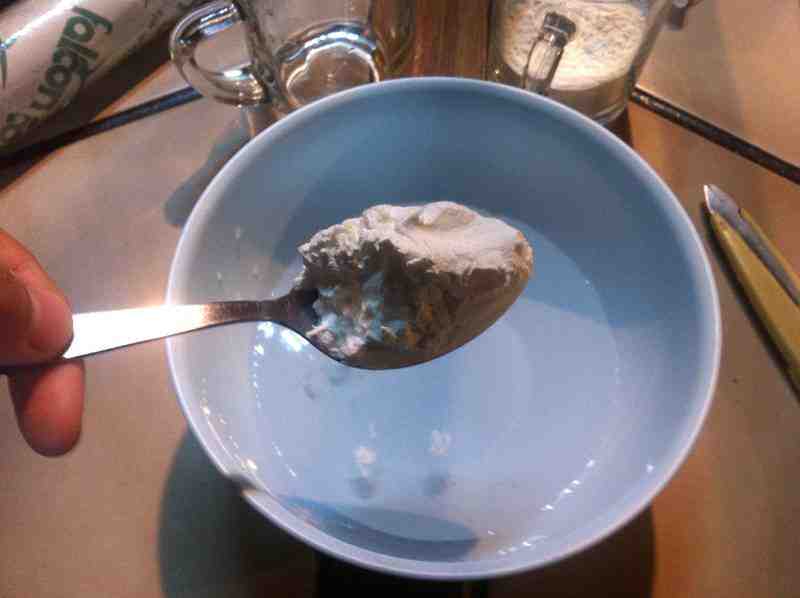 |
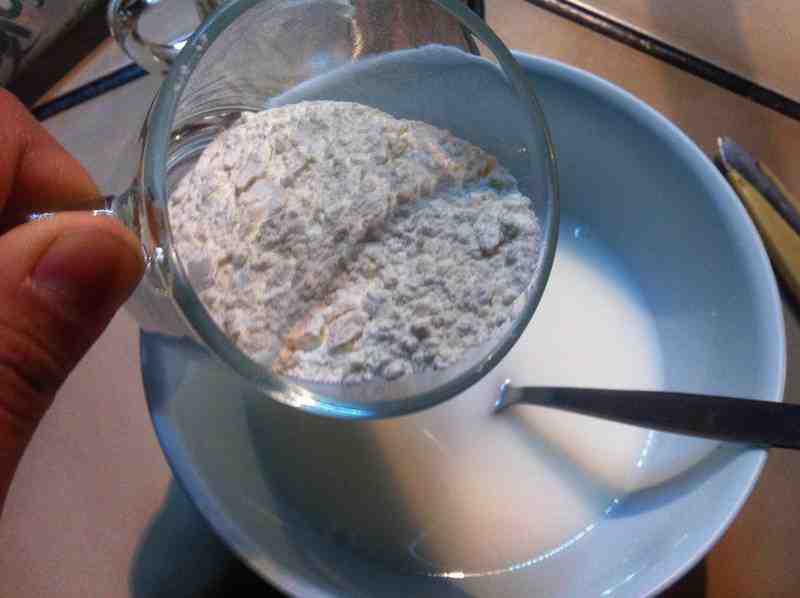 |
 |
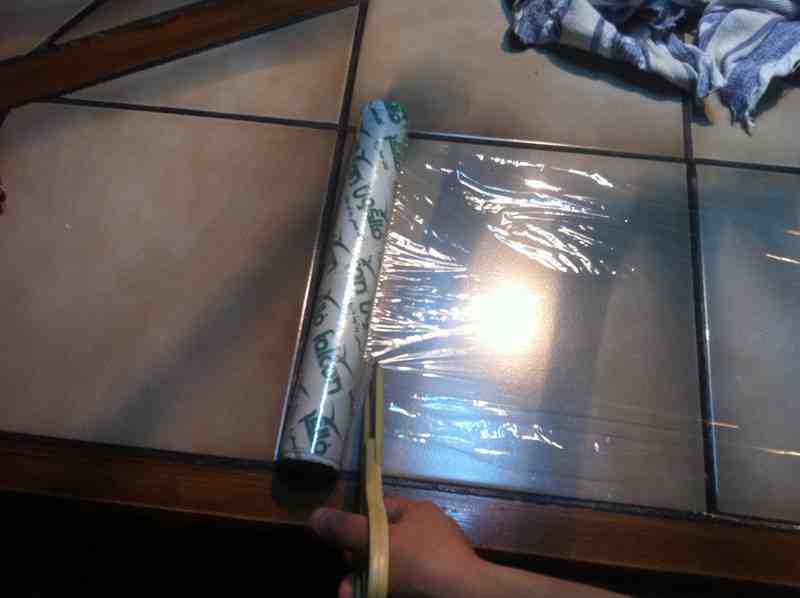
Mold - Cellophane - kitchen soap - brush
STEPS:
 |
 |
 |
 |
 |
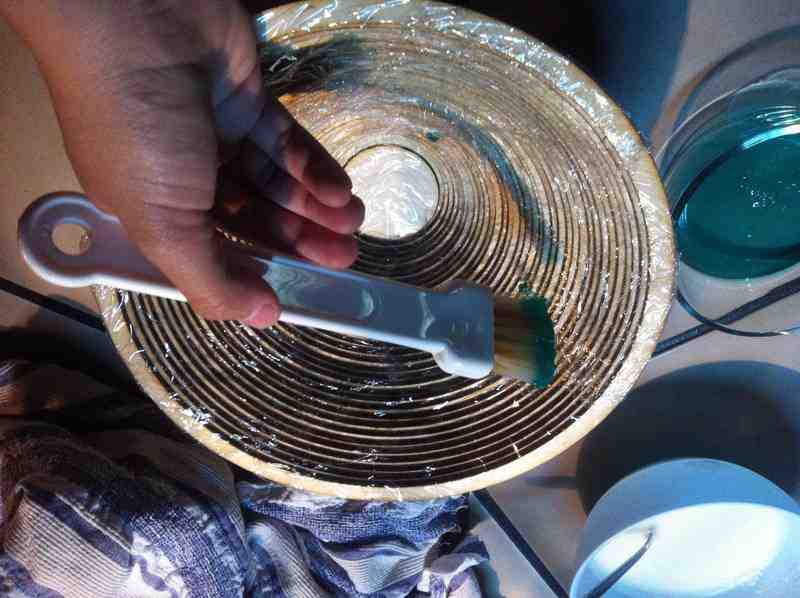 |
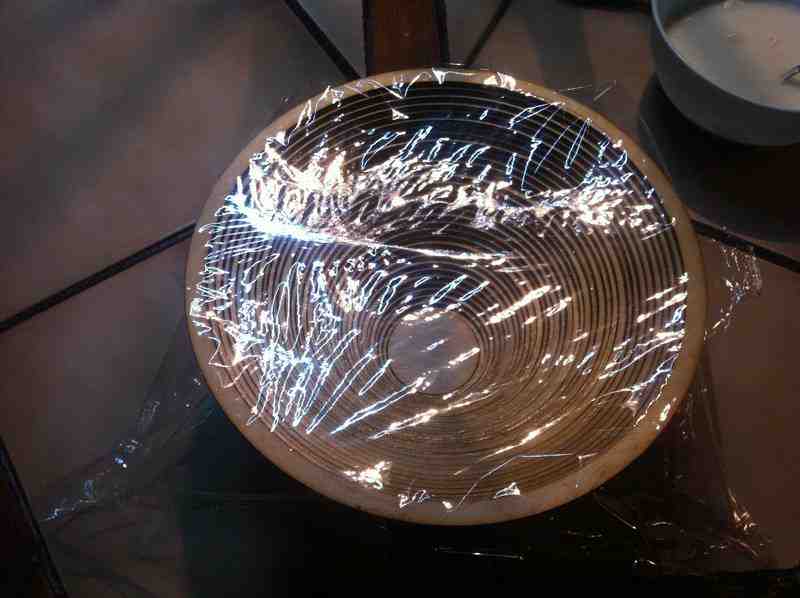
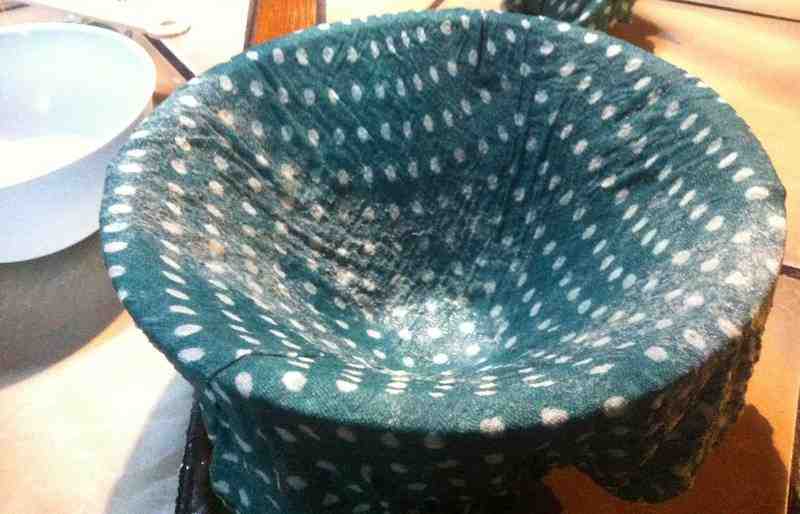
This is the fun part. Watch your textile transforming from a wet towel into a hard fruit pot. Here are the last steps for the magic to work.
STEPS:
 |
 |
 |
 |
Pull the textile off gently. You have the choice either to cut the excess textile or to leave it randomly shaped; I found it cool so I left as it is.
Bon Appetit!
 |
 |
 mariamwaelgado@gmail.com mariamwaelgado@gmail.com |
 http://mariamwaelgado.wix.com/ http://mariamwaelgado.wix.com/mariam-wael |