Resume of the lesson
We are back in 3D stuff : scanning , printing ! I though it was an easy stuff, but one thing is to download 3D file from internet and send it to the printer, and another is to build your own and to prepare it to be "suitable to print".. There are 2 mains points of the course which surprised me :- that to build an object in 3D, substraction process is used in 80% of the time, relating the 20% for additiv 3D printer
- and that the first 3D printer appear at the end of the 80's !! we are always thinking everything has been invented the last 5 years ;-)
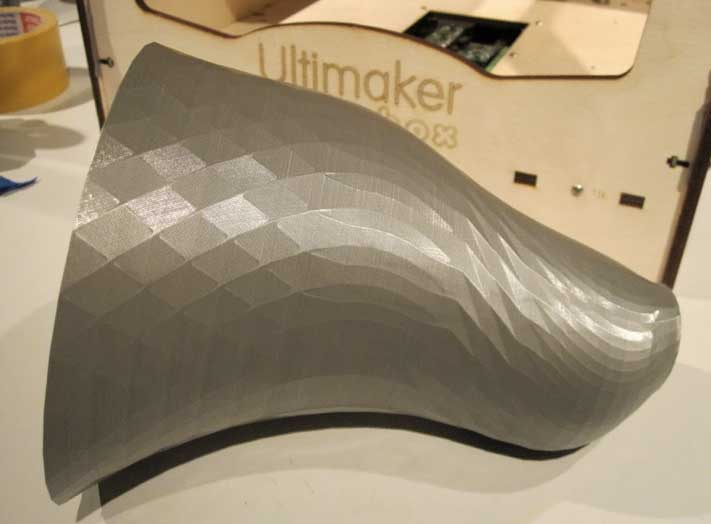
- FDM printer like Ultimaker
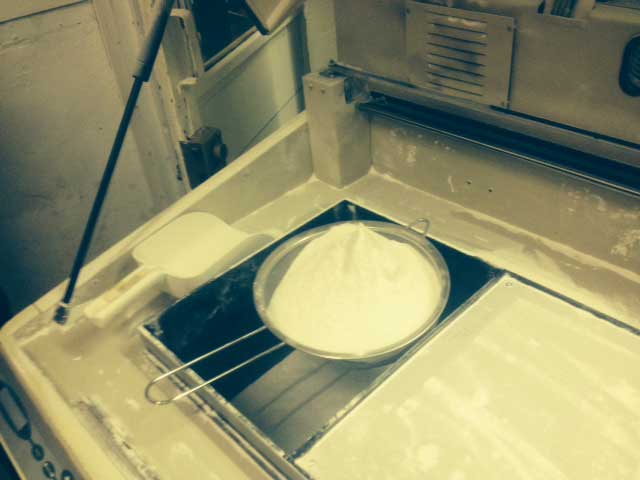
- powder printer
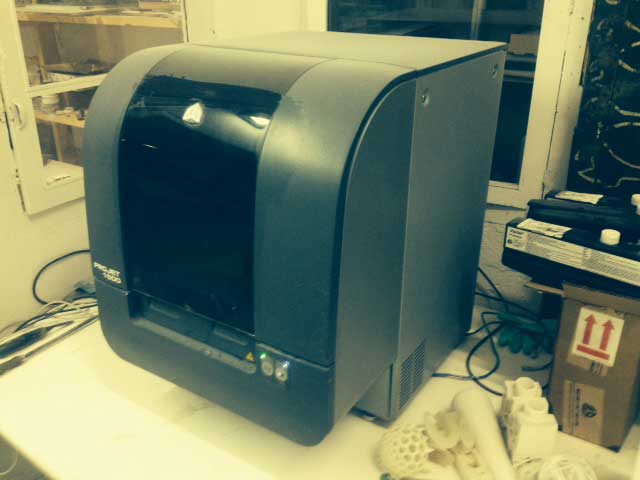
- UV and resin printer
Home Work
The first job is to build an object in 3D and print it.
for unknown reason, I decide first to use the awfull Rhino software (the Mac version is useless), and , after 6 hours of trying, I give up :
- and didn't succeed to have a smooth shape between the suface. Even asking the rhino expert in the course , we didn't find why the command don't apply in my case
- then, I forget this , and add a thickness to all the surface, using the command "offsetsrf" : no way to do it correctly, there are strange curve appearing when I apply this command ( image 2 and 3 below)
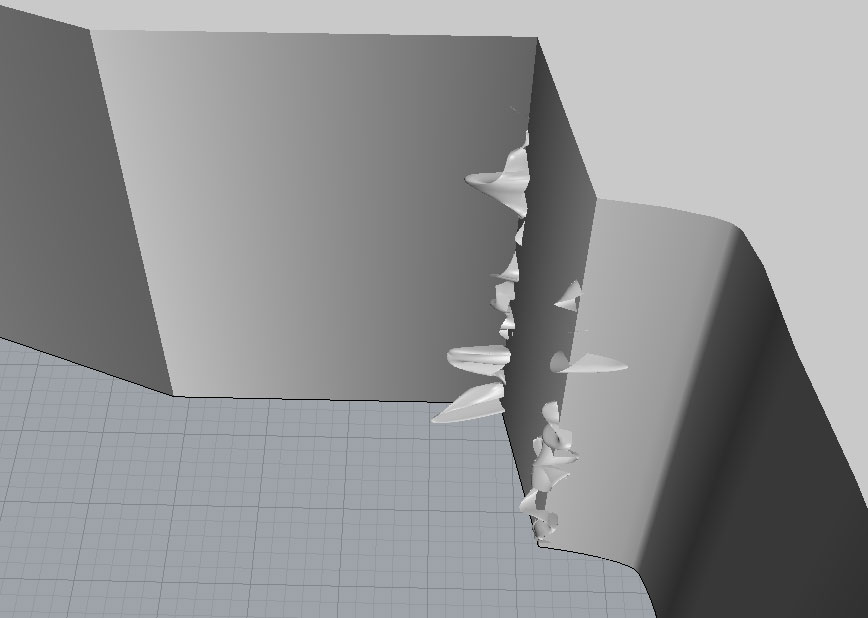
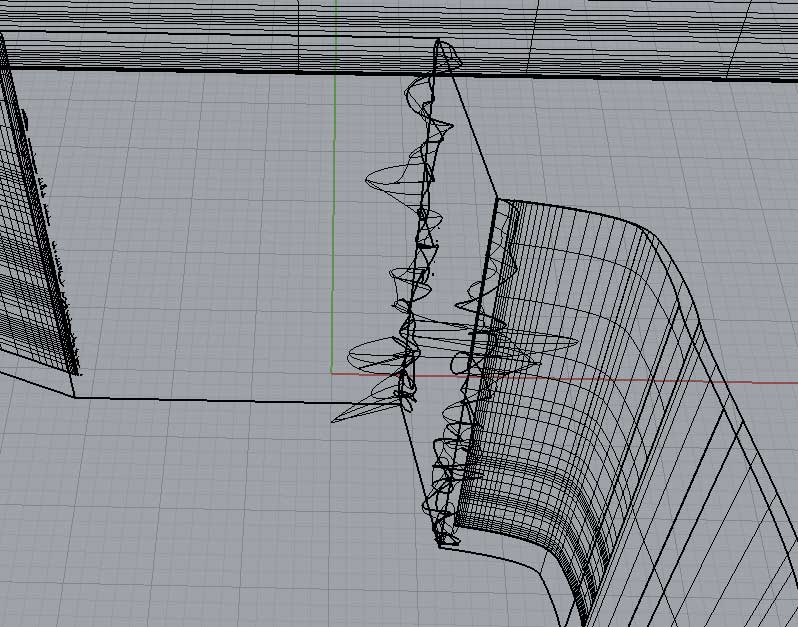
No way to resolve this : the original form come from a very simple Ilustrator curv, that is imported in Rhino , and then extruded. At this stage everything is OK . But when I want to create the thickness , then the game is over .
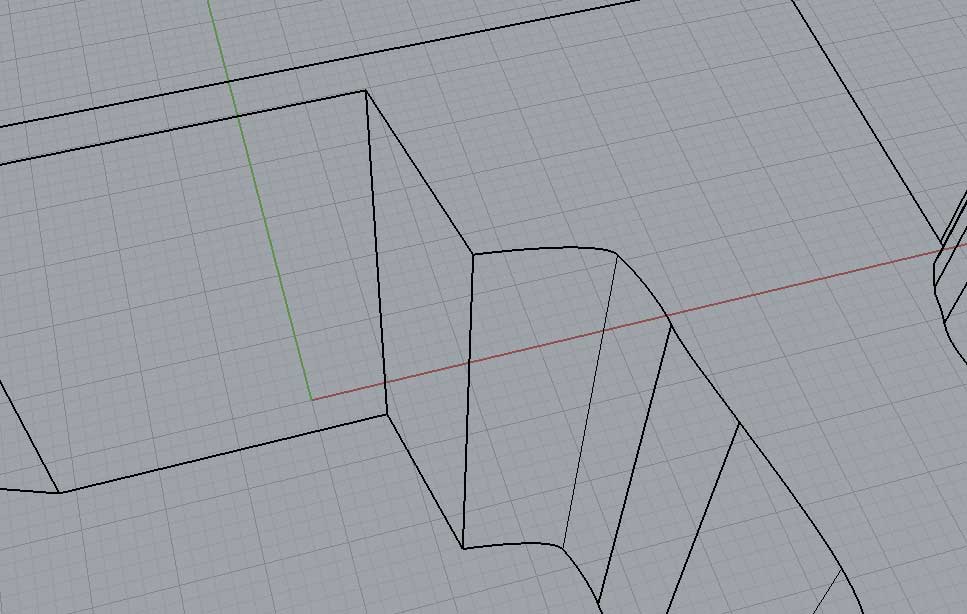
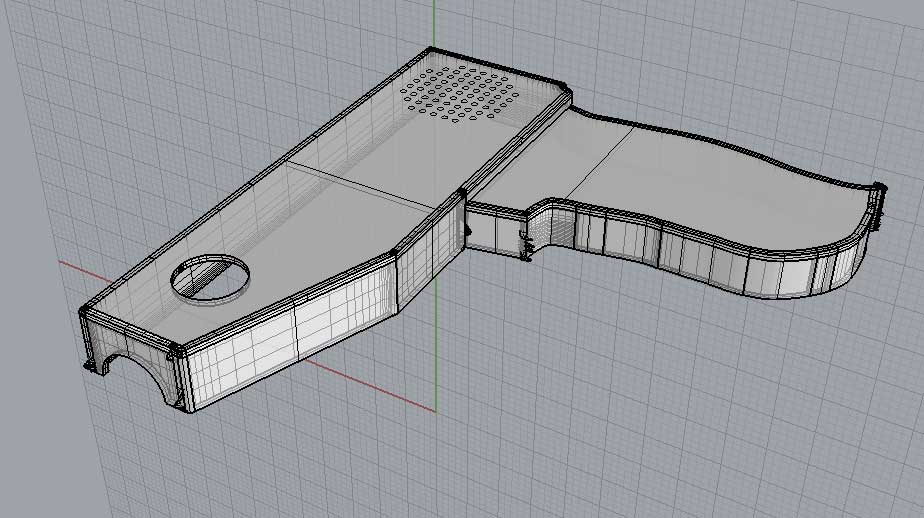
I HATE Rhino.
Asking to the guy of the course with more expertise in Rhino doesn't help to found th e problem, even Luciano try it. But he explain an importat point : Rhino is not good designing industrial part like the one I need fr my project , the best tool for this is by far SolidWorks (PC ony) an d Invertor ( Mac and PC ). => bye bye Rhino !
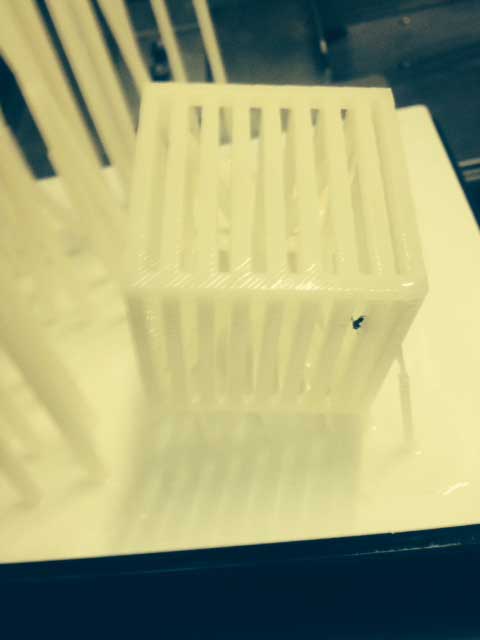
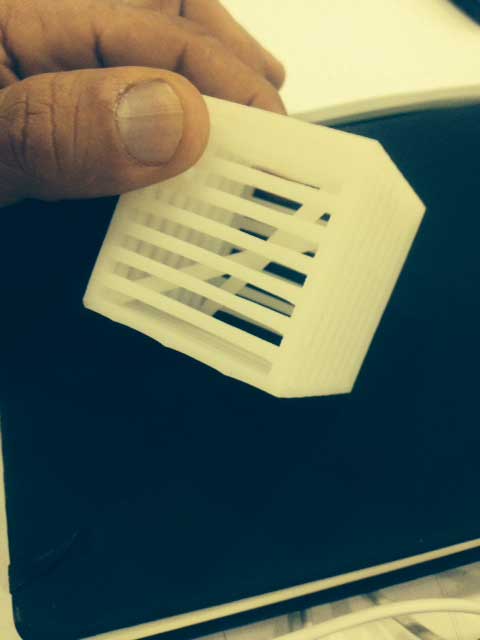
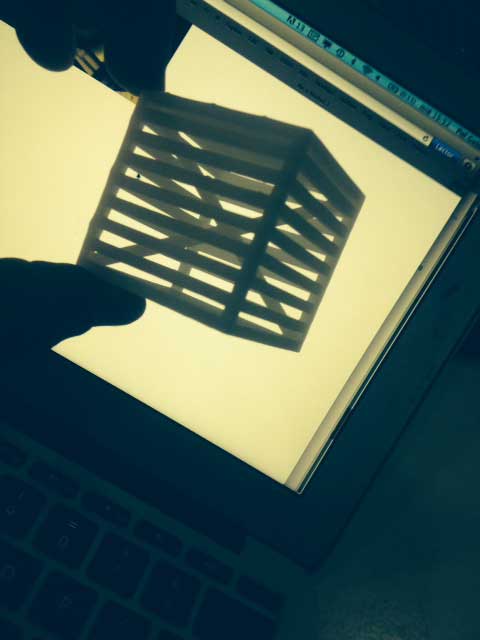
I had to activate a quick "Plan B" for the course : using Openscad I've build quickly a volume not posible to print by substraction. Result is a cubic jail , with some tube inside ( yes it's fully parametric ;-) ):
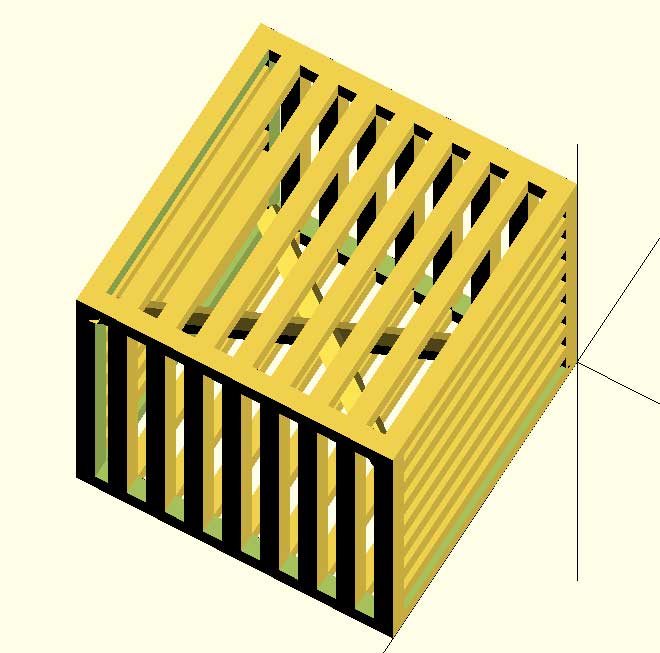
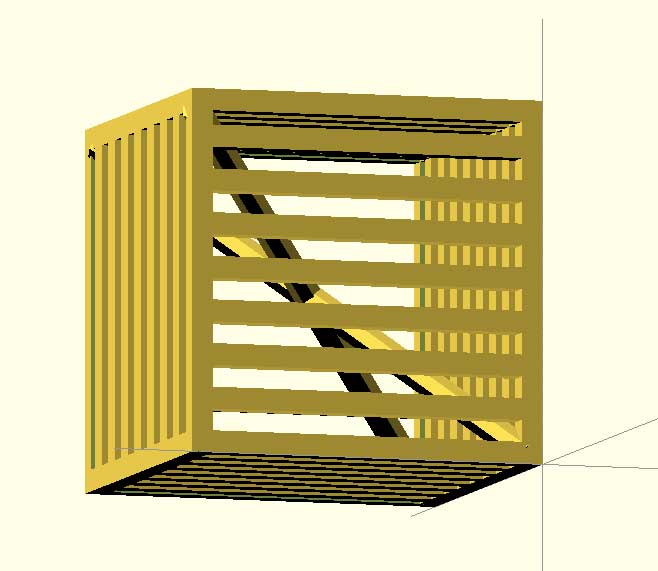
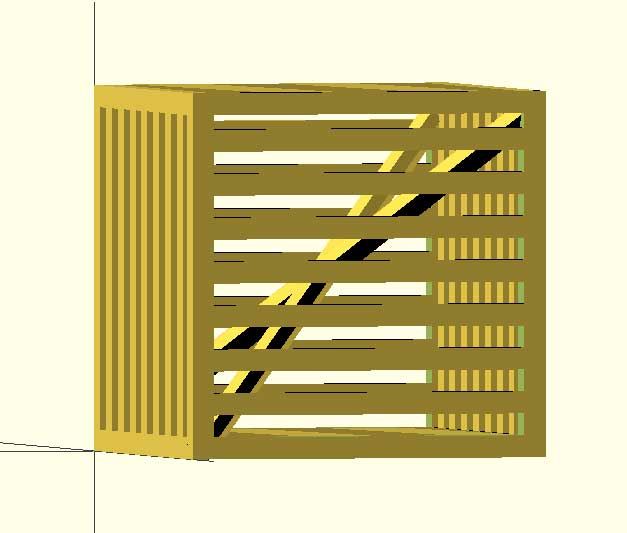
Then we print it in the UV printer : good point, the process to prepare the machine itself is not so painfull than using the powlder printer. The post process is still quit slow compare to the Ultimaker FDM printer : the resin has to be removed by imersing the object in container full of dissolvent, and then put it in UV lamp in order to harden it.
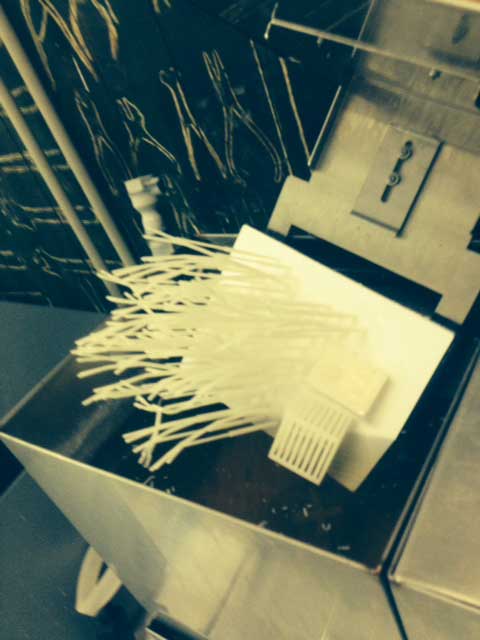
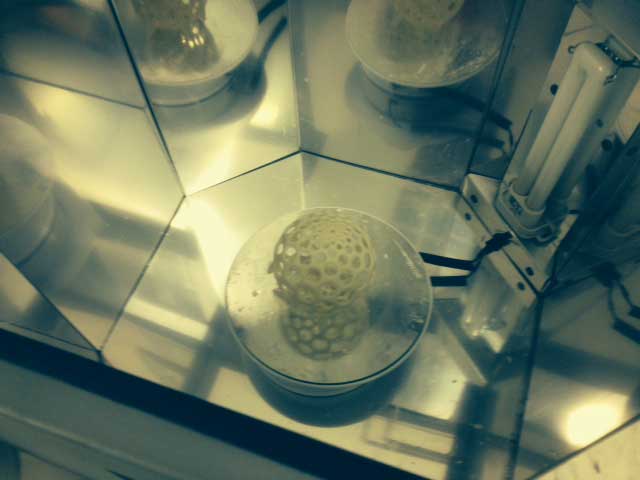
Result is quit cool and very precise :
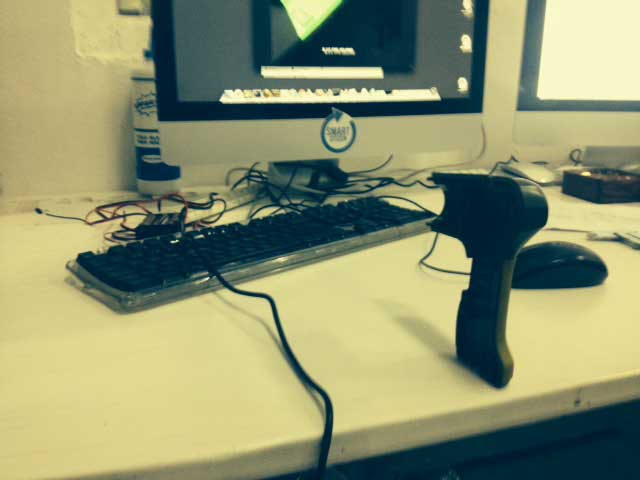
Then came the other part of the home work : 3d Scanning. We use Scanect, runing a kinect cojnected to the mac : it work well for the big objects , but not so good with small piece. I try to scan the half body of a drillmachine, with crapy resolution at the end :


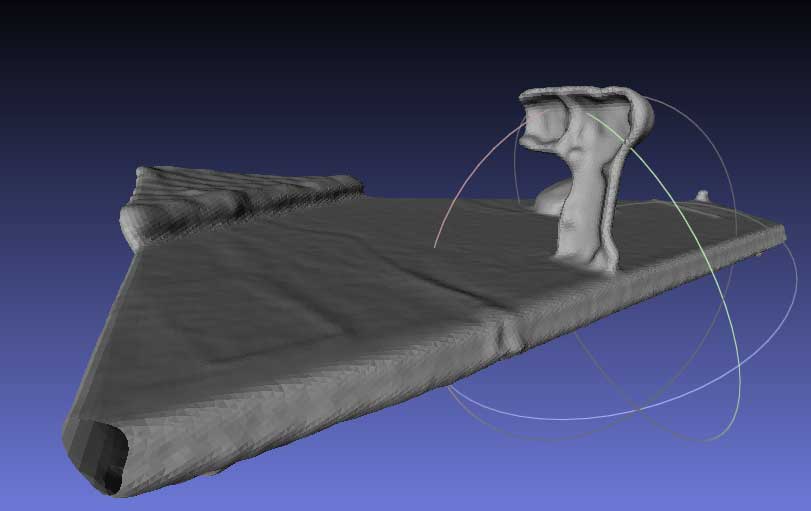
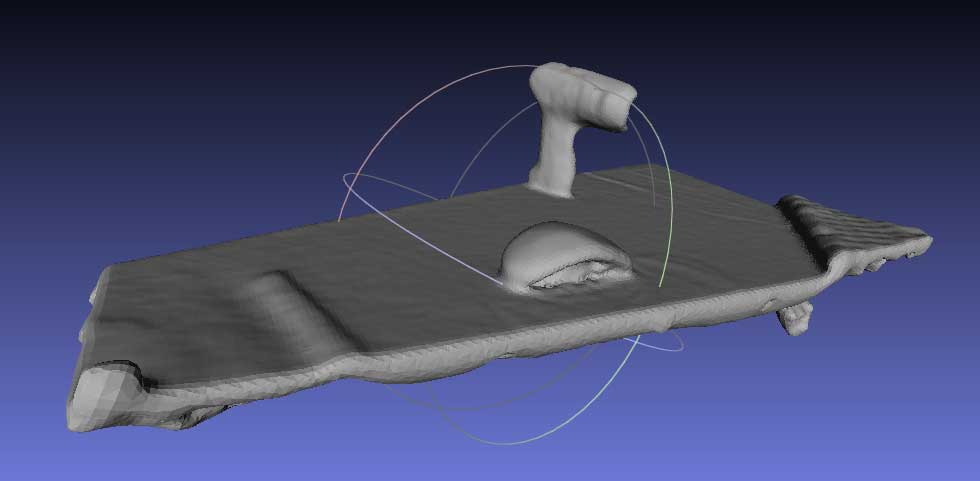
I try then to scan a body , and the result was really a lot more better. The bad resolution for small object is probably related to the way of scaning : holding the Kinect with the hand and mooving around. Fixing the Kinect and placing the object in a rotating plate should give better result. Scanect give us a Mesh file : we opened it with Meshscan, in order to prepare it to print . Hard stuff, I really don't have the skills today to run properly this kind of software.