| Index About Me |
Interface and Application ProgrammingThis assignment was hard and easy at the same time, being so many languages and IDEs to choose from, I decided to build on lessons learned.This particular assignment was about making an app to interact with a device, be it input or output. 
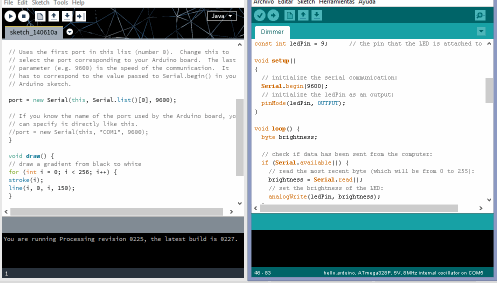
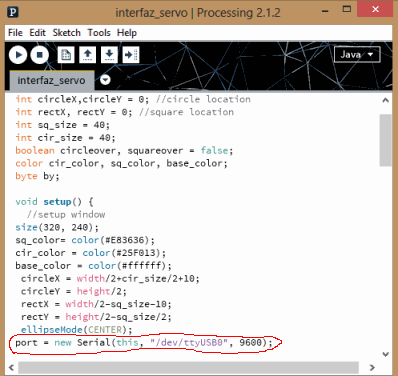
The key to the
whole example is the way Processing and Arduino Communicate through the
Serial Port, and based upon that I decided to write my app, building
from several existing example codes.
 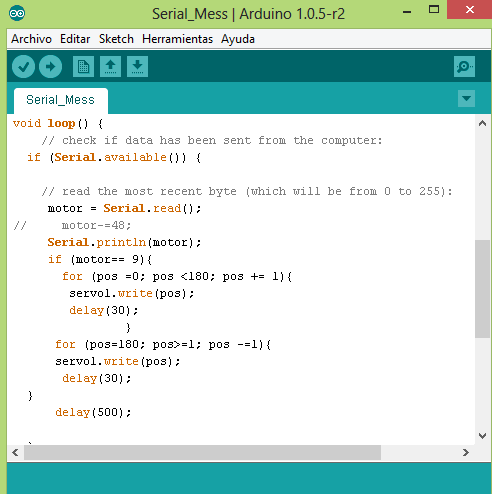 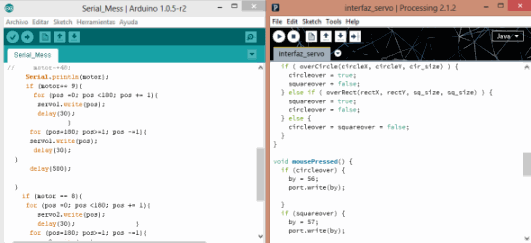
In the end the problem was in the way both arduino and Processing encode what is sent through the port. While I was using Arduino to read the bytes sent using the statement (i. e. if(motor = 8) ) I was getting receiving the byte and activating the servos. This was not what was intended, and, in order to get the right byte the if statement had to be enforced, as it can be seen in the image above, the statement if( motor == 8) is being used, this meaning that the precise byte will be entered in order for the servo to be trigged. Which brings as to the other end, so how could the bytes sent through the processing interface so they would be properly processed? The answer to this, after some consultation and tinkering was ASCII, yes, ASCII. As it can be seen above, Arduino is expecting the characters '8' and '9' to set the servos... but the Processing script has the 'by' variable in the byte type, so instead of sending the characters as stated, it was sending its ASCII counterparts. This was easily Fixed by changing the bytes sent in Processing for its ASCII equivalents, this is:
With this, the program worked fine.  Finally, the source code for the Arduino and Processing can be found: - Arduino Code - Processing Code Conclusions?unfortunately, I had too little time to get this assignment done, so I had just to get on with it. Second, The code written is not optimal and certainly can be improved. Third,
as previously stated, take into account Hofstadter's law into
assignment planning, it -painfully- works. |