Interface and application programming
Task:
write an application that interfaces with an input &/or output device
Description:
For the interface assignment I want to start working on an interface with sliders, being able to connect the sliders to the SoftPWM in my code. When the softPWM works I could theoretically create 16581375 colours with the use of a RGB led. I want this interface to output the values through a serial connection so it can wirelessly transfer its data to my lamp.
What did I do:
- Play around with processing
- Check out processing.js
- Connect Softserial with processing
- Design a interface
- Software PWM
Play around with processing
Processing is in my opinion a really powerful and neat language. You can easily do some fun stuff and with a basic knowledge of programming you can get fun applications.
void setup() {
  size(730, 400);
  smooth();
}

void draw(){
  float s = dist(mouseX, mouseY, pmouseX, pmouseY) +random(1, 10);
  noStroke();
  fill(random(0,255), random(0,255), random(0,255), random(0,255));
  ellipse(mouseX, mouseY, s, s);
  stroke(255);
  point(mouseX, mouseY);
}
void setup() {
  size(730, 400);
  smooth();
}

void draw(){
  float s = dist(mouseX, mouseY, pmouseX, pmouseY) +1;
  noStroke();
  fill(0,50);
  ellipse(mouseX, mouseY, s, s);
  stroke(255);
  point(mouseX, mouseY);
}
Blade diagonal;

void setup(){
  size(730,400);
  diagonal = new Blade (30, 60);
}

void draw (){
  diagonal.grow();
}

void mouseMoved(){
  diagonal.seed(mouseX, mouseY);
}

class Blade{
  float x, y;

  Blade(int xpos, int ypos){
    x = xpos;
    y = ypos;
  }

  void seed(int xpos, int ypos){
    x = xpos;
    y = ypos;
  }

  void grow(){
    x += random(2.5, 1);
    y -= 5.0;
    point(x, y);
  }
}
Check out processing.js
Processing.js is a really handy tool for inserting your processing files onto the web. The user just loads in the javascript and inserts the PDE file like this:
<canvas data-processing-sources="processing/processing_fun2.pde"></canvas>Connect Softserial with processing:
After all the processing fun it was time to work on my project. I found this tutorial on 'Sparkfun', this manual is very helpful to learn about connecting processing to your Arduino code. With the use of this method I was able to switch a LED on and off that I connected to my Arduino. This was really easy to get to work. Now I needed to combine this with my previous code to control a LED wirelessly.
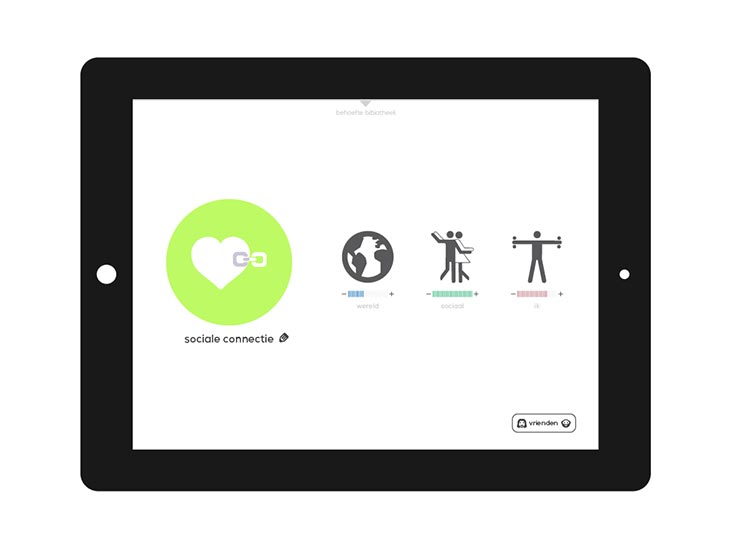
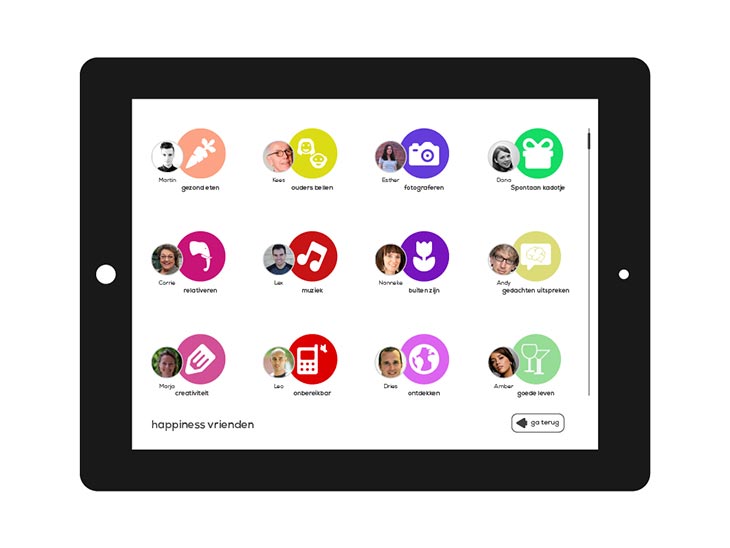
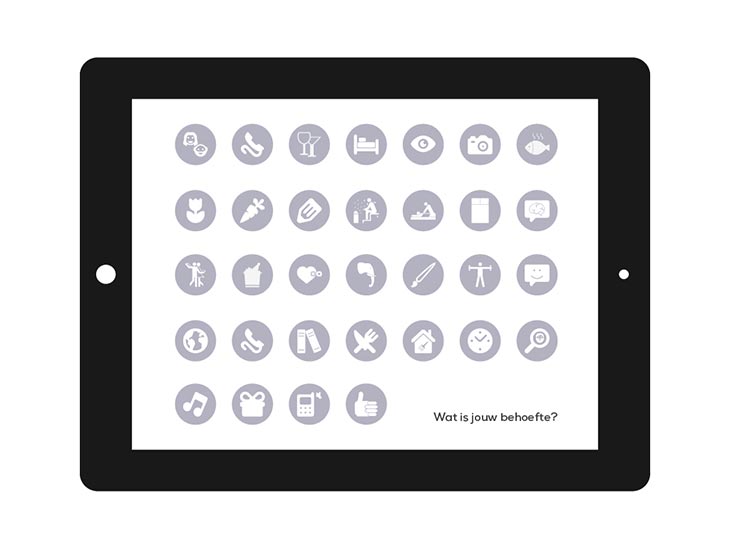
Design an interface:
With the use of Illustrator I designed the interface you see in the pictures below. For now it will be to much to build the interface but it will be nice if I will be able to do this in the future. Based on this interface I did do some tryouts with sliders. I found this processing library that I would like to combine with my code. With this library you can easily create different knobs, sliders, buttons etc.
Software PWM:
As example for the softwarePWM I took the code from the digiBlink because my familiarity with this program. Earlier during this course I was able to use this script combined with a python script to output all the colours. Now this should be combined with my code for the interface and wireless connection.
My PWM code
#include <SPI85.h>
#include <Mirf.h>
#include <MirfHardwareSpi85Driver.h>
#include <nRF24L01.h>

#define CE    7
#define CSN   3

// ATMEL ATTINY84 / ARDUINO
//
//                           +-\/-+
//                     VCC  1|    |14  GND
//  SerialTx   (D  0)  PB0  2|    |13  AREF (D 10)
//             (D  1)  PB1  3|    |12  PA1  (D  9)
//  RESET              PB3  4|    |11  PA2  (D  8)
//  PWM  INT0  (D  2)  PB2  5|    |10  PA3  (D  7)  CE
//  SS/CSN     (D  3)  PA7  6|    |9   PA4  (D  6)  USCK
//  USI-DI     (D  4)  PA6  7|    |8   PA5  (D  5)  USI-DO
//                           +----+


int redVal = 0;
int greenVal = 0;
int blueVal = 0;
int next = 0;

int ledPinRed = 10;
int ledPinGreen = 8;
int ledPinBlue = 1;

int bufferSize = 0;
char buffer[32] = "";
unsigned int counter = 0;
uint8_t nodeID = 0;

void setup(){
  Serial.begin( 9600 );    // for tiny_debug_serial

  Mirf.cePin = CE;
  Mirf.csnPin = CSN;
  Mirf.spi = &MirfHardwareSpi85;
  Mirf.init();

  pinMode(ledPinRed, OUTPUT);
  pinMode(ledPinGreen, OUTPUT);
  pinMode(ledPinBlue, OUTPUT);

  Mirf.setRADDR((byte *)"serv1");
  Mirf.payload = sizeof(char);

  Mirf.config();

  digitalWrite(ledPinRed, HIGH);
  digitalWrite(ledPinGreen, HIGH);
  digitalWrite(ledPinBlue, HIGH);


  Serial.println("Listening...");

  blueVal = 250;
}

void loop(){
  byte data[Mirf.payload];

  if(!Mirf.isSending() && Mirf.dataReady()){
    Serial.println("Got packet");

    Mirf.getData(data);
        blueVal = (int) data[0];
        Mirf.send(data);
  }
  setBlue();
}
void setBlue(){
    if(blueVal == 0){
      digitalWrite(ledPinBlue,HIGH);
      return;
    }
    else if(blueVal == 255){
      digitalWrite(ledPinBlue,LOW);
      return;
    }
    // On period
    for (int x=0;x<blueVal;x++){
    digitalWrite(ledPinBlue,LOW);
    }
    // Off period
    for(int x=0;x<(255-blueVal);x++){
    digitalWrite(ledPinBlue,HIGH);
    }
}