Molding and Casting
The Design
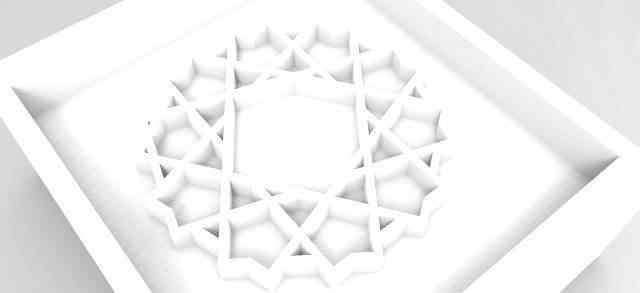
While modeling i came up with more than one design, most of them were too complex to be exported as a STL I tried more than one shape, square, triangle, rectangle and finally i came up with an idea, to simplify the connections between the shapes makes it easier for rhino to recognize
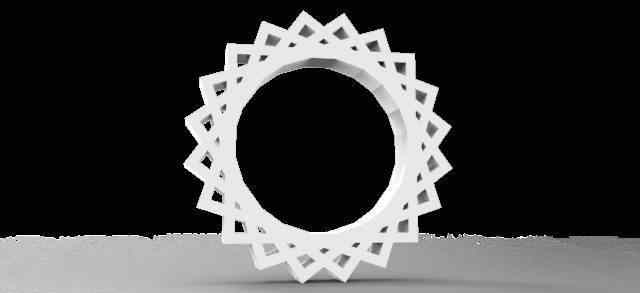
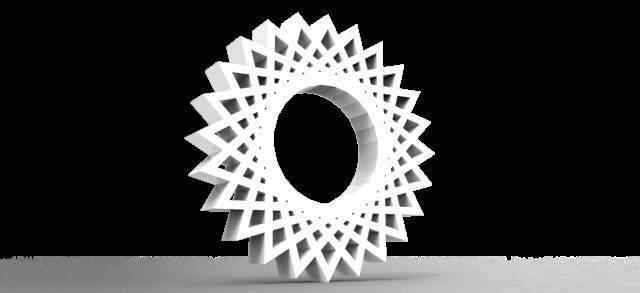
After i finished the design i started nesting the parts on the sheet it was 18mm thick, 240 width and 120 high. when i was done nesting i exported the file DXF from rhino then took it to the machine's computer for the GCODE.
Dowload The Design Files
Rhino5
Milling
-I used the IModela to mill the design in wax. Before exporting your design from rhino as a STL Make Sure it's LEFT TOP point is at the origin (0,0,0) as the machine starts working from top to bottom and from left to right and also make sure its in millimeters other wise the machine wouldn't recognize it
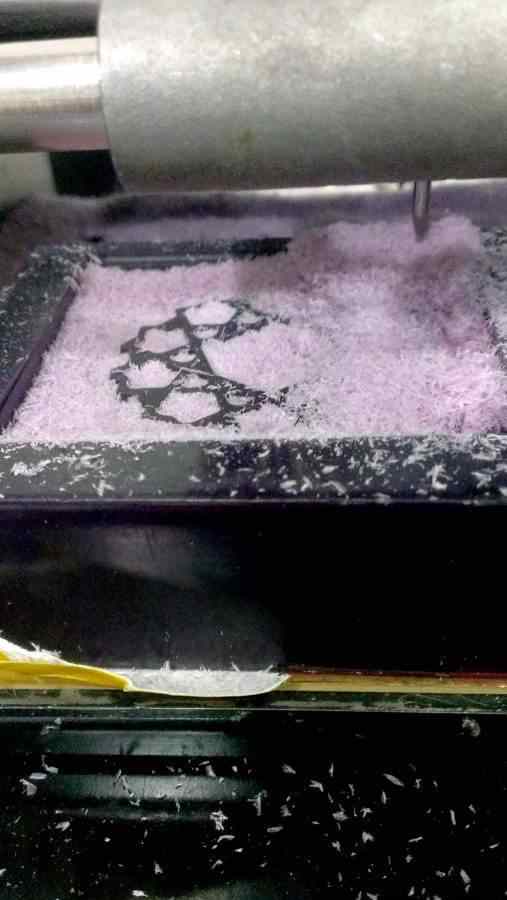
The Machine mill STLs on two stages, ROUGH and FINAL where the Rough uses the bold pin, and it takes less time than the final, it also moves on both axis (x,y) at the same time. While the FINAL, uses a finer pin to smoother the contours of your design, it will take much more time than the first one, since it mill your design twice on as straight lines in the direction, then the second is doing the same thing but in the X direction. Both procedures with variations of the Z direction according to your design's surface
Cooking
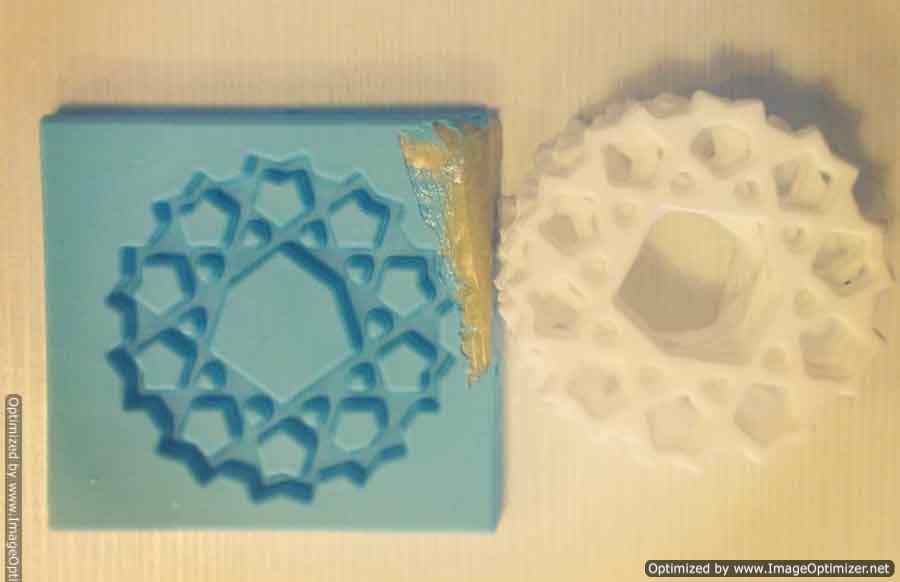
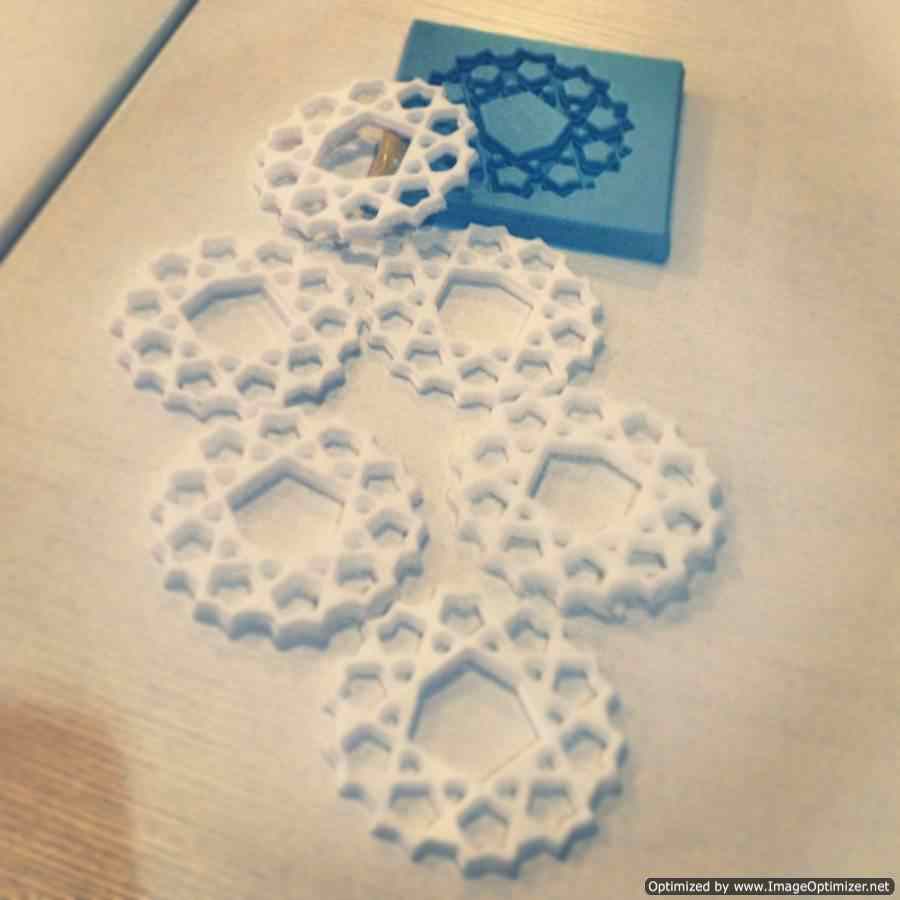
Finally i did the mixture of the rubber mold and poured it in the wax, it has six hours to go!
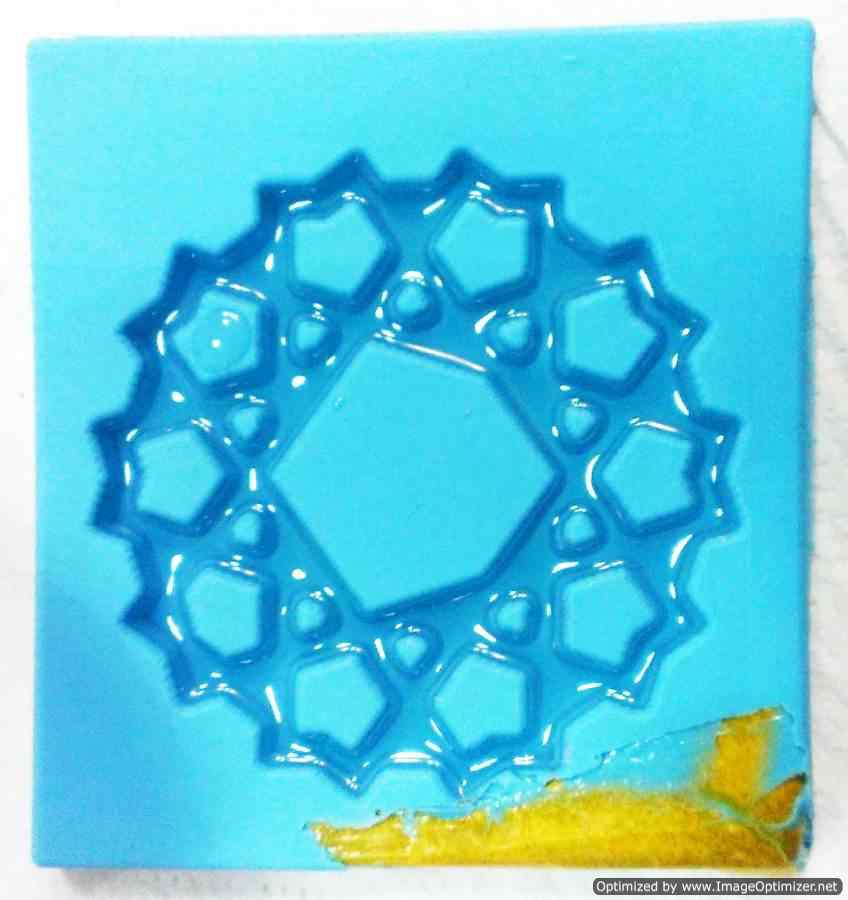
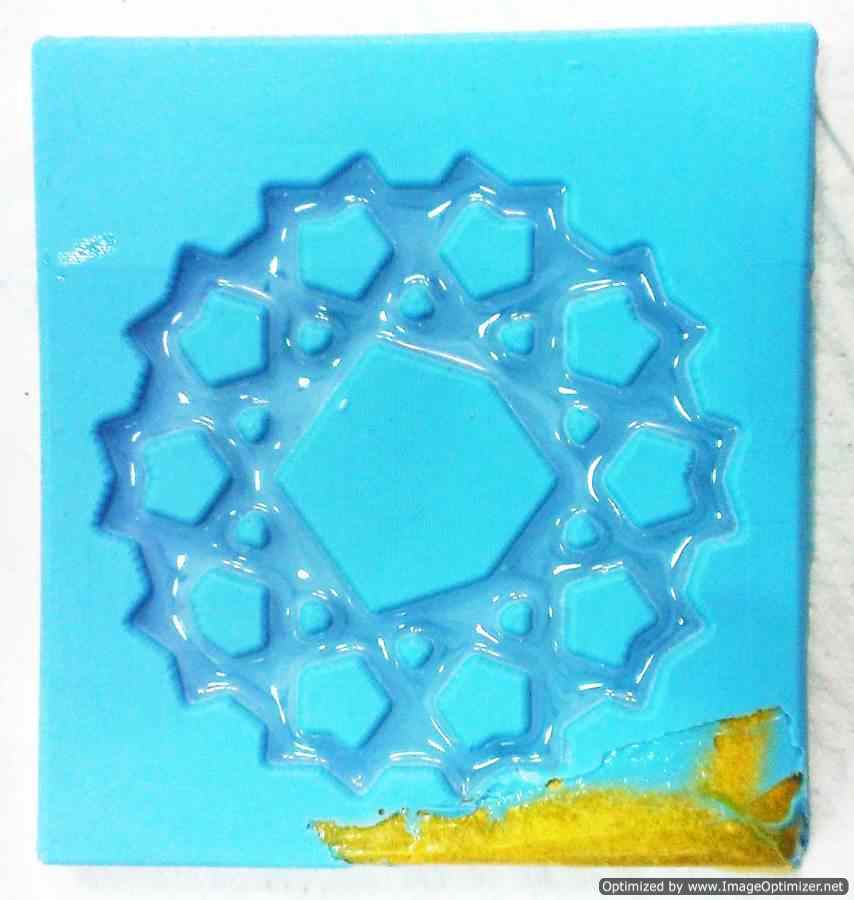
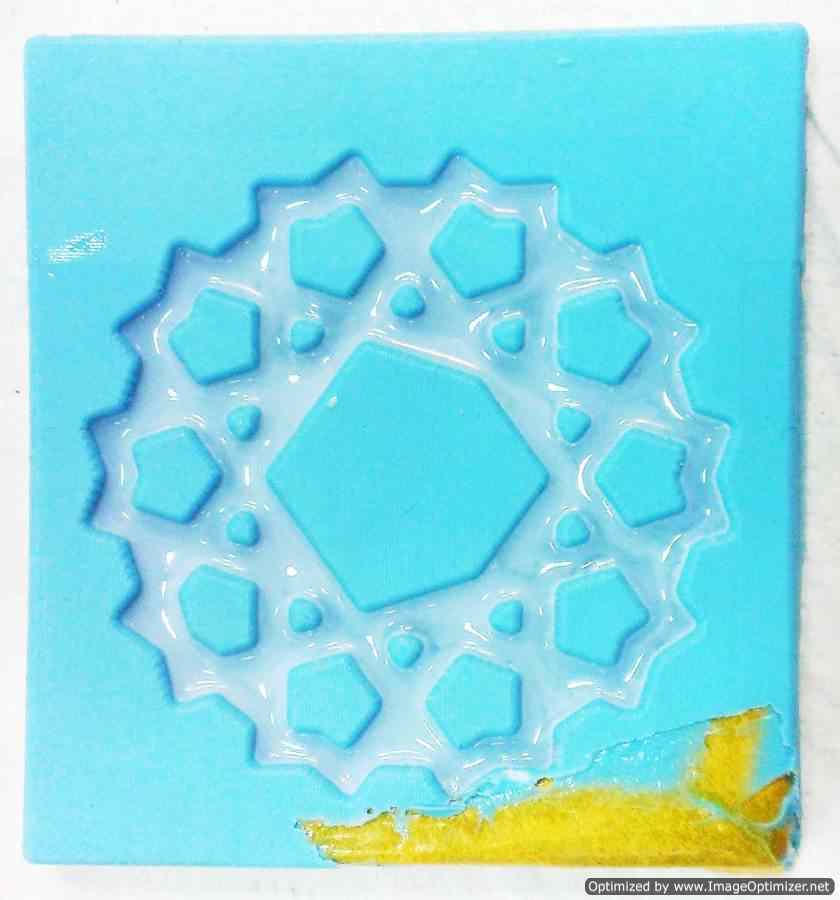
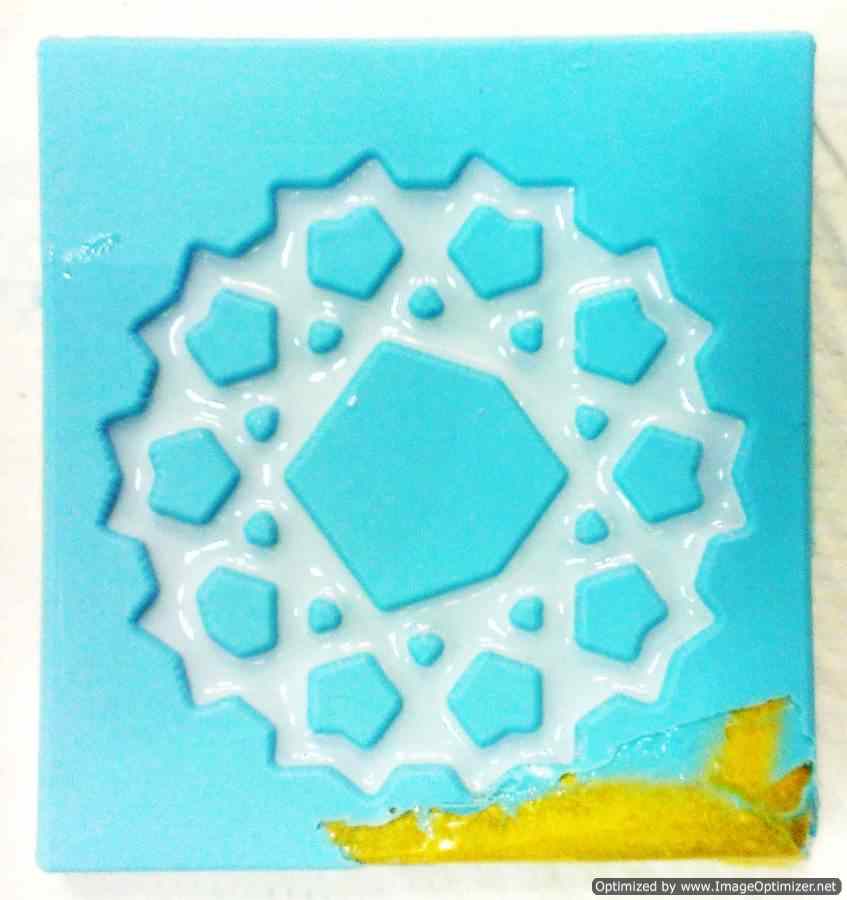
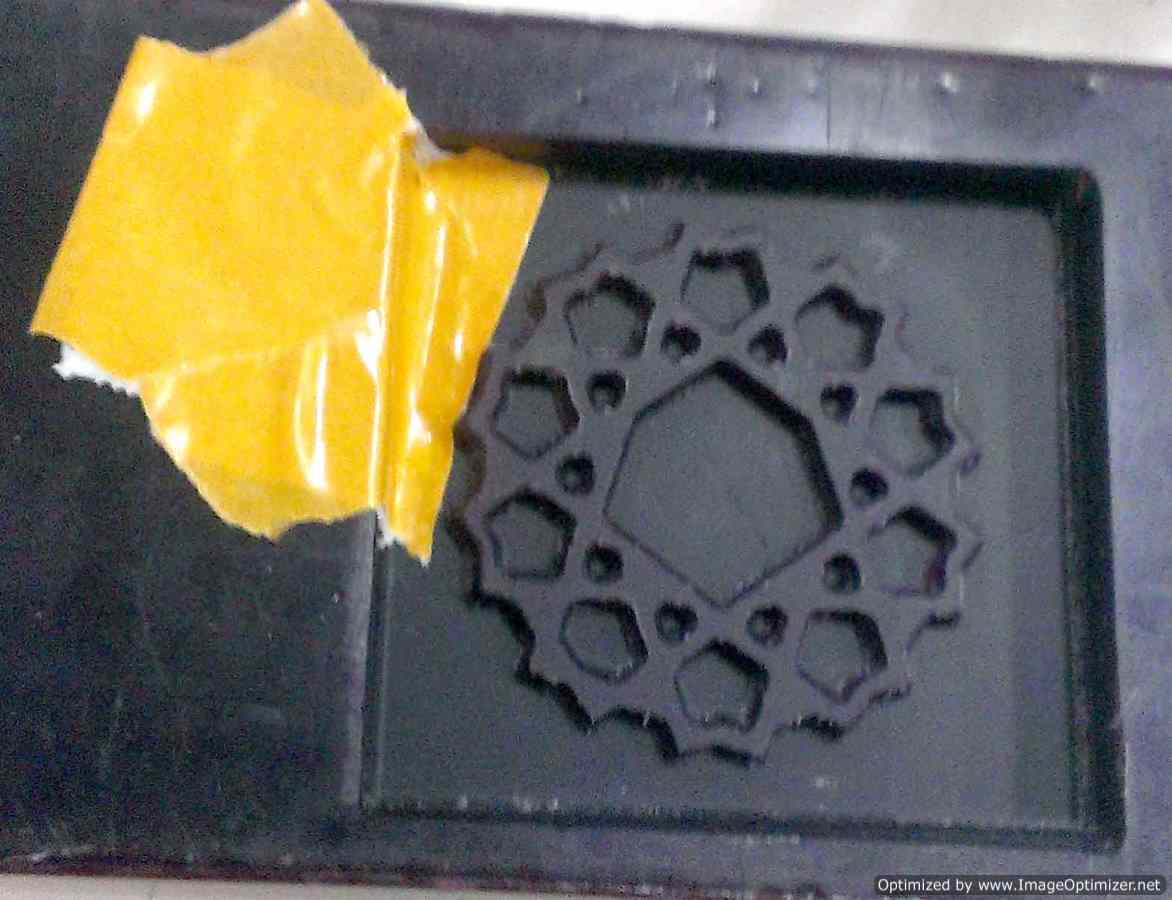
After finishing the mold you take it off the wax, you then get the negative of your design. Then you mix the solution for your final piece. you should use same amount from both jars and mix them together then pour it to your rubber mold, but by changing the ratio between the two solution you can control how hard or flexible your final piece will be.